
I know adjusting the float in your toilet might seem like a daunting task, but trust me, it’s easier than you think!
In this article, I’ll guide you through the step-by-step process of adjusting the float in your toilet, ensuring it works efficiently and saves you from unnecessary water wastage.
With just a few simple tools and a little know-how, you’ll be able to tackle common float problems and maintain a properly adjusted float in your toilet with ease.
Let’s get started!
Key Takeaways
- Proper float adjustment is crucial for efficient toilet operation.
- Incorrect float adjustment can lead to problems like constant running or insufficient flushing.
- Adjusting the float prevents water waste and potential damage to the toilet’s mechanisms.
- It helps prevent water overflow and potential flooding and damage to the bathroom.
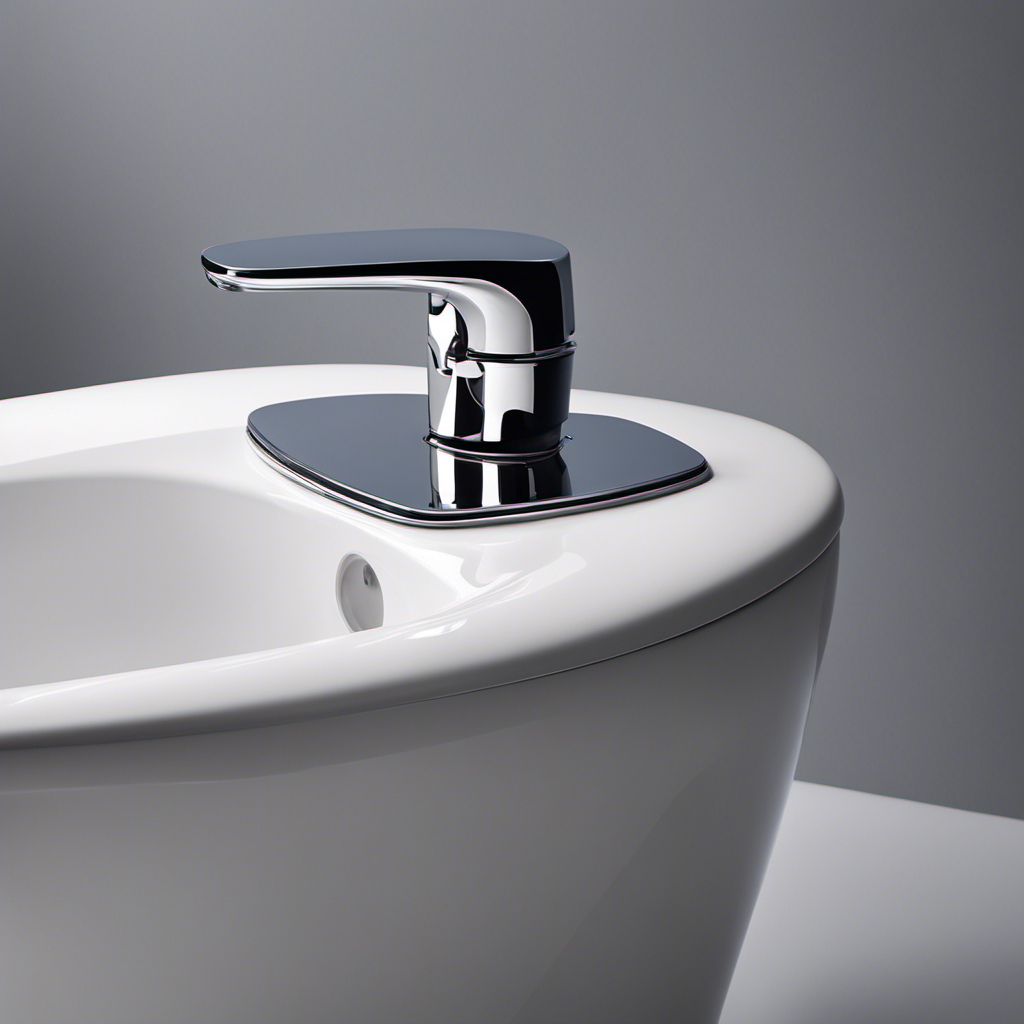
Why Adjusting the Float in Your Toilet Is Important
Adjusting the float in your toilet is crucial for maintaining proper water levels. It plays a significant role in toilet maintenance and can help troubleshoot float issues.
The float is responsible for controlling the amount of water that enters the tank after flushing. If the float is not adjusted correctly, it can lead to problems such as constant running or insufficient flushing. By adjusting the float, you can ensure that the tank fills with the right amount of water, preventing unnecessary water waste and potential damage to the toilet’s mechanisms. Additionally, it can help prevent water overflow, which can cause flooding and damage to your bathroom.
Understanding the importance of float adjustment in toilet maintenance is the first step in ensuring efficient and problem-free toilet operation.
Now, let’s move on to the tools needed for adjusting the float in your toilet.
Tools Needed for Adjusting the Float in Your Toilet
To make the necessary adjustments, you’ll need a few tools for fixing the water level in your toilet. Here are the tools you’ll need for adjusting the float in your toilet:
-
Adjustable wrench: This tool will help you loosen and tighten the nuts that hold the float in place. It’s important to have an adjustable wrench that fits the size of the nuts on your toilet.
-
Screwdriver: A screwdriver is useful for adjusting the height of the float. Some toilets have a screw or a knob that can be turned to raise or lower the float.
-
Pliers: Pliers are handy for adjusting the float arm. If the float arm is bent or misaligned, you can use pliers to straighten it out.
-
Bucket or towel: It’s always a good idea to have a bucket or towel on hand to catch any water that may spill during the adjustment process.
With these tools, you’ll be well-equipped to troubleshoot and fix any toilet float problems you may encounter.
Step-by-Step Guide on Adjusting the Float in Your Toilet
Using an adjustable wrench, you can loosen and tighten the nuts that hold the float in place.
Float adjustment troubleshooting is necessary when you notice common signs of a malfunctioning float. These signs include a constantly running toilet, a toilet that doesn’t flush properly, or water leaking from the tank onto the floor.
To adjust the float, first, locate the water fill valve on the left side of the toilet tank. Turn off the water supply by twisting the valve clockwise.
Use the adjustable wrench to loosen the nut on the float rod. Move the float up or down to adjust the water level in the tank. Tighten the nut to secure the float in its new position.
Turn on the water supply and check if the float adjustment has resolved the issue.
Common Problems With the Float in Toilets and How to Fix Them
One common issue with the float in toilets is when it constantly runs and doesn’t flush properly. This can be fixed by adjusting the water level and securing it in its new position. Troubleshooting float issues can be frustrating, but with a few simple steps, you can resolve these problems and avoid the need for float replacement.
Here are four common float problems and their solutions:
-
Float not rising: This can be caused by a buildup of mineral deposits. Remove the float and clean it thoroughly to ensure it moves freely.
-
Float not falling: Check if the float arm is bent or obstructed. Straighten it or remove any obstructions to allow the float to fall properly.
-
Water overflowing: Adjust the float’s position so that it shuts off the water flow at the desired level. If necessary, bend the float arm slightly to achieve the correct water level.
-
Float not floating: If the float is damaged, it may need to be replaced. Consult a professional or refer to the manufacturer’s instructions for float replacement.
By addressing these troubleshooting issues, you can maintain a properly adjusted float in your toilet and prevent any future problems.
In the following section, I will share some tips and tricks to help you achieve this.
Tips and Tricks for Maintaining a Properly Adjusted Float in Your Toilet
Make sure you regularly check the water level in your toilet to ensure it is properly adjusted and avoid any potential float issues. A malfunctioning float can cause problems such as a constantly running toilet or a toilet that doesn’t flush properly.
To help you troubleshoot and maintain a properly adjusted float, here are some tips and tricks:
-
Keep an eye out for signs of a malfunctioning float, such as a constantly running toilet or a toilet that doesn’t fill up properly after flushing.
-
Check the water level in your toilet tank. It should be about an inch below the top of the overflow tube.
-
Adjust the float if necessary. Most floats have a screw or a clip that allows you to adjust the water level. Consult your toilet’s manual for specific instructions.
-
Test the flush. After adjusting the float, flush the toilet to ensure it fills up properly and stops at the correct water level.
-
Regularly inspect and clean the float and other components of your toilet to ensure proper functioning.
Conclusion
In conclusion, adjusting the float in your toilet is a crucial task for maintaining proper water levels and preventing potential problems. By following the step-by-step guide and using the necessary tools, you can easily ensure a smoothly functioning toilet.
Remember, regular maintenance and troubleshooting are key to avoiding common float issues. So, stay vigilant and keep your float flawlessly adjusted to float on in your bathroom blissfully!