
Hey there! Are you tired of dealing with a constantly running toilet?
Well, I’ve got some great news for you. In this article, I’m going to show you how to adjust the float on your toilet to fix that pesky problem once and for all. Trust me, it’s a piece of cake.
With just a few simple steps, you’ll be able to save water, money, and your sanity.
So, let’s dive in and get your toilet working smoothly again!
Key Takeaways
- The float is a crucial component that controls the water level in the toilet tank.
- Proper float adjustment is important for efficient water usage and preventing water waste.
- Common float problems include obstruction in the fill valve, damaged or worn-out float arm or ballcock, incorrect float adjustment or water pressure, and worn-out or damaged float or valve.
- Tools and materials needed for float adjustment include a screwdriver, adjustable wrench, and replacement float if necessary.

Smart Toilet with Bidet Built In, Heated Seat, Warm Water Wash & Dryer, Tankless Bidet Toilet with Foot Sensor & Night Light, Auto Open/Close Lid & Flush, Wireless Remote, 1.26GPF Water-Saving Design
🛠️ Easy Installation & Reliable Support: This smart toilet with bidet built in includes all accessories, flange kit,...
As an affiliate, we earn on qualifying purchases.
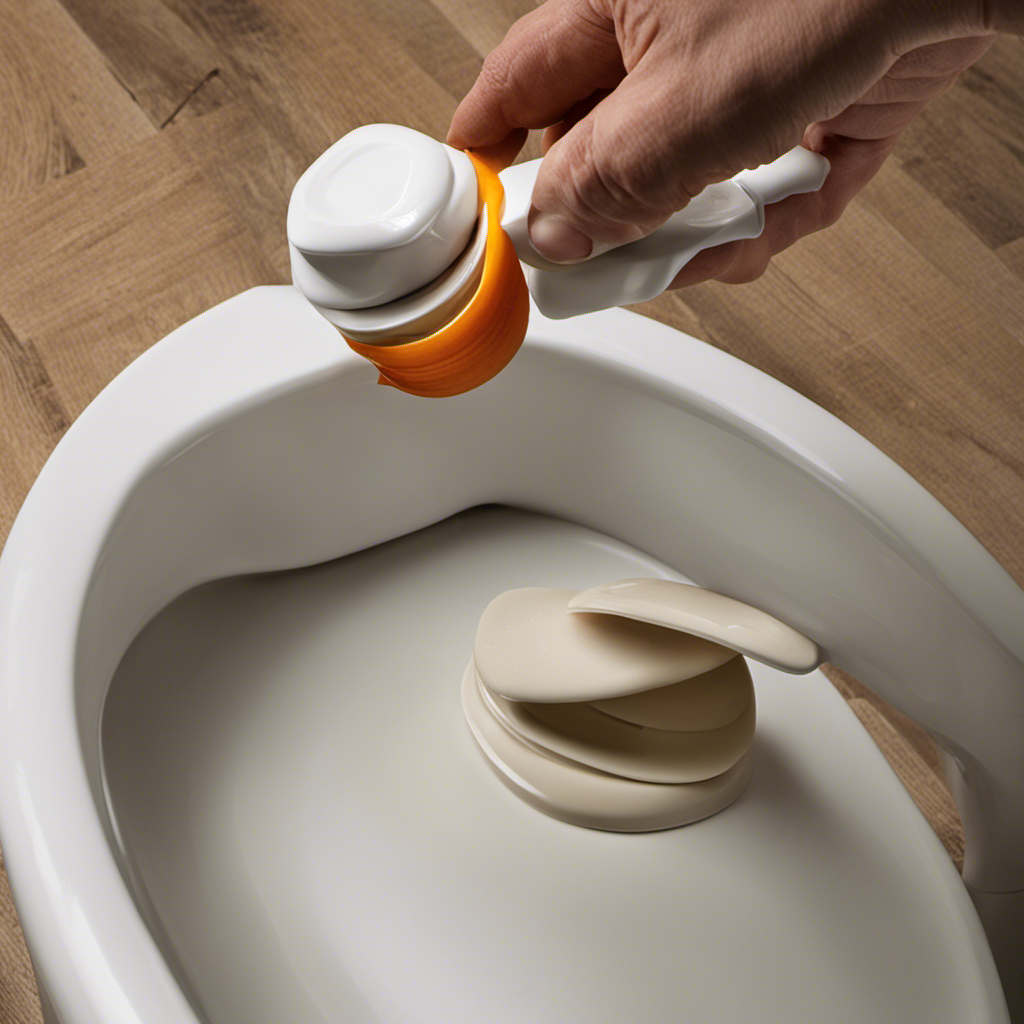
Understanding the Function of the Float
The float controls the water level in the toilet tank. It is a vital component that ensures the proper functioning of the toilet. Understanding how the float works and its importance in maintaining the water level is crucial.
Float troubleshooting tips can help identify and resolve common issues. If the float is not adjusted correctly, it can lead to problems such as constant running water or insufficient flushing. Proper float adjustment is essential for efficient water usage and preventing water waste.
Adjusting the float to the recommended water level will ensure that the toilet flushes properly and refills to the appropriate level after each use. Taking the time to troubleshoot and adjust the float can save you from potential plumbing issues and unnecessary water consumption.

WITMYA Smart Toilet with Bidet Built In, One Piece Bidet Toilet with Auto Dual Flush, Foam Shield, Modern Elongated Tankless Toilet with Foot Sensor, Heated Bidet Seat, Warm Water & Dryer,LED Display
【Efficient Flush & Energy-Saving Design】There smart toilets feature a highly efficient 1.28 GPF water-saving dual flush system with...
As an affiliate, we earn on qualifying purchases.
Identifying Common Float Problems
Check if you’re experiencing any common issues with the float. Troubleshooting toilet float issues is crucial for maintaining a properly functioning toilet. A malfunctioning float can lead to problems such as constant running water, inconsistent water levels, or even a toilet that won’t flush. Regular float maintenance is important to prevent these issues and ensure the efficient operation of your toilet. Here are some common problems you may encounter with the float:
| Common Float Problems | Possible Causes |
|---|---|
| Float not rising | Obstruction in the fill valve |
| Float not shutting off | Damaged or worn-out float arm or ballcock |
| Float too high or low | Incorrect float adjustment or water pressure |
| Float squeaking or leaking | Worn-out or damaged float or valve |

LOUPUSUO Smart Toilet with Warm Water Sprayer and Dryer, One Piece Bidet Toilet with Auto Dual Flush Foot Sensor Operation,Heated Seat Smart with Built In Fahrenheit LED Display
Powerful Flushing System: Designed with low water consumption (1.26 gallons per flush), this system ensures efficient and thorough...
As an affiliate, we earn on qualifying purchases.
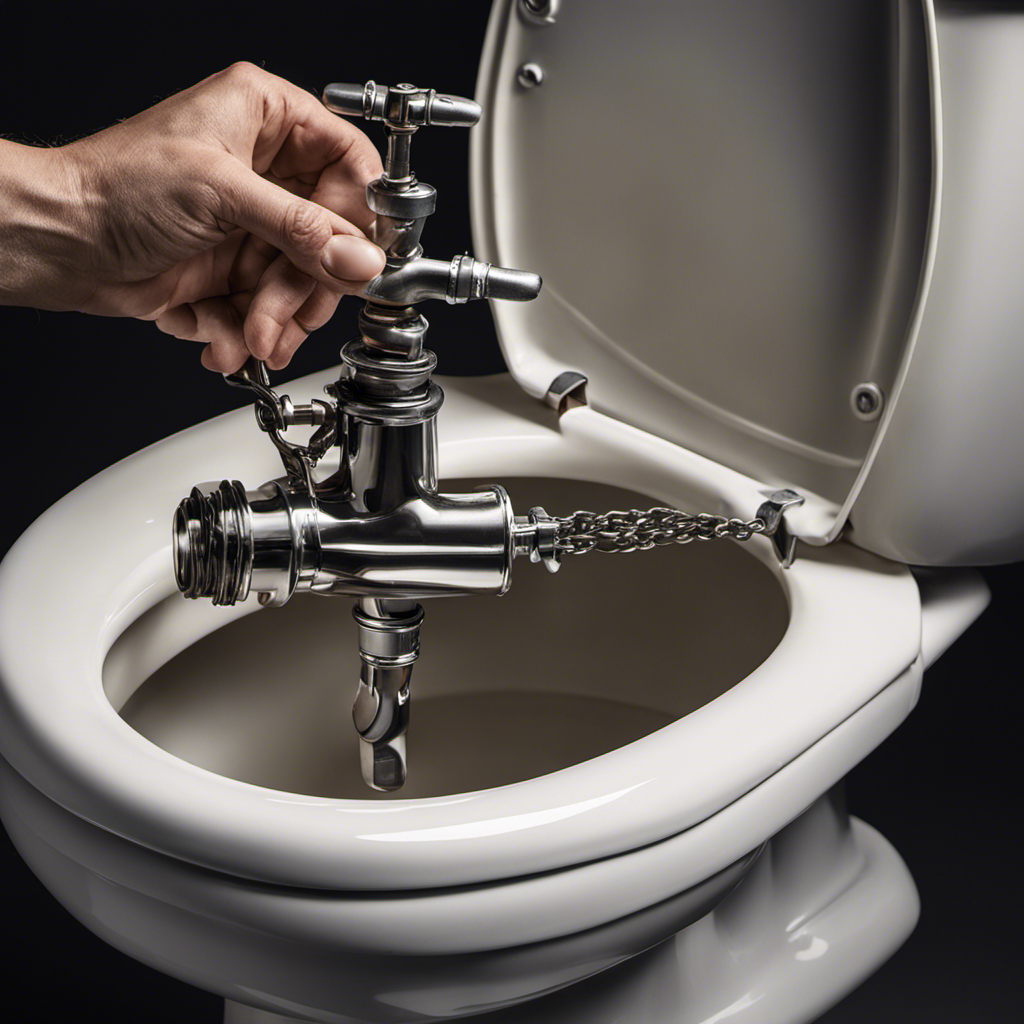
Tools and Materials Needed for Float Adjustment
To adjust the float on your toilet, you’ll need a few tools and materials. Troubleshooting float issues is important for maintaining the proper functioning of your toilet.
Regular float maintenance is crucial to avoid potential problems down the line. When it comes to adjusting the float, you will need a screwdriver, an adjustable wrench, and a replacement float if necessary.
The screwdriver is used to adjust the float arm, which controls the water level in the tank. The adjustable wrench will help you loosen or tighten the locknut located under the float.
If the float is damaged or not functioning properly, you may need to replace it with a new one. Regular maintenance of the float will ensure that your toilet flushes properly and prevents any water wastage.

HOROW T38 Artistic Smart Toilet, Bidet Toilet with Powerful Flush, Auto Open/Close Lid, Instant Warm Water, Elongated Heated Seat, Dryer, Night Light, Deodorization
For Low Water Pressure: Smart toilet built-in water tank and pump bring efficient and powerful flushing performance. The...
As an affiliate, we earn on qualifying purchases.
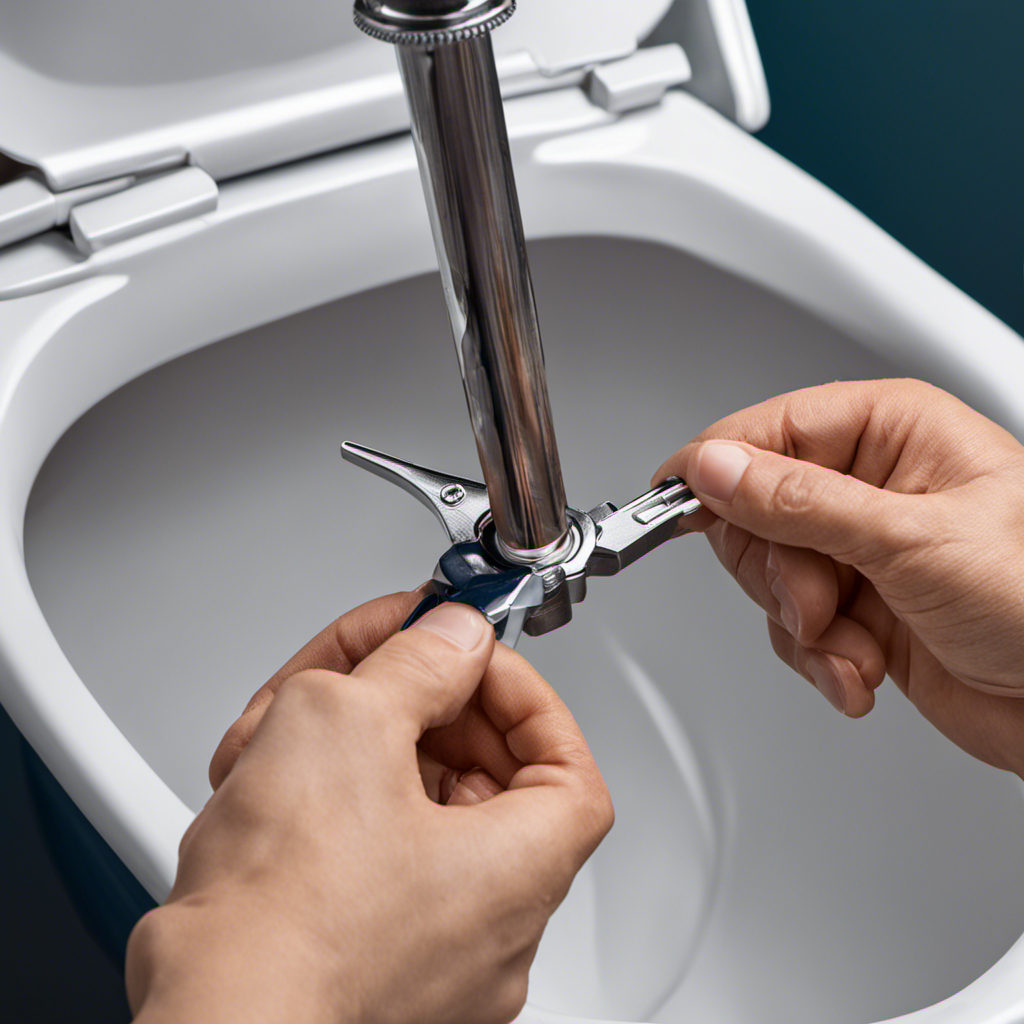
Step-by-Step Guide to Adjusting the Float
First, gather the necessary tools and materials for adjusting the float on your toilet. To troubleshoot float problems, it is important to be prepared. You will need a pair of pliers, a screwdriver, and possibly a wrench depending on the type of toilet you have.
Common float issues include a constantly running toilet, a toilet that won’t flush properly, or a toilet that fills and then abruptly stops. To address these issues, locate the float adjustment screw or valve and make small adjustments to the float level. This can be done by turning the screw or valve clockwise or counterclockwise.
Remember to make gradual changes and test the toilet after each adjustment to ensure proper functioning. With the tools in hand, let’s move on to testing and fine-tuning the float adjustment.
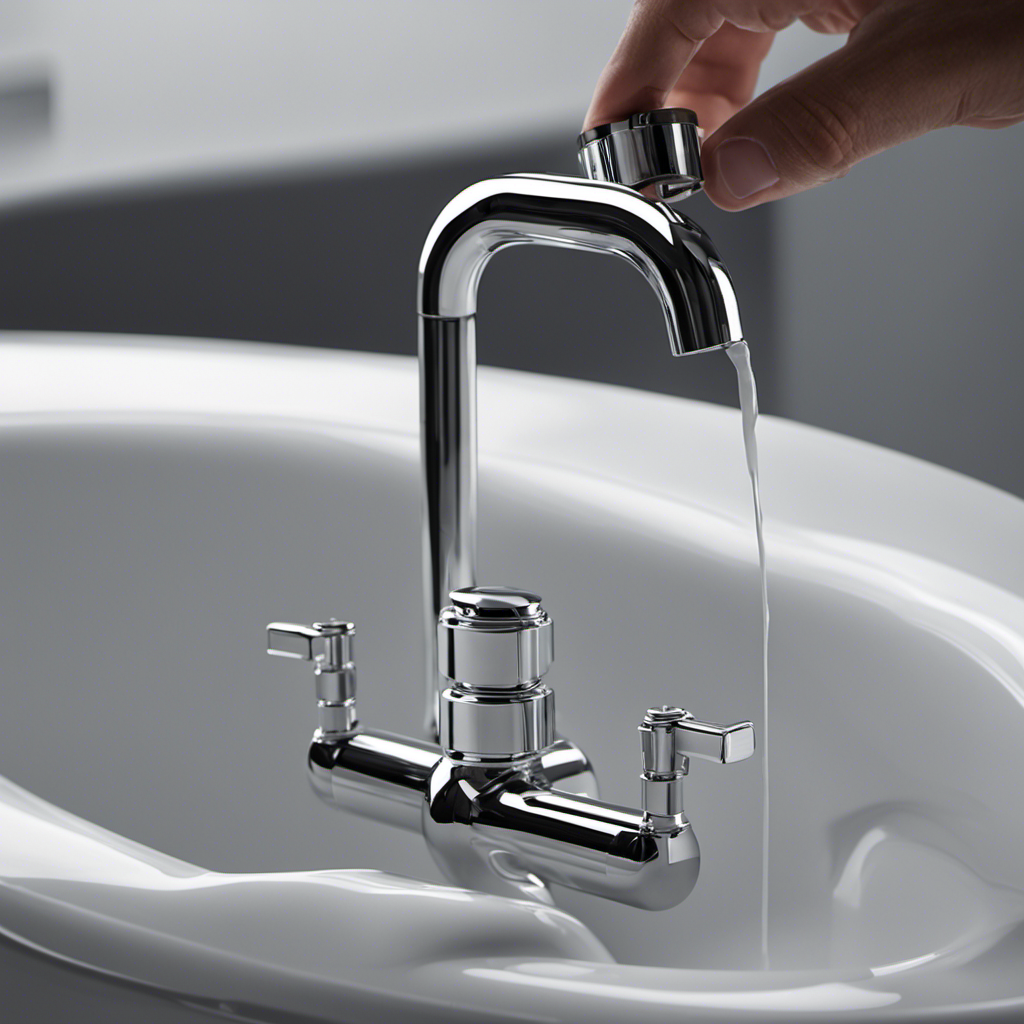
Testing and Fine-tuning the Float Adjustment
Now, it’s time to see if the small adjustments made to the float level have resolved the toilet issues. To ensure that the float is properly adjusted, there are a few testing methods that can be employed. One common method is to flush the toilet and observe the water level in the tank. If the water stops filling at the correct level, then the adjustment was successful. Another method involves adding weight to the float and checking if the water shuts off at the desired level. Troubleshooting issues may arise if the water continues to run or if the tank overflows. In such cases, further adjustments may be necessary.
Below is a table that outlines the different testing methods and troubleshooting steps for adjusting the float:
| Testing Methods | Troubleshooting Issues |
|---|---|
| Flush the toilet | Water continues to run |
| Add weight to the float | Tank overflows |
Conclusion
In conclusion, adjusting the float on a toilet is a simple yet important task that can help improve the functionality and efficiency of your bathroom fixture. By understanding the function of the float and identifying common problems, you can easily make the necessary adjustments.
Did you know that a leaking toilet can waste up to 200 gallons of water per day? By properly adjusting the float, you can prevent water wastage and save on your water bill.