I’ve got a problem with my toilet. It seems like the water level is just too high, and I’m tired of it constantly overflowing.
So, I decided to take matters into my own hands and figure out how to adjust the water level myself. Luckily, with a few simple steps, I was able to lower the water level and finally put an end to the mess.
In this article, I’ll walk you through the process of adjusting the water level in your toilet, so you can say goodbye to those overflowing mishaps once and for all.
Key Takeaways
- Proper water level ensures efficient functioning of the toilet.
- Adjusting water level conserves water and prevents overflow accidents.
- Signs of incorrect water level include weak flushes, gurgling sounds, and recurring clogs.
- Maintaining the right water level keeps the bathroom clean and functional.
Smart Toilet with Bidet Built in, Bidet Toilet with Heated Seat and Night Light, One Piece Toilet for Bathroom, Auto Soft Close, UV-C light, Foam Shield, Dual Flush
[ Requires Electrical Outlet ] Please confirm your bathroom has an accessible outlet before purchasing.
As an affiliate, we earn on qualifying purchases.
Understanding the Water Level in Your Toilet
To understand the water level in your toilet, it’s important to know how to adjust it. The proper water level in a toilet is crucial for its optimal functioning. If the water level is too high, it can lead to frequent overflows and wastage of water.
On the other hand, if the water level is too low, it may not effectively flush waste down the drain. Common signs of an incorrect water level in a toilet include weak flushes, gurgling sounds, and recurring clogs. By adjusting the water level, you can ensure that your toilet operates efficiently and conserves water.
In the next section, I will guide you through the step-by-step process of adjusting the water level in your toilet.
BATHKITY Smart Toilet with Bidet Built in, Electric Bidet Toilet with Auto Lid Opening, Bidet with Heated Seat, Warm Water & Dryer, Auto Flushing, Night Light, Elongated
Smart Toilet Experience: Enjoy automatic lid opening when approaching the toilet and automatic flushing when leaving the toilet...
As an affiliate, we earn on qualifying purchases.
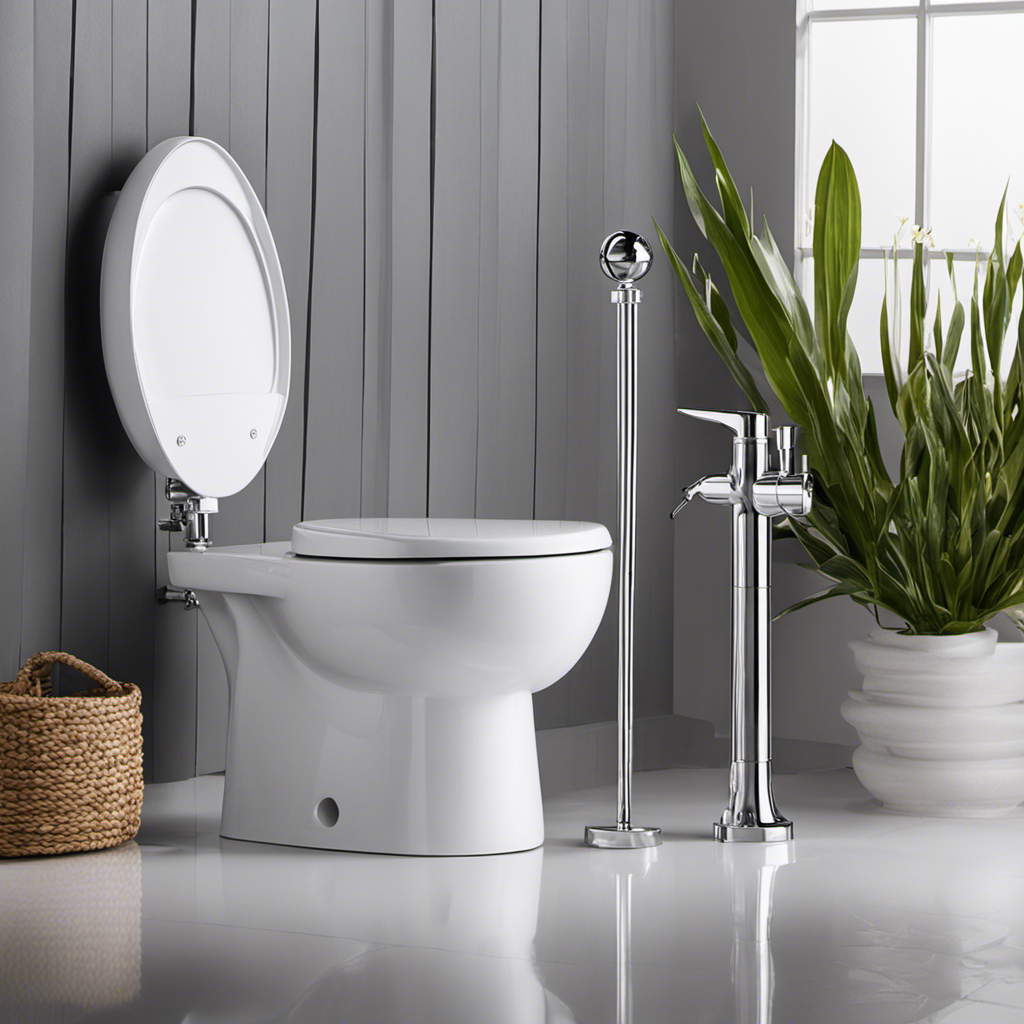
Tools and Materials Needed for Adjusting the Water Level
You’ll need a few basic tools and materials to properly manage the water level in your toilet. Here is a list of what you’ll need:
| Tools | Materials |
|---|---|
| Adjustable wrench | Clean rags |
| Screwdriver | Bucket or container |
| Plunger | Water |
Proper water level maintenance is crucial for the efficient functioning of your toilet. It ensures that the flush is powerful enough to remove waste, while also preventing overflow and water wastage. Adjusting the water level regularly is important because it can change over time due to factors like wear and tear or changes in the plumbing system. To adjust the water level, start by locating the water level adjustment screw or valve. Use an adjustable wrench or screwdriver to turn the screw or valve clockwise to decrease the water level or counterclockwise to increase it. Test the flush after each adjustment to ensure optimal performance. Remember, maintaining the right water level in your toilet saves water and keeps your bathroom clean and functional.
EPLO Smart Toilet Bidet with Tank,Foam Shield,Blackout Flush,Dual Auto Flush,Heated Seat,Air Dryer,Modern Elongated Japanese One Piece Bidet for Bathrooms E18
Powerful Flush Toilet: Built-in tank with a booster pump overcomes low water pressure, delivering strong, consistent flushing in...
As an affiliate, we earn on qualifying purchases.
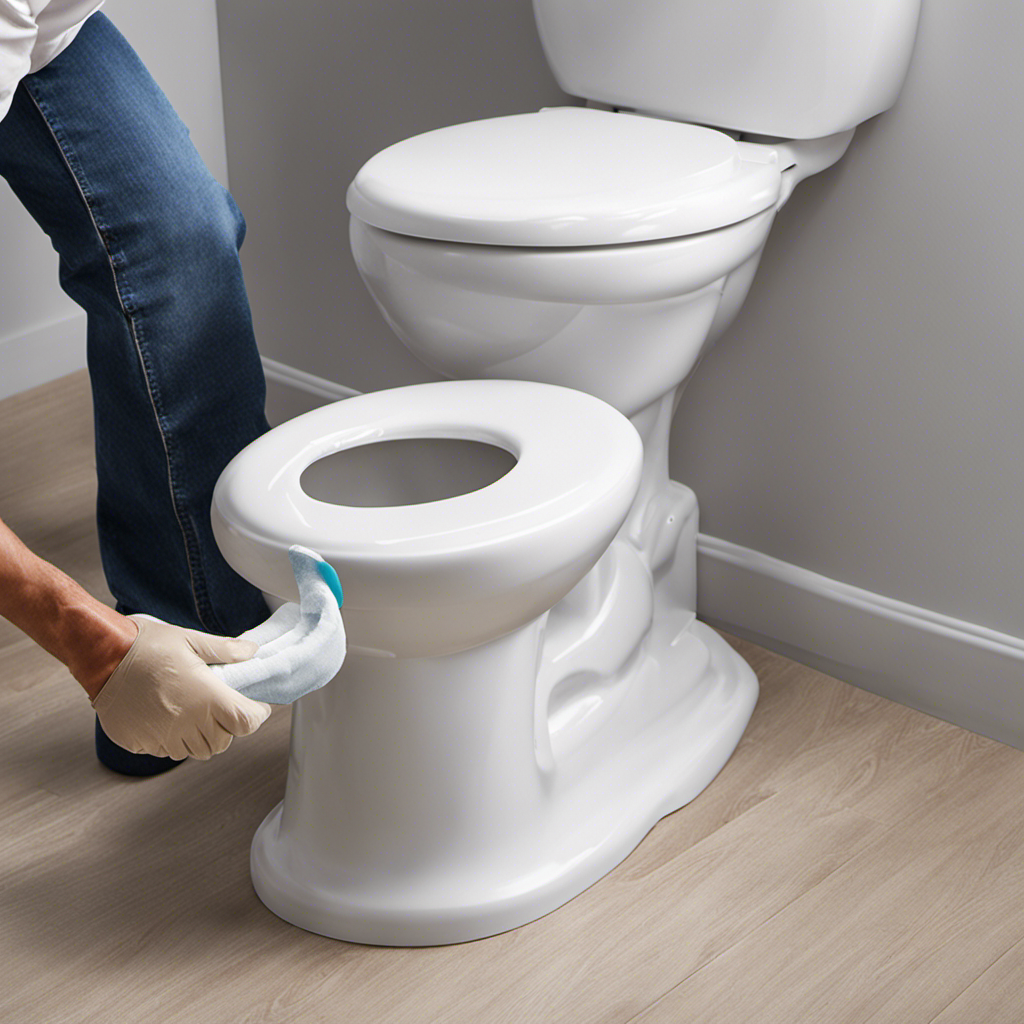
Step-by-step Guide to Lowering the Water Level in Your Toilet
Lowering the water level in your toilet can be done by using an adjustable wrench or screwdriver. Here’s a step-by-step guide to help you troubleshoot overflow and adjust the float mechanism:
-
Turn off the water supply: Locate the shutoff valve near the base of the toilet and turn it clockwise to shut off the water flow.
-
Remove the tank lid: Lift the lid off the tank and set it aside.
-
Locate the float mechanism: Look for a plastic or metal arm attached to a ball or cup-shaped float. This controls the water level in the tank.
-
Adjust the float mechanism: Use your adjustable wrench or screwdriver to turn the adjustment screw on the float mechanism. Turn it clockwise to lower the water level or counterclockwise to raise it.
-
Sub-list 1 (emphasizing convenience):
-
Avoid overflow accidents that can cause damage and inconvenience.
-
Maintain a consistent water level for proper flushing and efficient use.
-
Sub-list 2 (highlighting savings):
-
Lowering the water level can help conserve water and save on utility bills.
-
Prevent water wastage and contribute to a more sustainable environment.

Smart Toilet with Bidet Built in,One Piece Bidet Toilet with Warm Water Sprayer&Dryer,Heated Seat, Powerful&Auto Flush,Tankless Design,Night Light,LED Display,Foot-Activated Flush,M01-B
「Fully Automatic Smart Toilet」As you approach, the lid automatically opens; after you stand up, it flushes on its...
As an affiliate, we earn on qualifying purchases.
Step-by-step Guide to Raising the Water Level in Your Toilet
If you want to increase the water level in your toilet, start by locating the fill valve. The fill valve is usually located on the left side of the toilet tank.
Once you have located the fill valve, follow these step-by-step instructions to raise the water level:
-
Turn off the water supply to the toilet by closing the shut-off valve.
-
Remove the lid of the toilet tank and locate the fill valve adjustment screw.
-
Use a screwdriver to turn the adjustment screw clockwise to raise the water level.
-
Keep an eye on the water level as you make adjustments and stop when it reaches the desired level.
-
Once you have adjusted the water level, turn the water supply back on and check for any leaks.
Troubleshooting Common Issues When Adjusting the Water Level
When troubleshooting common issues with adjusting the water level in your toilet, start by checking for any leaks or unusual noises. This will help identify the root cause of the problem and determine the appropriate solution.
Here are a few steps to help you troubleshoot and address common problems with toilet flushing and water leakage:
-
Check for leaks:
-
Inspect the base of the toilet for any signs of water puddles or dampness.
-
Examine the water supply line and connections for any visible leaks or dripping.
-
Listen for unusual noises:
-
Pay attention to any gurgling or bubbling sounds coming from the toilet during flushing.
-
If you hear a hissing sound, it could indicate a problem with the fill valve or flapper.
By following these troubleshooting steps, you can effectively diagnose and resolve common issues with adjusting the water level in your toilet.
Conclusion
In conclusion, adjusting the water level in your toilet is a straightforward process that can be done with a few simple steps. Whether you need to lower or raise the water level, all you need are some basic tools and a little bit of know-how.
By following the step-by-step guides provided in this article, you can easily tackle this task. Remember, troubleshooting common issues may be necessary, but with patience and persistence, you’ll have your toilet’s water level adjusted in no time.