I’ve always found it fascinating how something as simple as the water level in a toilet tank can make such a big difference in its performance. It’s like the heart of the toilet, regulating the flow and ensuring everything runs smoothly.
In this article, I’ll guide you through the process of adjusting the water level in your toilet tank. With just a few simple steps and the right tools, you can maintain optimal water levels and avoid any unnecessary plumbing issues.
Let’s dive in!
Key Takeaways
- High water level ensures strong and forceful flush
- Low water level can result in weak and incomplete flushes
- Adjust water level using screwdriver (clockwise to increase, counterclockwise to decrease)
- Regularly check float arm and inspect for blockages
Understanding the Importance of Water Level in Toilet Tank
Understanding the importance of water level in the toilet tank is crucial for efficient flushing.
Maintaining a high water level in the tank offers several benefits. Firstly, it ensures a strong and forceful flush, effectively removing waste and preventing clogs. This is especially important in households with multiple users or older plumbing systems.
Additionally, a higher water level helps to reduce odors as it provides a larger barrier between the waste and the air.
On the other hand, a low water level can significantly impact toilet flushing efficiency. It may result in weak and incomplete flushes, leading to the need for multiple flushes and wasting water.
Furthermore, a low water level can increase the likelihood of clogs and require more frequent cleaning of the toilet bowl.
Therefore, maintaining an optimal water level is essential for a well-functioning and efficient toilet.
Identifying the Tools Needed for Adjusting Water Level
To identify the tools needed for adjusting the water level in the toilet tank, you’ll want to gather a few common household items. Here are the three essential tools required:
-
Adjustable Wrench: This will help you loosen and tighten the nuts and bolts that hold the water level indicator in place.
-
Screwdriver: You’ll need a screwdriver to adjust the float arm or float valve. This will control the water level in the tank.
-
Water Level Indicator: This tool is crucial for accurately measuring the water level in the tank. It will help you determine if the water level needs adjusting.
Having these tools on hand will make it easier for you to adjust the water level in your toilet tank. Remember to follow the manufacturer’s instructions and be cautious when working with water and electrical components.
Step-by-Step Guide to Adjusting Water Level in Toilet Tank
Before you begin adjusting the water level in your toilet tank, gather the necessary tools mentioned earlier. Once you have your tools ready, follow these steps to adjust the water level in your toilet tank:
-
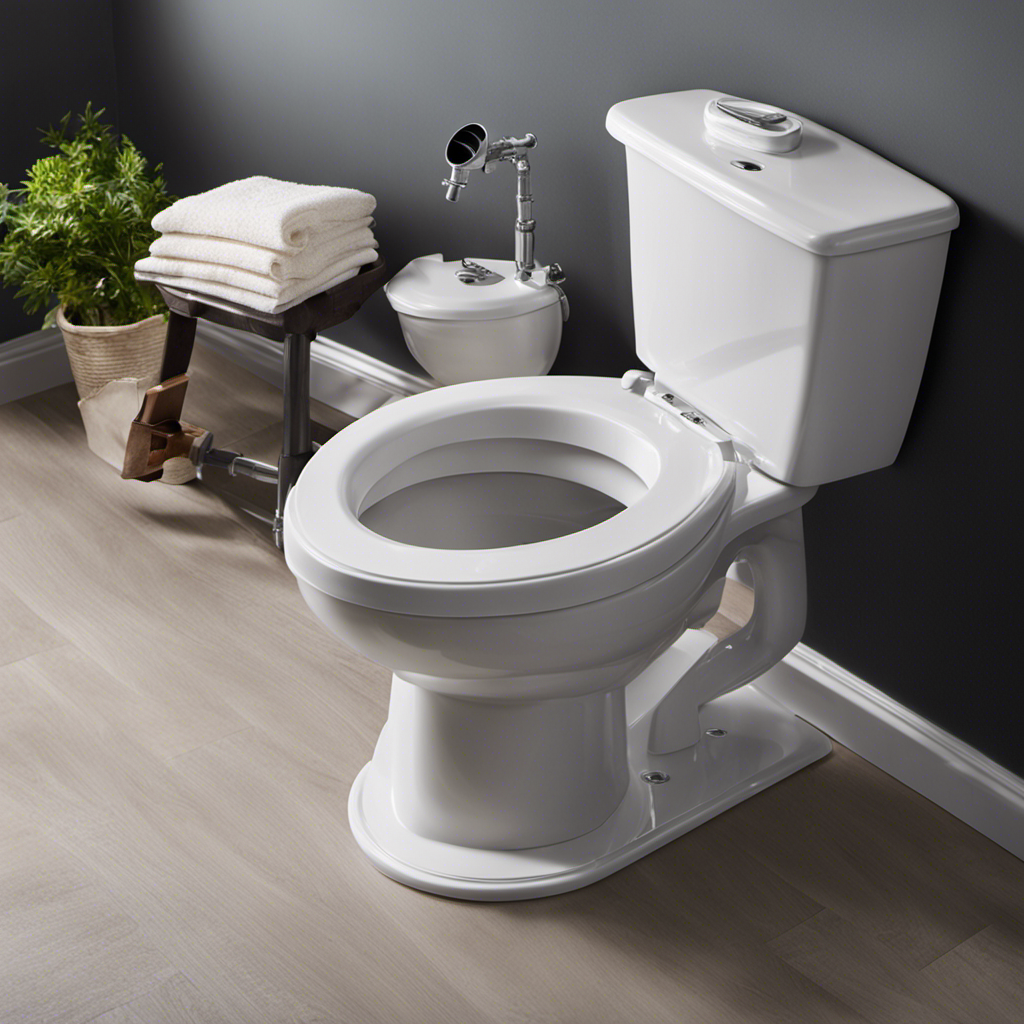
Remove the toilet tank lid and locate the fill valve. This is usually located on the left side of the tank.
-
Use a screwdriver to adjust the water level. Turn the screw clockwise to increase the water level and counterclockwise to decrease it.
-
Test the water level by flushing the toilet and observing the refill process. Repeat the adjustment process if necessary.
By following these steps, you can easily adjust the water level in your toilet tank. However, if you are still experiencing low water level issues or have an older toilet model, further troubleshooting may be required to resolve the issue.
Now, let’s move on to troubleshooting common issues with water level adjustment.
Troubleshooting Common Issues With Water Level Adjustment
Now, let’s explore some common problems that can arise when adjusting the water level in your toilet tank. Here are three troubleshooting tips to help you address these issues and avoid common mistakes:
-
Leaking at the fill valve: If you notice water continuously running into the overflow tube, it could be due to a faulty fill valve. To fix this, try adjusting the float or replacing the fill valve altogether.
-
Uneven water level: Sometimes, the water level in the toilet tank may be too high on one side or too low overall. This can cause inefficient flushing or even overflow. To solve this, adjust the float arm or check for any blockages in the fill valve or flush valve.
-
Inadequate water level: If the water level in your tank is consistently low, your toilet may not flush properly. Ensure that the water supply valve is fully open and check for any clogs or blockages in the fill valve or water supply line.
Maintaining the Correct Water Level in Your Toilet Tank
Make sure you regularly check the float arm and inspect for any potential blockages to maintain the appropriate water level in your toilet tank.
Adjusting the water level in your toilet tank is essential for its proper functioning and conserving water. One common mistake people make is setting the water level too high, which can lead to constant running and wasting water. To avoid this, ensure that the water level is about 1 inch below the top of the overflow tube.
Another mistake is not fixing any leaks or blockages in the float arm or valve. These issues can cause the water level to fluctuate or remain too low.
Additionally, to conserve water, consider installing a dual flush system or a water-saving toilet flapper. These simple adjustments can significantly reduce water usage and contribute to a more sustainable home.
Conclusion
In conclusion, adjusting the water level in your toilet tank is a simple yet crucial task for maintaining the proper functioning of your toilet.
By following the step-by-step guide and troubleshooting any common issues, you can ensure that your toilet operates efficiently and effectively.
Remember, ‘knowledge is power,’ and with the knowledge of adjusting the water level, you have the power to prevent any potential problems in the future.
So, don’t hesitate to take control and keep your toilet in tip-top shape.


