Have you ever noticed a leaky toilet and wondered how to fix it?
Well, I’ve got you covered! In this step-by-step guide, I’ll show you exactly how to change a toilet seal.
With just a few tools and materials, you’ll be able to remove the old seal, clean and prepare the toilet flange, and install a new seal to ensure a watertight connection.
Say goodbye to those pesky leaks and hello to a properly functioning toilet!
Let’s get started.
Key Takeaways
- Turn off the water supply and disconnect the water supply line before removing the old toilet seal.
- Clean and prepare the toilet flange by wiping away dirt and debris, inspecting for damage, and applying a thin layer of plumber’s putty or silicone sealant.
- Position the wax ring on the flange, aligning with the toilet’s waste outlet, and lower the toilet bowl onto the wax ring to create a watertight seal.
- Test for leaks, inspect connections, flush the toilet multiple times, and ensure the toilet is securely bolted to the floor.
Tools and Materials Needed
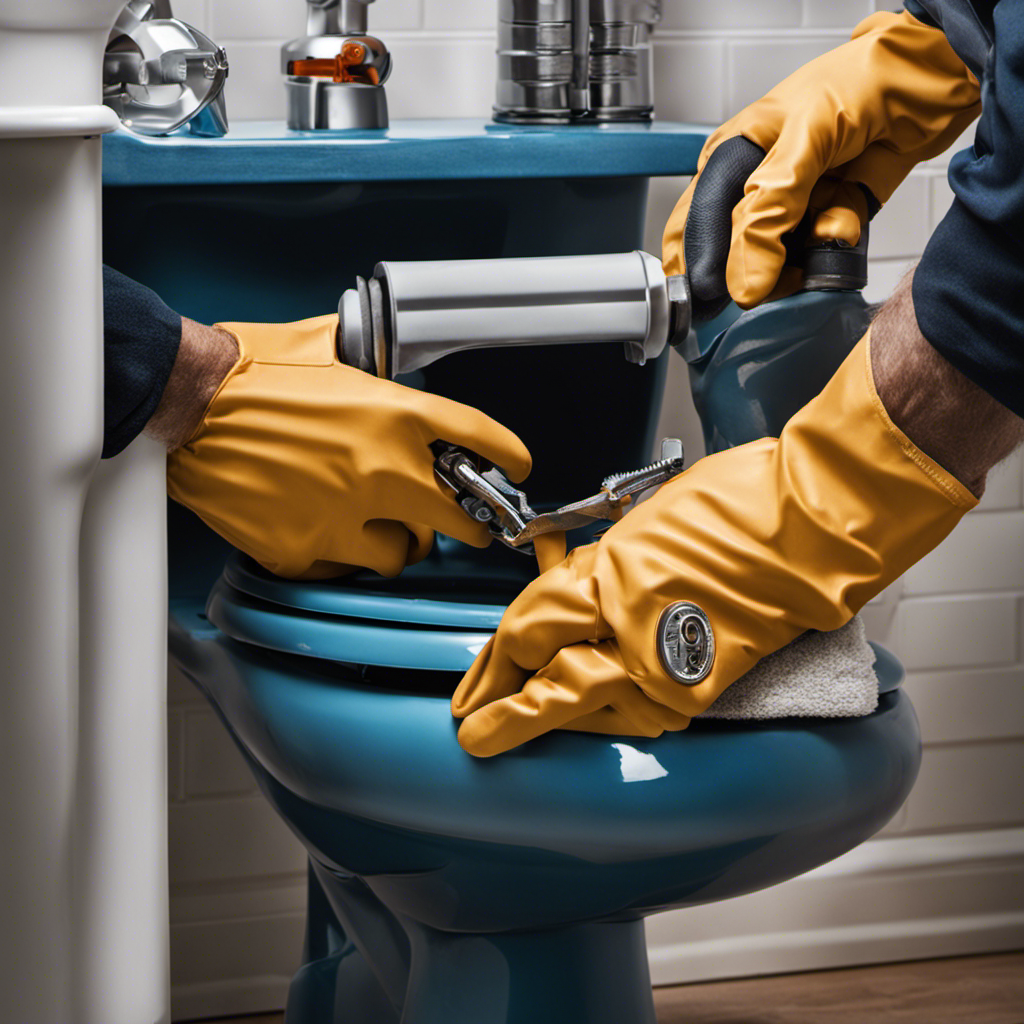
To change the toilet seal, you’ll need a few tools and materials. First, gather a pair of gloves, a wrench, a putty knife, and a new wax or rubber seal. These materials are essential for a successful seal replacement.
If you prefer alternatives to wax seals, consider using a rubber gasket or a foam seal. These options offer a reliable and long-lasting seal.
Before starting the replacement process, troubleshoot any common issues such as leaks or loose toilets. Make sure the toilet is securely fastened to the floor and that there are no cracks or damage to the toilet or flange.
Removing the Old Toilet Seal
First, make sure to turn off the water supply to avoid any leaks while removing the old seal.
To begin the process of replacing the toilet seal, you will need to remove the toilet tank lid and set it aside.
Next, flush the toilet to drain any remaining water. Use a wrench to disconnect the water supply line from the bottom of the toilet tank.
Now, remove the nuts from the bolts securing the toilet to the floor. Carefully lift the toilet straight up and set it on a tarp or old towel to prevent any mess.
With the toilet removed, you can now see the old seal. Gently scrape off any remnants of the old seal using a putty knife or scraper. Be cautious not to damage the toilet or the flange.
Once the old seal is completely removed, you can move on to the next step of installing the new seal.
Cleaning and Preparing the Toilet Flange
To clean and prepare the toilet flange, start by using a damp cloth to wipe away any dirt or debris. Make sure the area is clean and free from any obstructions.
Next, inspect the toilet flange for any cracks or damage. If you notice any issues, it may be necessary to perform a toilet flange repair before proceeding with the toilet seal replacement.
Once the flange is clean and in good condition, you can move on to preparing it for the new seal. Apply a thin layer of plumber’s putty or silicone sealant around the edge of the flange. This will help create a watertight seal between the flange and the toilet base.
After applying the sealant, let it dry according to the manufacturer’s instructions before installing the new toilet seal.
Installing the New Toilet Seal
Now that the flange is clean and prepared, it’s time to install the new seal. Here are the steps to ensure a secure and leak-free toilet seal installation:
-
Gather the necessary tools: wax ring, adjustable wrench, and a putty knife.
-
Position the wax ring on the flange, making sure it aligns with the toilet’s waste outlet.
-
Carefully lower the toilet bowl onto the wax ring, ensuring it sits evenly.
-
Apply pressure to compress the wax ring, creating a watertight seal.
-
Tighten the toilet bolts evenly using the adjustable wrench.
-
Reconnect the water supply line and turn the water back on.
-
Flush the toilet to check for any leaks.
-
Troubleshooting tips for a secure and leak-free installation:
-
Avoid over-tightening the toilet bolts, as it can crack the toilet base.
-
Ensure the toilet bowl sits evenly on the floor to prevent rocking and potential leaks.
Testing and Finishing Touches
Once you’ve completed the installation, don’t forget to test the toilet for leaks and add any finishing touches.
To test for leaks, follow these step-by-step techniques:
-
Turn on the water supply: Slowly turn the water supply valve counterclockwise to allow water to flow into the tank.
-
Check the base: Inspect the base of the toilet for any signs of water leakage. If you notice water pooling around the base, it may indicate a faulty seal.
-
Inspect the connections: Check the connections between the tank and the bowl. Ensure that the bolts are tightened securely and there are no water drips.
-
Flush the toilet: Flush the toilet several times to ensure proper water flow and drainage. Observe for any unusual sounds or slow flushing.
-
Finishing touches: Finally, clean up any excess silicone or wax from the installation process and ensure the toilet is securely bolted to the floor.
Conclusion
After successfully changing the toilet seal, I stood back and admired my handiwork. The bathroom was now free from any leaks or unpleasant odors.
The juxtaposition of the old, worn-out seal and the new, pristine one was striking. It was a satisfying feeling knowing that I had tackled this technical task with precision and step-by-step instructions.
With the right tools and materials, anyone can change a toilet seal and achieve a flawless result.


