I’ve been there – the dreaded toilet shut off valve that won’t shut off the water supply. It’s a frustrating problem that can lead to leaks and water damage if not fixed promptly.
But don’t worry, I’m here to guide you through the process of changing that faulty shut off valve. With just a few tools and some basic know-how, you’ll be able to tackle this DIY project and have your toilet back up and running in no time.
So let’s dive in and get started!
Key Takeaways
- Locate the main water shut off valve for your home and turn it clockwise to shut off the water supply before removing the old shut off valve.
- Use a wrench to loosen the connection of the old shut off valve and inspect for any signs of damage or corrosion.
- Apply plumber’s tape to the threads of the new shut off valve and securely tighten the fittings with a wrench when installing.
- Test for leaks by slowly turning on the water valve, monitor connections and joints, and address any leaks or water flow issues before proceeding.

Bluevua Official RO100ROPOT 4-Pack Replacement Filter Set, Pack of 1 PP Filter and 1 CTO Filter and 1 RO Filter and 1 PCF Filter
- Complete Filter Set: Includes PP, CTO, RO, and PCF filters
- Easy to Replace: No tools or water shut-off needed
- Long-Lasting Filters: Filters last up to 2 years
As an affiliate, we earn on qualifying purchases.
Tools and Materials Needed
You’ll need a few tools and materials to change the toilet shut off valve. One common mistake people make is not having the right tools before starting the job, which can cause unnecessary frustration and delays.
To avoid this, gather a pair of adjustable pliers, a pipe wrench, and Teflon tape. These tools will help you remove the old shut off valve and install the new one properly.
Additionally, make sure to have a bucket or towels on hand to catch any water that may leak during the process.
As for alternative options, if you don’t have adjustable pliers, you can use a wrench with a wide jaw to grip the valve. However, be cautious not to overtighten and damage the valve or pipes.
Shutting off the Water Supply
If water is still flowing, you can’t simply turn it off by twisting the valve handle. In order to shut off the water supply to the toilet, you will need to locate the main water shut off valve for your home.
This valve is typically located near the water meter or where the main water line enters the house. Once you have located the shut off valve, turn it clockwise to shut off the water supply.
It is important to note that if you are experiencing low water pressure in your home, adjusting the water pressure regulator may be necessary before replacing the shut off valve.
Once the water supply is shut off, you can proceed with removing the old shut off valve.
Removing the Old Shut off Valve
To remove the old shut off valve, start by loosening the connection with a wrench. This step is crucial in the process of replacing a shut off valve, especially if you are dealing with a leaky one.
Here are three things to consider while removing the old shut off valve:
-
Be cautious of any residual water: Before turning the wrench, make sure to turn off the main water supply to avoid any unexpected water leakage.
-
Apply steady pressure: Use the wrench to loosen the connection in a controlled manner. Apply steady pressure while turning counterclockwise to loosen the valve from the pipe.
-
Inspect for damage: Once the old shut off valve is removed, take a close look at the valve and the pipe for any signs of damage or corrosion that may have caused the leak.
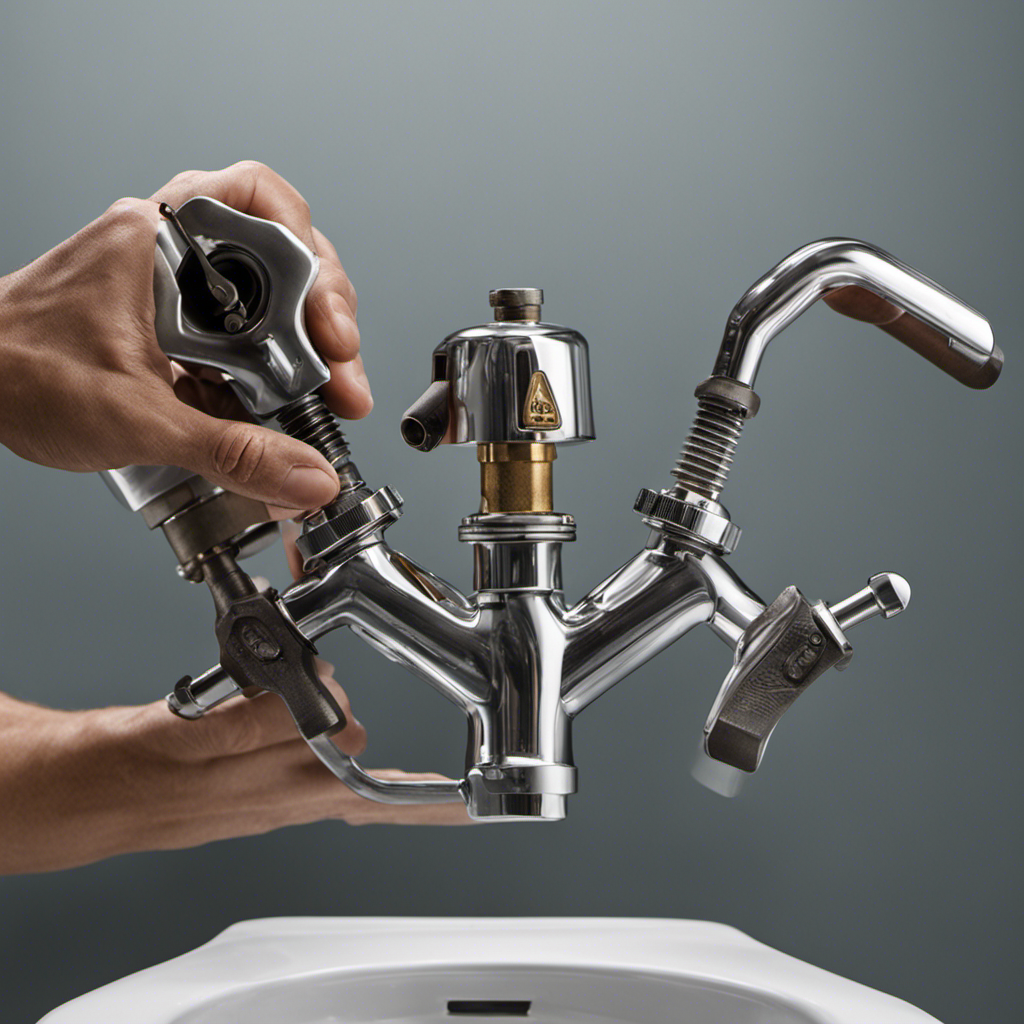
Installing the New Shut off Valve
Once the old shut off valve’s been removed, it’s time to install the new one. Connecting the plumbing is a crucial step in ensuring a functioning shut off valve.
Begin by applying plumber’s tape to the threads of the new valve. This will create a tight seal and prevent leaks.
Position the valve in the desired location, aligning the threads with the pipe. Use a wrench to tighten the fittings, ensuring a secure connection. It’s important to avoid overtightening, as this can damage the valve or cause leaks.
Once the fittings are tightened, turn on the water supply to check for any leaks. If there are no leaks, the new shut off valve is successfully installed and ready for use.
Connecting the Water Supply Line
When connecting the water supply line, make sure to use a wrench to tighten the fittings securely. Proper water pressure is crucial to ensure the smooth functioning of your toilet. Here are three important points to consider when connecting the water supply line:
-
Optimal water pressure: It is essential to have the correct water pressure for your toilet. Too much pressure can cause leaks or even damage the internal components, while insufficient pressure can result in a weak flush. Consult the manufacturer’s recommendations or a professional plumber to determine the proper pressure for your toilet.
-
Flexible vs. rigid water supply lines: When choosing a supply line, you have the option of flexible or rigid lines. Flexible lines are easier to install and can absorb vibrations, reducing the risk of leaks. Rigid lines, on the other hand, provide a sturdier connection but may require more effort during installation.
-
Leak prevention: To prevent leaks, ensure that the fittings are tightened securely using a wrench. Be cautious not to overtighten, as it can cause damage. Additionally, consider using plumber’s tape or thread sealant on the fittings to create a watertight seal.
Testing for Leaks
After connecting the water supply line, it’s important to test for leaks by turning on the water valve. To conduct a pressure test, I recommend slowly turning the valve open. This will allow the water to flow into the supply line and fill the toilet tank.
As the tank fills, keep a close eye on the connections and joints for any signs of leaks. Look for water seeping out or any dripping. Additionally, it’s crucial to check for proper water flow. Ensure that the water is flowing steadily into the tank without any interruptions or sputtering.
If you notice any leaks or issues with water flow, it’s essential to address them before proceeding. This will help prevent any potential damage or water wastage.
Now that we have tested for leaks and water flow, let’s move on to some tips for maintenance and troubleshooting.
Tips for Maintenance and Troubleshooting
To ensure proper maintenance and troubleshoot any issues, you should regularly inspect the toilet tank for any signs of cracks or damage. Here are three important tips to help you with troubleshooting common issues and emphasize the importance of regular maintenance:
-
Check for leaks: Look for any water pooling around the base of the toilet or on the floor. Leaks can lead to water damage and mold growth if not addressed promptly.
-
Inspect the flush mechanism: Ensure that the flush handle is working properly and that the flapper valve is sealing tightly. A malfunctioning flush mechanism can result in frequent clogs or incomplete flushes.
-
Clean the tank components: Over time, mineral deposits and debris can accumulate in the tank, affecting the performance of the toilet. Regularly clean the fill valve, flush valve, and overflow tube to maintain optimal function.
Frequently Asked Questions
Can the Water Supply Be Shut off From a Different Location?
Yes, the water supply can be shut off from a different location. Alternative methods include using a main shut off valve for the entire house or shutting off the water supply at the water meter.
Is It Necessary to Remove the Toilet Tank in Order to Change the Shut off Valve?
No, it is not necessary to remove the toilet tank in order to change the shut off valve. There are alternative methods available that allow you to change the valve without removing the tank.
Can I Use the Same Water Supply Line for the New Shut off Valve?
Yes, you can reuse the same water supply line for the new shut off valve. However, it’s important to ensure that the line is in good condition and properly connected. Alternatively, you may consider other shut off locations for easier access.
How Can I Tell if the Shut off Valve Is Broken or Just Needs to Be Tightened?
If the toilet shut off valve is leaking, it may be broken or just need tightening. To check, turn off the water supply, then tighten the valve. If the leak persists, it’s likely broken and needs to be replaced.
Are There Different Types of Shut off Valves Available and Which One Should I Choose?
There are different types of shut off valves available for toilets, each with their own pros and cons. It’s important to consider factors such as durability, ease of use, and compatibility with your plumbing system when choosing the right one.
Conclusion
In conclusion, changing a toilet shut off valve is a straightforward process that can be accomplished with a few basic tools and materials. By following the steps outlined in this article, you can easily replace an old or faulty shut off valve and ensure a reliable water supply to your toilet.
Remember to always shut off the water supply before beginning any work and to test for leaks after installation. With a little maintenance and troubleshooting, you can keep your toilet shut off valve in top condition.
So, why wait? Take charge of your plumbing and tackle this DIY project today!