Alright, folks, let’s tackle the age-old problem of a faulty flapper in your toilet. You know the frustration – that annoying sound of water constantly running?
Well, fear not! In this step-by-step guide, I’m going to show you how to change that pesky flapper and put an end to the never-ending stream.
So, grab your tools and let’s get started on restoring peace and quiet to your bathroom oasis.
Key Takeaways
- Regular inspection and replacement of flappers can prevent water waste and damage
- Faulty flappers can cause water leaks and inefficiency in flushing
- Shut off the water supply valve and empty the tank before replacing the flapper
- Adjust the chain and ensure the new flapper creates a tight seal for optimal performance.

Elongated One Piece Toilet with Comfort Chair Seat ADA Height 17.33", Powerful Dual Flush 0.8/1.28 GPF Compact Toilet, MAP 1000g, Standard White Toilet Bowl, 12'' Rough-in
[Modern Toilets for Bathrooms]: Full skirt design elongated one-piece toilet, not only is it beautiful and elegant, it's...
As an affiliate, we earn on qualifying purchases.
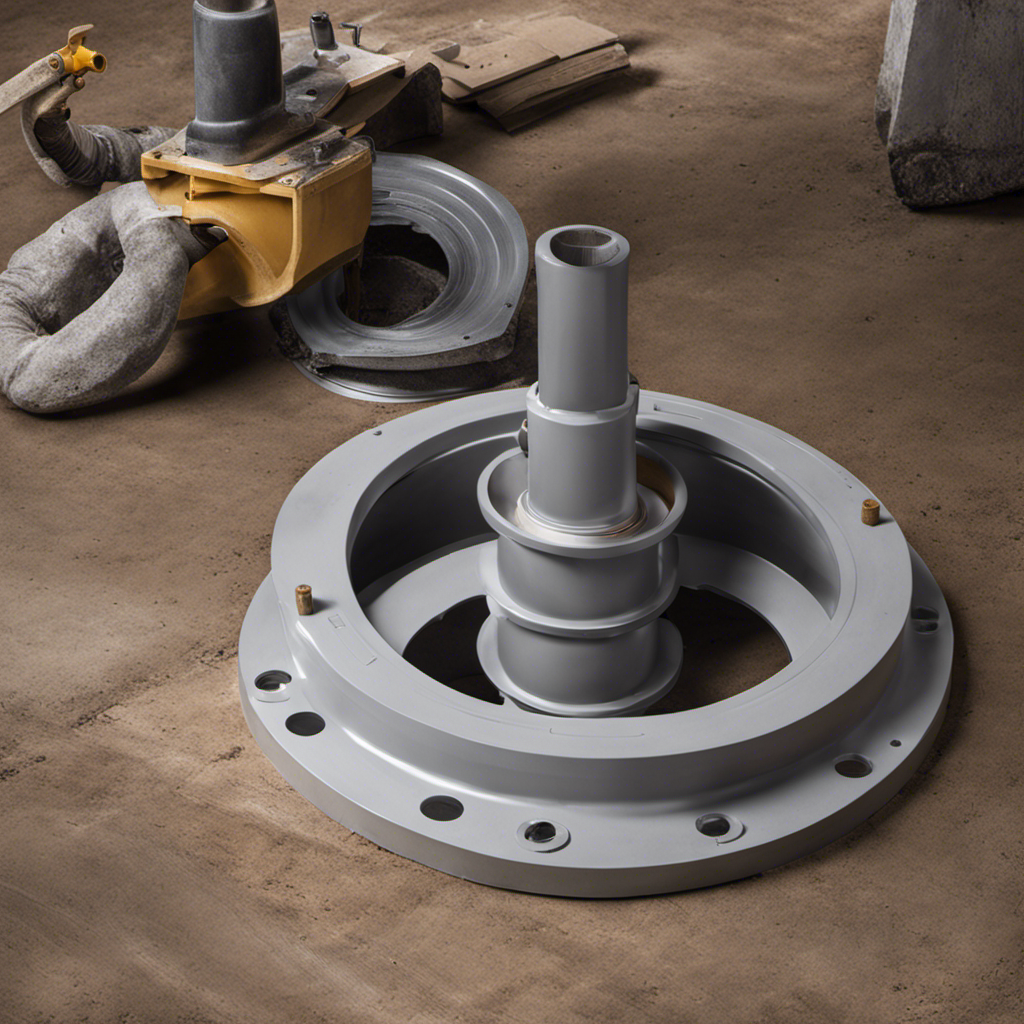
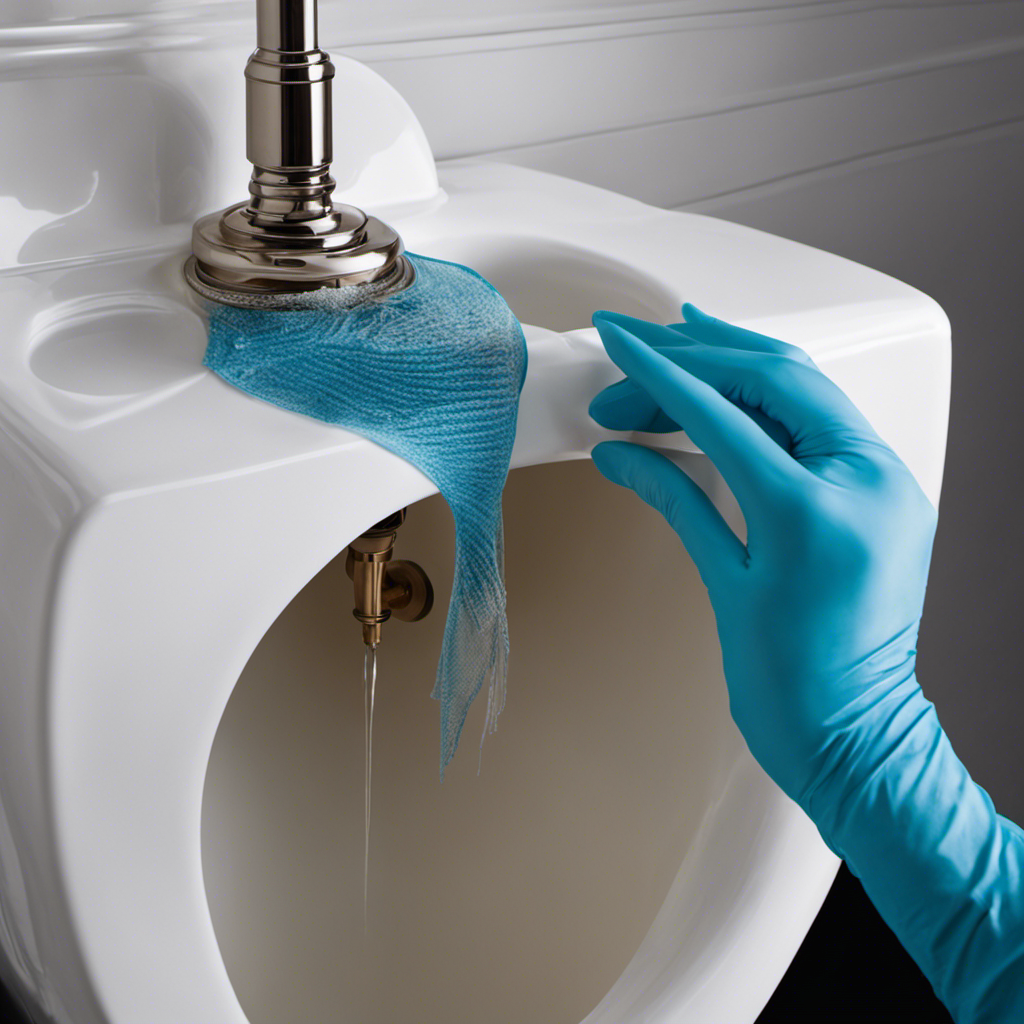
Identifying a Faulty Flapper
To identify a faulty flapper, you’ll need to listen for a constant running sound in your toilet tank. This is a clear sign that the flapper is not sealing properly, allowing water to constantly flow into the bowl.
In addition to the running sound, there are other signs of a worn out flapper. You may notice water constantly trickling into the bowl even when the toilet hasn’t been flushed. Another indication is if you have to jiggle the handle to stop the water from running. These are all signs that it’s time for flapper maintenance.
By regularly inspecting and replacing worn out flappers, you can avoid costly water waste and potential damage to your toilet.
Now let’s move on to gathering the necessary tools.

HOROW HR-ST076WD Dual Flush Elongated Toilet with Soft Close Seat, High-Efficiency Supply, Standard Bathroom Toilet 12" Rough-In, White Finish
Dual Flush Modern Design: Our elongated toilet is a more classic style, with smooth shape and one-piece molding....
As an affiliate, we earn on qualifying purchases.
Gathering the Necessary Tools
First, you’ll need to gather the necessary tools for this task. Here are the items you’ll need:
- Adjustable wrench
- Screwdriver (either flathead or Phillips, depending on your toilet)
- Replacement flapper
- Towel or rag
Toilet flapper maintenance is an important part of keeping your toilet running smoothly. A faulty flapper can cause water leaks and inefficiency in flushing. Proper flapper alignment ensures a tight seal when the toilet is not in use, preventing water from continuously running.
To begin the process, turn off the water supply to the toilet. Use the adjustable wrench to disconnect the water supply line.
Next, remove the tank lid and locate the flapper. Use the screwdriver to disconnect the flapper chain from the flush lever.

DeerValley One Piece Toilet Elongated Toilet with Soft-Close Seat Powerful 1.1/1.6 GPF Dual Flush Standard Height Toilets Skirted Design 12" Rough-In DV-1F026
Modern & Comfortable One-Piece Toilet: Dimensions: 28.75" L x 14" W x 28" H. Enjoy sleek style and...
As an affiliate, we earn on qualifying purchases.
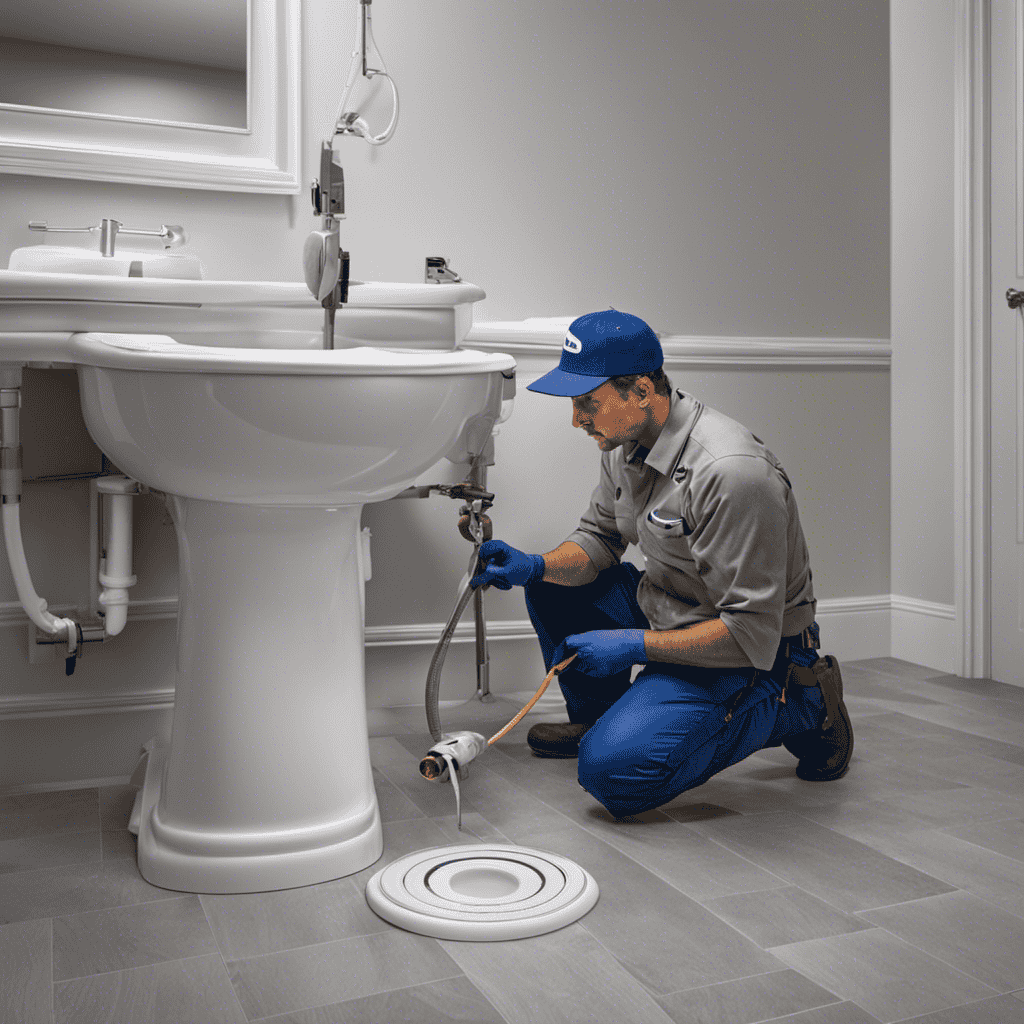
Shutting off the Water Supply
Before starting, make sure to turn off the water supply to your toilet. This step is crucial in preventing water leaks and ensuring a smooth and hassle-free process.
To shut off the water supply, locate the shut-off valve near the base of the toilet. Rotate the valve handle clockwise until it is fully closed. This will stop the flow of water into the tank and prevent any potential leaks during the flapper replacement. It is important to note that the shut-off valve may be tight, so use a wrench if necessary.
Once the water supply is successfully turned off, you can proceed with confidence to adjust the water level and replace the flapper in your toilet.

TOTO® Drake® Two-Piece Elongated 1.28 GPF Universal Height TORNADO FLUSH ® Toilet with 10 Inch Rough-In, CEFIONTECT®, and SoftClose® Seat, WASHLET®+ Ready, Cotton White - MS776124CEFG.10#01
POWERFUL PERFORMANCE WITH LESS FREQUENT CLEANING - TORNADO FLUSH swirls water in a circular pattern to fully wash...
As an affiliate, we earn on qualifying purchases.
Removing the Old Flapper
Once you’ve turned off the water supply, you’ll need to disconnect the chain that attaches to the old flapper. Here are the steps to remove the old flapper:
- Locate the chain that connects the flapper to the flush lever.
- Use a pair of pliers to disconnect the chain from the flush lever.
- Gently lift the old flapper off the overflow tube.
- Inspect the flapper for any signs of wear or damage.
Flapper maintenance is crucial for the proper functioning of your toilet. Over time, flappers can deteriorate, causing leaks and water wastage. By regularly inspecting and replacing the flapper, you can prevent these issues and ensure your toilet operates efficiently.
When replacing the flapper, make sure to choose a suitable replacement that matches the brand and model of your toilet. Additionally, consider using a universal flapper for compatibility with different toilet types.
Following these flapper replacement tips will help maintain a properly functioning toilet.
Installing the New Flapper
To install the new flapper, you’ll need to carefully attach the chain to the flush lever using a pair of pliers. Make sure the chain is not too tight or too loose. The chain should have enough slack to allow the flapper to fully close and seal the tank, but not so much slack that it gets tangled or caught on other parts.
Once the chain is attached, position the flapper over the drain hole in the tank and press it down firmly to create a seal. Ensure that the flapper is aligned properly and covers the entire drain hole. Different types of flappers are available, such as rubber flappers and adjustable flappers, so choose the one that is compatible with your toilet model.
Installing the flapper incorrectly can lead to water leakage and inefficient flushing, so it’s important to follow the instructions carefully.
Testing for Proper Functionality
When troubleshooting flapper replacement issues, it’s important to identify common causes of flapper malfunction.
One common cause is a flapper that is not sealing properly, which can be due to debris or mineral buildup on the flapper or valve seat.
Another common issue is a flapper that is not properly aligned or connected to the flush valve, resulting in leakage or incomplete flushes.
Flapper Replacement Troubleshooting
If the flapper is not sealing properly, you may experience a continuous flow of water in your toilet. This can be a frustrating issue to deal with, but luckily, replacing the flapper is a relatively simple fix.
Here are some tips to help you with the flapper replacement process:
-
Start by turning off the water supply to the toilet. This can usually be done by turning the shut-off valve clockwise.
-
Remove the lid of the toilet tank and locate the flapper. It is usually connected to the flush valve at the bottom of the tank.
-
Disconnect the flapper from the flush valve by removing the chain or strap that holds it in place.
-
Install the new flapper by attaching it to the flush valve and reconnecting the chain or strap.
The cost estimation for flapper replacement can vary depending on the brand and type of flapper you choose. On average, a flapper can cost anywhere between $5 and $20.
Common Flapper Malfunction Causes
One common cause of a flapper malfunction is a build-up of sediment or mineral deposits. Over time, these deposits can accumulate on the flapper, causing it to become stiff or brittle. This can lead to leaks and inefficiency in the toilet’s flushing mechanism.
Signs of a worn-out flapper include water constantly running in the toilet bowl, a weak flush, or a toilet that won’t flush at all.
To fix this issue, start by turning off the water supply to the toilet. Then, remove the tank lid and locate the flapper. Gently lift the flapper and inspect it for any signs of damage or build-up. If necessary, clean the flapper using a soft brush and vinegar.
If the flapper is beyond repair, replace it with a new one, ensuring a proper fit before reassembling the tank. Finally, turn the water supply back on and test the toilet for any leaks.
Reconnecting the Water Supply
To reconnect the water supply, you’ll need to turn the shut-off valve clockwise until it’s fully closed. This will prevent any water from flowing into the toilet while you work on it.
Once the valve is closed, you can proceed with the following steps:
- Remove the lid of the toilet tank by gently lifting it off.
- Locate the water supply line connected to the bottom of the tank.
- Unscrew the nut connecting the water supply line to the fill valve.
- Carefully remove the water supply line from the fill valve.
By disconnecting the water supply line, you ensure that no water will enter the tank while you perform flushing mechanism maintenance or adjust the water level. This step is crucial to prevent any accidents or water damage.
Once you have completed the necessary repairs or adjustments, you can then reconnect the water supply line by following these steps in reverse.
Conclusion
In conclusion, changing the flapper in a toilet is a simple and straightforward process that anyone can do. By following the step-by-step instructions and using the necessary tools, you can easily identify and fix a faulty flapper.
Remember to shut off the water supply before removing the old flapper and installing the new one. By testing for proper functionality and reconnecting the water supply, you can ensure that your toilet is working efficiently.
So, don’t hesitate to tackle this DIY task and wave goodbye to any toilet troubles!