Hey there!
Have you ever wondered how to clean your toilet fill valve? Well, I’ve got you covered!
In this article, I’ll walk you through the process step-by-step, using simple tools and materials that you probably already have at home.
By following these instructions, you’ll be able to disassemble, clean, and reassemble your fill valve, ensuring a smooth and efficient flushing experience.
So, let’s dive in and get that toilet fill valve sparkling clean!
Key Takeaways
- Proper maintenance and cleaning of the toilet fill valve are essential for optimal toilet functioning.
- Slow or no refill can be caused by a clogged or worn-out fill valve.
- Troubleshoot the fill valve by checking the water supply line for blockages or kinks.
- Regular cleaning and maintenance prevent future issues and ensure efficient refill.

Fluidmaster K-400H-039 High Performance Toilet Fill Valve with 2-Inch Adjustable Toilet Flapper Kit
The PerforMAX fill valve and 2 in. Flapper Kit is the premium solution to make your 2 in….
As an affiliate, we earn on qualifying purchases.
As an affiliate, we earn on qualifying purchases.
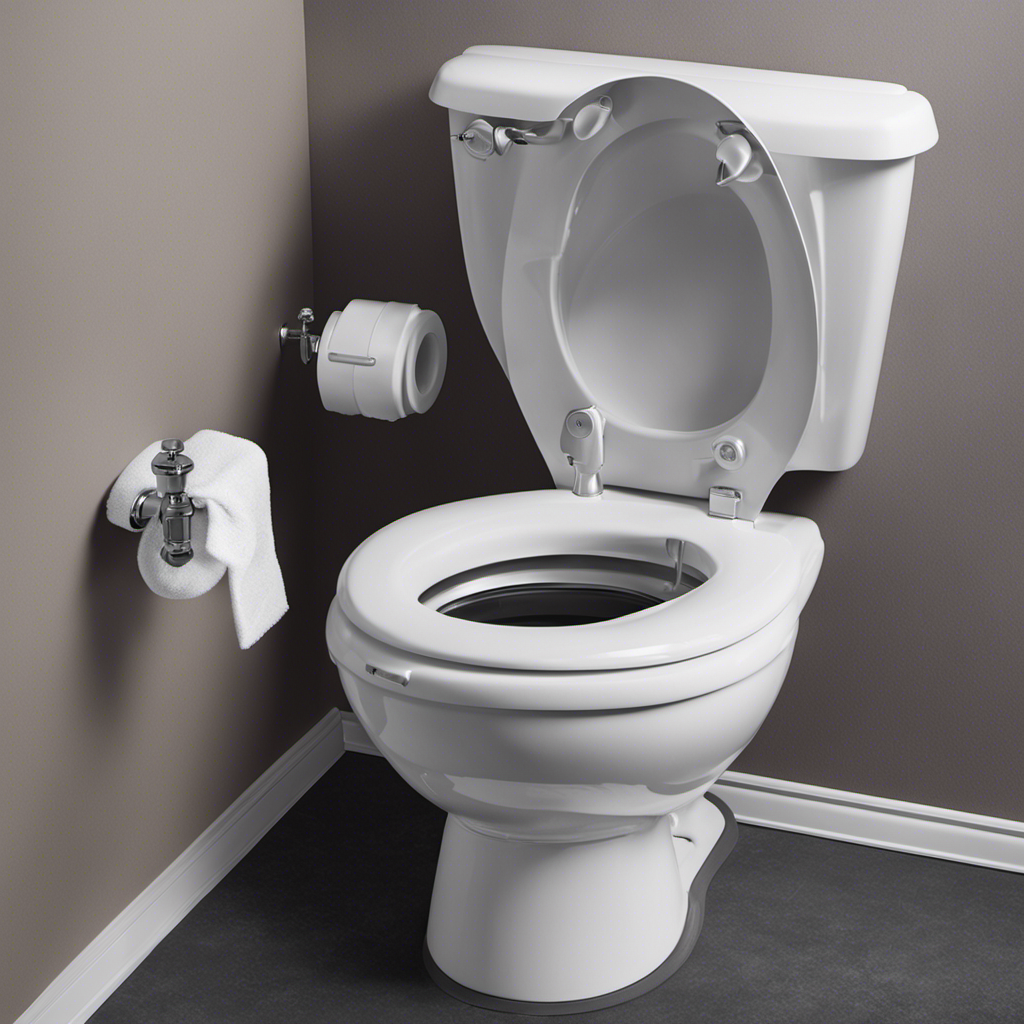
Understanding the Toilet Fill Valve
The toilet fill valve is responsible for refilling the tank after each flush. Proper maintenance of the fill valve is essential to ensure the optimal functioning of your toilet.
One common issue with fill valves is a slow refill or no refill at all. This can be caused by a variety of factors, such as a clogged or worn-out valve. To troubleshoot a fill valve, start by checking the water supply line for any blockages or kinks.
You can also clean the valve by removing any debris or mineral deposits that may be obstructing its operation. Regular maintenance and cleaning of the toilet fill valve will help prevent any future issues and ensure a steady and efficient refill.
Now, let’s move on to the tools and materials needed for cleaning.

Fluidmaster 400H-002 Performax Universal Toilet Fill Valve High Performance Tank and Bowl Water Control, 1-Pack, Multicolor
Fix noisy, or slow filling fill valves with the quietest, most powerful toilet fill valve available
As an affiliate, we earn on qualifying purchases.
As an affiliate, we earn on qualifying purchases.
Tools and Materials Needed for Cleaning
For cleaning the toilet fill valve, you’ll need a few tools and materials. The cleaning techniques I’ll be discussing will help troubleshoot common issues such as a slow filling toilet or a toilet that continuously runs.
To begin, gather the necessary supplies: a pair of pliers, an adjustable wrench, a bucket, vinegar or a descaling solution, and a clean cloth. These tools and materials will ensure a thorough cleaning process.
Proper cleaning of the fill valve is crucial for maintaining a well-functioning toilet. Once you have gathered the necessary tools and materials, you can proceed to the step-by-step guide to disassembling the fill valve. This process will help you clean the valve thoroughly and address any issues that may be affecting its performance.
Fluidmaster 400H-002 Performax Universal Toilet Fill Valve High Performance Tank and Bowl Water Control, 1-Pack, Multicolor
Fix noisy, or slow filling fill valves with the quietest, most powerful toilet fill valve available
As an affiliate, we earn on qualifying purchases.
As an affiliate, we earn on qualifying purchases.
Step-by-Step Guide to Disassembling the Fill Valve
To disassemble the fill valve, start by turning off the water supply and then use pliers to loosen the nuts. This step is crucial for toilet fill valve maintenance and troubleshooting fill valve issues. Once the nuts are loosened, carefully remove the cover and the float assembly from the fill valve body. Inspect the components for any signs of damage or wear. If necessary, refer to the manufacturer’s instructions for guidance on disassembling specific fill valve models. To emphasize the importance of this process, here is a table highlighting the key steps:
| Step | Description |
|---|---|
| 1 | Turn off water supply |
| 2 | Loosen nuts with pliers |
| 3 | Remove cover and float assembly |

Fluidmaster Universal Install/Uninstall Toilet Repair Tool
Fluidmaster’s universal install and uninstall toilet tool makes any toilet repair job simple
As an affiliate, we earn on qualifying purchases.
As an affiliate, we earn on qualifying purchases.
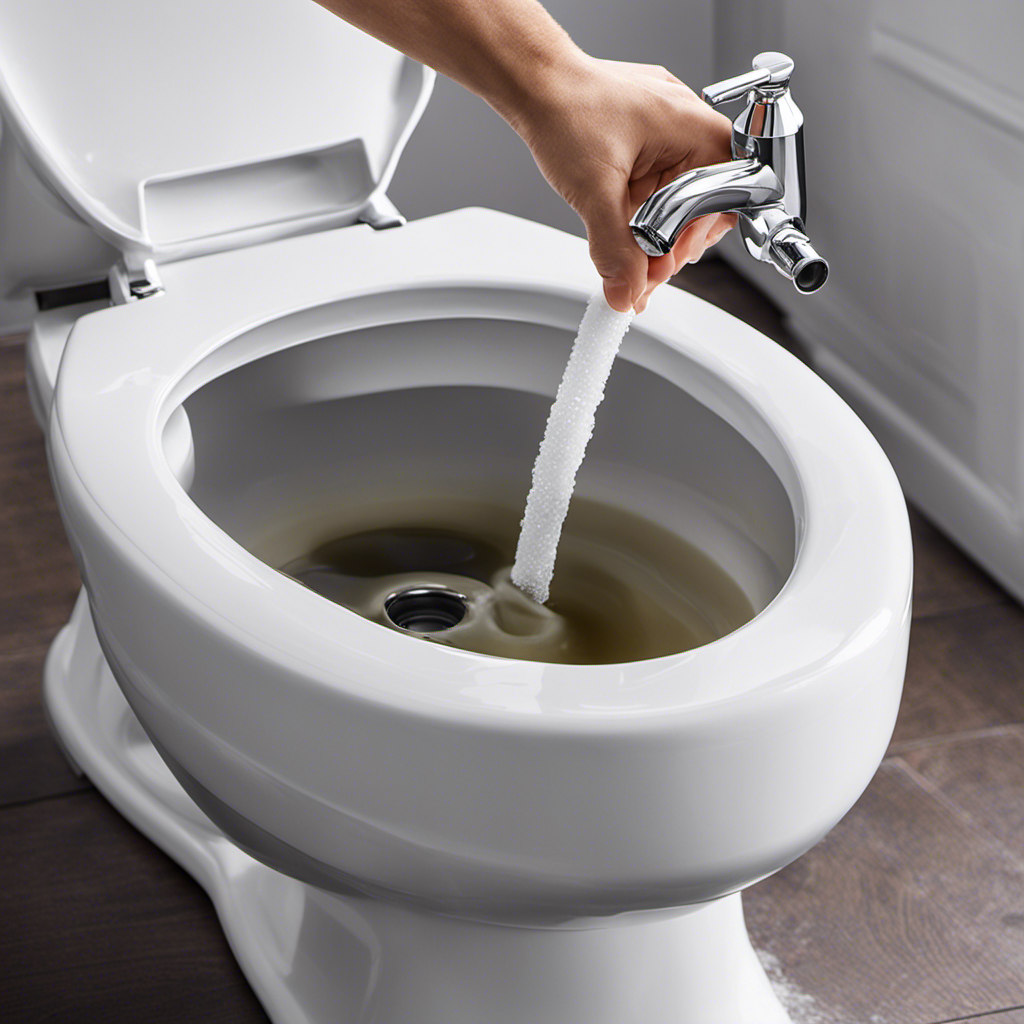
Cleaning and Removing Build-Up From the Fill Valve Components
Start by examining the components of your toilet’s fill valve for any signs of build-up or debris. Over time, mineral deposits can accumulate in the fill valve, leading to reduced water flow and potential issues with toilet flush performance.
To ensure optimal functioning of your fill valve, follow these steps to remove mineral deposits and troubleshoot common fill valve issues:
-
Disconnect the water supply: Shut off the water supply to the toilet and flush it to empty the tank.
-
Disassemble the fill valve: Remove the cap, float, and other components of the fill valve, taking care not to damage any parts.
-
Clean the components: Use a brush or cloth to scrub away any mineral deposits or debris from the fill valve components. Pay close attention to the float and valve mechanism, as these can be prone to build-up.
Reassembling and Testing the Cleaned Fill Valve
Take the components you cleaned and reassemble them, making sure to carefully put everything back in place.
Start by attaching the cleaned fill valve to the water supply line. Use a wrench to tighten the connection, ensuring it is secure.
Next, reattach the float assembly to the fill valve. Align the tab on the float assembly with the corresponding slot on the fill valve and press it firmly into place.
Once the float assembly is secured, reattach the refill tube to the fill valve. Make sure it is properly inserted and tightened.
Finally, turn on the water supply and let the tank fill. Observe the fill valve for any leaks or unusual behavior.
If you encounter any issues, such as a malfunctioning or leaking fill valve, consider replacing or troubleshooting the fill valve further.
Frequently Asked Questions
Can I Use Regular Household Cleaning Products to Clean the Toilet Fill Valve?
Yes, you can use regular household cleaning products to clean the toilet fill valve. It’s an important part of toilet fill valve maintenance and troubleshooting fill valve problems. Proper cleaning ensures optimal performance and prevents clogs.
How Often Should I Clean the Toilet Fill Valve?
I clean the toilet fill valve regularly to ensure proper maintenance. Signs of a dirty fill valve include reduced water flow and strange noises. Cleaning it at least once a year is recommended.
Will Cleaning the Toilet Fill Valve Fix a Slow-Filling Toilet?
Cleaning the toilet fill valve can potentially fix a slow-filling toilet. It’s an effective troubleshooting method before considering a toilet fill valve replacement. Regular maintenance ensures optimal performance and prevents future issues.
Is It Necessary to Turn off the Water Supply Before Cleaning the Fill Valve?
Yes, it is necessary to turn off the water supply before cleaning the fill valve. This ensures a safe and effective cleaning process. To clean the fill valve, follow the recommended cleaning techniques for optimal results.
Can I Replace the Fill Valve Instead of Cleaning It?
Yes, you can replace the fill valve instead of cleaning it. However, there are benefits to cleaning it such as improving water flow and preventing clogs. It’s important to weigh the pros and cons before making a decision.
Conclusion
In conclusion, cleaning the toilet fill valve is like giving your bathroom a fresh start. It symbolizes a commitment to cleanliness and hygiene, ensuring that your toilet functions at its best.
By following the step-by-step guide and using the right tools, you can easily disassemble, clean, and reassemble the fill valve, removing any build-up that may hinder its performance.
So take the plunge and give your toilet the care it deserves. Knowing that a clean fill valve means a clean and efficient flush every time.