
Hey there!
Did you know that the average person flushes their toilet about 2,500 times a year? That’s a lot of use for your toilet tank, which can accumulate grime and bacteria over time.
But fear not! In this article, I’ll guide you through the step-by-step process of cleaning your toilet tank, ensuring a fresh and hygienic bathroom experience.
So grab your cleaning supplies and let’s get started!
Key Takeaways
- Visually inspect the toilet tank for mold, mildew, discoloration, cracks, and leaks.
- Use a mild cleaner or vinegar and water mixture to clean the interior of the tank.
- Drain and empty the toilet tank by turning off the water supply and flushing.
- Scrub and disinfect the interior of the tank using a toilet brush and vinegar solution.
Assessing the Condition of Your Toilet Tank
Before you start cleaning, it’s important to assess the condition of your toilet tank. Evaluating cleanliness and identifying potential issues will help you determine the level of cleaning required and any repairs that may be necessary.
Begin by lifting the lid of the toilet tank and visually inspecting the interior. Look for any signs of mold, mildew, or discoloration. Check the water level and make sure it is at the appropriate height. Look for any cracks or leaks in the tank. Additionally, check the flushing mechanism to ensure it is functioning properly.
Taking the time to thoroughly evaluate the condition of your toilet tank will ensure that you address any issues and achieve optimal cleaning results.
Now, let’s move on to gathering the necessary cleaning supplies.
Gathering the Necessary Cleaning Supplies
Once you’ve gathered all the necessary cleaning supplies, it’s time to get started on cleaning your toilet tank. This process requires a few techniques to ensure a thorough and effective cleaning. Here are some common mistakes to avoid and the proper techniques to follow:
- Use a mild cleaner or a mixture of vinegar and water to avoid damaging the tank.
- Start by turning off the water supply and flushing the toilet to empty the tank.
- Scrub the inside of the tank with a toilet brush, paying attention to hard-to-reach areas.
- Rinse the tank with clean water and wipe it dry with a cloth.
It’s important to avoid using harsh chemicals or abrasive materials, as they can damage the tank’s components. By following these techniques and avoiding common mistakes, you can keep your toilet tank clean and functioning properly.
Draining and Emptying the Toilet Tank
To drain and empty the toilet tank, start by turning off the water supply and flushing the toilet. This is an essential step in toilet tank maintenance as it allows you to thoroughly clean and prevent mold growth.
Once you have turned off the water supply, locate the water valve near the bottom of the tank and give it a clockwise twist to shut it off completely. Next, flush the toilet to remove as much water as possible from the tank. You can also use a sponge or towel to soak up any remaining water.
Scrubbing and Disinfecting the Interior of the Tank
After draining and emptying the toilet tank, it’s important to scrub and disinfect the interior to ensure cleanliness and hygiene. Maintaining the toilet tank is crucial in preventing bacteria growth and maintaining a healthy bathroom environment.
Here are some key steps to follow:
-
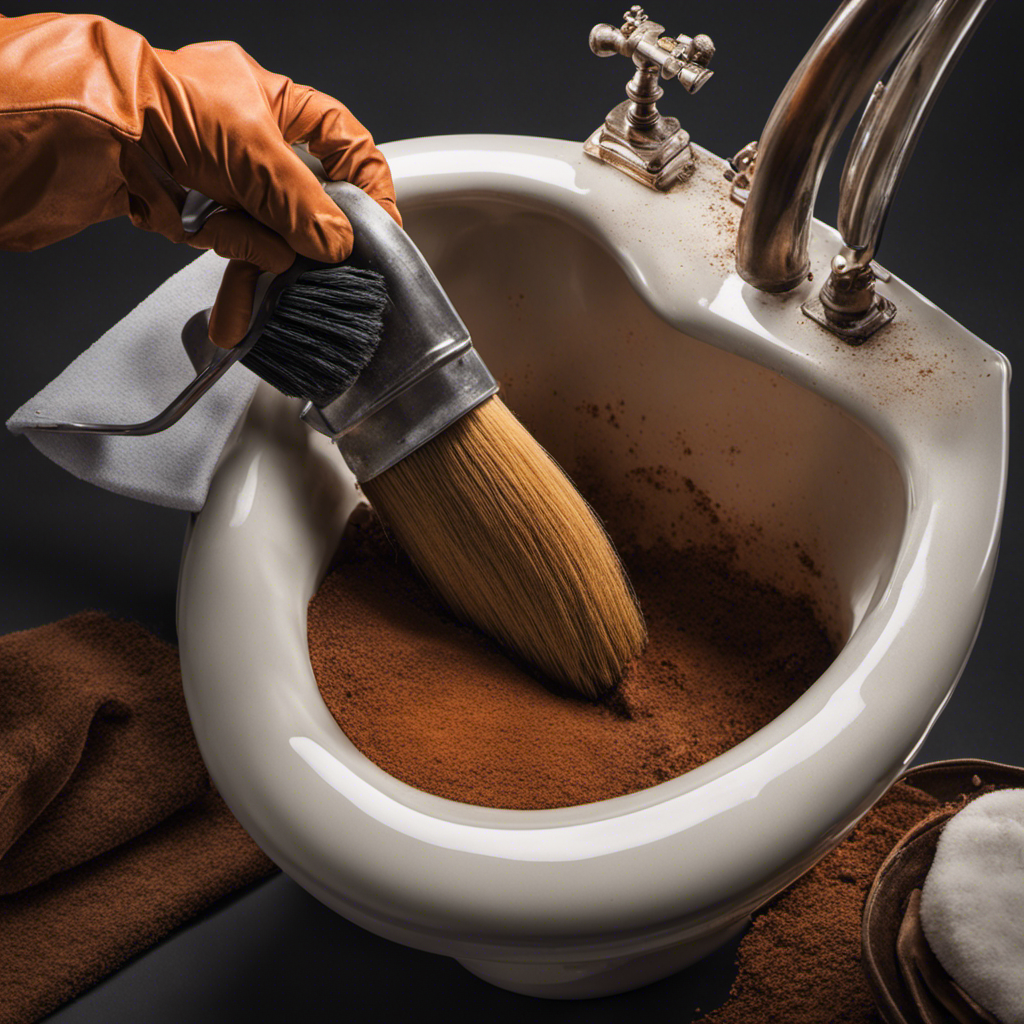
Start by using a toilet brush to scrub the walls and bottom of the tank, removing any visible dirt or stains.
-
Next, mix a solution of equal parts water and white vinegar in a spray bottle. Spray this solution all over the interior of the tank, ensuring that every surface is covered.
-
Let the vinegar solution sit for a few minutes to allow it to break down any stubborn stains or bacteria.
-
Finally, use a clean cloth or sponge to wipe down the interior of the tank, removing any remaining residue and ensuring a thorough clean.
Reassembling and Maintaining the Toilet Tank
When reassembling and maintaining the toilet tank, make sure you tighten all the bolts and connections to prevent any leaks.
Properly maintaining your toilet tank is important to ensure its efficient functioning and avoid any potential issues.
One common problem that can occur with toilet tanks is leaks. To prevent toilet tank leaks, it is crucial to check and tighten all the bolts and connections during the reassembly process.
Inspect the rubber gaskets and seals to ensure they are in good condition and replace them if necessary.
Additionally, make sure the flapper valve is properly aligned and functioning correctly.
Regularly inspecting and maintaining your toilet tank will help prevent leaks and prolong the lifespan of your toilet system.
Conclusion
Well, there you have it folks! Cleaning your toilet tank may seem like a daunting task, but fear not! With the right supplies and a little elbow grease, you can transform that grimy tank into a sparkling oasis.
Just imagine the satisfaction you’ll feel knowing that your toilet tank is cleaner than ever before. So go ahead, take the plunge and give your toilet tank the TLC it deserves.
Trust me, you won’t regret it!