Alright, folks, get ready to learn the ins and outs of disconnecting a toilet! In this step-by-step guide, I’ll show you how to take on this seemingly daunting task with ease.
Grab your tools and let’s dive in. We’ll start by shutting off the water supply, then move on to removing the tank and disconnecting the water supply line.
Finally, we’ll tackle the toilet bowl itself. Get ready to become a toilet-disconnecting pro in no time!
Key Takeaways
- Shut off the water supply by turning the valve behind the toilet clockwise.
- Remove the toilet tank by unscrewing the bolts and lifting it off the toilet bowl.
- Disconnect the water supply line by turning off the valve and using pliers or an adjustable wrench to loosen the nut.
- Remove the toilet bowl by turning off the water supply valve, flushing the toilet, and lifting the bowl straight up to avoid damaging the wax seal.
Required Tools and Materials
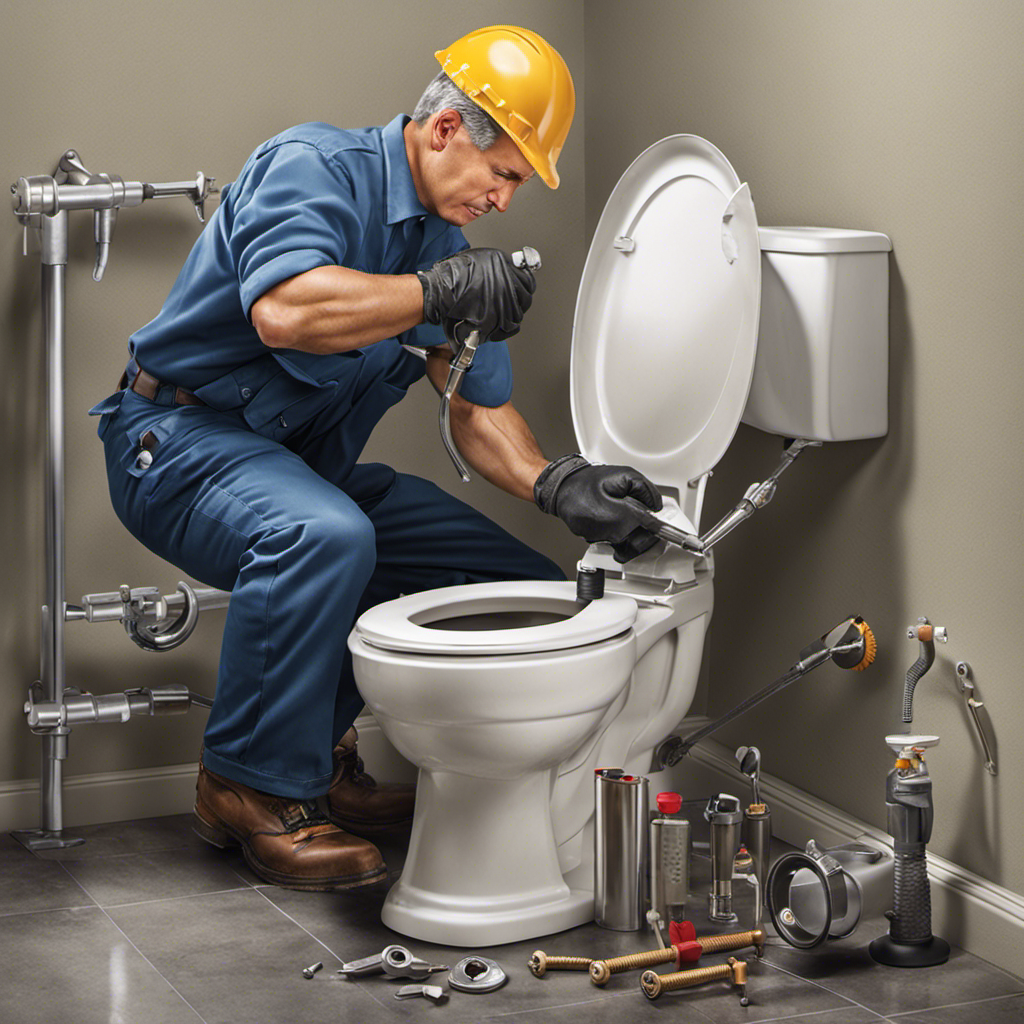
You’ll need a few tools and materials to disconnect the toilet.
The first tool you’ll need is a wrench, preferably an adjustable wrench, to loosen and remove the bolts that hold the toilet to the floor.
Additionally, you’ll need a pair of pliers to disconnect the water supply line from the toilet tank.
It’s also a good idea to have a sponge or towel handy to soak up any remaining water in the tank and bowl.
As for materials, you’ll need a new wax ring to replace the old one when you reconnect the toilet. This wax ring creates a watertight seal between the toilet and the floor.
Make sure you have all these tools and materials ready before attempting to disconnect the toilet.
Step 1: Shut Off the Water Supply
First, make sure you’ve shut off the water supply before proceeding with the next steps. To drain a toilet and remove the toilet lid, follow these instructions:
| Steps | Description |
|---|---|
| Step 1 | Shut off the water supply |
| Step 2 | Remove the toilet tank |
| Step 3 | Disconnect the water supply line |
| Step 4 | Unscrew the bolts securing the toilet to the floor |
| Step 5 | Lift the toilet off the floor and set it aside |
To shut off the water supply, locate the shut-off valve behind the toilet. Turn the valve clockwise until it is fully closed. This will prevent any water from flowing into the toilet. Once the water supply is shut off, you can proceed with confidence to the next step of removing the toilet tank.
Step 2: Remove the Toilet Tank
To remove the toilet tank, start by unscrewing the bolts securing it to the floor. Before you begin, it’s important to take some tank removal precautions.
First, ensure that the water supply to the toilet is completely shut off. This will prevent any potential complications during tank removal. Once the water supply is off, you can proceed with removing the tank.
Carefully unscrew the bolts using a wrench, making sure not to damage the tank or the floor. Once the bolts are removed, gently lift the tank off the toilet bowl and set it aside.
With the tank removed, you can now move on to the next step, which is disconnecting the water supply line.
Step 3: Disconnect the Water Supply Line
Once the tank is removed, it’s time to detach the water supply line. Before starting this step, it is crucial to ensure proper safety measures during toilet disconnection. Here are some common mistakes to avoid when disconnecting a toilet:
-
Turn off the water supply valve: Before disconnecting the water supply line, make sure to turn off the water supply valve. This will prevent any water from flowing into the toilet.
-
Use pliers or an adjustable wrench: Use pliers or an adjustable wrench to loosen the nut connecting the water supply line to the toilet tank. This will allow you to detach the line easily.
-
Drain any remaining water: Place a bucket or towel on the floor beneath the water supply line connection. This will catch any remaining water that may spill out when disconnecting the line.
-
Inspect for leaks: After removing the water supply line, inspect it for any signs of leaks or damage. Replace the line if necessary.
Now that the water supply line is disconnected, we can move on to the next step: removing the toilet bowl.
Step 4: Remove the Toilet Bowl
Now that the water supply line’s disconnected, it’s time to remove the toilet bowl. This step is necessary when replacing a toilet bowl or troubleshooting toilet leaks.
To make sure you’re doing it correctly, follow these steps:
-
Gather the necessary tools: adjustable wrench, putty knife, and rubber gloves.
-
Turn off the water supply valve and flush the toilet to drain any remaining water.
-
Disconnect the bolts securing the toilet to the floor using the adjustable wrench.
-
Carefully lift the toilet bowl straight up, being cautious not to damage the wax seal.
-
Place the toilet bowl on a drop cloth or old towel to prevent any mess.
Removing the toilet bowl is a crucial part of toilet maintenance and repair. By following these steps, you can successfully replace a toilet bowl or address any leaks.
Frequently Asked Questions
How Do I Know if It’s Necessary to Disconnect the Toilet?
If you’re wondering if it’s necessary to disconnect the toilet, consider if you need to properly remove and install a new one or fix a leaking toilet. In those cases, disconnecting the toilet may be necessary.
Can I Use Any Type of Wrench to Disconnect the Water Supply Line?
Certainly! Can I use pliers instead of a wrench to disconnect the water supply line? While pliers can work in some cases, it’s best to use a wrench for a secure grip. Common issues when disconnecting a toilet include leaks and stripped threads.
What Should I Do if There Is Still Water in the Toilet Bowl After Disconnecting the Water Supply Line?
If there’s still water in the toilet bowl after disconnecting the water supply line, you may need to manually flush the toilet or use a plunger to remove any clogs. It’s important to practice proper toilet bowl maintenance and troubleshoot any problems.
Are There Any Precautions I Should Take When Removing the Toilet Bowl to Prevent Damage to the Floor or Surrounding Area?
To prevent floor damage and remove the toilet safely, it’s important to take precautions. Start by turning off the water supply and flushing the toilet to empty the tank. Then, carefully disconnect the bolts and lift the toilet off the floor.
Is It Necessary to Replace Any Parts or Components After Disconnecting the Toilet?
After disconnecting the toilet, potential complications may arise if parts or components are damaged or worn. To prevent further issues, it is recommended to inspect and replace any necessary parts before reassembling the toilet.
Conclusion
In conclusion, disconnecting a toilet is a straightforward process that can be easily accomplished with the right tools and materials. By following the steps outlined in this article, you can effectively shut off the water supply, remove the toilet tank, disconnect the water supply line, and finally remove the toilet bowl.
Remember to exercise caution and refer to manufacturer instructions if needed. By investigating and understanding the truth behind this theory, you can confidently tackle this task and maintain your plumbing system efficiently.


