Alright, folks, get ready to dive into the exciting world of toilet drawing!
In this handy guide, I’ll show you how to bring this essential bathroom fixture to life on paper. We’ll cover everything from the materials you’ll need to step-by-step instructions for sketching a realistic toilet.
Plus, I’ll share some tips for adding those tiny details that make your drawing pop.
So grab your pencils and let’s get started on this artistic adventure!
Key Takeaways
- Pay attention to overall shape and size
- Use a ruler for precise measurements
- Consider materials used in real toilets
- Use shading and texturing techniques for realism

KALOUR 18-Piece Professional Sketch Pencil Set – Includes 5H to 14B Pencils, Vinyl Eraser, Kneaded Eraser,Sharpener and Paper Blending Stump – Ideal for Artists and Beginners
Complete Sketching Set: Includes 14 high-quality sketch pencils with a full range of hardness levels from 5H to…
As an affiliate, we earn on qualifying purchases.
As an affiliate, we earn on qualifying purchases.
Materials Needed for Drawing a Toilet
To draw a toilet, you’ll need a pencil, paper, a ruler, and an eraser.
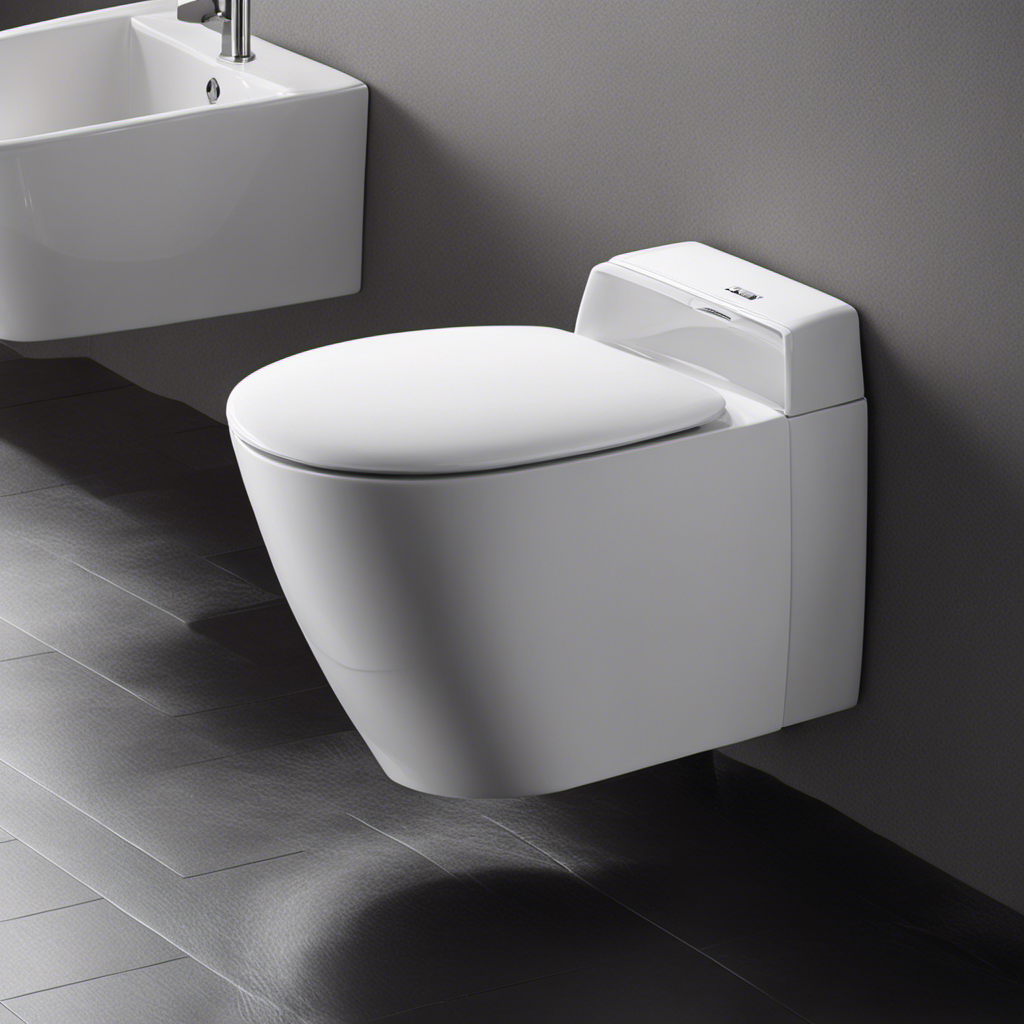
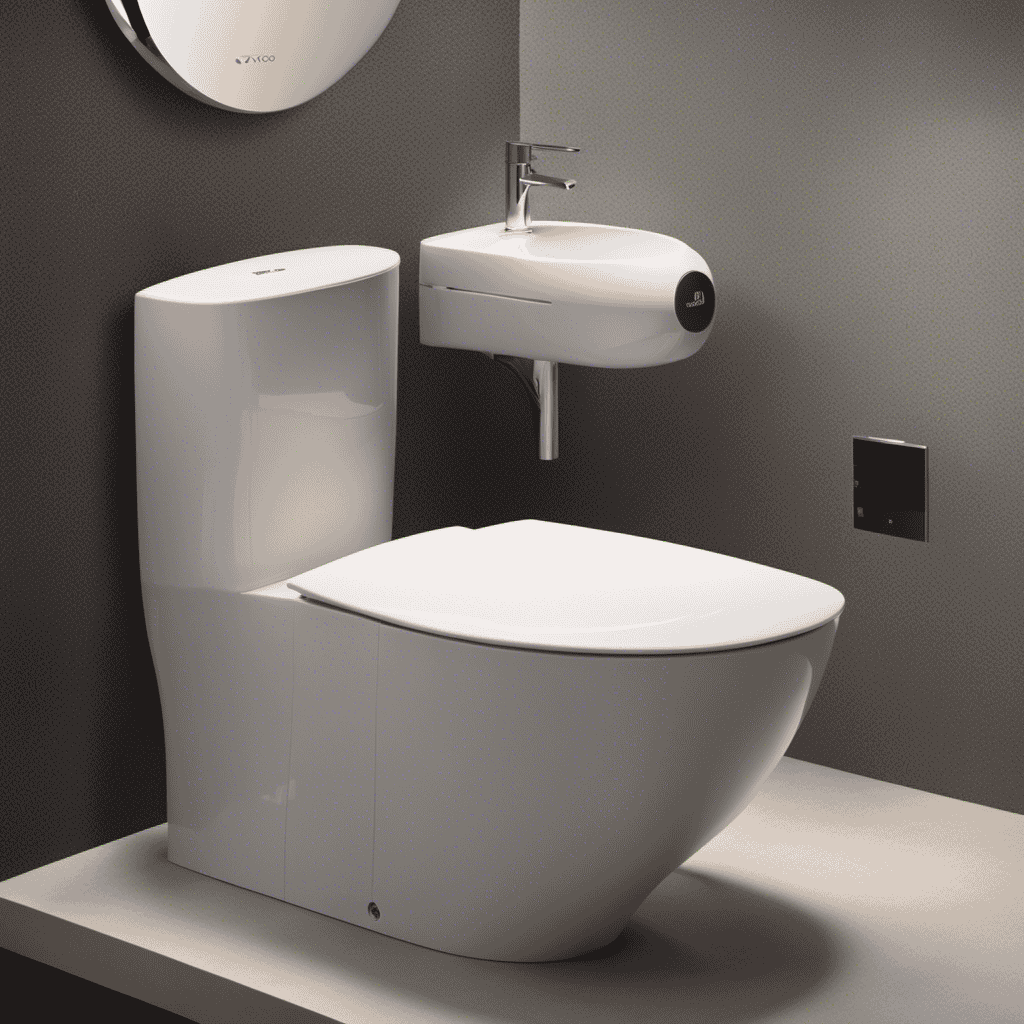
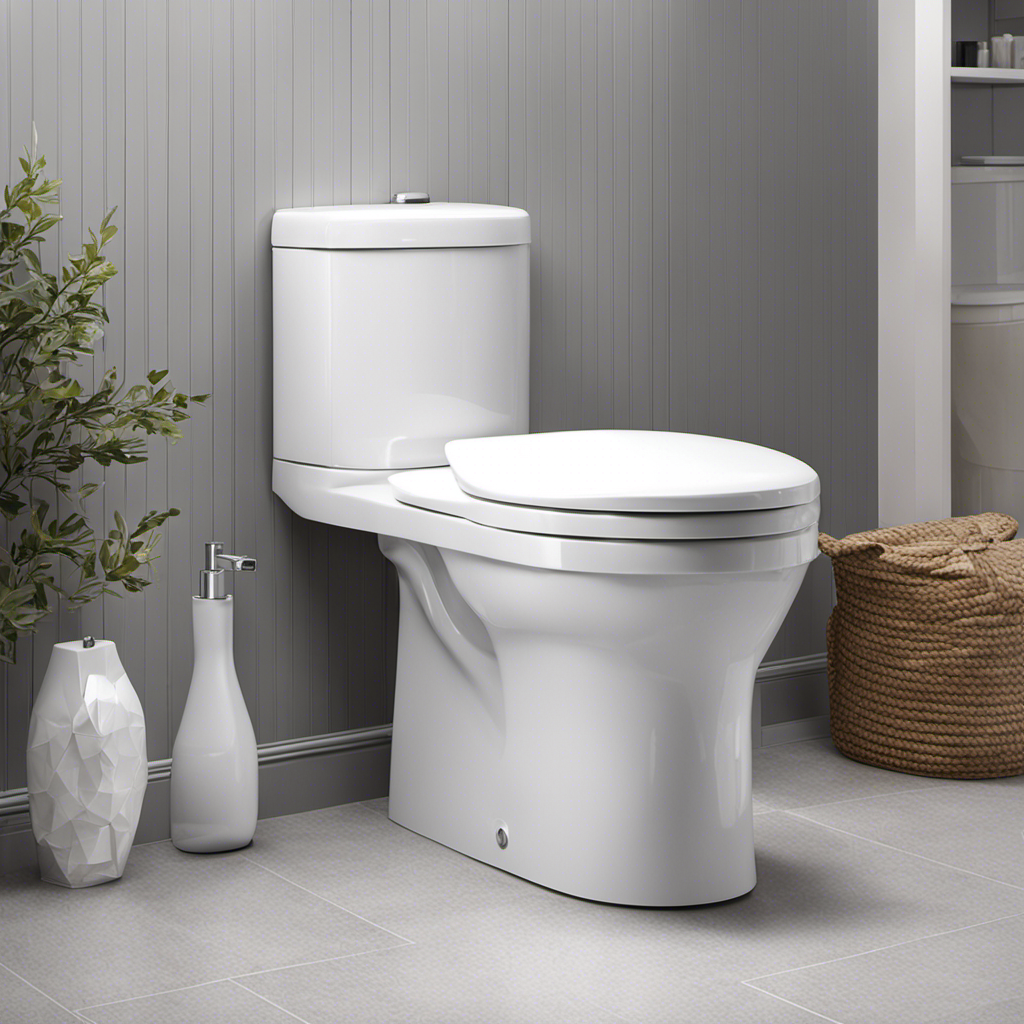
When it comes to different toilet designs, there are variations in shape, size, and functionality. Some common designs include the one-piece toilet, two-piece toilet, and wall-mounted toilet.
It’s important to familiarize yourself with the specific design you want to draw before starting the process.
Common mistakes in toilet drawings often involve incorrect proportions and misplaced details. It’s crucial to pay attention to the overall shape and size of the toilet, as well as the placement of the tank, seat, and flush handle.
Using a ruler can help ensure precise measurements and accurate representation. Remember to erase any mistakes and refine your drawing until you’re satisfied with the final result.

Officemate Classic Stainless Steel Metal Ruler, 15 inches with Metric Measurements, Silver, 15 L x 1.25 W (66612)
Cork backing that prevents slipping and scratching
As an affiliate, we earn on qualifying purchases.
As an affiliate, we earn on qualifying purchases.
Step-by-Step Guide to Sketching a Toilet
Start by outlining the basic shape of a toilet using simple geometric figures. To sketch a toilet, follow these steps:
- Draw a rectangular shape for the toilet bowl.
- Add a smaller rectangle on top for the tank.
- Connect the two rectangles with curved lines to create the base.
- Draw a smaller rectangle inside the tank for the lid.
- Add a circle at the front of the bowl for the flush handle.
- Sketch a small rectangle beside the bowl for the toilet paper holder.
- Draw a curved line at the bottom of the bowl for the waterline.
When drawing a toilet, it’s important to pay attention to the proportions and angles. Common mistakes to avoid include inaccurate measurements of the bowl and tank, as well as misaligned parts. By following these drawing techniques and avoiding common mistakes, you can create an accurate representation of a toilet.
Transitioning into the subsequent section about ‘tips for adding realistic details to your toilet drawing’, it’s crucial to pay attention to the small details that make a toilet look realistic.

Faber-Castell Kneadable Eraser for Artists in Storage Case – Absorbent Kneaded Erasers, Art Eraser 1 Pack, Grey
VERSATILE ART ERASER: Perfect kneaded eraser for artists when correcting and lightening charcoal, graphite and pastel drawings. Art…
As an affiliate, we earn on qualifying purchases.
As an affiliate, we earn on qualifying purchases.
Tips for Adding Realistic Details to Your Toilet Drawing
When adding realistic details to your drawing of a toilet, remember to pay attention to the small features that give it an authentic look. Proper proportions are crucial in creating a believable toilet drawing. Ensure that the height, width, and depth of the toilet bowl, tank, and seat are accurately depicted. Pay attention to the curvature of the bowl and the shape of the tank. These details will make your drawing more lifelike.
Additionally, choosing the right colors is essential in achieving a realistic toilet drawing. Consider the materials used in a real toilet, such as porcelain or ceramic, and use appropriate shades and textures to replicate them. Don’t be afraid to add subtle variations and shadows to create depth and dimension.

Strathmore 200 Series Sketch Pad, 9×12 inch, 100 Sheets, Tape Bound – Artist Sketchbook for Drawing, Illustration, Art Class Students
Perfect Gift for Your Budding Artist – Strathmore shines as the ultimate go-to for young artists thanks to…
As an affiliate, we earn on qualifying purchases.
As an affiliate, we earn on qualifying purchases.
Different Perspectives: Drawing a Toilet From Various Angles
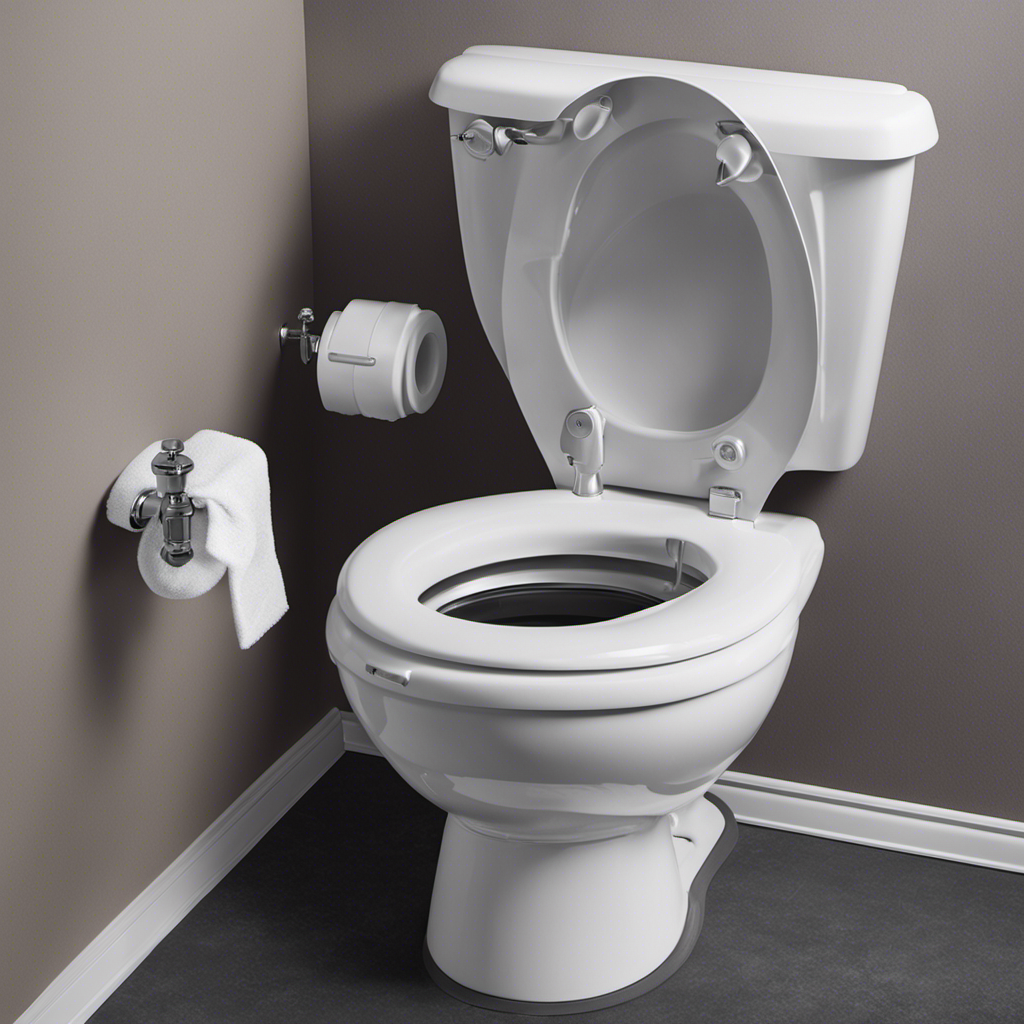
From different angles, it’s important to capture the unique shape and proportions of a toilet in order to achieve a realistic drawing. To better understand toilet anatomy and draw it accurately, here are some key points to consider:
- The bowl: Start by depicting the bowl’s shape, which is usually round or elongated. Pay attention to the rim and the water level inside.
- The tank: Draw the tank, which sits behind the bowl. It typically has a rectangular shape with a lid on top. Don’t forget the flush handle and the water inlet valve.
- The seat: Add the seat, which can be open or closed. Pay attention to its shape and position on the bowl.
When exploring creative interpretations, you can experiment with different styles to make your toilet drawing unique:
- Abstract: Simplify the toilet’s shapes and focus on colors, patterns, and textures.
- Cartoon: Exaggerate the proportions and add playful details to create a fun and whimsical toilet.
- Surreal: Combine unexpected elements or distort the toilet’s form to create an imaginative and dream-like representation.
Enhancing Your Toilet Drawing With Shading and Texturing Techniques
To achieve a realistic and visually appealing toilet drawing, it’s important to enhance it with shading and texturing techniques. Lighting plays a crucial role in bringing out the depth and dimension in any drawing, including toilets. By understanding how light interacts with different surfaces and materials, you can create the illusion of form and give your toilet drawing a three-dimensional quality.
Experiment with different light sources and intensities to create interesting shadows and highlights. Additionally, exploring abstract interpretations of toilets in art can add a unique and creative element to your drawings. Abstract art allows for a more subjective and imaginative representation of a toilet, giving you the freedom to experiment with colors, shapes, and textures.
Conclusion
So there you have it, a step-by-step guide on how to draw a toilet. By following these instructions and using the right materials, you can create a realistic and detailed representation of a toilet.
Remember to pay attention to the perspective and angle from which you are drawing, as well as incorporating shading and texturing techniques to bring your drawing to life.
With practice and patience, you’ll be able to master the art of drawing a toilet and impress your friends with your artistic skills.
Happy drawing!