Alright folks, let me tell you something – there’s nothing more annoying than a humming toilet. It’s like a constant buzz in the background that just won’t quit. But fear not! In this article, I’m going to show you exactly how to fix that pesky problem.
We’ll cover everything from identifying the cause of the humming to troubleshooting the flush valve. So grab your tools and get ready to banish that hum for good!
Key Takeaways
- Low water level in the tank and obstructions or damage in the fill valve can cause a humming toilet.
- Improper sealing of the flush valve by the flapper can also contribute to the humming sound.
- Before calling professional repair services, try adjusting the water supply valve and the water level in the tank.
- Regular maintenance and troubleshooting can help fix common issues with a humming toilet and avoid costly repairs.
Identifying the Cause of the Humming
To fix a humming toilet, it’s important to first identify the cause of the humming. There are a few troubleshooting tips you can try before calling professional repair services.
First, check if the water level in the tank is too low. If it is, adjust the float valve to raise the water level.
Next, inspect the fill valve for any obstructions or damage. If necessary, clean or replace the fill valve.
Another possible cause of the humming sound could be a faulty flush valve. Check if the flapper is properly sealing the flush valve. If it’s not, replace the flapper.
If none of these steps resolve the issue, it might be best to reach out to professional repair services for further assistance.
Now, let’s move on to the next step of checking the water supply valve.
Checking the Water Supply Valve
When troubleshooting a humming toilet, it’s important to check the water supply valve.
One potential issue could be that the valve is not fully open, which can restrict the flow of water to the toilet.
Another possibility is that the valve is clogged or damaged, causing water to not flow properly.
Lastly, incorrect water pressure can also contribute to the humming sound.
Valve Not Fully Open
The valve isn’t fully open, so the toilet is humming. To fix this issue, you’ll need to adjust the water flow by ensuring that the valve is fully open.
Start by locating the water supply valve, usually located near the base of the toilet. Turn the valve counterclockwise to open it fully.
Once the valve is fully open, check for any leaks around the valve or the supply line. Leaks can cause the toilet to hum. If you notice any leaks, tighten the connections or replace any damaged parts. It’s important to fix any leaks promptly to prevent water damage.
After adjusting the water flow and checking for leaks, the humming noise should subside, and your toilet should function properly again.
Valve Clogged or Damaged
If the valve isn’t fully open, you may need to check if it’s clogged or damaged. Clogged or damaged valves can cause a humming noise in your toilet and disrupt its proper functioning.
To determine if the valve is clogged, start by shutting off the water supply to the toilet and flushing it to empty the tank. Then, detach the refill tube from the valve and use a small brush or wire to gently clean out any debris that may be blocking the valve.
If the valve is damaged, you will need to replace it with a new one. This can be done by shutting off the water supply, removing the old valve, and installing the new one following the manufacturer’s instructions.
Regular toilet maintenance, including checking and cleaning the valve, can help prevent future issues and keep your toilet running smoothly.
Incorrect Water Pressure
To address incorrect water pressure, you might want to consider adjusting the water supply valve.
Water pressure troubleshooting can be a common issue for homeowners, and it’s important to identify the cause before attempting any fixes.
Low water pressure can be caused by a partially closed water supply valve, sediment buildup in pipes, or even a problem with the municipal water supply. On the other hand, high water pressure can lead to leaks, burst pipes, and damage to appliances.
To check for low water pressure, start by turning on multiple faucets to see if the pressure is consistently low throughout the house. If the pressure is too high, you may need to install a pressure regulator.
It’s essential to address water pressure issues promptly to prevent any further damage to the plumbing system.
Now, let’s move on to adjusting the water level in the tank.
Adjusting the Water Level in the Tank
When it comes to adjusting the water level in the tank of your toilet, there are a few key points to keep in mind.
First and foremost, it is important to ensure that the water level is set at the optimal level for proper flushing and water conservation.
Additionally, troubleshooting common issues such as a constantly running toilet or a weak flush can often be resolved by adjusting the water level.
Optimal Water Level
Check if the water level in your toilet bowl is set at the optimal level. Maintaining the correct water level is important for the proper functioning of your toilet.
Here are some troubleshooting techniques to ensure your water level is just right:
-
Remove the tank lid and locate the fill valve. This is usually on the left side of the tank.
-
Adjust the water level by turning the screw on top of the fill valve. Turn it clockwise to increase the water level and counterclockwise to decrease it.
-
Flush the toilet and observe the water level. It should be about 1 inch below the overflow tube.
If the water level is too high, it can cause the toilet to constantly run or even overflow. On the other hand, if it’s too low, the toilet may not flush properly.
Troubleshooting Common Issues
If the water level in your toilet bowl is too low, it may not flush properly. This can be a common issue that many homeowners face, but luckily, there are some simple troubleshooting steps you can take to fix the problem. First, check the water supply valve and make sure it is fully open. If it is partially closed, it could be restricting the water flow into the toilet bowl. Next, inspect the fill valve and float mechanism. Ensure they are properly adjusted and functioning correctly. If necessary, clean or replace these components. Lastly, check the flush valve and flapper. If they are worn or damaged, they may need to be replaced. By following these steps, you can avoid the need for a costly toilet replacement and successfully complete DIY toilet repairs.
| Common Issues | Troubleshooting Steps |
|---|---|
| Low water level | – Check water supply valve – Inspect fill valve and float mechanism – Clean or replace components – Check flush valve and flapper |
| Weak flush | – Adjust water level in tank – Clean or replace flush holes – Check for clogs in drain trap or pipes – Consider using a plunger or toilet auger |
| Running toilet | – Adjust or replace flapper – Check and adjust the chain length – Inspect and clean the fill valve – Check for leaks in the flapper or tank |
| Overflowing toilet | – Use a plunger to clear clogs – Check the fill valve and float mechanism – Inspect and adjust the chain length – Consider using a toilet snake to remove obstructions |
Inspecting and Repairing the Fill Valve
To inspect and repair the fill valve, you’ll need to shut off the water supply to the toilet. Here’s how you can do it:
-
Turn off the water supply valve located behind the toilet. Rotate it clockwise until it stops.
-
Flush the toilet to drain the water from the tank.
-
Remove the tank lid and locate the fill valve, which is usually located on the left side of the tank.
Inspecting the fill valve:
- Check for any visible signs of damage or wear, such as cracks or leaks.
- Ensure that the float is moving freely and not getting stuck.
- Look for any debris or mineral buildup that may be affecting the valve’s performance.
If the fill valve is damaged or not functioning properly, it may need to be replaced. Follow the manufacturer’s instructions or consult a professional for guidance on replacing the fill valve.
Troubleshooting the Flush Valve
When troubleshooting the flush valve, start by checking if the chain is properly connected and not too loose. This is important because a loose or disconnected chain can prevent the flush valve from operating properly.
To check the chain, simply lift the lid of the toilet tank and locate the chain attached to the flush handle. Ensure that the chain is securely connected to the flush valve lever and that it has a little bit of slack. If the chain is too tight, it may prevent the flush valve from closing properly, resulting in a continuous flow of water.
Additionally, while troubleshooting the flush valve, it’s also important to check the float valve. Ensure that it is properly adjusted and not malfunctioning, as this can also cause issues with the flushing mechanism.
Fixing a Faulty Flapper
Now that we’ve addressed troubleshooting the flush valve, let’s move on to fixing a faulty flapper. The flapper is a rubber valve that controls the flow of water from the tank into the toilet bowl. If it’s not working properly, it can cause your toilet to hum or run continuously.
Here are the steps to replace a flapper and adjust the chain length:
- Turn off the water supply to the toilet by shutting off the valve behind the toilet.
- Remove the tank lid and flush the toilet to empty the tank.
- Disconnect the chain from the flush lever and remove the old flapper.
- Install the new flapper by attaching it to the overflow tube and reconnect the chain, ensuring it has some slack but not too much.
- Turn the water supply back on and test the flush to ensure the flapper is working properly.
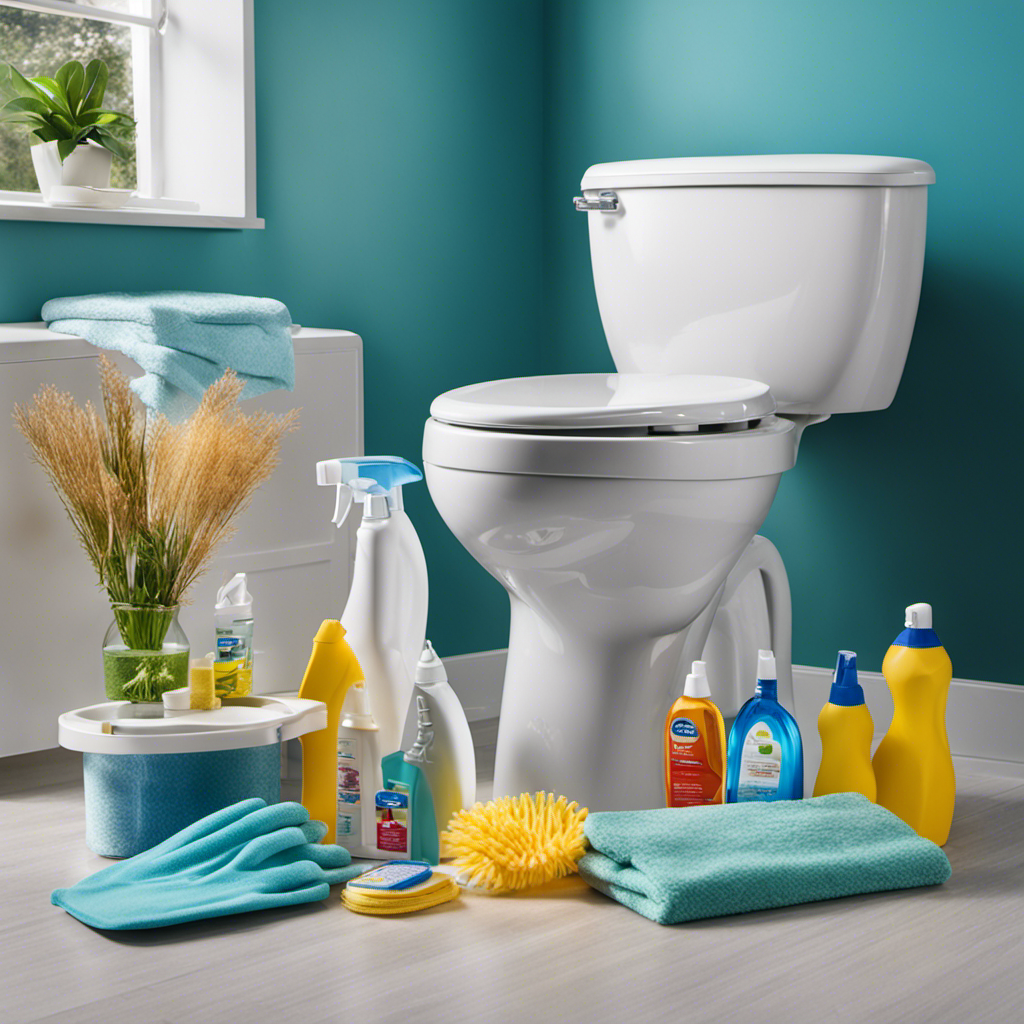
Cleaning and Maintaining the Toilet
Make sure you regularly clean and maintain your toilet to prevent buildup and keep it functioning properly.
One common issue that many people face is toilet bowl stains. These stains can be unsightly and difficult to remove, but with the right approach, you can keep your toilet looking clean and fresh.
To tackle toilet bowl stains, start by using a toilet bowl cleaner that is specifically designed to remove stains. Apply the cleaner to the bowl and let it sit for a few minutes before scrubbing with a toilet brush. For stubborn stains, you may need to repeat the process or use a pumice stone to gently scrub away the buildup.
Another common issue is dealing with hard water buildup. To combat this problem, consider installing a water softener or using a vinegar solution to dissolve the mineral deposits.
Regularly cleaning and maintaining your toilet will not only keep it looking its best but also help it function properly for years to come.
Frequently Asked Questions
Can a Humming Toilet Cause Any Damage to the Plumbing System?
Yes, a humming toilet can potentially cause damage to the plumbing system if left unaddressed. It’s important to identify the root cause and troubleshoot it promptly to prevent any further issues.
How Long Does It Typically Take to Fix a Humming Toilet?
Fixing a humming toilet typically takes a few hours, depending on the underlying issue. It’s important to troubleshoot the problem first to determine the cause and potential toilet repair costs.
Is It Necessary to Call a Professional Plumber to Fix a Humming Toilet?
Yes, you should try using a plunger to fix a humming toilet before calling a professional plumber. Additionally, adjusting the water level may also resolve the issue. These are practical and effective solutions.
What Are Some Common Signs That Indicate a Faulty Flapper in a Toilet?
When a toilet starts humming, it’s often a sign of a faulty flapper. To troubleshoot the issue, check for water leaks and replace the flapper if necessary. It’s a simple fix that can save you money.
How Often Should a Toilet Be Cleaned and Maintained to Prevent Humming?
To prevent a humming toilet, it’s important to clean and maintain it regularly. By keeping up with toilet cleaning frequency, you can avoid the annoying sound and ensure a smoothly functioning bathroom.
Conclusion
Well, there you have it folks! By following these simple steps, you’ll be able to fix that annoying humming toilet in no time.
With a little bit of detective work, a few adjustments, and some basic maintenance, you’ll have your toilet humming a different tune – a tune of perfect functionality!
So say goodbye to the constant noise and hello to a peaceful bathroom experience.
Don’t let a humming toilet drive you crazy when the solution is just a few steps away.
Happy fixing!

Liam’s journey with us started as a consumer. Having faced challenges while setting up his own modern bathroom, he delved deep into research.
Recognizing his knack for simplifying complex information and his authentic writing style, we were thrilled to welcome him aboard. Liam’s articles often merge practicality with style, ensuring readers find the perfect fit for their homes. Liam is an avid hiker off-duty and often jokes about finding the best “natural toilets” Mother Earth has to offer.