As a DIY enthusiast, I can’t stress enough the importance of having a functional and efficient toilet in your home. That’s why I’m here to guide you through the process of installing an American Standard toilet.
With the right tools and materials, removing the old toilet and preparing the area for installation will be a breeze.
Then, it’s just a matter of installing the new toilet and ensuring everything is in working order.
Let’s get started on this essential upgrade!
Key Takeaways
- The first step in installing an American Standard toilet is to gather the necessary tools and materials, including a new toilet, wax ring, toilet bolts, wrench, and screwdriver.
- The process begins by removing the old toilet, which involves turning off the water supply valve, flushing the toilet to remove water, disconnecting the water supply line, and removing the nuts securing the toilet to the floor. The old wax ring should be scraped off.
- Before installing the new toilet, it is important to prepare the area by measuring and adjusting the flange height, ensuring proper ventilation, sealing around the toilet base, clearing debris and cleaning the floor, and creating a stable base for the new toilet.
- The installation of the new American Standard toilet involves positioning the toilet bowl onto the wax ring, aligning the bolt holes with the floor flange, tightening the bolts to secure the toilet to the floor, connecting the water supply line to the fill valve, and applying silicone caulk around the base of the toilet. Once installed, it is important to test for leaks, check water flow, and ensure the proper functioning of the fill valve and flapper valve.
Gather the Necessary Tools and Materials
You’ll need a few tools and materials to get started. Here is a toilet installation checklist to ensure you have everything you need.
- A new toilet, preferably an American Standard model
- Wax ring
- Toilet bolts
- Wrench
- Screwdriver
- Level
- Bucket and towels (to catch any water that may spill during installation)
Now that you have your tools and materials ready, let’s move on to the next step: removing the old toilet.
Remove the Old Toilet
Once the old toilet has been disconnected, it can be lifted and removed from the bathroom. Removing the old toilet is an important step in the process of installing a new American Standard toilet. To help you understand the necessary steps involved, I have provided a table below outlining the materials and tools needed for this task:
| Materials | Tools | Safety Equipment |
|---|---|---|
| Bucket | Adjustable wrench | Gloves |
| Towels | Screwdriver | Safety goggles |
| Wax ring | Putty knife | Dust mask |
| Toilet bolts | Pliers |
To remove the old toilet, you will need to follow these steps:
- Turn off the water supply to the toilet by shutting off the valve located behind the toilet.
- Flush the toilet to remove any remaining water in the tank and bowl.
- Disconnect the water supply line from the bottom of the toilet tank.
- Remove the nuts securing the toilet to the floor using an adjustable wrench or pliers.
- Carefully lift the toilet and place it on a towel or old newspapers to catch any water or debris that may be present.
- Use a putty knife to scrape off the old wax ring from the toilet flange and the bottom of the toilet bowl.
Prepare the Area for Installation
To prepare the area for installation, make sure to clear any debris and clean the floor thoroughly. This will ensure a clean and stable base for your new American Standard toilet. Here are three important steps to take during this preparation process:
-
Measure and adjust the flange height: The flange, or the pipe fitting that connects the toilet to the drainpipe, should be at the correct height for a proper seal. Measure the distance between the floor and the top of the flange and adjust it if necessary.
-
Ensure proper ventilation: Adequate ventilation is crucial to prevent any foul odors from escaping the toilet. Make sure there is proper airflow in the bathroom by installing a ventilation fan or opening a window.
-
Seal around the toilet base: To prevent any leaks or water damage, it is important to seal around the base of the toilet. Use a high-quality caulk to create a watertight seal between the toilet and the floor.
Install the New American Standard Toilet
Now that we’ve prepared the area, it’s time to start installing the new toilet. Proper positioning and sealing are crucial for a successful installation. Follow these steps to ensure a secure and watertight fit.
First, position the toilet bowl onto the wax ring, aligning the bolt holes with the floor flange. Use a gentle rocking motion to compress the wax ring and create a tight seal. Once in position, secure the toilet to the floor by tightening the bolts using a wrench.
Next, connect the water supply line to the fill valve on the bottom of the tank. Ensure the connection is tight to prevent leaks.
To complete the installation, apply a bead of silicone caulk around the base of the toilet to create a watertight seal and prevent any moisture from seeping into the floor.
Now that the toilet is securely installed, it’s time to test and finalize the installation.
Test and Finalize the Installation
After completing the installation, it’s important to test the toilet and make sure everything is functioning properly. To ensure a successful installation, follow this test procedure:
- First, check for any leaks by inspecting the base and connections. Look for any signs of water pooling or dampness.
- Next, flush the toilet multiple times to confirm that the water flows smoothly and without any blockages. Pay attention to any unusual noises or slow drainage.
- Lastly, test the fill valve and flapper valve by observing the water refill after flushing. The tank should refill to the appropriate level and stop without any continuous running sounds.
If any issues arise during the test procedure, consider these troubleshooting tips:
- If there are leaks, tighten the connections or replace faulty parts, such as the wax ring or supply line.
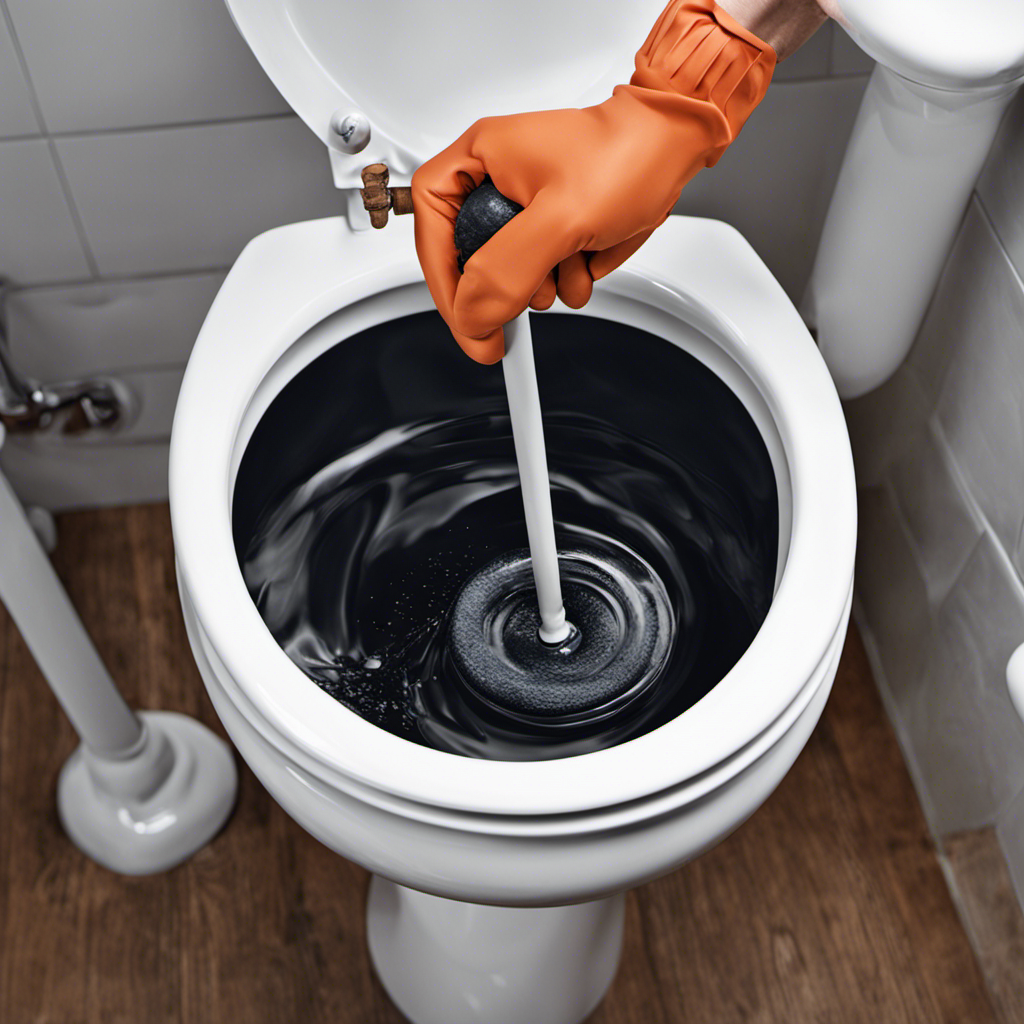
- For blockages or slow drainage, use a plunger or a plumber’s snake to dislodge any obstructions.
- If the fill valve or flapper valve malfunctions, adjust or replace these components as needed.
Conclusion
In conclusion, installing an American Standard toilet is a straightforward process. By gathering the necessary tools and materials, removing the old toilet, and preparing the area, you can have a fully functional bathroom fixture.
Installing the new toilet is the next step. Make sure to follow the manufacturer’s instructions carefully. This may involve attaching the wax ring, placing the toilet on the flange, and securing it with bolts. Don’t forget to connect the water supply line and tighten any necessary connections.
Once the installation is complete, it’s important to test for any leaks or issues. Turn on the water supply and flush the toilet a few times to ensure everything is working properly. If you notice any leaks or problems, address them before finalizing the process.
With a little patience and attention to detail, you can enjoy the convenience and efficiency of an American Standard toilet in your home. So go ahead and give it a try – you’ll be glad you did.

