I’ve been there, struggling with the discomfort of a standard toilet seat. But fear not, because I’ve got the solution for you: installing a raised toilet seat!
In this step-by-step guide, I’ll show you exactly how to elevate your bathroom experience to a whole new level of comfort. We’ll cover everything from determining the proper height to testing and adjusting the seat.
So, let’s get started and transform your bathroom routine into something truly extraordinary.
Key Takeaways
- Raised toilet seats benefit elderly or disabled individuals by reducing strain on the knees, hips, and back, and preventing accidents.
- When determining the proper height, measure the distance from the floor to the back of the knee and consider factors like height adjustment range, weight capacity, and stability features.
- Gather the necessary tools and materials including a screwdriver, adjustable wrench, pliers, raised toilet seat, bolts and nuts, and washers.
- To install a raised toilet seat, remove the existing toilet seat by locating and removing the screws, clean the seat thoroughly, position the raised toilet seat securely on the bowl and tighten the bolts or screws, test the seat’s stability and adjust as necessary, and periodically check for wear or damage.

Smart Toilet with Bidet Built In, Heated Seat, Warm Water Wash & Dryer, Tankless Bidet Toilet with Foot Sensor & Night Light, Auto Open/Close Lid & Flush, Wireless Remote, 1.26GPF Water-Saving Design
🛠️ Easy Installation & Reliable Support: This smart toilet with bidet built in includes all accessories, flange kit,...
As an affiliate, we earn on qualifying purchases.
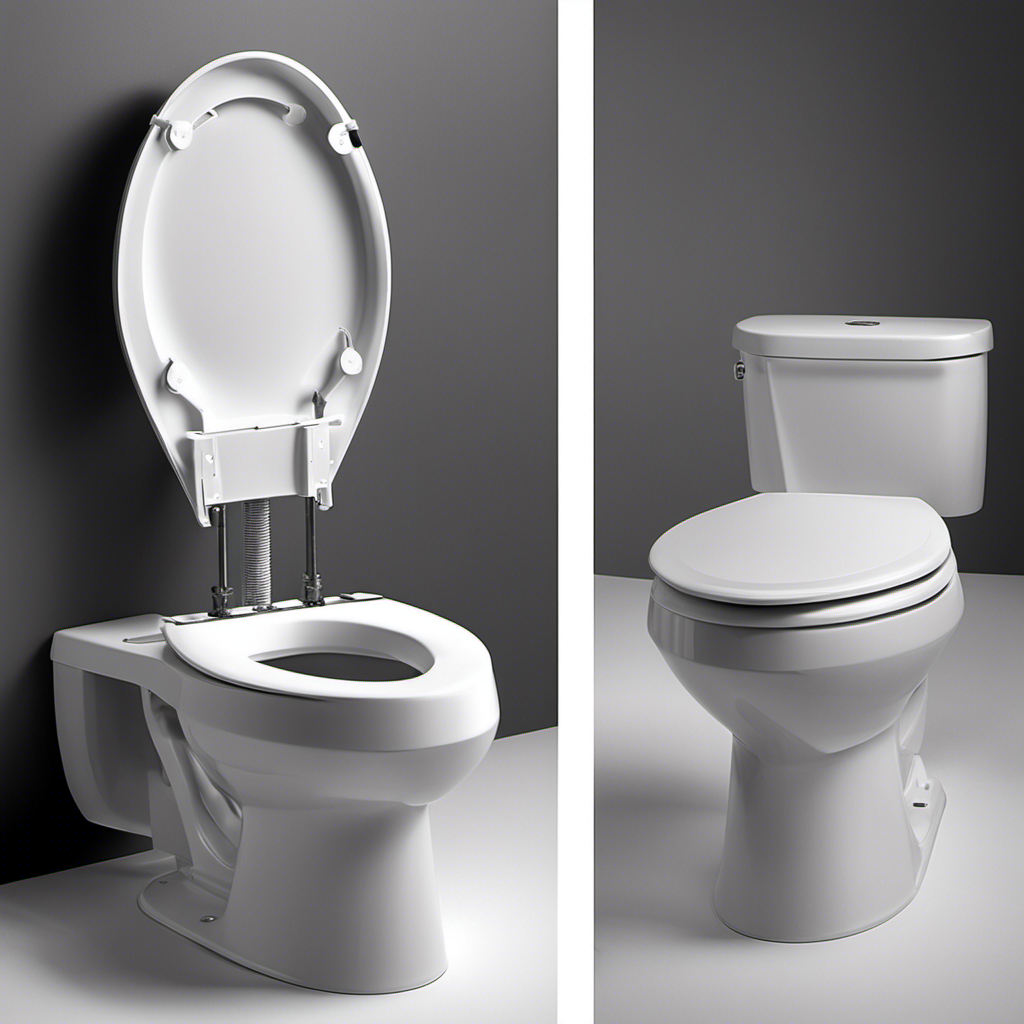
Determine the Proper Height
To determine the proper height for your raised toilet seat, you’ll need to measure the distance from the floor to the back of your knee. This measurement is crucial in ensuring that your raised toilet seat provides optimal comfort and support.
When choosing the right type of raised toilet seat, consider factors such as the height adjustment range, weight capacity, and stability features. Raised toilet seats offer numerous benefits for elderly or disabled individuals. They provide additional height, making it easier to sit down and stand up from the toilet. This reduces strain on the knees, hips, and back. Raised toilet seats also promote independence and prevent accidents by reducing the risk of falls.
Now that you understand the importance of determining the proper height, let’s move on to the next step: gathering the necessary tools and materials.

Loniko Smart Toilet with Bidet Built In, Heated Seat & Dual Auto Flush, Foot Sensor, Tankless Modern Elongated Electric Toilet with Warm Water Wash, Air Dryer, LED Display & 1000g MaP Flush, 1.28 GPF
🧻 [Powerful & Water-Saving Dual Flush System] This one piece smart toilet with bidet built in uses an...
As an affiliate, we earn on qualifying purchases.
Gather the Necessary Tools and Materials
First, you’ll need to gather all the tools and materials you’ll need for the installation. It’s important to choose the right raised toilet seat that suits your needs. Consider factors such as height, weight capacity, and any specific features you require. When installing a raised toilet seat, it’s crucial to take certain precautions to ensure a safe and secure installation. Make sure to read and follow the manufacturer’s instructions carefully. Here are some tools and materials you’ll need for the installation:
| Tools | Materials |
|---|---|
| Screwdriver | Raised toilet seat |
| Adjustable wrench | Bolts and nuts |
| Pliers | Washers |

WITMYA Smart Toilet with Bidet Built In, One Piece Bidet Toilet with Auto Dual Flush, Foam Shield, Modern Elongated Tankless Toilet with Foot Sensor, Heated Bidet Seat, Warm Water & Dryer,LED Display
【Efficient Flush & Energy-Saving Design】There smart toilets feature a highly efficient 1.28 GPF water-saving dual flush system with...
As an affiliate, we earn on qualifying purchases.
Remove the Existing Toilet Seat
Once you’ve gathered the necessary tools and materials, it’s time to remove the existing toilet seat.
To start, locate the two plastic covers at the back of the seat where it attaches to the toilet bowl. Using a flathead screwdriver, gently pry open the covers to reveal the screws.
Next, use a screwdriver to loosen and remove the screws, holding the seat in place. Once the screws are out, lift the seat and cover off the bowl.
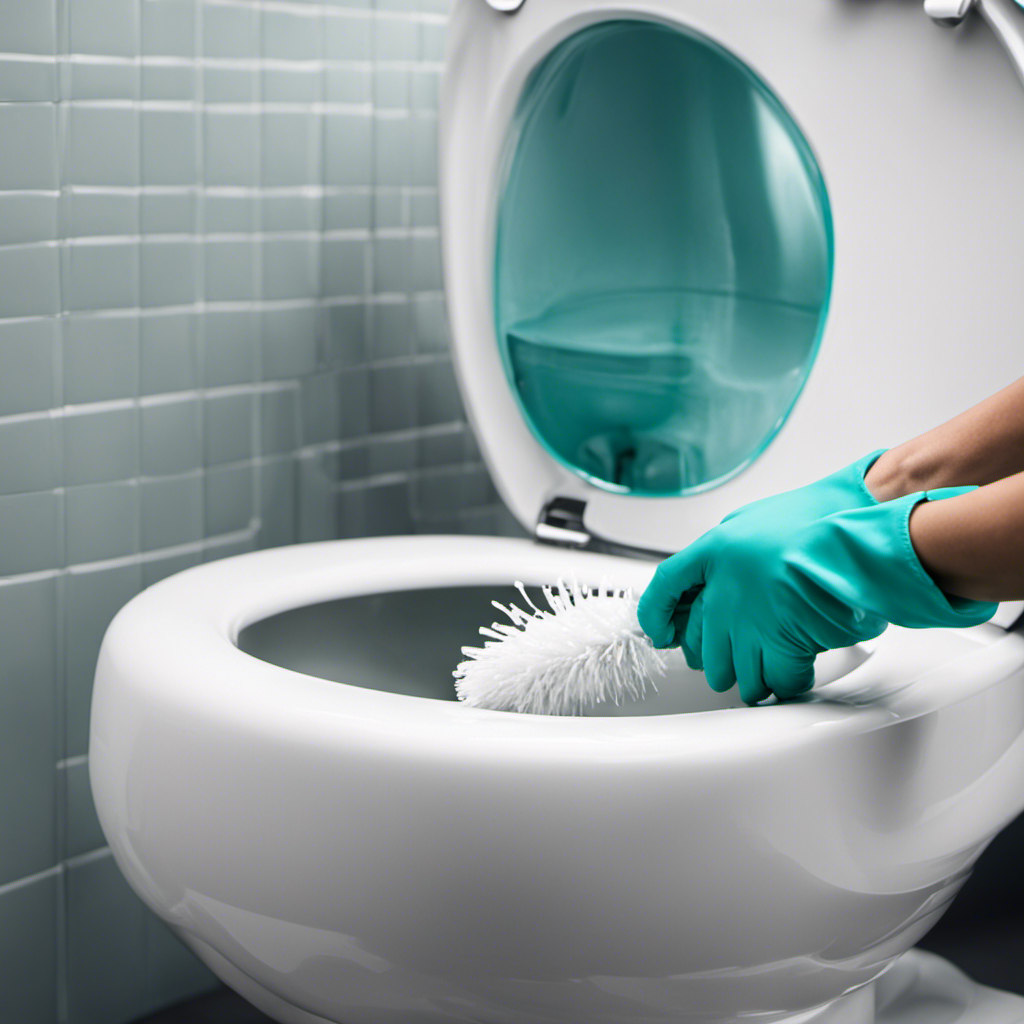
It’s important to note that before installing a raised toilet seat, you should clean the toilet seat thoroughly. Using a mild detergent and warm water, scrub the seat with a soft cloth or sponge. Rinse it well and dry it completely before proceeding. Taking the time to clean the seat ensures optimal hygiene.
Additionally, when choosing a raised toilet seat, consider factors such as height, weight capacity, and any specific needs you or your loved ones may have. Some seats offer extra padding or handles for added comfort and stability. By selecting the right type of raised toilet seat, you can enhance safety and accessibility in the bathroom.

LOUPUSUO Smart Toilet with Warm Water Sprayer and Dryer, One Piece Bidet Toilet with Auto Dual Flush Foot Sensor Operation,Heated Seat Smart with Built In Fahrenheit LED Display
Powerful Flushing System: Designed with low water consumption (1.26 gallons per flush), this system ensures efficient and thorough...
As an affiliate, we earn on qualifying purchases.
Install the Raised Toilet Seat
Before proceeding with the installation, make sure to measure the height of the toilet bowl and check the weight capacity of the seat. Installing a raised toilet seat is a simple process that can greatly improve accessibility and comfort.
To begin, thoroughly clean the toilet bowl and seat using a mild, non-abrasive cleaner. It is important to avoid harsh chemicals as they can damage the seat’s surface.
Next, position the raised toilet seat securely on the toilet bowl, ensuring that it is centered and aligned properly. Tighten the bolts or screws provided with the seat to secure it in place.
Finally, test the seat’s stability by gently sitting on it and adjusting as necessary.
Common misconceptions about using a raised toilet seat include the belief that it is unsanitary or unstable. However, with proper cleaning techniques and correct installation, a raised toilet seat can provide a safe and hygienic solution for individuals with mobility issues.
Test and Adjust as Needed
To ensure stability and comfort, it’s important to test and adjust the raised toilet seat as needed. Start by adjusting the height of the seat to your desired level. Most raised toilet seats have adjustable legs that can be easily extended or retracted.
Make sure the seat is securely attached to the toilet bowl and doesn’t wobble or shift when you sit on it. Testing the stability is crucial for avoiding any accidents or injuries. Sit on the seat and apply some pressure to see if it remains steady. If you notice any instability, check the connections and tighten them if necessary.
It’s also a good idea to periodically check the seat for any signs of wear or damage and replace it if needed for continued safety and support.
Conclusion
In conclusion, installing a raised toilet seat is a straightforward process that can greatly improve accessibility and comfort. By following the steps outlined in this guide, you can ensure a secure and stable installation.
Remember to measure the proper height, gather the necessary tools and materials, remove the existing seat, and then install the raised seat. Don’t forget to test and make any necessary adjustments.
With this simple modification, you’ll be able to enjoy the convenience and ease of a raised toilet seat in no time. So, why wait? Take the plunge and upgrade your bathroom experience today!