I’ve got a simple solution for that annoying running toilet. By replacing the fill valve, you can put an end to the constant sound of water running and save on your water bill. It’s a quick and easy plumbing task that can be done in less than an hour.
In this guide, I’ll walk you through the steps to remove the old fill valve, clean the area, and install a new one. Say goodbye to the frustration of a running toilet and hello to a peaceful bathroom experience.
Key Takeaways
- Unscrew the bolts holding the tank and bowl together and remove the tank carefully to avoid damage.
- Turn off the water supply to the toilet by locating the shutoff valve outside the wall or floor and shutting it off.
- Remove the old fill valve by unscrewing it counterclockwise, disconnecting the fill hose, and detaching the flapper from the rod.
- Clean the area and prepare for installation by ensuring it is clean and dry, inserting the new flapper securely, and draining all the water from the tank before starting.

GIOTOHUN Cat Water Fountain Filter: 12 Cat Fountain Filter Replacement - 12 Pet Fountains Filters Replacement - 6 Filters & 6 Sponges - Suitable for ATMZIQXR GIOTOHUN KOOGMOON UMOCUOY IHOUONE HOOISE
- Compatible with GIOTOHUN Stainless Steel Fountain: Fits GIOTOHUN 2.2L cat water dispenser
- Set of 12 Filters: Includes 6 carbon and 6 sponge filters
- Long-lasting Filters: Suitable for 3-6 months of use
As an affiliate, we earn on qualifying purchases.
Identifying the Signs of a Running Toilet
I can identify a running toilet by checking for signs such as constant water sounds or a continuously spinning water meter. These are common indications that there is a problem with the toilet’s fill valve.
A running toilet not only wastes water but can also lead to higher water bills. Troubleshooting common toilet problems is essential to prevent further damage and ensure the proper functioning of the toilet.
Gathering the Necessary Tools and Materials
Before beginning the task, gather all the tools and materials needed for the job. It is important to have everything prepared to ensure a smooth and efficient process.
Regular maintenance for toilet fill valves is crucial to prevent issues such as leaks and improper flushing. By regularly inspecting and cleaning the fill valve, you can prolong its lifespan and avoid costly repairs.
When replacing a fill valve, there are some common mistakes to avoid. One of them is not properly shutting off the water supply before starting the replacement. This can lead to water damage and unnecessary mess.
Another mistake is not following the manufacturer’s instructions or using the wrong size or type of fill valve. It is important to carefully read the instructions and use the correct replacement part to ensure proper functionality.
Removing the Tank and Disconnecting the Water Supply
To remove the tank and disconnect the water supply, unscrew the bolts holding the tank and bowl together. Use an adjustable wrench or pliers to remove the bolts. There are usually four bolts in total, so be cautious as they may be corroded. Removing the tank safely is important to avoid any damage.
Next, turn off the water supply to the toilet. Locate the shutoff valve outside the wall or floor. If you can’t find it, check the basement for an access panel. Shut off the valve to stop the water flow.
Lastly, ensure the water supply is completely disconnected to proceed with the next steps. Removing the water supply carefully will prevent any leaks or further issues.
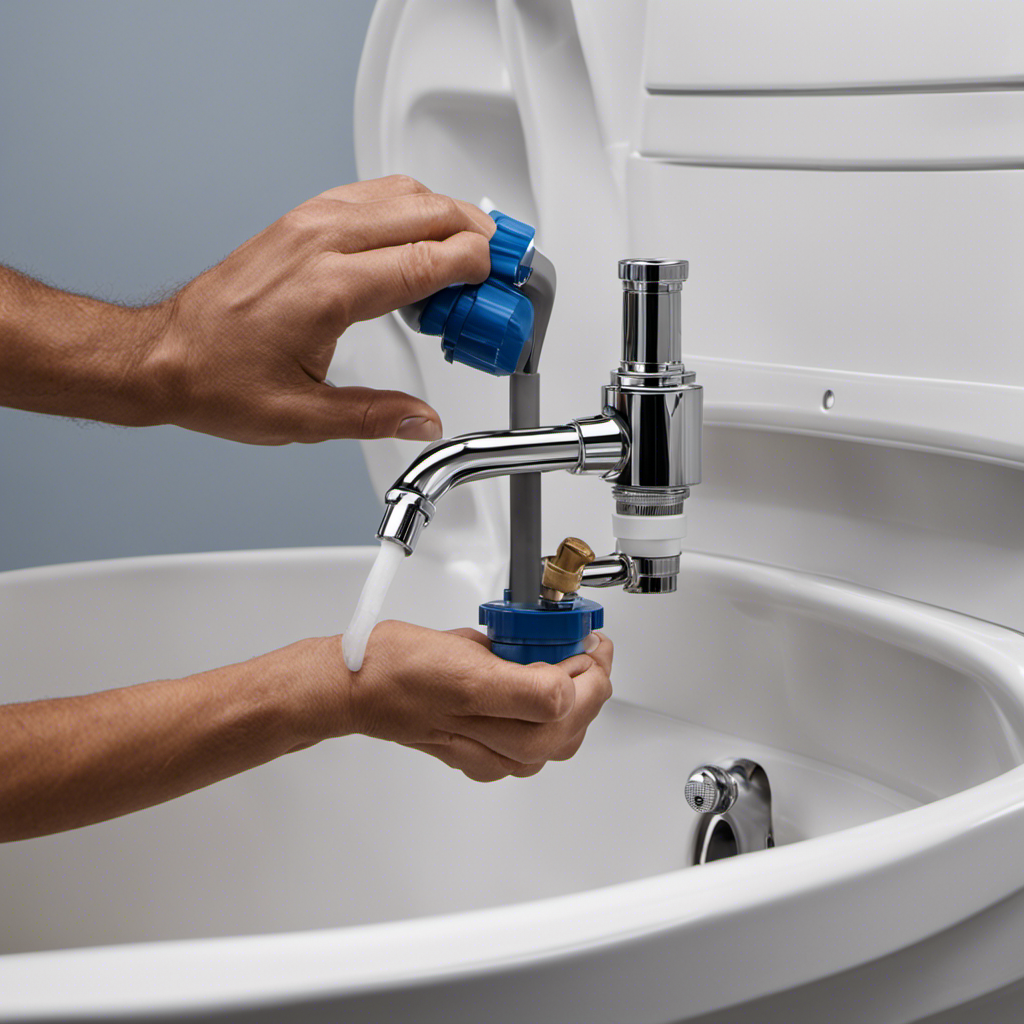
Removing the Old Fill Valve
After unscrewing the old valve counterclockwise, use pliers if necessary to break the seal.
Removing the old fill valve is an essential step in replacing a fill valve and preventing a running toilet. Troubleshooting common issues with fill valves is crucial for maintaining proper toilet functioning. Some common issues include leaks, water running continuously, or insufficient water supply.
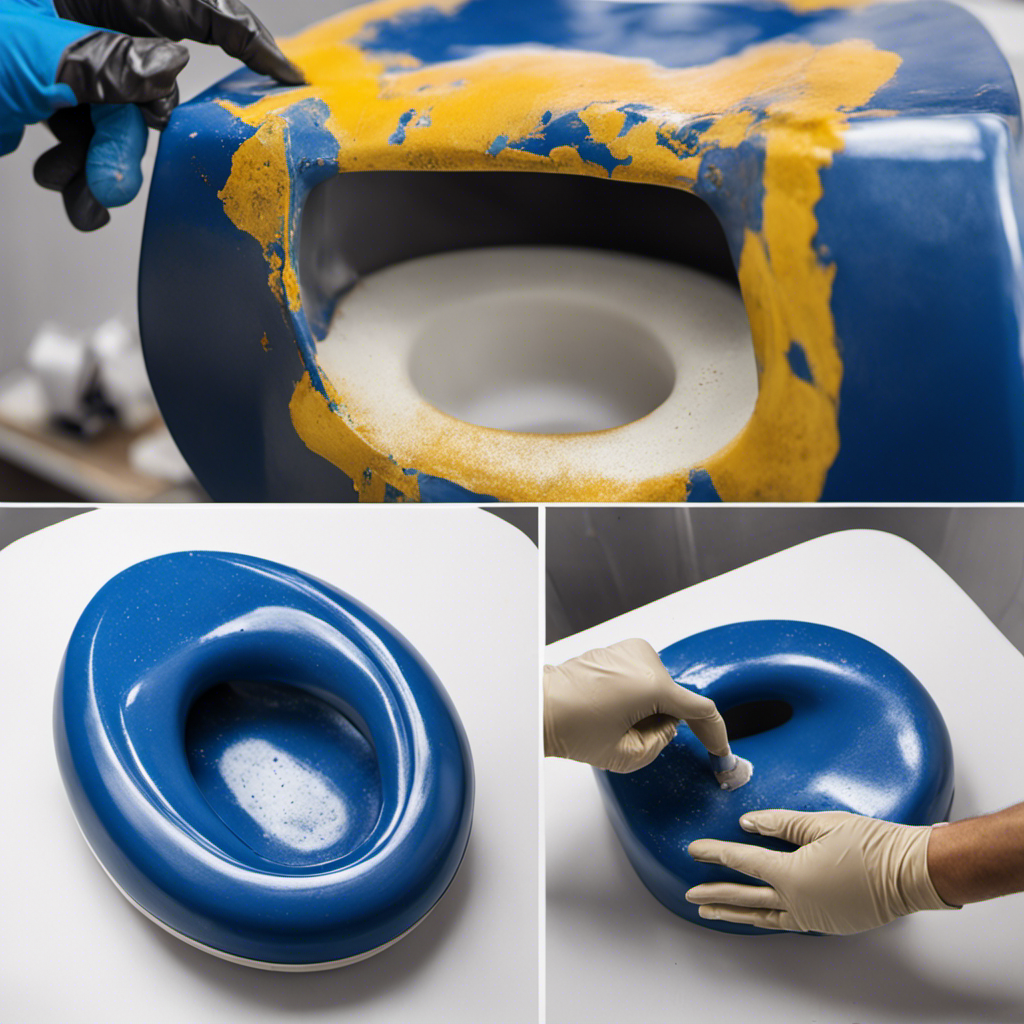
Cleaning the Area and Preparing for Installation
I need to ensure the area is clean and dry before installing the new flapper. To properly clean the area, follow these techniques:
- Remove any dirt or grime from the surrounding area.
- Clean up any debris using a rag or paper towel.
- Avoid letting any foreign particles enter the toilet tank.
- Prepare a clean and suitable surface for the new flapper.
Proper flapper installation is crucial for the toilet to function correctly. After cleaning the area, insert the new flapper through the same hole in the tank. Make sure the flapper fits securely over its seat. Install the flapper onto the mounting nut or bolt. If necessary, attach one end of the chain to the flapper.
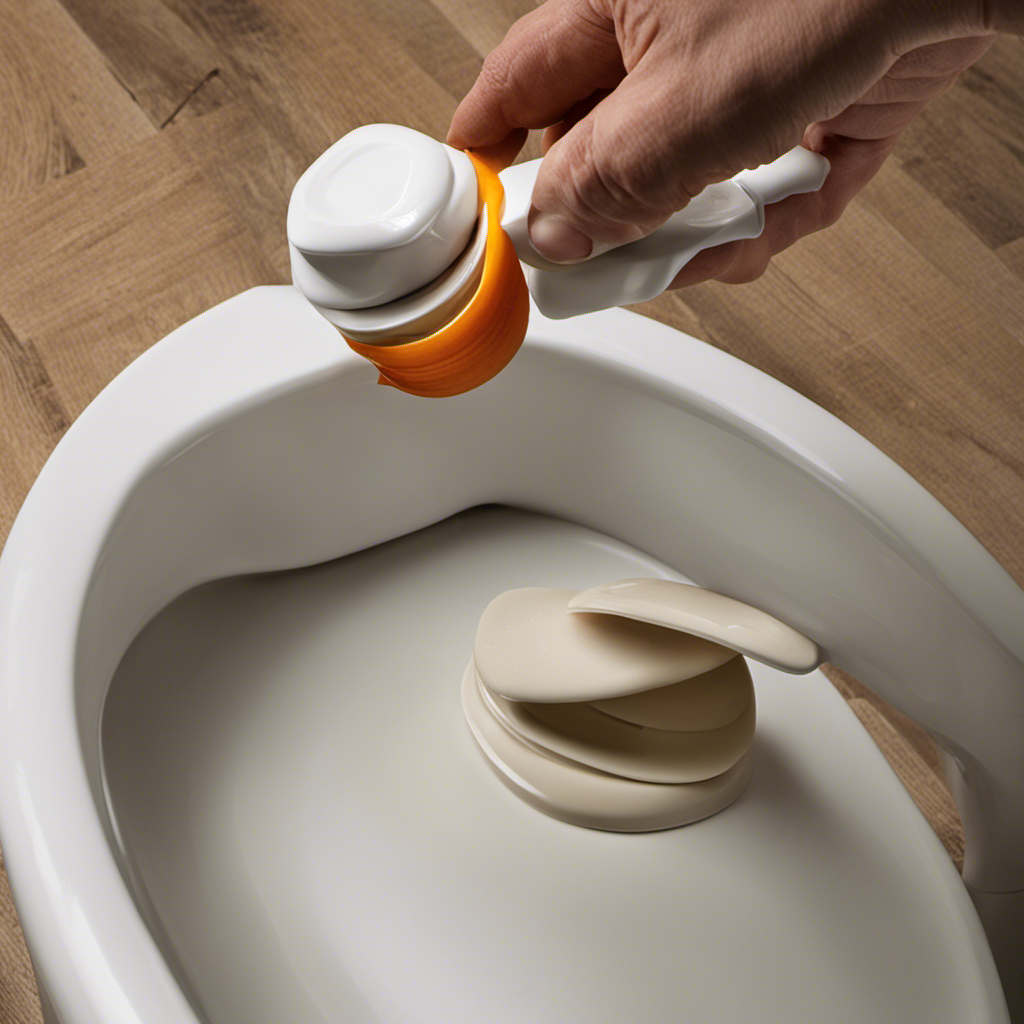
Tips for Replacing a New Fill Valve
Before starting the process, make sure to drain all the water from the tank and disconnect any wires attached to the old fill valve.
When replacing a new fill valve, it’s important to work efficiently and troubleshoot any common issues that may arise.
One key tip for replacing a fill valve quickly is to have all the necessary tools and materials ready before beginning the task. This will help streamline the process and prevent unnecessary delays.
Additionally, it’s important to inspect the new fill valve for any defects or damages before installation. This will ensure smooth operation and prevent future issues.
Troubleshooting common fill valve issues, such as leaks or improper flushing, can be done by checking for broken or worn-out parts and replacing them accordingly.
Frequently Asked Questions
How Do I Know if My Toilet Fill Valve Needs to Be Replaced?
If your toilet is constantly running or not filling properly, it may be a sign of a faulty fill valve. Troubleshooting common fill valve issues can help determine if replacement is necessary.
Can I Use Regular Pliers or Do I Need Adjustable Pliers for Removing the Bolts?
I recommend using adjustable pliers when removing bolts. They provide versatility and a better grip compared to regular pliers. Having the right tools, like adjustable pliers, is important for successfully completing tasks like removing bolts.
What Should I Do if the Bolts Holding the Tank and Bowl Together Are Corroded?
If the bolts holding the tank and bowl together are corroded, I would try spraying them with a rust penetrant and using pliers or a wrench to remove them. If that doesn’t work, I might consider using alternative solutions like cutting the bolts or using a hacksaw.
Is It Necessary to Shut off the Water Supply to the Entire House When Replacing the Fill Valve?
Yes, it is necessary to shut off the water supply to prevent any water flow when replacing the fill valve. This ensures a safe and effective installation process without any potential leaks or damage.
Are There Any Specific Cleaning Products or Solutions That Should Be Used to Clean the Area Before Installation?
When cleaning the area before installing a new fill valve, it is recommended to use mild cleaning products or solutions. This helps ensure a clean and suitable surface for proper installation.
Conclusion
In conclusion, replacing the fill valve is a straightforward solution to prevent a running toilet.
By identifying the signs and gathering the necessary tools, you can easily tackle this plumbing task.
Removing the tank and disconnecting the water supply, followed by removing the old fill valve and cleaning the area, sets the stage for a successful installation.
Remember to drain the water from the tank and check for any broken parts.
With these steps, you’ll be able to fix your running toilet in no time.
So why wait? Take charge and bid farewell to that pesky running toilet today!