
To install a new toilet, start by turning off the water supply and removing the old unit carefully, cleaning the flange area. Next, position the wax ring and set the new toilet firmly onto the flange, making sure it’s level. Secure it with bolts, reconnect the water supply, and check for leaks. Tighten everything properly and clean up the area. If you want to follow each step smoothly, you’ll find a clear guide to finish confidently.
Key Takeaways
- Turn off the water supply, drain the old toilet, and disconnect the water line before removal.
- Inspect and prepare the flange and floor, ensuring they are level and debris-free.
- Position the new toilet, seat it on the wax ring, and secure it with bolts, ensuring it remains level.
- Connect the water supply line, turn on the water, and check for leaks during operation.
- Seal the base with a wax ring, tighten bolts, and clean the area for a finished, leak-free installation.

DANCO All-in-One Toilet Installation Kit, Perfect Seal Wax Ring & Zero Cut Bolts, Toilet Repair, Wax-Free, Mounting Toilet Bolts (10879X)
NO MESS: Perfect Seal has a hidden wax ring which causes no mess and 3X's stronger seal than…
As an affiliate, we earn on qualifying purchases.
As an affiliate, we earn on qualifying purchases.
Gathering Your Tools and Materials
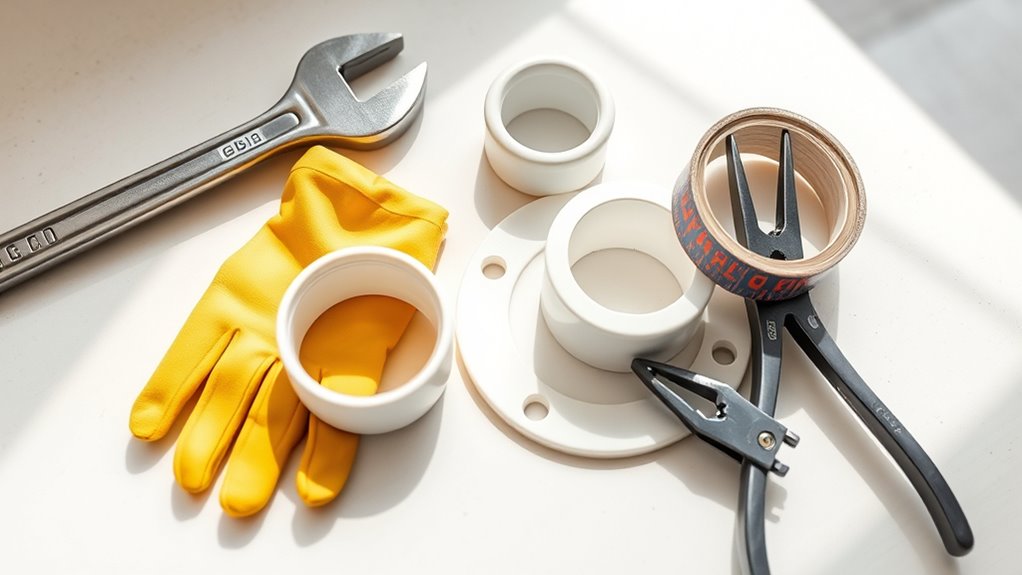
Before you begin installing your new toilet, you need to gather all the necessary tools and materials. Having the right plumbing essentials on hand makes the process smoother and prevents delays. Create a tool checklist that includes a wrench, adjustable pliers, a putty knife, a bucket, a sponge, and a level. You’ll also need replacement wax rings, bolts, and possibly a hacksaw if adjustments are needed. Make sure your new toilet is ready, along with any sealants or adhesives specified by the manufacturer. Organizing your tools beforehand saves time and keeps the project on track. Double-check that you have everything before starting, so you won’t have to pause mid-installation to hunt for missing items. A prepared toolbox ensures a stress-free, efficient installation. Additionally, reviewing safety precautions can help prevent accidents during the process. Being familiar with home improvement safety can further reduce the risk of injury. Incorporating essential tools for plumbing into your checklist can also streamline the setup process. Remember that HEPA filtration devices can improve indoor air quality during home projects by reducing dust and allergens created during installation.
Extra Thick Toilet Wax Ring Kit with Flange and Bolts for Floor Outlet Toilets New Install or Re-seat, Fits 3-inch or 4-inch Waste Lines
Signs of a Bad Toilet Wax Ring?: If you can smell a sewer-like smell coming from your toilet,…
As an affiliate, we earn on qualifying purchases.
As an affiliate, we earn on qualifying purchases.
Turning Off Water and Removing the Old Toilet

First, turn off the main water valve to stop the flow. Next, empty the toilet tank by flushing it completely. Then, disconnect the water supply line to prepare for removal. To avoid potential damage, make sure to properly secure the water supply line during this process. Additionally, inspecting the plumbing connections can help prevent leaks when installing the new toilet.
Shut Off Main Valve
To begin removing the old toilet, you’ll need to shut off the main water valve to prevent any leaks or water flow. Turning off the main valve is essential for controlling water pressure and avoiding messes. Locate the main water shut-off valve, usually near the water meter or where the water line enters your home. Once shut, open the toilet tank to release any remaining water and confirm the water flow has stopped. Additionally, be aware that family photoshoot fails can sometimes cause unexpected delays or humorous situations during DIY projects. Here’s what to do next:
- Confirm the main valve is fully closed
- Check for water flow at the toilet
- Use a bucket or towels to catch residual water
- Turn on a faucet to verify water stops
- Keep tools ready for the next step
Empty Toilet Tank
Since the main water is already shut off, you can now focus on emptying the toilet tank. Lift the toilet tank lid carefully and set it aside. Locate the water level line inside the tank; it’s usually marked on the inside. Use a sponge or towel to soak up any remaining water at the bottom of the tank. Gently tilt the sponge to drain the water into a bucket. If needed, use a small cup to scoop out any leftover water. Removing as much water as possible prevents spills when you lift the tank. Be sure to check the water level line before proceeding to ensure the tank is completely drained. This step helps prevent leaks or spills during removal. To further prevent unnecessary messes, you can also consider organizing your space by having a bucket and towels nearby for quick cleanup. Once the water level is low, you’re ready to disconnect the tank from the bowl and proceed with removing the old toilet.
Disconnect Water Supply
Before removing the old toilet, you need to turn off the water supply to prevent any leaks or flooding. Locate the shut off valve, usually near the base of the toilet, and turn it clockwise to shut off the water flow. Next, carefully disconnect the water line from the shut off valve using an adjustable wrench. Before fully removing the toilet, flush it to drain any remaining water in the tank. Here are the steps to follow:
- Find the shut off valve near the toilet.
- Turn the valve clockwise to stop water flow.
- Use a wrench to disconnect the water line.
- Flush the toilet to drain residual water.
- Have a towel or bucket ready for any drips.
- Be aware that security systems can influence how safe you feel during this process, especially in terms of potential emergencies or unexpected issues. Additionally, understanding industry trends can help you anticipate common problems and solutions during plumbing projects. Taking a moment to review safety precautions can further ensure a secure work environment. Ensuring the durability of your new setup by inspecting connections can prevent future issues. Recognizing potential trust issues in your plumbing setup can help you address leaks or malfunctions proactively.

One N Done Toilet Flange Repair Kit – Toilet Kit For Low or Broken Flange. Toilet Wax Ring Replacement Kit W/Toilet Flange Extender Kit, Easy Toilet Bolts, & Toilet Caps For Bottom of Toilet. (1 Ea.)
Save Time & Money | No wax ring for toilet required. The One N Done toilet flange repair…
As an affiliate, we earn on qualifying purchases.
As an affiliate, we earn on qualifying purchases.
Preparing the Toilet Area for the New Unit
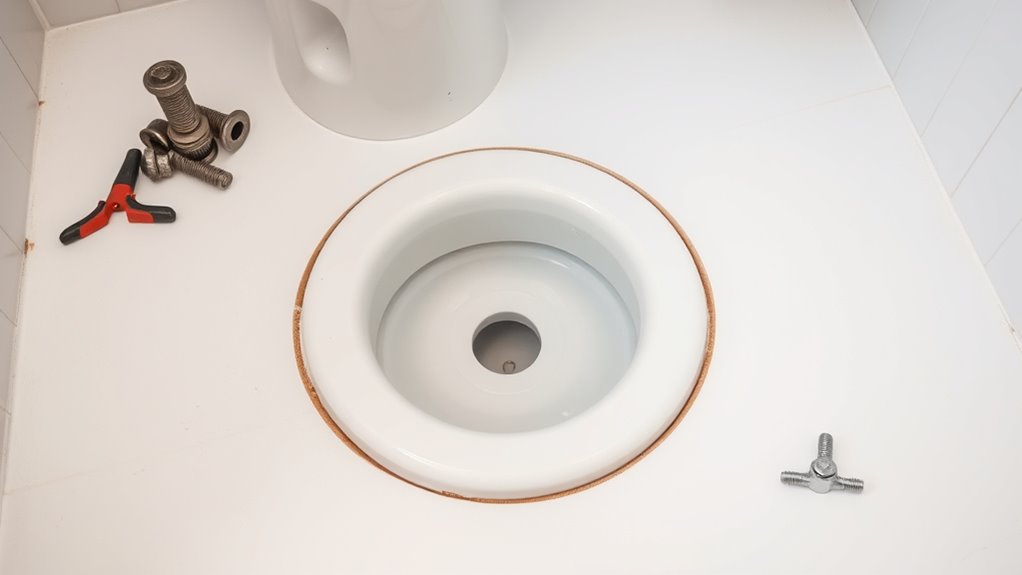
Preparing the toilet area is a crucial step to guarantee a smooth installation. Start by inspecting the floor for any damage or uneven spots that need repair. Clear the area of any debris or leftover materials from previous fixtures. Proper floor preparation ensures stability and prevents leaks. Next, review your tool checklist to confirm you have everything ready—wrenches, screwdrivers, gloves, and a bucket. Remove any old wax or residual debris around the flange to create a clean surface. If the floor is uneven, level it with shims or patches. This preparation makes installing the new toilet easier and more secure. Additionally, understanding local building codes and permits can help ensure your installation complies with safety regulations. Being aware of practical support resources can also be beneficial if you encounter unforeseen issues during setup. Considering proper floor leveling techniques can further improve the stability and longevity of your new toilet. Ensuring the floor is level and stable before installation is essential for the toilet’s proper function and durability. Incorporating correct installation procedures is key to preventing future problems. Taking these steps beforehand saves time and reduces the risk of issues during the installation process.

Amazon Basics Plumbing Adjustable Wrench with Soft Grip, Wide Mouth, 6.34 x 2.83 x 0.59 inches (LxWxH)
6 inch (150mm) wide jaw adjustable plumbing wrench with inch/metric measurement scale
As an affiliate, we earn on qualifying purchases.
As an affiliate, we earn on qualifying purchases.
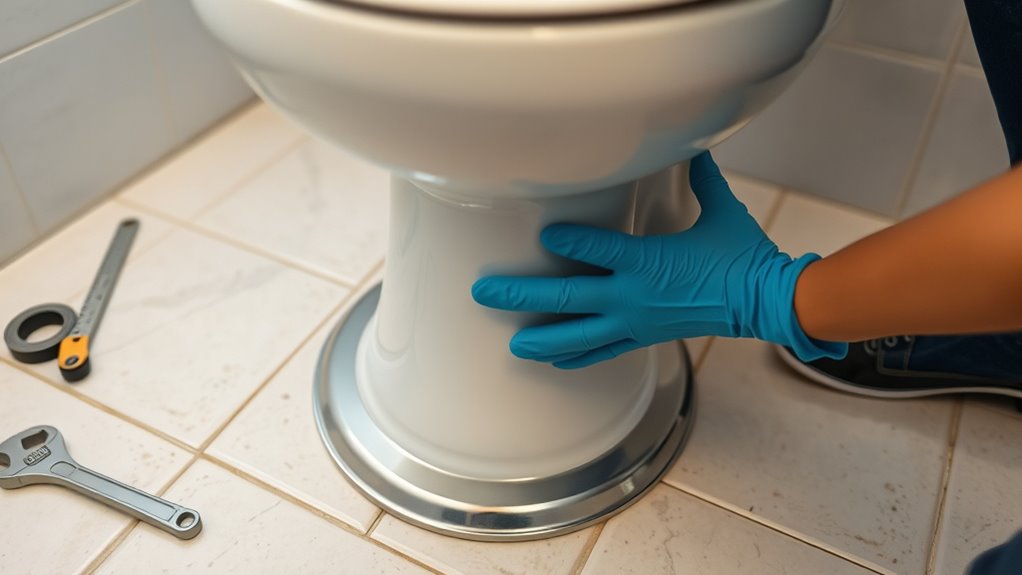
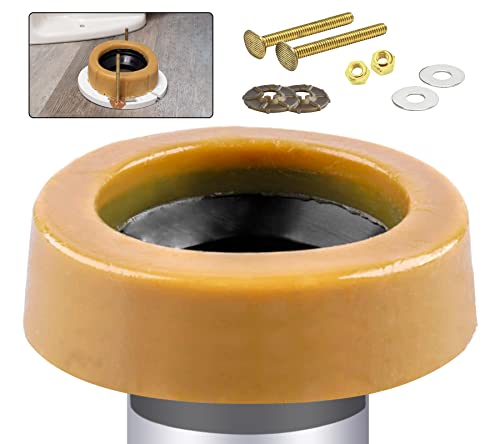
Installing the Wax Ring and Toilet Bowl
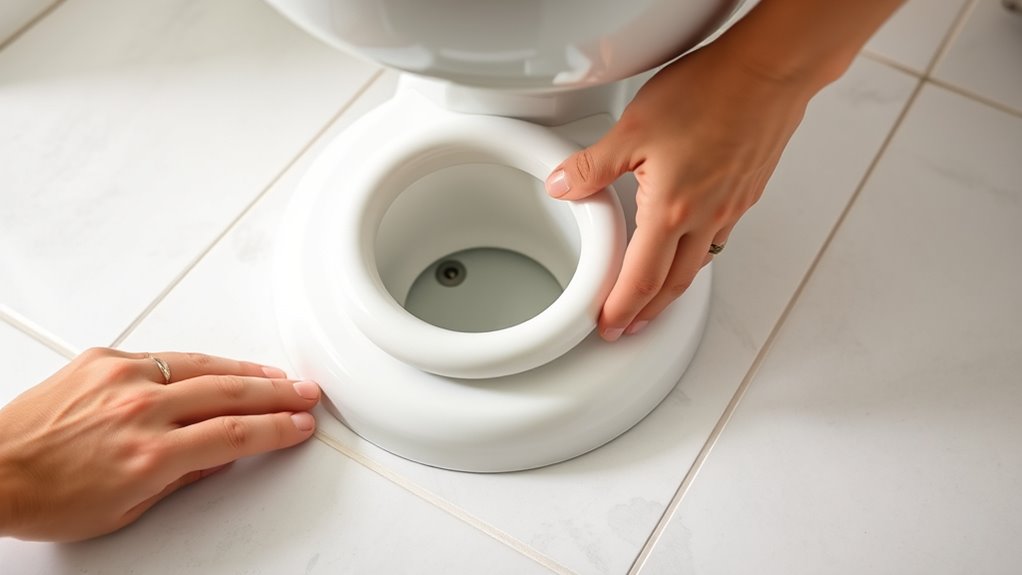
To begin installing the wax ring and toilet bowl, position the wax ring correctly on the flange, making sure it’s centered and seated firmly. Proper wax ring installation is essential to prevent leaks. Next, carefully lift the toilet bowl and align it with the bolts, ensuring correct toilet bowl positioning. As you lower the toilet, gently press down to compress the wax ring and create a seal. To make this process smoother, keep these tips in mind:
- Ensure the wax ring is fully seated on the flange before lifting the toilet
- Align the bolt holes with the flange bolts
- Lower the toilet straight down without tilting
- Apply gentle pressure for a secure fit
- Check that the toilet is level before proceeding
- Paying attention to market trends can help you understand what homeowners seek in bathroom upgrades, making your installation advice more appealing to readers. Additionally, understanding self watering plant pots can inspire maintenance tips for bathroom plants or decorative elements. Following these steps guarantees a secure, leak-free installation.
Securing the Toilet to the Floor
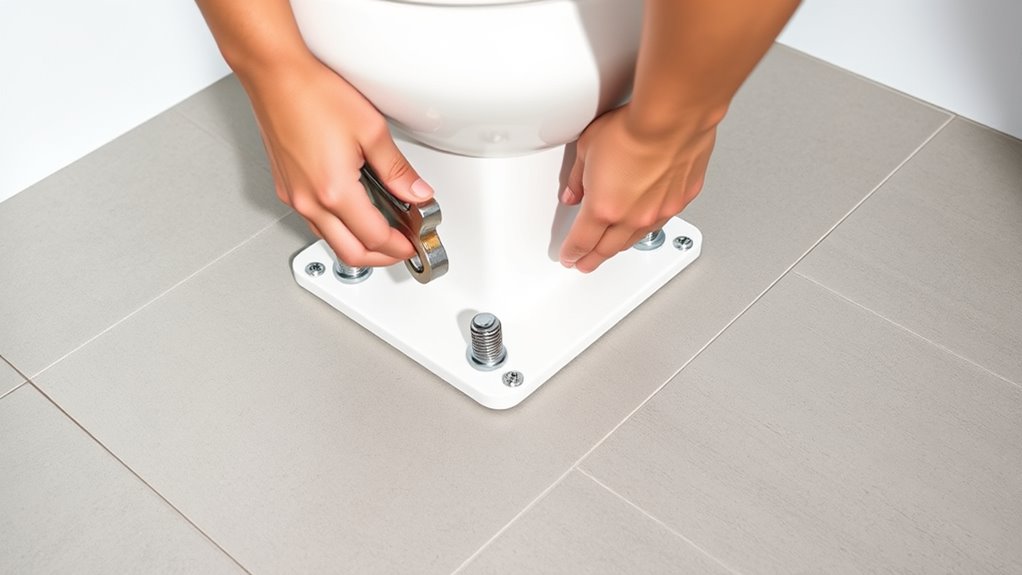
Once the toilet bowl is properly positioned and the wax ring compressed, you need to secure it firmly to the floor. To guarantee toilet stability, insert toilet bolts through the flange, which should be correctly positioned and centered. Tighten the nuts evenly on each side, but avoid overtightening, as this can crack the porcelain or disturb the flange. Proper flange positioning is essential; it keeps the toilet aligned and prevents leaks. As you tighten, check that the toilet remains level and doesn’t wobble. If needed, add shims underneath to stabilize it. Firmly securing the toilet to the floor helps prevent movement and leaks, ensuring a safe, long-lasting installation. Once secure, you’re ready to move on to connecting the water supply.
Connecting the Water Supply and Testing for Leaks

Have you connected the water supply line to your new toilet yet? Now, it’s time to turn on the water and check for leaks. Adjust the shut-off valve slowly to prevent sudden water pressure changes. Make sure the pipe fittings are tight but avoid over-tightening, which could cause damage. As water flows in, observe the connections closely for any leaks or drips. Here are some tips:
- Use a wrench to tighten fittings if needed
- Check the shut-off valve for proper closure
- Ensure the fill valve operates smoothly
- Watch for leaks around the base of the supply line
- Flush the toilet to test for proper water flow and pressure
Testing carefully now saves you headaches later.
Final Checks and Clean-Up
Before finishing up, you should check for any leaks around the base and water connections to guarantee everything’s secure. Make sure you seal the base properly to prevent movement or water damage. Finally, clean the area thoroughly to leave your new toilet and bathroom looking neat and fresh.
Inspect for Leaks
To guarantee your installation is secure, start by inspecting all connections for leaks. Carefully check around the base, water supply line, and tank connections. Use your eye and a paper towel to detect any moisture or drips. Effective leak detection is key to preventing future issues. If you notice any leaks, employ simple repair techniques like tightening fittings or replacing worn washers. Here are some steps to follow:
- Examine the water supply valve for drips or moisture
- Check the tank bolts for tightness
- Inspect the wax ring area for signs of leaks
- Look for water pooling around the base
- Test the flush to see if water escapes from connections
Addressing leaks early guarantees your toilet stays secure and functions properly.
Seal Base Properly
Once you’ve confirmed there are no leaks and everything is secure, it’s time to focus on sealing the base of the toilet properly. Place a new wax ring around the drain opening on the flange. Carefully lower the toilet onto the flange, ensuring the bolts align with the holes in the base. Apply gentle pressure to compress the wax ring and create a tight seal. Make sure the toilet sits evenly and securely without rocking. Once in position, tighten the bolts gradually and evenly to avoid cracking the porcelain. Check that the sealing base is flush with the floor. This ensures a proper seal, preventing leaks and odors. Double-check all connections before proceeding to final clean-up.
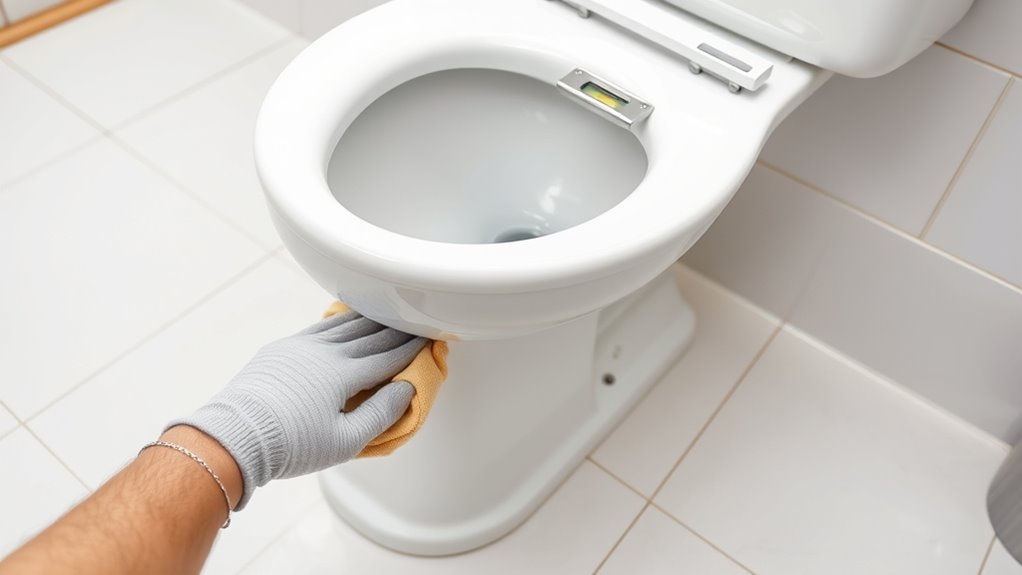
Clean the Area
After securing the toilet and ensuring all connections are tight, it’s important to clean the work area thoroughly. Start by mopping up any spills to prevent slips and stains. Next, disinfect the area around the base and floor to eliminate germs and lingering odors. Use a clean cloth or disinfectant wipes for surfaces you’ve touched. Check for leftover debris or dust and remove it promptly. Finally, wipe down your tools and put away any supplies. This final step guarantees your bathroom is safe and hygienic. Remember to dispose of any used wipes or cloths properly. A clean workspace not only looks better but also helps maintain a healthy environment. Taking these steps wraps up your project with a professional finish.
Frequently Asked Questions
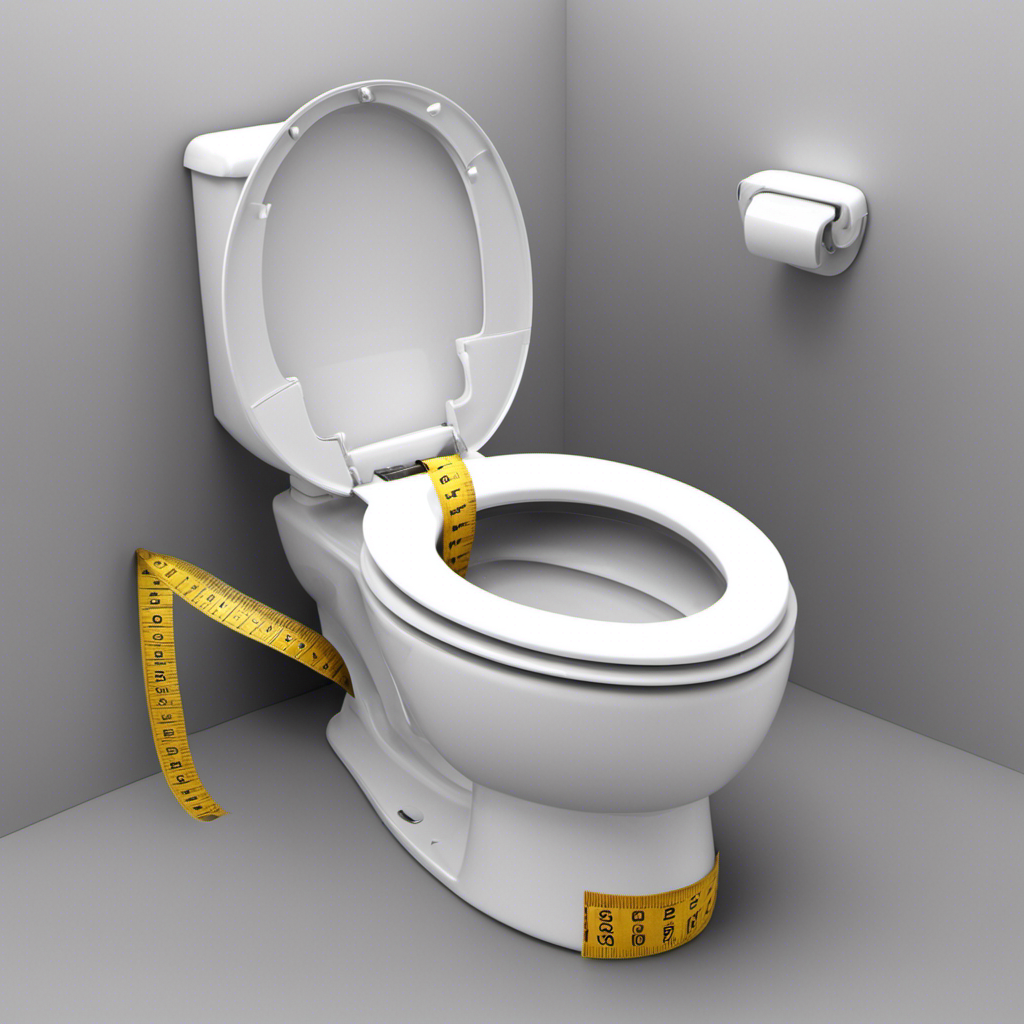
How Do I Choose the Right Toilet Size for My Bathroom?
When choosing the right toilet size, consider your bathroom space and user needs. Measure the area to guarantee it fits comfortably, leaving room for cleaning and accessories. Look for toilets made with durable materials like porcelain or ceramic for longevity. Prioritize water efficiency features, such as low-flow models, to save on water bills. Smaller, compact toilets are ideal for tight spaces, while larger ones offer more comfort.
What Should I Do if the Flange Is Damaged?
A damaged flange is a nightmare waiting to happen! First, you need to assess whether it’s repairable or if replacement options are better. For minor damage, flange repair kits work wonders, sealing cracks and restoring stability. However, if the damage is severe, you’ll want to substitute the flange entirely. Carefully remove the old flange, then install a new one to ensure your toilet stays securely in place and prevents leaks.
Can I Install a Toilet on Uneven Flooring?
You can install a toilet on uneven flooring by first doing floor leveling to create a stable surface. If the flange is damaged or uneven, consider flange repair or replacement to guarantee a proper seal. Use shims or a toilet base shim kit to level the toilet, but always ensure the flange is secure and flush with the floor. Proper floor leveling and flange repair are essential for a leak-free, lasting installation.
How Long Does the Entire Installation Process Typically Take?
The entire toilet installation usually takes about 2 to 4 hours. You’ll need plumbing tools to disconnect the old toilet from the water supply and to secure the new one properly. If your water supply is easily accessible, the process goes faster. Be patient, especially if you encounter any unexpected issues like sealing or leveling problems. With the right tools and a little planning, you can complete the job efficiently.
What Are Common Mistakes to Avoid During Installation?
Don’t let small mistakes trip you up. During installation, avoid rushing flange repair or skipping sealant application, as these can cause leaks later. Double-check your flange alignment and make sure the wax ring seals tightly. Also, don’t forget to tighten bolts evenly. Keeping these common pitfalls in mind helps your new toilet sit pretty and function properly, saving you from headaches down the line.
Conclusion
Think of your new toilet as the centerpiece of a well-crafted garden. When installed correctly, it stands strong and steady, ready to serve your needs. With each step, you’ve laid a solid foundation—like planting roots that will flourish. Now, enjoy the peace of mind knowing your bathroom is refreshed and ready for use. Just like tending a garden, your careful effort guarantees everything stays in bloom, providing comfort and reliability for years to come.