I’ve discovered that 1 in 4 households experience issues with their toilet flanges, causing leaks and potential water damage. That’s why it’s crucial to know how to install a toilet flange extender properly.
In this article, I will guide you through each step, using my own experience and expertise. By the end, you’ll have the knowledge and confidence to tackle this task yourself, ensuring a secure and leak-free toilet flange.
Let’s get started!
Key Takeaways
- Toilet flange extender raises the height of the flange, preventing leaks and ensuring a tight seal.
- Gathering the necessary tools and materials, such as a wrench, screwdriver, and measuring tape, is essential for successful installation or repair.
- PVC flanges are common and suitable for most installations, while cast iron flanges are more durable and suitable for older homes.
- Removing the old toilet flange and installing the new flange extender requires careful inspection, alignment, and securing with screws for a watertight seal.
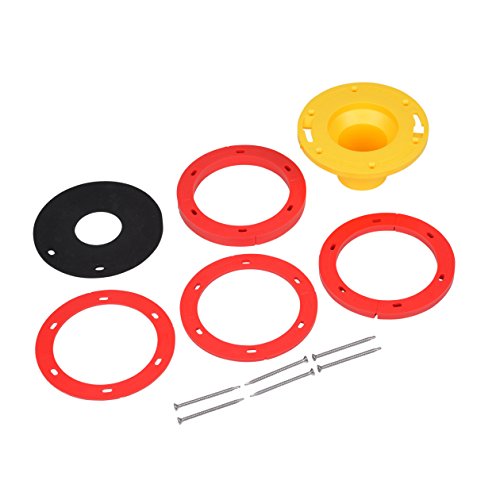
Oatey Toilet Flange Extender Kit 1/4- 1 5/8 in,Red and Yellow
Set-Rite kit extends toilet flange surface above finished floor
As an affiliate, we earn on qualifying purchases.
As an affiliate, we earn on qualifying purchases.
Understanding the Toilet Flange Extender
The toilet flange extender is a useful tool that can help raise the height of your toilet flange. Installing a toilet flange extender has several benefits.
First, it allows for proper alignment of the toilet with the floor, preventing leaks and ensuring a tight seal.
Second, it provides additional stability to the toilet, reducing the risk of wobbling or shifting.
Lastly, it eliminates the need for costly and time-consuming repairs or replacements of the entire flange.
To install a toilet flange extender, start by removing the toilet and cleaning the area around the flange.
Next, place the extender on top of the existing flange and secure it with screws or bolts.
Finally, reattach the toilet and test for any leaks.
Overall, using a toilet flange extender simplifies the installation process and improves the performance of your toilet.

Oatey Fix-it Flange Repair Ring
Fix-it ring repairs broken, cracked or worn out toilet flanges
As an affiliate, we earn on qualifying purchases.
As an affiliate, we earn on qualifying purchases.
Gathering the Necessary Tools and Materials
When it comes to installing a toilet flange extender, there are a few essential tools that you’ll need to have on hand. These tools include a wrench, a screwdriver, and a measuring tape.
In addition to the tools, it’s important to gather all the required materials, such as the toilet flange extender itself, wax rings, and bolts.
Essential Tools for Installation
To install a toilet flange extender, you’ll need a few essential tools. These tools will help you with both toilet flange installation and toilet flange repair.
First, you will need a pair of adjustable pliers to loosen and tighten bolts. A screwdriver is necessary to remove the screws holding the flange in place. Next, you’ll need a wrench to remove and install the toilet bolts. A hacksaw will come in handy if you need to trim the extender to fit properly. Finally, a measuring tape will ensure accurate placement of the flange extender.
These tools are essential for a successful installation or repair of a toilet flange extender.
Now that we have discussed the essential tools, let’s move on to the required materials checklist.
Required Materials Checklist
You’ll need a measuring tape to ensure accurate placement of the flange extender.
Installing a toilet flange extender requires a few simple steps.
First, measure the distance between the existing flange and the finished floor. This will determine the size of the extender you need.
Next, remove any wax residue from the existing flange.
Then, carefully align the extender over the existing flange and secure it in place using screws or bolts. Make sure it is flush with the finished floor.
Finally, reinstall the toilet, ensuring a secure fit over the new flange extender. Troubleshooting common issues during installation may include ensuring that the extender is properly aligned and using the correct size for your specific toilet.
Now that you know the installation steps, let’s move on to gathering everything you’ll need.
Gathering Everything You’ll Need
Now that we have everything, let’s get started with the installation process. Before we begin, it’s important to familiarize ourselves with the different types of toilet flanges available in the market. This will help us troubleshoot any common issues that may arise during the installation.
Toilet flange types:
- PVC flanges: These are the most common type and are suitable for most installations.
- Cast iron flanges: These are more durable and suitable for older homes with cast iron pipes.
Troubleshooting common issues:
- Leaks: Ensure that the flange is securely attached to the floor and that the wax ring is properly sealed.
- Uneven height: Use a flange extender to raise the flange to the correct height.
- Cracked flange: Replace the flange immediately to prevent leaks.
MENNTY Toilet Flange with Wax Ring for Toilets Replacement Kit Includes Bolts PVC Toilet Flange Repair Kit for 3" or 4" Pipes, Fit Toilet Install & Repair
Fits 3-inch or 4-inch Waste Lines: Toilet flange with wax ring for any new installation or REPAIR on…
As an affiliate, we earn on qualifying purchases.
As an affiliate, we earn on qualifying purchases.
Removing the Old Toilet Flange
First, carefully detach the toilet from the floor to access the old flange. This step is crucial in order to remove the rusted flange and repair any damaged subfloor. Here’s a step-by-step guide on how to remove the old toilet flange:
- Turn off the water supply to the toilet and flush to empty the tank.
- Disconnect the water supply line from the bottom of the toilet tank.
- Remove the nuts from the bolts securing the toilet to the floor.
- Lift the toilet straight up and set it aside.
- Inspect the flange for any signs of rust or damage.
- Using a wrench, loosen and remove the bolts holding the flange in place.
- Carefully lift the old flange out of the floor, taking care not to damage the subfloor.
- Inspect the subfloor for any signs of damage. If necessary, repair or replace the damaged section.
- Clean the area around the flange to ensure a smooth installation of the new flange extender.
Table:
| Step | Description |
|---|---|
| 1. | Turn off water supply and flush. |
| 2. | Disconnect water supply line. |
| 3. | Remove nuts from bolts securing toilet. |
| 4. | Lift toilet and set aside. |
| 5. | Inspect flange for rust or damage. |
| 6. | Loosen and remove bolts holding flange. |
| 7. | Lift old flange out of the floor. |
| 8. | Inspect subfloor for damage. |
| 9. | Clean area around flange. |

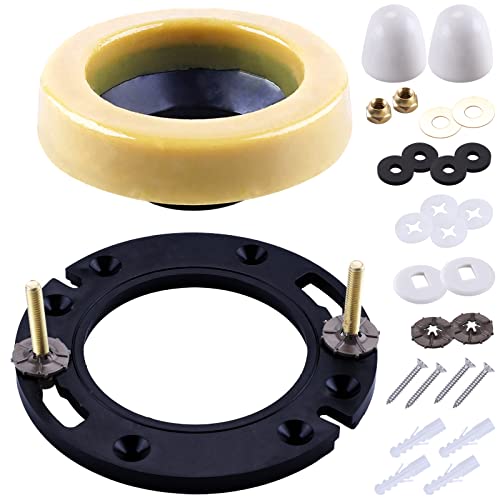
Extra Thick Toilet Wax Ring Kit Include Closet Bolts, Bolt Caps, Thick Flange and Retainer Washers, Fits 3 Inch and 4 Inch Waste Lines for Toilet Gas Odor and Watertight Sealing
Signs of a Bad Toilet Wax Ring?: If you can smell a sewer-like smell coming from your toilet,…
As an affiliate, we earn on qualifying purchases.
As an affiliate, we earn on qualifying purchases.
Installing the Toilet Flange Extender
Once the old flange has been removed and the subfloor inspected, it’s time to clean the area around the flange to ensure a smooth installation of the new flange extender.
To properly install the toilet flange extender, follow these steps:
-
Gather the necessary tools and materials, including a new flange extender, screws, a screwdriver, and a wax ring.
-
Place the flange extender over the existing flange, aligning the screw holes with those on the flange.
-
Secure the extender in place by inserting screws through the holes and tightening them.
-
Check for any gaps or unevenness between the extender and the floor. If necessary, use shims to level the flange.
-
Apply plumber’s putty or silicone sealant around the base of the extender to create a watertight seal.
-
Finally, set the wax ring on top of the flange extender, ready for the toilet installation.
By following these installing techniques and troubleshooting tips, you can ensure a proper and secure installation of the toilet flange extender.
Now, let’s move on to securing the toilet flange extender in place.
Securing the Toilet Flange Extender in Place
To properly secure the flange extender, make sure all screws are tightly fastened in place. This step is crucial to ensure that the extender remains stable and prevents any leaks. Here are some securing techniques and troubleshooting tips to help you with the installation process.
- Start by aligning the extender with the existing flange and place it on top.
- Insert the screws provided through the holes in the extender and into the flange.
- Use a screwdriver or a drill to tighten the screws securely. Be careful not to overtighten as it may damage the extender or the flange.
- Double-check that all screws are tightened evenly to ensure a secure fit.
- If you encounter any difficulties or notice any gaps, try adjusting the position of the extender and re-tightening the screws.
Once you have successfully secured the flange extender, you can proceed to reassembling the toilet and testing for leaks.
Reassembling the Toilet and Testing for Leaks
After securing the flange extender, you can proceed with putting the toilet back together and testing for any leaks. Here’s a step-by-step guide on how to reassemble the toilet and troubleshoot any flange leaks:
-
Reattach the wax ring: Place the wax ring on the flange extender, ensuring it is centered properly.
-
Lower the toilet bowl: Carefully lower the toilet bowl onto the wax ring, aligning the bolts with the holes on the flange.
-
Tighten the bolts: Attach the washers and nuts to the bolts, then tighten them evenly using a wrench.
-
Reconnect the water supply: Reattach the water supply line to the toilet tank, ensuring it is tight to prevent any leaks.
-
Test for leaks: Slowly turn on the water supply valve and flush the toilet. Check for any signs of water leaks around the base of the toilet or at the flange connection.
-
Troubleshoot leaks: If you notice any leaks, try tightening the bolts further or replacing the wax ring if necessary.
Conclusion
In conclusion, installing a toilet flange extender is like giving your toilet a sturdy foundation, ensuring it stands tall and proud.
Armed with the right tools and materials, you can easily remove the old flange and replace it with the extender, securing it tightly in place.
Once you’ve reassembled your toilet, it’s time to put it to the test, checking for any leaks.
With this step-by-step guide, you’ll have the confidence to tackle this DIY project and enjoy a perfectly functioning toilet for years to come.