I’ve been there before – standing in a flooded bathroom, desperately wondering how to fix the mess. That’s why I’m here to share the step-by-step guide on how to install toilet plumbing.
In this article, I’ll walk you through the process, from gathering the necessary tools and shutting off the water supply to connecting the toilet bowl and tank.
So, grab your wrench and let’s get started on this plumbing adventure!
Key Takeaways
- Gather the necessary tools and materials before starting the installation process.
- Ensure that the flange is in good condition and clean it before installing the new toilet.
- Use a new wax ring to create a watertight seal between the toilet and the flange.
- Test and adjust the connection by checking for leaks, testing the flushing power and water flow, and adjusting the water level or flush valve if necessary.
Gathering the Necessary Tools and Materials
Before you begin installing the toilet plumbing, make sure you have all the necessary tools and materials.
Proper toilet plumbing maintenance is essential to avoid common issues such as leaks and clogs. To troubleshoot these problems, you will need a few key tools.
Firstly, a plunger is a must-have for unclogging toilets. It creates pressure to dislodge any blockages.
Additionally, a toilet auger is useful for more stubborn clogs that cannot be cleared with a plunger. This tool has a long, flexible cable that can reach deeper into the pipes.
Lastly, it is important to have a wrench for tightening any loose connections or fixing leaks.
With these tools in your arsenal, you will be well-prepared to tackle any toilet plumbing issues that may arise.
Shutting Off the Water Supply
To shut off the water supply, you’ll need to locate the shut-off valve and turn it clockwise until it’s fully closed. The shut-off valve is typically located near the toilet or in the basement. It’s important to shut off the water supply before installing or repairing any plumbing fixtures to prevent water damage or leaks. Once you’ve located the valve, turn it slowly, using a wrench if necessary, until it stops. This will shut off the water flow to the toilet. Make sure to test the water valve by flushing the toilet to ensure the water supply is completely shut off. By shutting off the water valve, you can prevent any unwanted water pressure or leaks during the installation process.
| Water Valve | Water Pressure |
|---|---|
| Shut-off | Low |
| Open | High |
| Closed | None |
Removing the Old Toilet
You’ll need to start by disconnecting the water supply line from the shut-off valve. This is an important step in the toilet removal process.
First, locate the shut-off valve, usually located on the wall behind the toilet. Turn it clockwise to shut off the water supply.
Once the water is shut off, use a wrench to loosen the nut connecting the water supply line to the shut-off valve. Be careful not to damage the valve or the line.
Once the nut is loose, you can carefully disconnect the water supply line from the shut-off valve. Make sure to have a bucket or towel handy to catch any water that may still be in the line.
Now that the water supply is disconnected, you can proceed with removing the old toilet. When disposing of the old toilet, check with your local waste management guidelines to ensure proper disposal methods are followed.
Preparing the Area for Installation
First, make sure the area is clean and free of any debris or obstructions. This is crucial for preparing the area for installation.
Proper measurements are also of utmost importance to ensure a successful and seamless installation process. Here are some key steps to follow:
-
Measure the distance from the wall to the center of the floor flange. This will determine the placement of the toilet.
-
Measure the rough-in size, which is the distance from the wall to the center of the toilet’s waste outlet. This is vital for selecting the correct toilet size.
-
Take note of any obstacles or obstructions in the area, such as pipes or baseboards, that may affect the installation process.
Installing the Toilet Flange
When it comes to installing a toilet flange, there are several important factors to consider.
First and foremost, flange alignment is crucial for ensuring a proper fit and preventing leaks.
Additionally, using proper sealing techniques, such as applying plumber’s putty or using a wax ring, is essential for creating a watertight seal.
Flange Alignment Importance
Make sure the flange is properly aligned before installing the toilet plumbing. Proper alignment of the flange is crucial for a successful toilet installation. Here are some flange installation tips and flange alignment techniques to ensure a secure connection:
-
Check the floor level: Use a level to determine if the floor is even. If it’s not, you may need to adjust the flange height to maintain proper alignment.
-
Secure the flange: Use screws or bolts to secure the flange to the floor. This helps prevent movement or shifting during installation.
-
Use a wax ring: Place a wax ring on the flange before installing the toilet. This creates a watertight seal between the toilet and the flange.
Proper alignment and installation of the flange is the foundation for a leak-free toilet. Now, let’s move on to the next section about proper sealing techniques to complete the installation process.
Proper Sealing Techniques
To ensure a watertight seal, you’ll need to apply a generous amount of plumber’s putty around the base of the toilet. Sealing techniques for preventing leaks are crucial in ensuring the proper functioning of your toilet plumbing.
It is essential to use quality sealing materials to avoid any potential leaks or water damage. When applying the plumber’s putty, make sure to evenly distribute it around the entire base of the toilet. This will create a tight seal that prevents any water from seeping out.
Additionally, it is important to check for any gaps or cracks in the toilet flange before applying the putty. By following these sealing techniques and using high-quality sealing materials, you can ensure a leak-free and efficient toilet installation.
Bolting and Tightening Process
First, ensure that the bolts are securely tightened to prevent any potential movement or wobbling of the toilet. Proper bolting techniques and tightening methods are crucial in ensuring a stable and secure installation.
Here are some key points to consider:
- Use a wrench to tighten the bolts evenly on both sides of the toilet base.
- Apply firm pressure while tightening to ensure a snug fit without over-tightening and damaging the toilet or the floor.
- Check the level of the toilet using a carpenter’s level to ensure it is straight and balanced before finalizing the bolt tightening.
By following these bolting techniques and tightening methods, you can ensure a sturdy and durable toilet installation.
Remember to periodically check the tightness of the bolts to prevent any potential loosening over time.
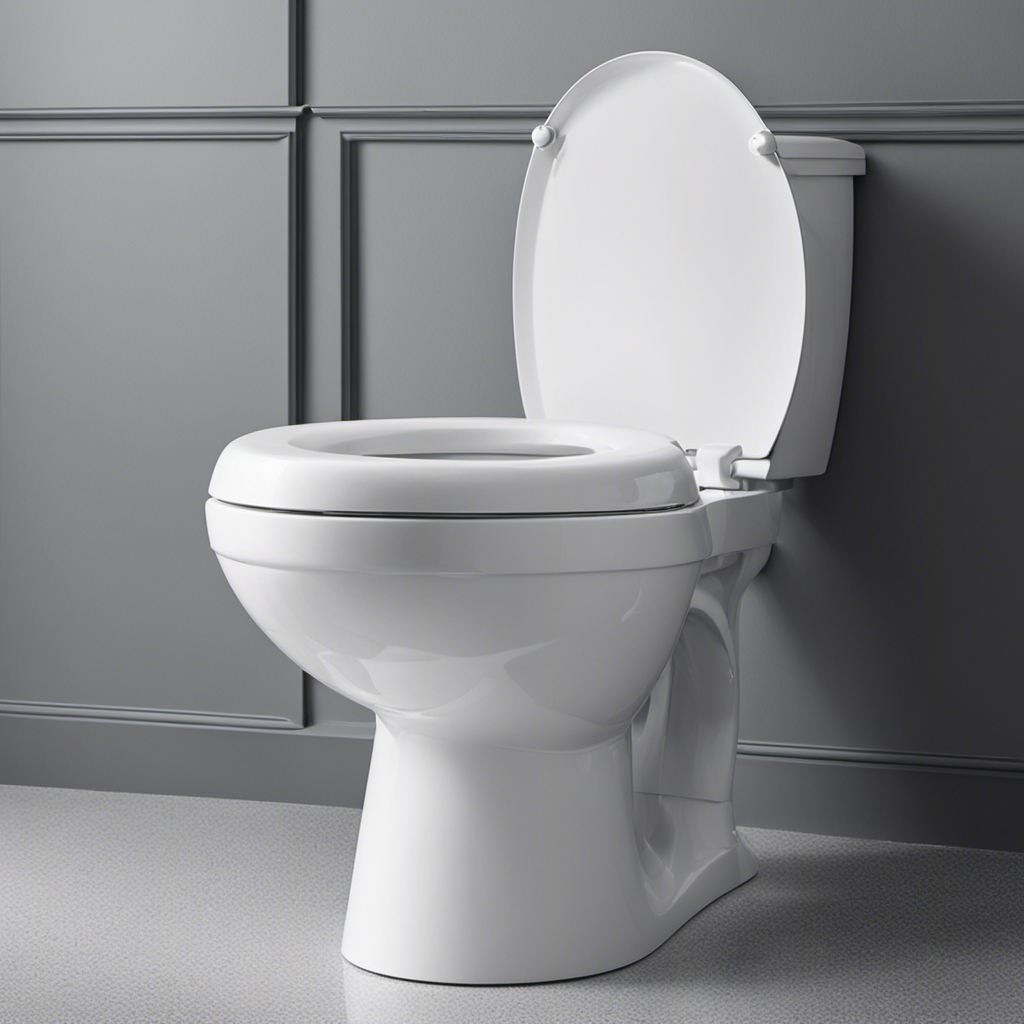
Connecting the Toilet Bowl and Tank
Once you’ve tightened the bolts, you can go ahead and attach the toilet bowl and tank together using a coupling gasket. This step is crucial in ensuring a secure and leak-free connection.
The coupling gasket serves as a seal between the bowl and the tank, preventing any water from leaking out. To properly connect the two, follow these steps:
- Place the coupling gasket on top of the bowl’s outlet.
- Carefully lower the tank onto the bowl, aligning the bolt holes.
- Insert the bolts through the tank and bowl holes.
- Place a washer and nut onto each bolt and tighten them evenly.
- Check for any movement or gaps between the tank and bowl, and adjust the bolts if necessary.
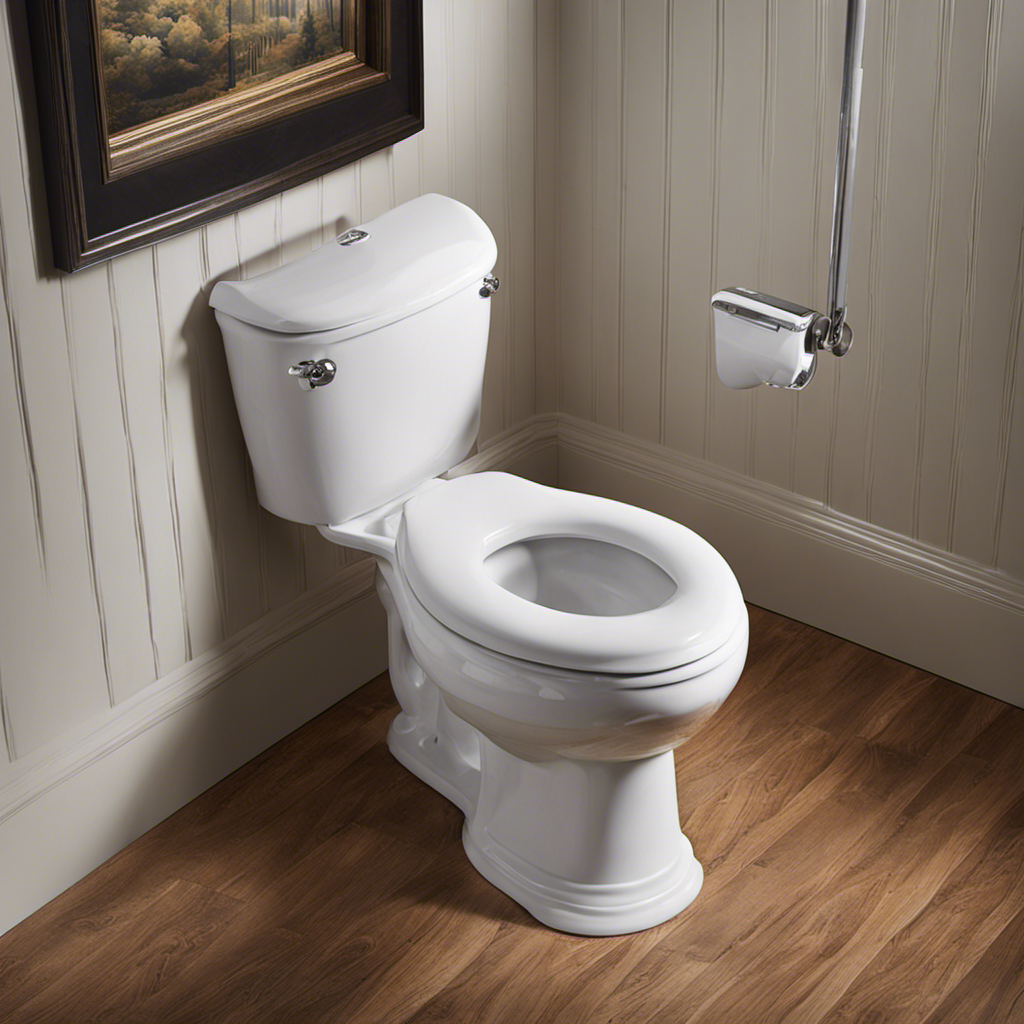
Testing and Finalizing the Installation
Now that you’ve completed the installation, it’s time to test the connection and make any necessary final adjustments.
To ensure the toilet plumbing is working properly, follow these testing methods and troubleshooting tips:
- Fill the toilet tank with water and check for any leaks around the connections.
- Flush the toilet multiple times to check the flushing power and water flow.
- Inspect the water supply line for any leaks or drips.
- Check the toilet bowl for proper water level and ensure it refills after each flush.
- Listen for any unusual sounds during flushing or refilling.
- If there are any issues, tighten the connections, adjust the water level or flush valve, and retest.
- For persistent problems, consult the installation manual or contact a professional plumber.
Frequently Asked Questions
How Do I Choose the Right Size and Type of Toilet for My Bathroom?
When selecting a toilet for your bathroom, consider the different toilet bowl styles available and measure the rough in distance to ensure a proper fit. These factors are crucial in determining the right size and type of toilet.
What Should I Do if I Encounter a Stubborn Bolt While Removing the Old Toilet?
If I encounter a stubborn bolt while removing the old toilet, I can try spraying it with penetrating oil and letting it sit for a few minutes. Then, I can use a wrench or pliers to loosen it carefully.
Can I Reuse the Wax Ring From the Old Toilet or Do I Need to Buy a New One?
No, I can’t reuse the wax ring from the old toilet. It’s important to buy a new one to ensure a proper seal. There are alternative sealant options available, but a new wax ring is recommended.
How Do I Properly Level the Toilet Bowl During Installation?
To properly level the toilet bowl during installation, start by placing shims under the base if needed. Use a level to ensure it’s balanced. Adjust the shims until the toilet is stable. Troubleshooting toilet installation can be tricky, but patience and precision are key.
Is It Necessary to Use a Plumber’s Putty or Silicone Sealant When Connecting the Toilet Bowl and Tank?
Using plumber’s putty or silicone sealant is necessary to ensure a proper seal when connecting the toilet bowl and tank. However, if you prefer alternatives, there are other options available. Here are some tips for sealing toilet connections.
Conclusion
In conclusion, installing toilet plumbing requires careful attention to detail and precision. By following the steps outlined in this article, you can successfully complete the installation process.
Remember to gather all the necessary tools and materials beforehand, shut off the water supply, and remove the old toilet.
Then, prepare the area for installation, install the toilet flange, and connect the toilet bowl and tank.
Finally, test the installation to ensure everything is functioning properly.
With patience and determination, you can paint a flawless picture of a fully functioning toilet in your mind.

Liam’s journey with us started as a consumer. Having faced challenges while setting up his own modern bathroom, he delved deep into research.
Recognizing his knack for simplifying complex information and his authentic writing style, we were thrilled to welcome him aboard. Liam’s articles often merge practicality with style, ensuring readers find the perfect fit for their homes. Liam is an avid hiker off-duty and often jokes about finding the best “natural toilets” Mother Earth has to offer.