Looking to conserve water in your home? Want to reduce your water bill and help the environment? Well, one simple step you can take is to lower the water level in your toilet tank.
By doing this, you’ll be using less water with every flush.
In this article, we’ll guide you through the process of assessing the water level, understanding the components of your toilet tank, and adjusting the float and fill valve to achieve the desired water level.
Get ready to become a water-saving expert!
Key Takeaways
- Lowering the water level in the toilet tank helps in conserving water and reducing water wastage.
- Understanding the components of a toilet tank and their functions is important in maintaining proper water levels.
- Troubleshooting common issues like toilet clogs and leaks can help in identifying the need to lower the water level.
- Upgrading outdated parts of the toilet tank can improve efficiency and performance, including the ability to lower the water level.

WITMYA Smart Toilet with Bidet Built In, One Piece Bidet Toilet with Auto Dual Flush, Foam Shield, Modern Elongated Tankless Toilet with Foot Sensor, Heated Bidet Seat, Warm Water & Dryer,LED Display
【Efficient Flush & Energy-Saving Design】There smart toilets feature a highly efficient 1.28 GPF water-saving dual flush system with...
As an affiliate, we earn on qualifying purchases.
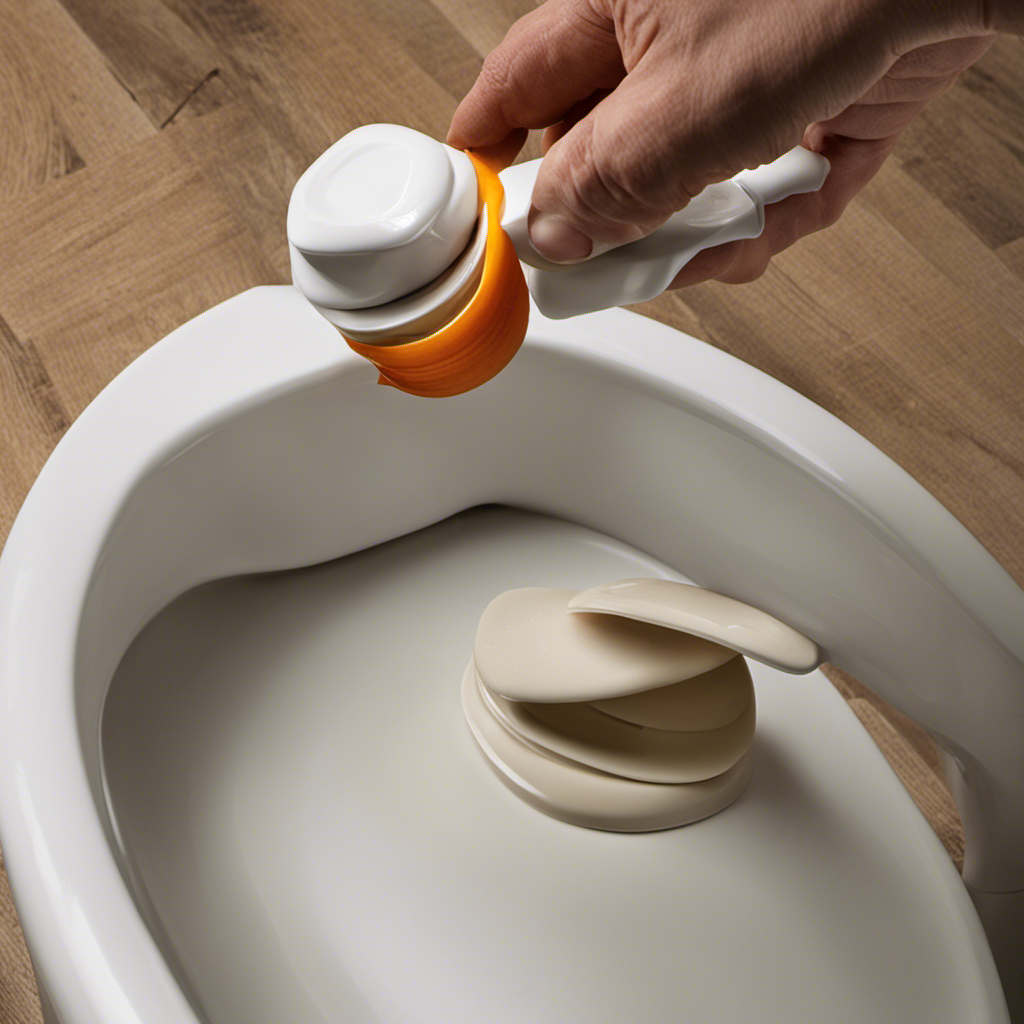
Assessing the Water Level in Your Toilet Tank
You can easily assess the water level in your toilet tank by looking at the fill line. This is a small line or mark located on the inside of the tank, usually near the top. It indicates the maximum water level that the tank should reach when it is full.
By checking the water level against this line, you can determine if the tank is filling up too much or not enough. Measuring water usage is important because it helps you understand how much water your toilet is using per flush. This information is useful for conservation efforts and can help you identify any potential leaks or issues with the toilet.
Understanding water pressure is also crucial as it affects the overall functionality of your toilet. By knowing the water pressure, you can make adjustments to ensure proper flushing and prevent any water wastage.

Smart Toilet with Bidet Built In, Heated Seat, Warm Water Wash & Dryer, Tankless Bidet Toilet with Foot Sensor & Night Light, Auto Open/Close Lid & Flush, Wireless Remote, 1.26GPF Water-Saving Design
🛠️ Easy Installation & Reliable Support: This smart toilet with bidet built in includes all accessories, flange kit,...
As an affiliate, we earn on qualifying purchases.
Understanding the Components of a Toilet Tank
In order to understand the components of a toilet tank, it’s important to know their functions, troubleshoot common issues, and consider upgrading outdated parts.
Each component in the tank has a specific role. For example, the fill valve controls the water level, and the flapper seals the flush valve.
By troubleshooting common issues like leaks or weak flushes, you can identify and resolve any problems with these components.
If you have an older toilet, upgrading outdated parts can improve its efficiency and performance. This ensures a more reliable and functional toilet system.
Tank Component Functions
To understand how the water level in your toilet tank can be lowered, it’s important to know the functions of each component. Here are the main components and their functions:
-
Fill valve: This valve controls the flow of water into the tank. If the water level is too high, you can adjust the fill valve to lower it. Simply turn the adjustment screw clockwise to decrease the water level.
-
Float ball or cup: The float ball or cup is connected to the fill valve and rises with the water level. If the water level is too high, it may be due to a faulty float ball or cup. Check for any cracks or leaks and replace if necessary.
-
Overflow tube: This tube prevents the tank from overflowing. If the water level is too high, check if the overflow tube is clogged or damaged. Clean or replace it as needed.
-
Flapper valve: The flapper valve is responsible for releasing water from the tank into the bowl during a flush. If the water level is consistently high, the flapper valve may be leaking. Check for any cracks or misalignment and replace if needed.
Troubleshooting Common Issues
When troubleshooting common issues with your toilet, it’s helpful to understand the functions of each tank component.
Toilet clogs and a leaking toilet are two common problems that can cause frustration and inconvenience. A clogged toilet occurs when there is an obstruction in the drainpipe, preventing the water and waste from flowing properly. This can be caused by excessive toilet paper, foreign objects, or a buildup of waste material over time.
To troubleshoot a clogged toilet, you can try using a plunger or a toilet auger to clear the blockage.
On the other hand, a leaking toilet can lead to water wastage and potential damage to your bathroom. This issue can be caused by worn-out flapper valves, faulty fill valves, or loose connections.
To fix a leaking toilet, you can inspect and replace any faulty parts, tighten loose connections, or call a professional plumber for assistance.
Understanding these common issues and their solutions will help you resolve toilet problems effectively.
Upgrading Outdated Parts
Upgrading outdated parts of your toilet can improve its performance and efficiency. Here are four key components you should consider replacing:
-
Flapper: A worn-out flapper can cause leaks and water wastage. Upgrading to a new flapper can help prevent water from continuously running into the bowl.
-
Fill valve: If your toilet takes too long to fill or constantly runs, it may be due to a faulty fill valve. Upgrading to a newer, more efficient fill valve can help regulate water flow and prevent unnecessary water usage.
-
Flush valve: A malfunctioning flush valve can result in weak or incomplete flushes, leading to multiple flushes and increased water consumption. Replacing it with a modern flush valve can improve flushing performance.
-
Trip lever: A loose or broken trip lever can make it difficult to flush your toilet properly. Upgrading to a sturdy, well-functioning trip lever ensures smooth and efficient flushing.

HOROW T38 Artistic Smart Toilet, Bidet Toilet with Powerful Flush, Auto Open/Close Lid, Instant Warm Water, Elongated Heated Seat, Dryer, Night Light, Deodorization
For Low Water Pressure: Smart toilet built-in water tank and pump bring efficient and powerful flushing performance. The...
As an affiliate, we earn on qualifying purchases.
Adjusting the Float Level to Lower Water in the Tank
By adjusting the float level, you can easily lower the water in the toilet tank. The float adjustment is an essential step in water level regulation.
When the float is set too high, the water level in the tank rises, causing potential issues like constant running and water wastage.
To lower the water level, locate the float adjustment screw or pin and turn it counterclockwise to lower the float. As you do this, make sure to monitor the water level in the tank and adjust accordingly until it reaches the desired level.
It’s important to note that the water level should be set below the overflow pipe to prevent overflow.

Loniko Smart Toilet with Bidet Built In, Heated Seat & Dual Auto Flush, Foot Sensor, Tankless Modern Elongated Electric Toilet with Warm Water Wash, Air Dryer, LED Display & 1000g MaP Flush, 1.28 GPF
🧻 [Powerful & Water-Saving Dual Flush System] This one piece smart toilet with bidet built in uses an...
As an affiliate, we earn on qualifying purchases.
Checking and Adjusting the Fill Valve to Lower Water Level
Now that you have adjusted the float level and lowered the water in the tank, let’s move on to the next step: checking and adjusting the fill valve. This will ensure that the water level remains at the desired level.
To fix the water level in your toilet tank, follow these steps:
- Locate the fill valve, which is usually on the left side of the tank.
- Turn off the water supply to the toilet by twisting the shutoff valve clockwise.
- Flush the toilet to drain any remaining water in the tank.
- Use a screwdriver to adjust the fill valve by turning the screw counterclockwise to lower the water level or clockwise to raise it.
Using a Water Saving Device to Reduce Water Consumption
To reduce your water consumption, consider utilizing a water-saving device in your bathroom. These devices are designed to help you save water without compromising on performance. By incorporating water-saving techniques and eco-friendly alternatives, you can make a significant impact on your water usage.
One effective way to achieve this is by installing a dual-flush toilet converter. This device replaces the traditional single-flush mechanism with a dual-flush system, allowing you to choose between a partial flush for liquid waste and a full flush for solid waste. This simple adjustment can save you gallons of water each time you use the toilet.
Another option is a low-flow showerhead. These showerheads are designed to deliver a satisfying shower experience while using less water. They achieve this by restricting the flow rate, typically to around 2.5 gallons per minute or less. This can result in substantial water savings without sacrificing comfort.
Additionally, consider installing a faucet aerator. This small device fits onto the end of your faucet and adds air to the water stream, reducing the amount of water used without affecting water pressure. Faucet aerators are inexpensive and easy to install, making them a convenient option for conserving water in your bathroom.
By implementing these water-saving devices and techniques, you can reduce your water consumption and contribute to a more environmentally friendly lifestyle.
Now let’s explore some common issues that may arise when attempting to lower the water level in your toilet tank.
Troubleshooting Common Issues With Lowering Water Level
If you’re experiencing difficulties when trying to adjust the water level in your toilet tank, there are a few common issues that you may encounter. Here are some troubleshooting tips to help you fix the problem:
-
Check for blockage problems: Sometimes, a blockage in the toilet’s plumbing system can prevent the water level from being adjusted properly. Use a plunger or a plumbing snake to clear any obstructions in the pipes.
-
Inspect the fill valve: The fill valve controls the flow of water into the toilet tank. If it is not functioning correctly, it can cause the water level to be too high or too low. Adjust the float or replace the fill valve if necessary.
-
Examine the flapper: The flapper is a rubber seal that allows water to flow from the tank into the bowl. If it is damaged or worn out, it can cause leaks and affect the water level. Replace the flapper if needed.
-
Check for leaks: Leaks can also affect the water level in the toilet tank. Inspect the tank and the connections to ensure there are no leaks. If you find any, tighten the connections or replace faulty parts.
Ensuring Proper Maintenance and Regular Inspection of the Toilet Tank
To ensure efficient water usage and to identify potential issues early, there are a few key points to consider.
Firstly, you can prevent water wastage by installing water-saving devices such as low-flow toilets and aerators on faucets. These devices help reduce water consumption without compromising performance.
Secondly, it’s crucial to regularly inspect your plumbing system for any signs of leaks or drips. Identifying these issues early on can prevent further water wastage and potential damage to your home.
Lastly, staying proactive and addressing any plumbing concerns promptly will help maintain the efficiency of your water usage and ensure a well-functioning plumbing system.
Preventing Water Wastage Efficiently
One way you can prevent water wastage efficiently is by installing a dual flush toilet. This eco-friendly solution offers two flushing options, allowing you to use less water when flushing liquid waste and more water for solid waste.
Here are four reasons why a dual flush toilet is a great water conservation option:
-
Water-saving design: Dual flush toilets typically have two buttons or levers, one for a half flush and one for a full flush. The half flush option uses significantly less water, saving up to 50% more water compared to traditional toilets.
-
Customizable flushing: With a dual flush toilet, you have control over the amount of water you use for each flush. This flexibility allows you to adapt to your specific needs and conserve water accordingly.
-
Cost-effective: By using less water with each flush, a dual flush toilet can lead to lower water bills over time.
-
Environmental impact: Installing a dual flush toilet is an eco-friendly choice that contributes to overall water conservation efforts and reduces strain on local water resources.
Identifying Potential Issues Early
Identifying potential issues early can help in avoiding costly repairs down the line. When it comes to your toilet, early detection of problems is crucial. By recognizing potential causes of malfunction, you can take proactive steps to address them before they escalate into more significant issues. Here are some common potential causes and their early detection signs:
| Potential Causes | Early Detection Signs |
|---|---|
| Leaky flapper | Continuous running water or ghost flushing |
| Faulty fill valve | Slow tank refill or hissing sound |
| Clogged drain | Weak flush or water backup in the bowl |
| Cracked tank or bowl | Visible cracks or water leakage |
Conclusion
So there you have it, now you know how to lower the water level in your toilet tank.
By assessing the water level, understanding the components, adjusting the float level, and checking the fill valve, you can reduce water consumption and save money.
Using a water-saving device can also help in this process.
Remember to troubleshoot any issues that may arise and ensure proper maintenance and regular inspection of your toilet tank.
Just like a skilled conductor leading an orchestra, you can now confidently take control of your toilet’s water level.