As a seasoned DIY enthusiast, I’ve faced my fair share of plumbing challenges. One task that often perplexes homeowners is measuring the toilet rough-in without removing the toilet. It’s like trying to solve a puzzle without all the pieces.
But fear not, for I have mastered the art of this delicate measurement. In this guide, I will share my expertise and walk you through the step-by-step process, avoiding common mistakes along the way.
So grab your tools and let’s get measuring!
Key Takeaways
- Accurate toilet rough-in measurements are crucial for proper toilet fit and functionality.
- Tools needed for measuring toilet rough-in include a tape measure, flashlight, level, notepad, and pen.
- The step-by-step guide for measuring toilet rough-in includes measuring the distance from the wall to the center of the toilet’s drain.
- Troubleshooting common mistakes in toilet rough-in measurements involves double-checking measurements, considering baseboard and trim thickness, and accounting for floor covering thickness.

WITMYA Smart Toilet with Bidet Built In, One Piece Bidet Toilet with Auto Dual Flush, Foam Shield, Modern Elongated Tankless Toilet with Foot Sensor, Heated Bidet Seat, Warm Water & Dryer,LED Display
【Efficient Flush & Energy-Saving Design】There smart toilets feature a highly efficient 1.28 GPF water-saving dual flush system with...
As an affiliate, we earn on qualifying purchases.
Understanding Toilet Rough-In Measurements
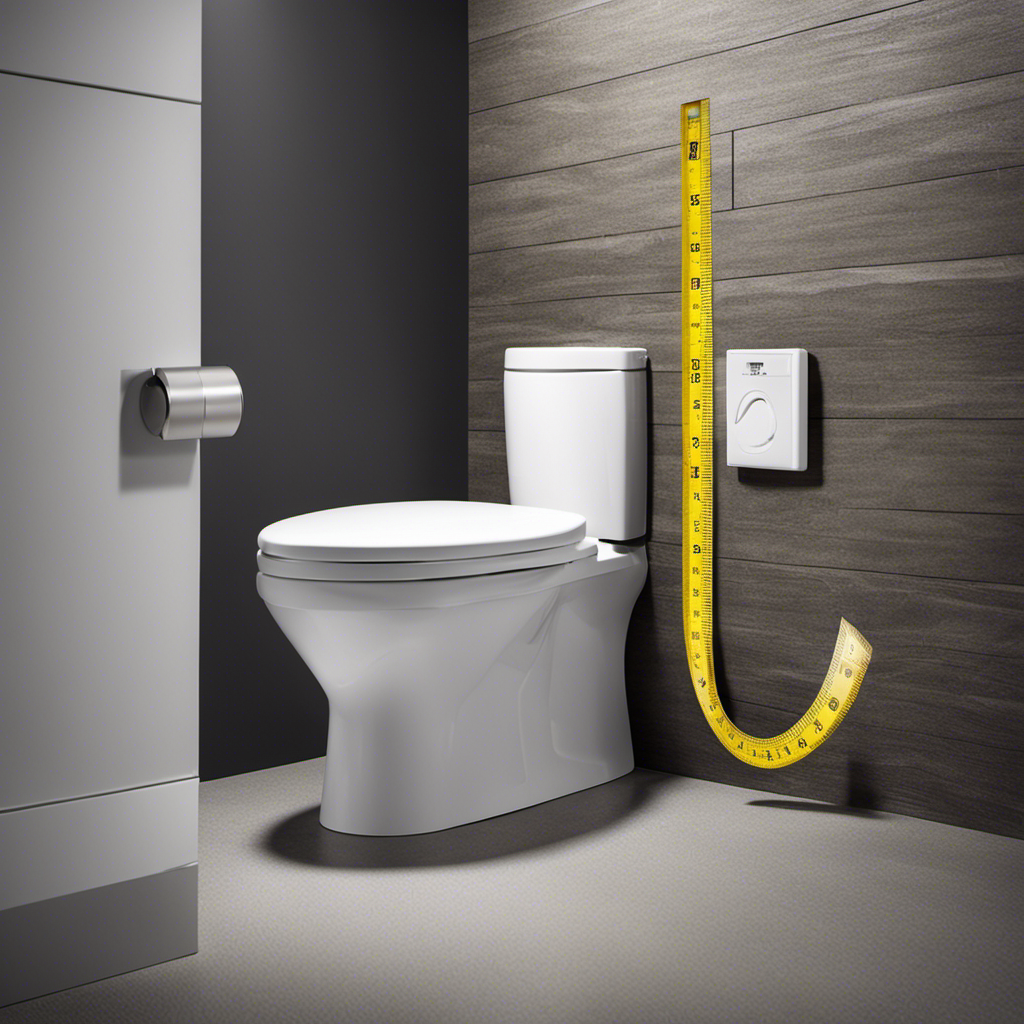
To understand toilet rough-in measurements, you’ll need to know how to measure the distance from the wall to the center of the toilet’s flange. Toilet rough-in specifications are crucial in ensuring that your toilet fits properly in your bathroom.
Accurate measurements are essential to avoid any future issues, such as leaks or an unstable toilet. The rough-in measurement refers to the distance between the finished wall and the center of the flange, where the toilet connects to the drain pipe. This measurement is typically either 10, 12, or 14 inches.
Measuring it correctly is vital, as an incorrect measurement can lead to problems during installation or affect the overall stability and functionality of your toilet. Therefore, taking accurate toilet rough-in measurements is a fundamental step in any bathroom renovation or installation project.

Smart Toilet with Bidet Built In, Heated Seat, Warm Water Wash & Dryer, Tankless Bidet Toilet with Foot Sensor & Night Light, Auto Open/Close Lid & Flush, Wireless Remote, 1.26GPF Water-Saving Design
🛠️ Easy Installation & Reliable Support: This smart toilet with bidet built in includes all accessories, flange kit,...
As an affiliate, we earn on qualifying purchases.
Tools Needed for Measuring Toilet Rough-In
You’ll need a few tools to measure the rough-in of your toilet.
Understanding toilet rough-in sizes is crucial for proper installation and avoiding any measurement errors.
The first tool you’ll need is a tape measure, preferably one with both metric and imperial measurements. This will allow you to accurately measure the distance from the wall to the center of the closet flange.
Another essential tool is a flashlight, which will help you see into the tight spaces behind the toilet.
Additionally, a level will ensure that the toilet is installed evenly and securely.
Lastly, a notepad and pen will come in handy for jotting down measurements and troubleshooting any errors.
With these tools in hand, you’ll be able to measure the rough-in of your toilet with precision and confidence.

HOROW T38 Artistic Smart Toilet, Bidet Toilet with Powerful Flush, Auto Open/Close Lid, Instant Warm Water, Elongated Heated Seat, Dryer, Night Light, Deodorization
For Low Water Pressure: Smart toilet built-in water tank and pump bring efficient and powerful flushing performance. The...
As an affiliate, we earn on qualifying purchases.
Step-by-Step Guide to Measuring Toilet Rough-In
Accurate rough-in measurements are crucial when it comes to installing a toilet properly. To ensure accuracy, there are a few essential tools needed for measuring, such as a tape measure and a level.
However, even with the right tools, there are common mistakes that can occur during the process, and troubleshooting these mistakes is an important part of achieving a successful installation.
Accurate Rough-In Measurements
Start by carefully measuring the distance from the wall to the center of your toilet’s drain. This is the crucial step in understanding rough-in requirements for your new toilet installation. To help you visualize the process, here’s a table that outlines the typical rough-in measurements for different toilet sizes:
| Toilet Size | Rough-In Measurement |
|---|---|
| Standard | 12 inches |
| Compact | 10 inches |
| Elongated | 14 inches |
| Corner | 12 inches |
| Wall-hung | Varies |
When measuring in tight spaces, it’s important to use a flexible measuring tape and a flashlight to ensure accuracy. Additionally, consider using a mirror to help you see hard-to-reach areas. By following these tips, you can confidently measure the rough-in for your toilet without the need to remove it.
Tools Needed for Measuring
To ensure precise measurements, use a flexible measuring tape and a flashlight when assessing the distance between the wall and the center of the drain. These tools are essential for accurate measurements when measuring the rough-in of a toilet without removing it.
Measuring techniques can vary, and alternative methods exist, but using a flexible measuring tape ensures you can easily navigate around obstacles and get an accurate measurement. The flashlight is crucial for illuminating the area around the drain, allowing you to clearly see the reference points for measurement.
Troubleshooting Common Mistakes
Using a flashlight and a flexible measuring tape will help you identify and correct any common mistakes that may arise during the measurement process.
When measuring the rough in for a toilet, it is important to ensure accuracy to avoid any future issues such as fixing leaks or adjusting the toilet flange.
One common mistake is not measuring from the finished wall, which can result in an incorrect measurement.
Another mistake is not accounting for baseboard or trim, leading to an inaccurate rough in measurement.
Additionally, not taking into consideration the thickness of the floor covering can also lead to errors.

Loniko Smart Toilet with Bidet Built In, Heated Seat & Dual Auto Flush, Foot Sensor, Tankless Modern Elongated Electric Toilet with Warm Water Wash, Air Dryer, LED Display & 1000g MaP Flush, 1.28 GPF
🧻 [Powerful & Water-Saving Dual Flush System] This one piece smart toilet with bidet built in uses an...
As an affiliate, we earn on qualifying purchases.
Common Mistakes to Avoid When Measuring Toilet Rough-In
One common mistake to avoid when measuring toilet rough-in is not double-checking your measurements before purchasing a new toilet. To ensure an accurate measurement, it is important to be aware of the common challenges that can arise during this process.
One challenge is dealing with the presence of baseboards or tile that can interfere with the measurement. To overcome this, it is recommended to use a measuring tape that can bend around obstacles.
Another challenge is accurately measuring the rough-in distance, which is the distance from the wall behind the toilet to the center of the sewer drainpipe. To get an accurate measurement, it is best to measure from the finished wall, rather than the baseboard or tile.
By taking these tips into consideration, you can avoid common mistakes and ensure accurate measurements for your toilet rough-in.
Now, let’s move on to troubleshooting tips for difficult toilet rough-in measurements.
Troubleshooting Tips for Difficult Toilet Rough-In Measurements
When it comes to measuring toilet rough-ins, there are several common mistakes that can lead to inaccurate measurements. These mistakes can include not accounting for baseboard thickness, not measuring from the center of the flange, or not considering the height of the finished floor.
To ensure accurate measurements, it is important to use the right tools, such as a tape measure or a rough-in gauge. If you’re having trouble with your measurements, don’t worry – there are expert tips and advice available to help troubleshoot any issues and ensure a successful installation.
Common Measurement Mistakes
To avoid common measurement mistakes, it’s important to not rely solely on eyeballing the rough-in distance. Accurate measurements are crucial in any construction or renovation project, particularly when installing a toilet. Here are some important measurement techniques to keep in mind:
-
Use a measuring tape: This is the most precise and reliable way to measure the rough-in distance.
-
Follow the manufacturer’s guidelines: Different toilets may have different rough-in requirements, so always refer to the manufacturer’s instructions for accurate measurements.
-
Double-check your measurements: It’s always a good idea to measure multiple times to ensure accuracy.
Accurate measurements are essential because they determine whether the toilet will fit properly and function correctly. A miscalculation can lead to costly mistakes and time-consuming adjustments. So, take the time to measure accurately and avoid these common measurement mistakes.
Tools for Accurate Measurements
Using tools like a measuring tape and level, I can ensure accurate measurements for my construction or renovation project. When it comes to measuring, it’s important to follow best practices and use the right tools for the job.
One of the best tips and tricks I’ve learned is to always double-check my measurements to avoid costly mistakes. A measuring tape is essential for getting precise measurements of length or width. Additionally, a level is crucial for ensuring that surfaces are straight and even.
Expert Advice for Troubleshooting
By following expert advice, you can troubleshoot common issues in your home renovation project. When it comes to troubleshooting techniques, there are a few key strategies recommended by professionals in the field.
Here are some expert tips to help you navigate through any challenges you may encounter:
-
Take the time to thoroughly research and plan your renovation project before starting. This will help you identify potential issues and come up with solutions in advance.
-
Seek advice from experienced contractors or professionals in the field. They can provide valuable insights and guidance based on their expertise.
-
Stay organized and keep a detailed record of your renovation progress. This will help you track any issues that arise and ensure they are addressed in a timely manner.
Following these troubleshooting techniques and expert advice will help you overcome obstacles and ensure a successful home renovation project.
Next Steps After Measuring Toilet Rough-In
Now that you’ve measured the toilet rough-in, it’s time to figure out the next steps. Once you have the rough-in measurement, you can proceed with installing a new toilet or replacing the existing one. Here are some troubleshooting tips to ensure a smooth installation process:
| Next Steps | Troubleshooting Tips |
|---|---|
| Step 1 | Check the floor for any unevenness or damage. It is essential to have a level and stable surface for the toilet to sit on properly. If there are any issues, you might need to repair or reinforce the flooring. |
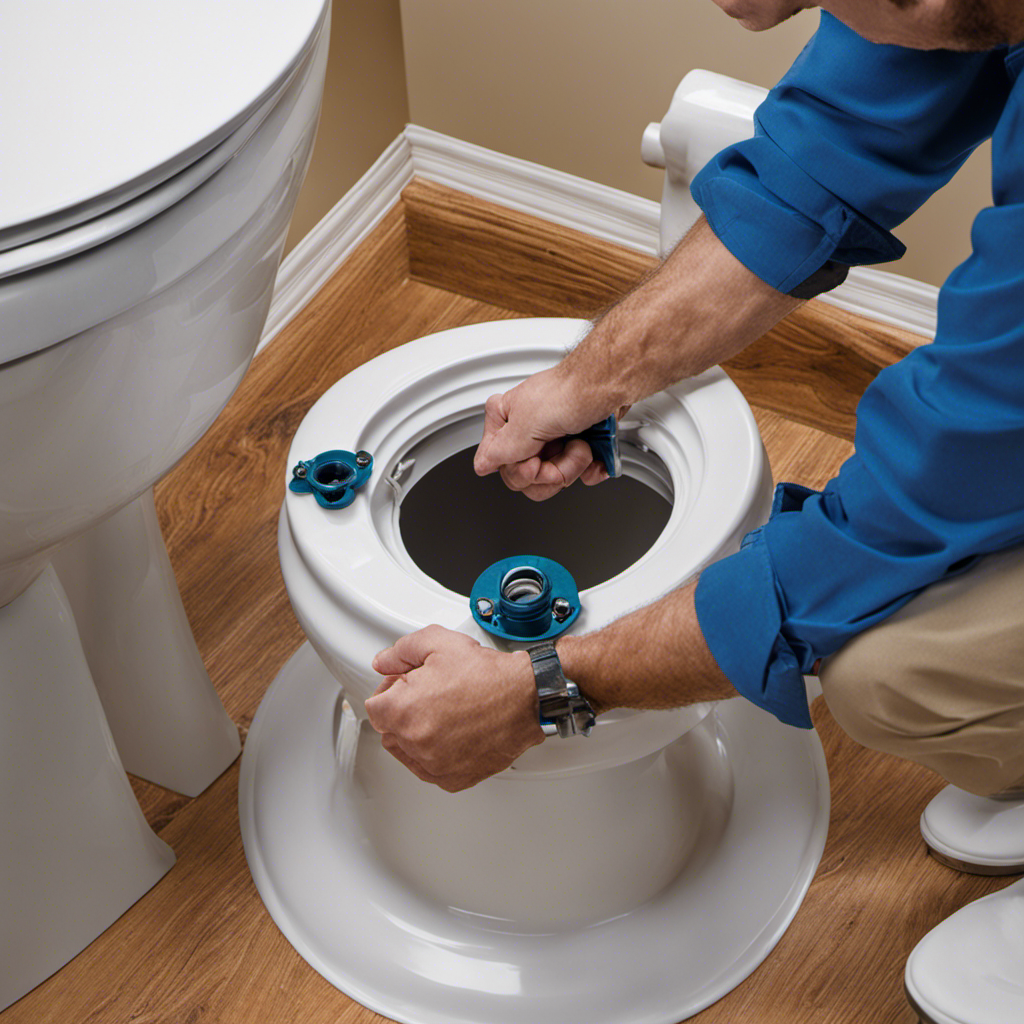
| Step 2 | Examine the flange, which connects the toilet to the waste pipe. Ensure it is in good condition and securely fastened. If there are any damages or loose connections, they will need to be repaired or replaced. |
| Step 3 | Verify the toilet’s water supply line and shutoff valve. Ensure they are in good working condition and not leaking. Replace any damaged parts if necessary. |
Frequently Asked Questions
Can I Measure the Toilet Rough-In Without Any Special Tools?
Yes, you can estimate the toilet rough-in without special tools. There are alternative methods for measuring, such as using a tape measure or visual estimation. These methods can help you determine the rough-in measurement without removing the toilet.
What if My Toilet Rough-In Measurement Is in Between Standard Sizes?
If your toilet rough-in measurement is in between standard sizes, you can adjust it using shims. Just like adding spacers to level a wobbly table, shims help ensure a stable and secure installation for toilets with non-standard measurements.
Is It Possible to Measure the Toilet Rough-In Without Removing the Toilet Tank?
Yes, it is possible to measure the toilet rough-in without removing the toilet tank. This is important for troubleshooting toilet rough-in measurement and ensuring proper installation of the toilet.
Are There Any Alternative Methods to Measure the Toilet Rough-In if I Don’t Have a Tape Measure?
There are alternative methods to measure the rough in without a tape measure. One option is to use a piece of string or a flexible ruler to measure the distance from the wall to the bolts holding the toilet in place.
Can I Use the Same Measurement for Both the Toilet Rough-In and the Toilet Flange?
No, the measurement for the toilet rough-in and the toilet flange are not the same. The toilet rough-in refers to the distance from the wall to the center of the drainpipe, while the toilet flange is used for installation and replacement.
Conclusion
In conclusion, measuring toilet rough-in without removing the toilet is a crucial step in ensuring a proper fit for your new toilet. By following the step-by-step guide and using the necessary tools, you can accurately measure the rough-in distance.
One interesting statistic to note is that the most common rough-in measurement is 12 inches, accounting for around 80% of toilets in residential homes. Having this knowledge will help you make informed decisions when purchasing a new toilet.
Remember to avoid common mistakes and troubleshoot any difficulties you may encounter. Happy measuring!