I know what you’re thinking – moving a toilet drain sounds like a daunting task. But fear not, because I’m here to guide you through each step with confidence and ease.
In this article, I will show you exactly how to move a toilet drain, from assessing the current location to installing the new drain pipe.
With the right tools and materials in hand, you’ll be able to tackle this project like a pro.
So let’s get started and make that toilet relocation a reality!
Key Takeaways
- Assess the current drain location and bathroom layout before moving the toilet drain.
- Shut off the water supply and disconnect the toilet before starting the drain relocation process.
- Remove the old drain pipe carefully and install the new drain pipe with proper measurements and fittings.
- Reconnect the toilet, test for leaks, and finish with cleaning and sanitizing the area around the toilet.
Assessing the Current Drain Location
Before you can begin moving the toilet drain, you need to assess the current drain location. This step is crucial as it helps in evaluating options and determining the feasibility of relocating the drain.
Start by locating the existing drainpipe and examining its position in relation to the bathroom layout. Measure the distance from the walls and other fixtures to get an accurate idea of the drain’s current location.
Additionally, consider the plumbing system and any potential obstacles that may affect the relocation process. If you are unsure about the technical aspects or need expert advice, consulting a plumber is highly recommended. They can provide valuable insights and guidance on the best course of action for moving the toilet drain effectively and efficiently.
Gathering the Necessary Tools and Materials
When it comes to relocating, having the right tools and materials is essential for a smooth and successful move.
In order to efficiently move your belongings, you will need certain tools such as boxes, packing tape, bubble wrap, and a dolly for heavy items.
Additionally, essential materials like furniture blankets and mattress covers will help protect your items during transportation.
Required Tools for Relocation
To relocate the toilet drain, you’ll need a few tools. Here are the essential plumbing tools you’ll need for the task:
-
Adjustable wrench: This tool is crucial for loosening and tightening plumbing connections. It allows you to easily disconnect the toilet from the existing drain and install it in the new location.
-
Pipe cutter: A pipe cutter is necessary for cutting through the existing drain pipe. It provides clean and precise cuts, ensuring a proper fit for the new section of pipe.
-
Plunger: While not directly involved in the relocation process, a plunger is a must-have tool for any plumbing project. It helps clear clogs and ensures proper drainage after the toilet is relocated.
Now that you know the required tools for relocating the toilet drain, let’s move on to the essential materials needed for the project.
Essential Materials for Moving
Now that you have a list of required tools, let’s talk about the essential materials you’ll need for moving the toilet.
When relocating a toilet, it’s important to have the necessary plumbing materials to ensure a smooth and successful transition.
Firstly, you’ll need a new wax ring, which creates a watertight seal between the toilet and the floor flange. This will prevent any leaks from occurring.
Additionally, you’ll need a new supply line, which connects the toilet to the water supply. It’s crucial to have a flexible supply line that can adapt to different distances and angles.
Lastly, you’ll need a new set of bolts and caps to secure the toilet to the floor. These materials are vital to ensure that the toilet is properly installed and functioning correctly in its new location.
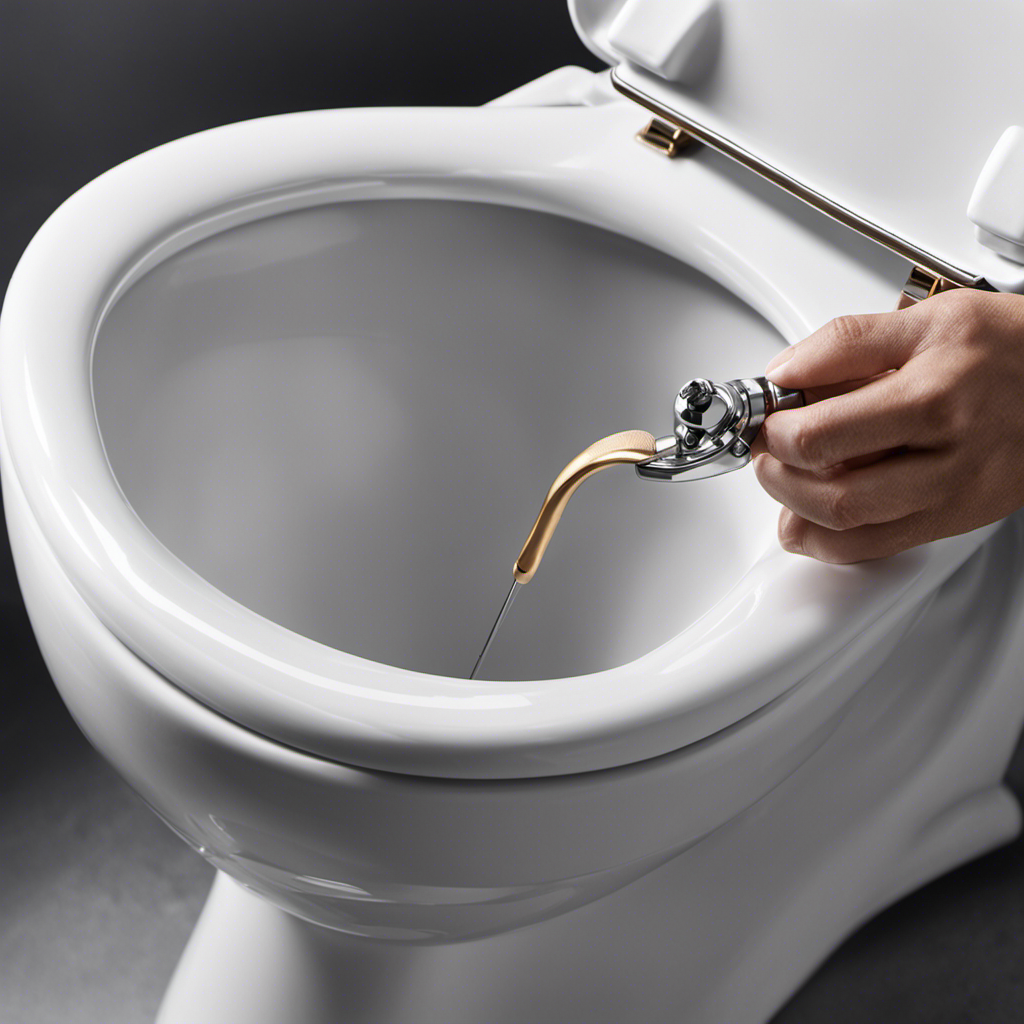
Shutting off the Water Supply and Disconnecting the Toilet
When it comes to shutting off the water supply and disconnecting the toilet, there are a few key points to keep in mind.
First, locate the shut-off valve, typically found near the base of the toilet or on the wall behind it. Turn the valve clockwise to shut off the water supply.
Once the water is shut off, use an adjustable wrench to disconnect the water supply line from the bottom of the toilet tank.
Water Supply Shut-Off
Before you start, make sure you’ve shut off the water supply. Relocating plumbing can be a complex task, so it’s important to seek professional assistance to ensure the job is done correctly. Here are three key steps to shutting off the water supply:
-
Locate the main water shut-off valve: This valve is typically found near the water meter or in the basement. Turn it clockwise to shut off the water supply to your entire home.
-
Drain any remaining water: Flush the toilet multiple times to remove as much water as possible from the tank and bowl. Use a sponge or towel to soak up any remaining water.
-
Disconnect the water supply line: Using an adjustable wrench, unscrew the nut connecting the water supply line to the toilet tank. Make sure to have a bucket or towel handy to catch any water that may spill.
Toilet Disconnection Process
To disconnect the water supply line, use an adjustable wrench to unscrew the nut connecting it to the tank. Once the nut is loose, carefully remove the water supply line from the tank, ensuring that any excess water is drained into a bucket or towel. This step is crucial when considering toilet relocation and plumbing considerations. Moving a toilet drain requires careful planning and execution to ensure that the plumbing system remains intact and functional. It is important to consider factors such as the location of the new drain, the slope and size of the pipes, and any necessary permits or regulations. Hiring a professional plumber can help ensure that the toilet relocation process is done correctly and meets all plumbing codes and requirements.
| Plumbing Considerations | Toilet Relocation | Professional Assistance |
|---|---|---|
| Location of new drain | Slope of pipes | Hiring a plumber |
| Size of pipes | Permits | Plumbing codes |
| Regulations |
Removing the Old Drain Pipe
First, you’ll need to loosen the nuts connecting the old drain pipe to the toilet.
To remove the old drain pipe, you should follow these steps:
-
Proper disposal of old drain pipe: Before beginning the removal process, it’s important to have a plan for disposing of the old drain pipe. Check with your local waste management facility to determine the proper disposal methods.
-
Potential challenges and solutions in removing the old drain pipe: Removing the old drain pipe can be challenging due to rusted or corroded nuts, tight spaces, or stubborn fittings. To overcome these challenges, you can use penetrating oil to loosen rusted nuts, apply heat to expand metal fittings, or use a pipe wrench for added leverage.
-
Transition into installing the new drain pipe: Once the old drain pipe is successfully removed, it’s time to move on to installing the new drain pipe.
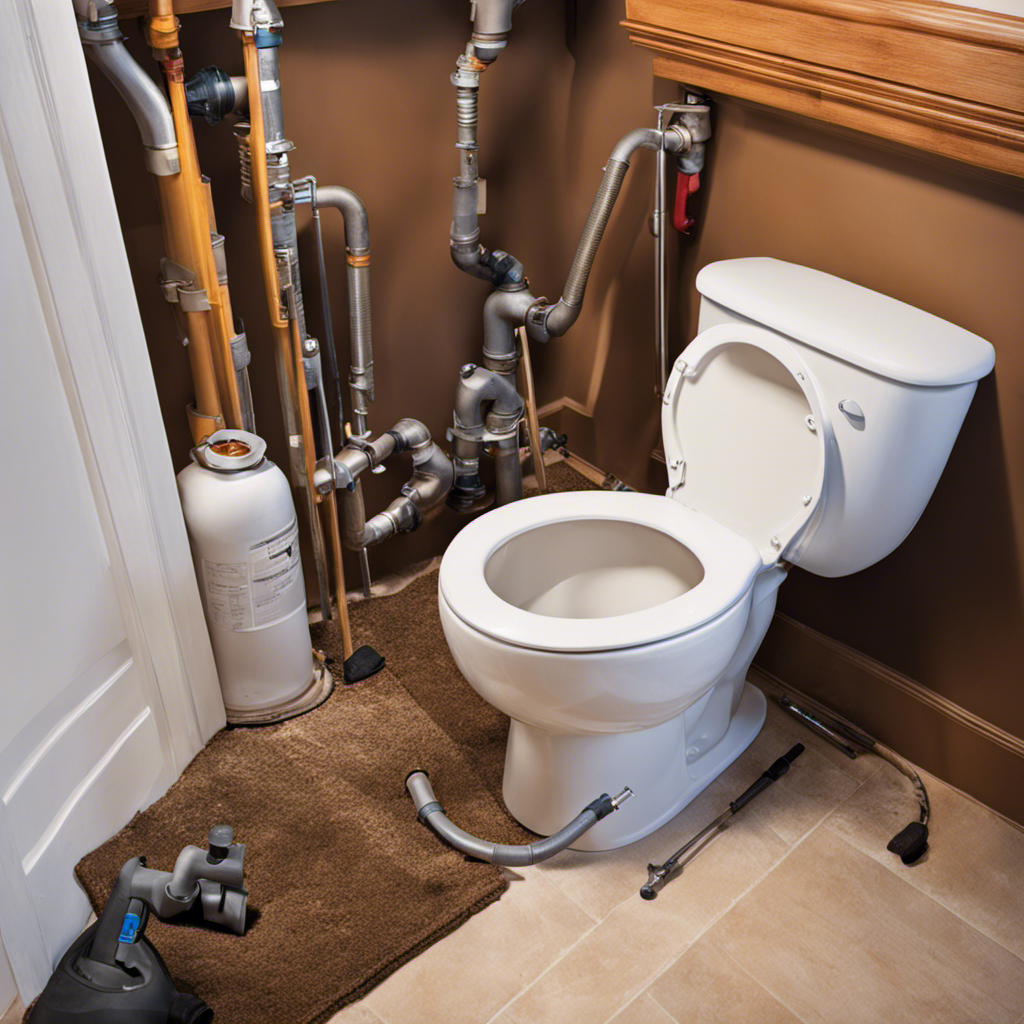
Installing the New Drain Pipe
Once you’ve successfully removed the old drain pipe, it’s time to start installing the new one. To ensure a proper installation, it is crucial to use the right fittings and adjust the pipe angle correctly.
Here is a step-by-step guide to help you with the process:
-
Start by measuring and cutting the new drain pipe to the desired length. Make sure to consider the necessary slope for proper drainage.
-
Next, apply PVC primer and cement to the ends of the pipe and the fittings. Connect them tightly, ensuring a secure fit.
-
To adjust the pipe angle, use a level and make any necessary modifications to ensure the pipe is sloping towards the main drain line.
-
Test the installation by pouring water down the drain. Check for any leaks or improper drainage.
Reconnecting the Toilet and Testing for Leaks
Now that you’ve finished installing the new drain pipe, it’s time to reconnect the toilet and check for any leaks.
Here are the steps to follow:
-
Reconnecting the Toilet: Start by placing a new wax ring on the flange to create a watertight seal. Carefully lower the toilet bowl onto the flange and press it down firmly. Secure the toilet with bolts and nuts, making sure not to overtighten them.
-
Testing for Leaks: Turn on the water supply and let the tank fill up. Inspect the base of the toilet and the connections for any signs of water leaks. You can also use a dye tablet or food coloring in the tank to check for leaks in the bowl or flapper.
-
Troubleshooting Leaks: If you notice any leaks, check the wax ring, bolts, and connections for any issues. Tighten any loose bolts and ensure all connections are secure. If the problem persists, you may need to replace the wax ring or seek professional assistance.
Now that the toilet is reconnected and leak-free, it’s time to move on to the next step: finishing touches and clean-up.
Finishing Touches and Clean-up
To complete the installation, you just need to add the final touches and clean up the area around the toilet. First, gather your cleaning supplies, including a bucket, mild detergent, and a sponge.
Begin by wiping down the exterior of the toilet, removing any dust or debris. Next, use a disinfectant cleaner to thoroughly sanitize the toilet bowl and seat. Pay extra attention to the areas around the base of the toilet, ensuring any residue is removed.
Once the cleaning is complete, it’s time to apply sealing techniques. Using a caulk gun and silicone caulk, carefully fill in any gaps between the toilet base and the floor. This will help prevent any water or odors from escaping.
Frequently Asked Questions
Can I Move the Toilet Drain by Myself or Do I Need Professional Help?
I can move the toilet drain without professional help, but it’s important to be aware of common mistakes. It requires careful planning, proper tools, and knowledge of plumbing procedures.
How Long Does It Typically Take to Move a Toilet Drain?
Moving a toilet drain can be a complex task. It’s important to know how to properly seal the drain and choose the right tools. As for how long it typically takes, it depends on various factors such as the complexity of the job and your experience.
What Are the Potential Risks or Challenges Involved in Moving a Toilet Drain?
Potential risks and challenges in moving a toilet drain include plumbing complications and the potential for structural damage. It is important to carefully plan and consult with professionals to ensure a successful and safe relocation.
Are There Any Specific Building Codes or Regulations I Need to Follow When Moving a Toilet Drain?
When moving a toilet drain, it is crucial to adhere to building codes and regulations. Consulting with professionals who are knowledgeable about these codes and can provide detailed assistance is highly recommended.
Can I Reuse the Old Drain Pipe or Do I Need to Purchase a New One When Moving the Toilet Drain?
When moving a toilet drain, it is generally recommended to purchase a new drain pipe instead of reusing the old one. This ensures proper fit and minimizes the risk of leaks or other plumbing issues.
Conclusion
In conclusion, relocating a toilet drain may seem daunting, but it can be accomplished successfully with the right tools and knowledge.
Just like a skilled architect plans and constructs a solid foundation for a building, moving a toilet drain requires careful assessment, precise installation, and meticulous testing for leaks.
By following the steps outlined in this article, you can confidently undertake this project and ensure a smooth and efficient drainage system for your bathroom.
Remember, with patience and attention to detail, you can turn this challenge into a triumph.