
Have you ever wondered how to remove a PVC toilet flange? Well, look no further! In this article, I will guide you through the step-by-step process of removing a PVC toilet flange from the drain pipe.
With clear instructions and helpful tips, you’ll be able to tackle this task with confidence. So, let’s get started and learn how to remove that stubborn PVC toilet flange once and for all!
Key Takeaways
- Check the condition of the PVC toilet flange for cracks or damage.
- Remove the toilet from the flange by unscrewing the bolts and lifting it straight up.
- Remove the PVC flange from the drain pipe by unscrewing the screws or bolts.
- Clean the flange and inspect for damage before reinstalling it using appropriate screws or bolts.

Bluevua Official RO100ROPOT 4-Pack Replacement Filter Set, Pack of 1 PP Filter and 1 CTO Filter and 1 RO Filter and 1 PCF Filter
- Complete Filter Set: Includes PP, CTO, RO, and PCF filters
- Easy to Replace: No tools or water shut-off needed
- Long-Lasting Filters: Filters last up to 2 years
As an affiliate, we earn on qualifying purchases.
Assessing the Toilet Flange Condition
You’ll want to start by checking the condition of the toilet flange before attempting to remove it. Inspect the flange for any cracks or visible damage. If you notice any cracks, it is important to repair them before proceeding with the removal process.
To repair cracks in the flange, you can use a PVC pipe primer and cement. Apply the primer to the cracked area and let it dry for a few minutes. Then, apply the cement and press the crack closed. Hold it in place for a few minutes until the cement sets.
If the flange is completely broken or beyond repair, it will need to be replaced. In this case, you will need to remove the broken flange before installing a new one.
Preparing the Area for Removal
First, make sure to thoroughly inspect the surrounding area for any obstructions or debris that may interfere with the removal process. This step is crucial to ensure a safe and efficient removal of the PVC toilet flange.
Here are some important points to consider:
- Carefully evaluate the condition of the toilet flange, looking for cracks, breaks, or signs of damage.
- Check for any loose or missing screws or bolts that may need to be addressed before removal.
- Clear the area of any objects or furniture that may hinder your access to the toilet flange.
- Wear appropriate safety gear, such as gloves and safety glasses, to protect yourself from potential injury.
- Consider turning off the water supply to the toilet to prevent any accidental leaks or spills during the removal process.
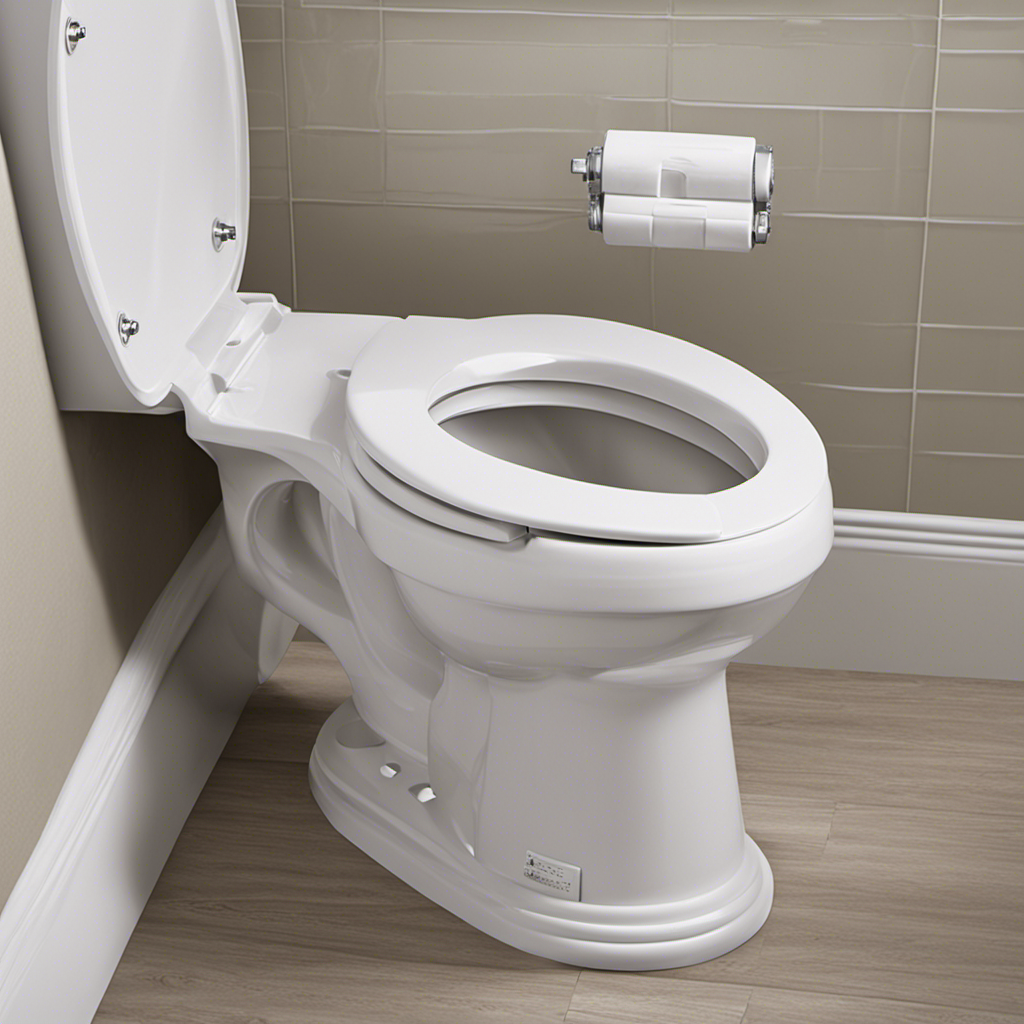
Detaching the Toilet From the Flange
To detach the toilet from the flange, carefully unscrew the bolts securing it to the floor using a wrench. Make sure to loosen them evenly to avoid any damage to the toilet or the flange. Once the bolts are removed, lift the toilet straight up from the flange and set it aside. Be cautious as toilets can be heavy and fragile. Inspect the flange for any signs of damage or wear. If the flange is cracked or broken, it will need to be replaced before reinstallation. If the flange is in good condition, you can proceed with the toilet flange repair or installation. Here is a table summarizing the steps to detach the toilet from the flange:
| Steps to Detach Toilet from Flange |
|---|
| 1. Unscrew bolts using a wrench |
| 2. Lift toilet straight up |
| 3. Inspect flange for damage |
Following these steps will ensure a successful toilet flange repair or installation.
Removing the PVC Flange From the Drain Pipe
Once you’ve inspected the flange for any signs of damage or wear, carefully detach the PVC flange from the drain pipe by unscrewing the screws or bolts securing it.
Here are the steps to follow when removing the PVC flange from the drain pipe:
- Start by locating the screws or bolts that hold the flange in place.
- Use a screwdriver or wrench to loosen and remove these screws or bolts.
- Once the screws or bolts are removed, gently pull the flange away from the drain pipe.
- Be careful not to damage the drain pipe or any surrounding plumbing components.
- Set the PVC flange aside for repair or replacement if necessary.
With the PVC flange removed, you can now proceed to the next section on cleaning and reinstalling the toilet flange.
Cleaning and Reinstalling the Toilet Flange
Now that the PVC flange has been taken off, it’s time to clean and reinstall it.
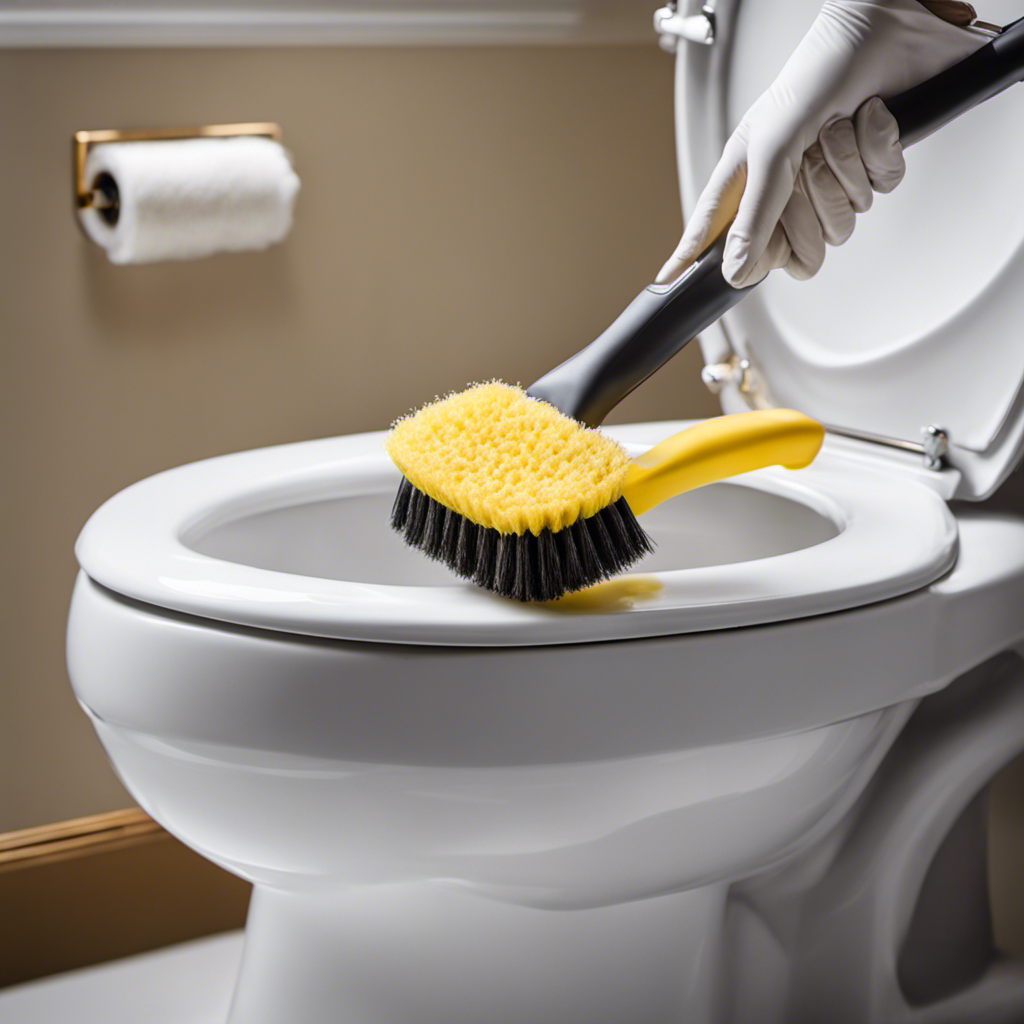
Cleaning the flange is essential to ensure a proper seal and prevent any leaks. Start by removing any debris or residue from the flange using a soft brush or cloth.
Inspect the flange for any damage or cracks. If the flange is damaged, it will need to be replaced before reinstalling.
Troubleshooting the flange installation is also crucial to avoid future issues. Ensure that the flange is level and securely attached to the floor. Use a level to check for any unevenness. Additionally, make sure the flange is properly aligned with the drain pipe.
Once the flange is clean and in good condition, it can be reinstalled using the appropriate screws or bolts.
Conclusion
In conclusion, removing a PVC toilet flange may seem like a daunting task, but with the right steps and tools, it can be accomplished smoothly.
Just like fixing a broken flange, tackling any challenge in life requires patience, perseverance, and the willingness to learn.
Remember, success is not measured by the difficulty of the task, but by the determination to overcome it.
So next time you encounter a PVC toilet flange removal, don’t fret, just dive in and conquer it like a true champion!