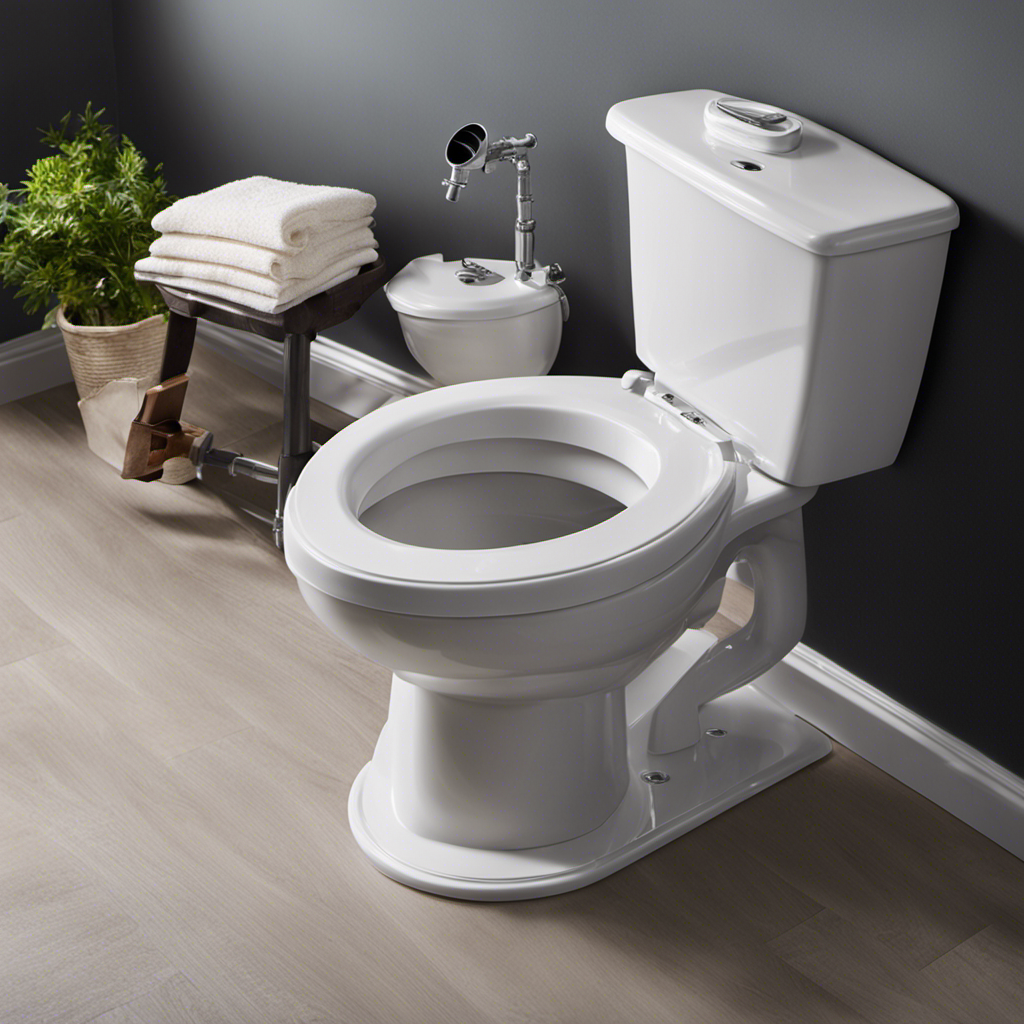
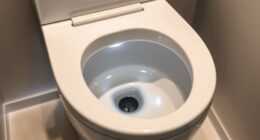
Are you ready to tackle the task of plumbing a toilet drain? Get your tools and materials ready because we’re about to dive into the world of pipes and drains.
In this step-by-step guide, you’ll learn how to:
- Remove the old toilet and drain
- Install the new one
- Test for leaks and proper drainage
Don’t worry if you encounter any issues along the way, we’ve got you covered with troubleshooting tips.
Let’s get started on this plumbing adventure!
Key Takeaways
- Gather all necessary tools and materials before starting work, including wrench, pliers, screwdriver, sealing tape, pipe cutter, PVC glue, protective gloves, and goggles.
- Clear obstructions efficiently using a plunger or auger, ensuring the toilet drain is free from any blockages.
- Measure and mark accurately for proper placement of the toilet flange and waste pipe, using a level to ensure correct alignment of the drain pipe.
- Use the appropriate tools for preparation, such as a wrench, screwdriver, and Teflon tape, to ensure a smooth and successful installation of the toilet drain.
Gathering the Necessary Tools and Materials
Before you begin, make sure you have all the necessary tools and materials for plumbing a toilet drain. Gathering the right tools and materials is crucial to ensure a smooth and successful plumbing project.
To avoid common mistakes, it is important to have a clear understanding of the required items. Firstly, you will need a wrench, pliers, and a screwdriver for loosening and tightening connections. Additionally, gather sealing tape, pipe cutter, and PVC glue for sealing and joining pipes.
Safety precautions are essential during this process. Wear protective gloves to prevent injuries and goggles to shield your eyes from debris. Also, turn off the water supply and drain the toilet before starting any work.
Once you have gathered all the necessary tools and materials, you can proceed to the next step of preparing the work area.
Preparing the Work Area
When preparing the work area for plumbing a toilet drain, there are three key points to consider: clearing obstructions efficiently, measuring and marking correctly, and having the necessary tools for preparation.
To clear obstructions efficiently, you should use a plunger or an auger to remove any blockages in the drain pipe.
When measuring and marking, ensure accurate measurements for proper placement of the toilet flange and waste pipe.
Lastly, gather the essential tools such as a wrench, screwdriver, and Teflon tape to complete the preparation process effectively.
Clearing Obstructions Efficiently
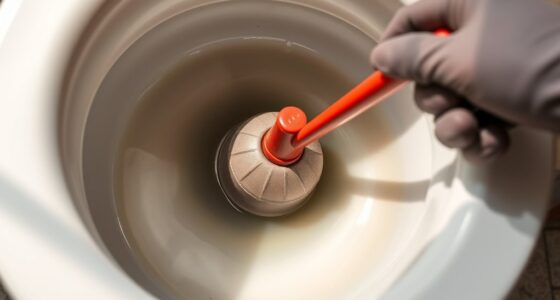
To efficiently clear obstructions in a toilet drain, it’s important to use a plunger with strong suction. When faced with a clogged toilet, the right plunger can make all the difference.
There are different types of plungers available, but for toilet drain obstructions, the best option is a flange plunger. This type of plunger has an extended rubber flange that creates a tighter seal around the drain, maximizing suction power.
To clear the obstruction, follow these steps:
- Place the plunger over the drain, ensuring a tight seal.
- Push down firmly and then pull up quickly, creating suction.
- Repeat the plunging motion several times until the drain is cleared.
Measuring and Marking Correctly
Measuring correctly is essential for accurate and precise results when plumbing a toilet drain. To ensure proper alignment and fit, you need to employ the right measuring techniques and marking tools.
Start by using a measuring tape to determine the distances between various components, such as the toilet flange and the wall. Measure twice to avoid errors. Additionally, make sure to use a level to ensure that the drain pipe is correctly aligned and plumb.
Once you have measured the required distances, use marking tools like a pencil or chalk to clearly indicate where cuts need to be made or fittings need to be installed. By following these measuring techniques and using the appropriate marking tools, you can achieve precise and reliable results in your toilet drain installation.
Now, let’s move on to the tools needed for prep.
Tools Needed for Prep
Once you’ve gathered all the necessary tools, it’s important to have a wrench, pliers, and a hacksaw for the prep work. These tools are essential for a smooth and efficient plumbing job.
Here are some tips for choosing the right tools and ensuring efficient preparation:
-
Wrench: Choose an adjustable wrench that can fit different sizes of nuts and bolts. This will allow you to easily tighten and loosen connections.
-
Pliers: Look for a pair of slip-joint pliers with a comfortable grip. These will come in handy for holding and turning pipes during the installation process.
-
Hacksaw: Opt for a hacksaw with a sharp blade to cut through pipes with ease. Make sure to choose a blade suitable for cutting metal.
-
Additional tools: Consider having a pipe cutter and a pipe wrench on hand for more specialized tasks.
Removing the Old Toilet and Drain
First, you’ll need to carefully disconnect the old toilet and remove the drain pipe.
Begin by shutting off the water supply to the toilet and flushing it to empty the tank. Use an adjustable wrench to disconnect the water supply line from the bottom of the tank.
Next, remove the nuts securing the toilet to the floor using a wrench. Lift the toilet off the floor and place it aside.
Now, it’s time to remove the drain pipe. Loosen the nuts connecting the drain pipe to the toilet flange using a wrench. Once the nuts are loosened, you can remove the drain pipe. Be sure to clean the flange thoroughly, removing any wax residue.
Installing the New Toilet and Drain
Now you can attach the new toilet to the floor by securing it with nuts and a wrench.
To properly install the new toilet and drain, follow these steps:
- Place the wax ring onto the flange, ensuring it is centered and aligned correctly.
- Gently lower the toilet onto the wax ring, making sure it sits evenly on the floor.
- Secure the toilet to the floor by tightening the nuts onto the bolts, using a wrench. Be careful not to overtighten and crack the toilet.
Once the toilet is secure, connect the water supply line to the bottom of the tank and tighten it.
Finally, adjust the water level in the tank by adjusting the float or fill valve. This will ensure proper flushing and prevent any overflow.
Testing for Leaks and Proper Drainage
To ensure proper installation, it is important to check for leaks and ensure that the water drains correctly.
Before finalizing the installation of your toilet drain, it is necessary to test the system for any leaks. Start by filling the toilet tank with water and allowing it to flush into the drain. Observe the area around the base of the toilet and the connecting pipes for any signs of water leakage.
Additionally, ensure that the water flows smoothly through the drain without any blockages. If you detect any leaks or improper water flow, it is crucial to address these issues before proceeding with the installation.
Troubleshooting common issues will help you identify and resolve any problems that may arise during the installation process.
Troubleshooting Common Issues
If you notice any leaks or blockages, it’s important to address these common issues before continuing with the installation. Here are some troubleshooting tips to help you with your toilet drain installation and maintenance:
-
Check for leaks: Inspect the connections between the toilet and the drain pipe. Tighten any loose fittings and replace any damaged seals or gaskets.
-
Clear blockages: If you encounter a blockage, try using a plunger or a plumbing snake to clear it. Avoid using harsh chemicals as they can damage the pipes.
-
Ensure proper venting: Make sure that the toilet drain is properly vented to prevent airlock and ensure proper drainage.
-
Regular maintenance: Schedule regular maintenance to prevent future issues. This includes inspecting the drain pipe, cleaning the trap, and checking the water flow.
Conclusion
In conclusion, you’ve successfully learned how to plumb a toilet drain. By following the step-by-step guide and using the right tools, you’ve ensured a proper installation.
Remember, plumbing is like a symphony, with each component playing its part harmoniously. So, take pride in your work and enjoy the satisfaction of a functioning toilet.
Now, go forth and conquer any plumbing challenges that come your way with confidence and expertise.
