I’ve been there – standing in the bathroom, staring at a broken toilet seat, unsure of what to do next. But fear not!
In this guide, I will take you through the step-by-step process of putting on a new toilet seat. With just a few tools and materials, you’ll have a sturdy and comfortable seat in no time.
So, roll up your sleeves and let’s get started on this DIY project that will leave you feeling accomplished and ready to tackle more household repairs.
Key Takeaways
- Gather tools and materials such as a screwdriver, wrench or pliers, new toilet seat and lid, screws and bolts, and plastic or rubber washers if needed.
- Remove the old toilet seat by locating the bolts underneath the toilet bowl and turning them counterclockwise with a wrench or pliers. Lift the old seat and lid off the bowl and dispose of it properly.
- Clean the toilet bowl using toilet bowl cleaner, a toilet brush, rubber gloves, and a scrubbing sponge. Apply cleaner to all areas, scrub in a circular motion, and use a sponge for tough stains.
- Position the new toilet seat by aligning the hinges with the holes on the bowl. Adjust for even placement and centering, ensuring a secure and comfortable fit. Tighten the screws on the hinges to secure the seat in place.
Step 1: Gather the Necessary Tools and Materials
First, gather all the tools and materials you’ll need to put on the toilet seat. For a successful toilet seat installation, you’ll need a screwdriver, preferably a flathead or Phillips head depending on the type of screws used. Additionally, you’ll require a wrench or pliers to tighten any nuts or bolts. It’s important to check the packaging of the new toilet seat to see if any specific tools are recommended by the manufacturer.
In terms of materials, you’ll need the new toilet seat and lid, which should come with all necessary screws and bolts. Some toilet seats may also require plastic or rubber washers for added stability.
With all the tools and materials ready, you are now prepared to move on to step 2: remove the old toilet seat.
Step 2: Remove the Old Toilet Seat
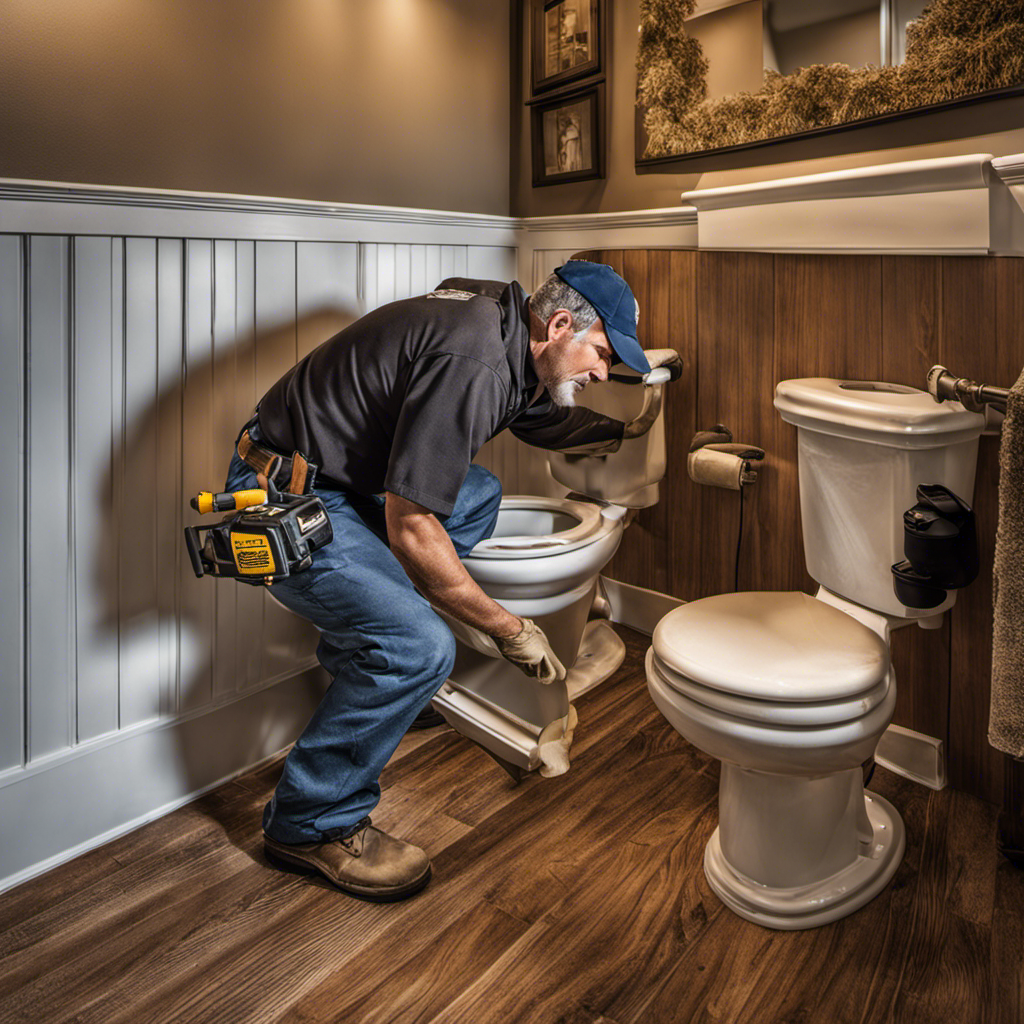
Next, you’ll need to unscrew the bolts that are holding the old seat in place. To do this, grab a wrench or a pair of pliers and locate the bolts underneath the toilet bowl. They are usually located at the back, near the hinges of the seat. Use your tool to grip the bolts and turn them counterclockwise. As you do this, the bolts will loosen and eventually come out completely.
Once the bolts are removed, carefully lift the old seat and lid off the toilet bowl. Take a moment to inspect the area and clean any dirt or debris that may have accumulated. This step is crucial for proper toilet seat installation and maintenance.
Step 3: Clean the Toilet Bowl
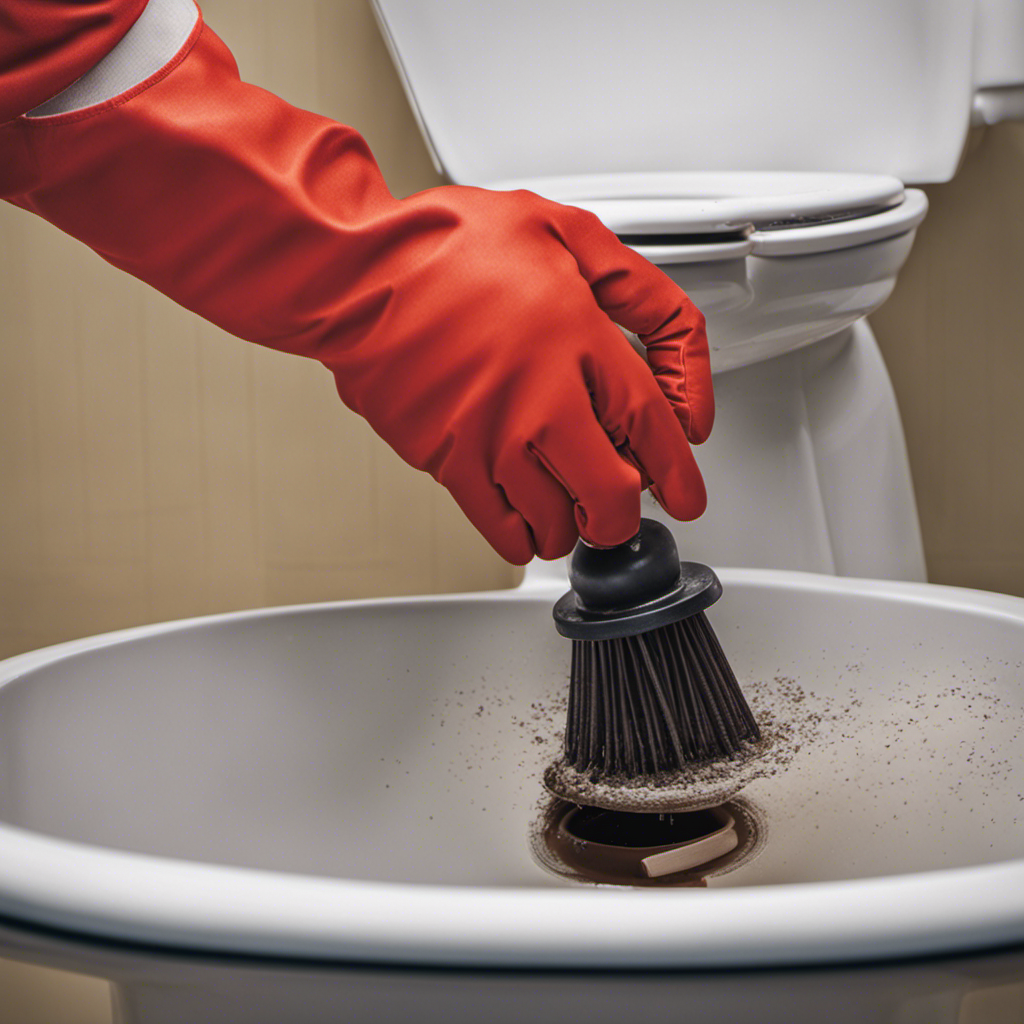
After removing the old toilet seat, it’s important to clean the toilet bowl thoroughly before installing the new one. Proper cleaning technique and the right cleaning products are essential to ensure a hygienic and odor-free bathroom. Here is a step-by-step guide on how to clean the toilet bowl effectively:
-
Gather the necessary cleaning products: a toilet bowl cleaner, a toilet brush, rubber gloves, and a scrubbing sponge.
-
Put on the rubber gloves to protect your hands from bacteria and germs.
-
Apply the toilet bowl cleaner to the inside of the toilet bowl, making sure to cover all areas, including under the rim.
-
Use the toilet brush to scrub the bowl, paying special attention to stains and buildup. Start at the top and work your way down, using a circular motion.
| Cleaning Products | Proper Cleaning Technique |
|---|---|
| Toilet bowl cleaner | Apply cleaner to all areas of the toilet bowl. |
| Toilet brush | Scrub the bowl in a circular motion, starting at the top. |
| Rubber gloves | Protect your hands from bacteria and germs. |
| Scrubbing sponge | Use for extra scrubbing power on tough stains. |
Step 4: Position the New Toilet Seat
To ensure proper installation, it’s crucial to align the new toilet seat with the toilet bowl before securing it in place. Proper alignment ensures comfort and functionality while using the toilet. Here’s how you can position the new toilet seat correctly:
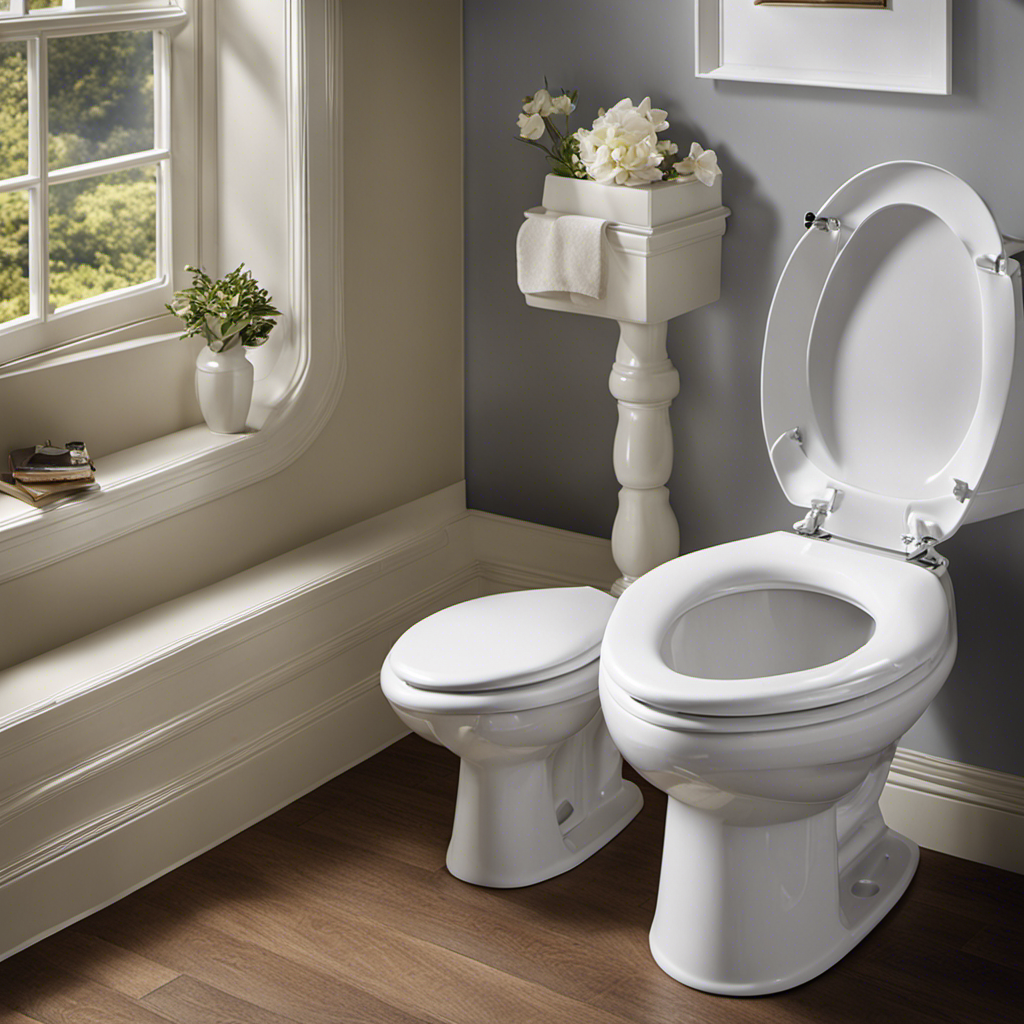
- Open the toilet seat and locate the hinges.
- Place the seat on the bowl, ensuring that the hinges align with the holes in the bowl.
- Adjust the seat to make sure it sits evenly on the bowl and is centered.
Proper alignment is important to prevent any wobbling or discomfort while using the toilet. Once you have adjusted the seat to your satisfaction, you can proceed to the next step of securing it in place.
Step 5: Secure the New Toilet Seat in Place
You’ll want to start by grabbing a screwdriver and tightening the screws on the hinges of the new toilet seat to secure it firmly in place. Ensuring that the seat is properly secured is essential for its longevity and functionality.
Proper maintenance tips for toilet seats include regularly cleaning them with mild soap and water, avoiding harsh chemicals that may damage the seat’s finish, and checking for any signs of wear or damage.
It’s also important to note that there are different types of toilet seat installation methods available, such as the traditional bolt and nut system, quick-release hinges, and snap-on installation. Each method has its own advantages and may require specific tools or steps.
Following the manufacturer’s instructions for your specific toilet seat is crucial to ensure a successful installation.
Frequently Asked Questions
How Often Should I Replace My Toilet Seat?
I replace my toilet seat when it shows signs of wear, like cracks, stains, or loose hinges. It’s important to regularly check for these signs to ensure a sanitary and safe bathroom experience.
Can I Use Any Type of Cleaner to Clean the Toilet Bowl?
I can use different types of cleaners to clean the toilet bowl. However, it’s important to consider the benefits of using specific cleaners that are designed for toilet bowls to ensure effective cleaning and maintenance.
What Should I Do if the Old Toilet Seat Is Stuck and I Can’t Remove It?
If the old toilet seat is stuck and won’t come off, there are a few troubleshooting steps you can try. First, make sure the bolts are fully loosened. You can also use a lubricant or tap the seat gently to loosen it.
Is It Necessary to Wear Gloves While Cleaning the Toilet Bowl?
Wearing gloves while cleaning the toilet bowl is a matter of personal preference and hygiene concerns. While it may not be necessary, it can provide an extra layer of protection and peace of mind.
How Do I Know if the New Toilet Seat Is the Right Size for My Toilet?
To determine if a new toilet seat is the right size for your toilet, measure the distance between the mounting holes on the bowl. Compare this measurement to the toilet seat’s specifications to ensure compatibility.
Conclusion
Well, there you have it! Putting on a toilet seat may seem like a daunting task, but with these simple steps, it’s a piece of cake.
Just gather your tools, remove the old seat, clean the toilet bowl, position the new seat, and secure it in place. Trust me, it’s as easy as pie!
So don’t fret the next time you need to replace your toilet seat. You’ve got this!
