As a seasoned plumber, I’ve encountered countless toilet flapper issues throughout my career. Removing a faulty flapper is a task that requires precision and know-how.
In this comprehensive guide, I will walk you through the step-by-step process of removing a toilet flapper with ease. From shutting off the water supply to detaching the flapper chain, I’ll cover every intricate detail.
Get ready to become a DIY plumbing expert as we dive into the world of toilet flapper removal.
Key Takeaways
- Turn off the water supply before starting the removal process
- Inspect the tank and flapper for any cracks, leaks, or damage
- Detach the flapper chain from the lever arm and inspect it for wear or damage
- Disconnect the old flapper from its attachment points and replace it if necessary
Tools Needed
To remove a toilet flapper, you’ll need a few tools. First, you’ll need a pair of pliers to disconnect the chain that connects the flapper to the flush lever.
Next, you’ll need a wrench to unscrew the mounting nut that holds the flapper in place. Make sure to turn off the water supply to the toilet before starting the removal process.
Once the nut is loosened, you can simply lift the flapper out of the toilet tank.
When removing the flapper, it’s important to consider whether you should replace it or repair it. If the flapper is damaged or worn out, it’s best to replace it with a new one.
Choosing the right flapper for your toilet is crucial for proper function and water efficiency. Look for a flapper that matches the size and type of your toilet, and consider options that are adjustable for optimal performance.
Shutting Off the Water Supply
First, you’ll need to find the water shut-off valve and turn it clockwise to stop the flow of water to the toilet. This valve is usually located on the wall behind or near the toilet. Once you have located the valve, use a wrench or pliers to turn it clockwise until it is fully closed. This will ensure that no water flows into the toilet while you work on replacing the flapper valve.
Before proceeding, it is important to adjust the water level in the toilet tank. This can be done by adjusting the float or the water level adjustment screw located on the fill valve. The water level should be set to the manufacturer’s recommended level, which is usually marked on the inside of the toilet tank.
Removing the Tank Lid
Once you’ve located the water shut-off valve, use a wrench or pliers to turn it clockwise and stop the flow of water to the toilet.
Now that the water supply is shut off, it’s time to remove the tank lid and inspect the tank for any cracks or leaks. Carefully lift the lid straight up, making sure not to drop it or damage any components inside. Take a close look at the tank walls and bottom for any signs of damage or water seepage. If you notice any cracks or leaks, it’s important to address them before proceeding further.
Next, clean the tank and flapper for better performance. Use a non-abrasive cleaner and a soft brush to scrub away any mineral deposits or debris that may have built up over time. Pay special attention to the flapper, ensuring it moves freely and is free from any obstructions.
Once you’ve completed these steps, you can move on to the next stage of removing the toilet flapper.
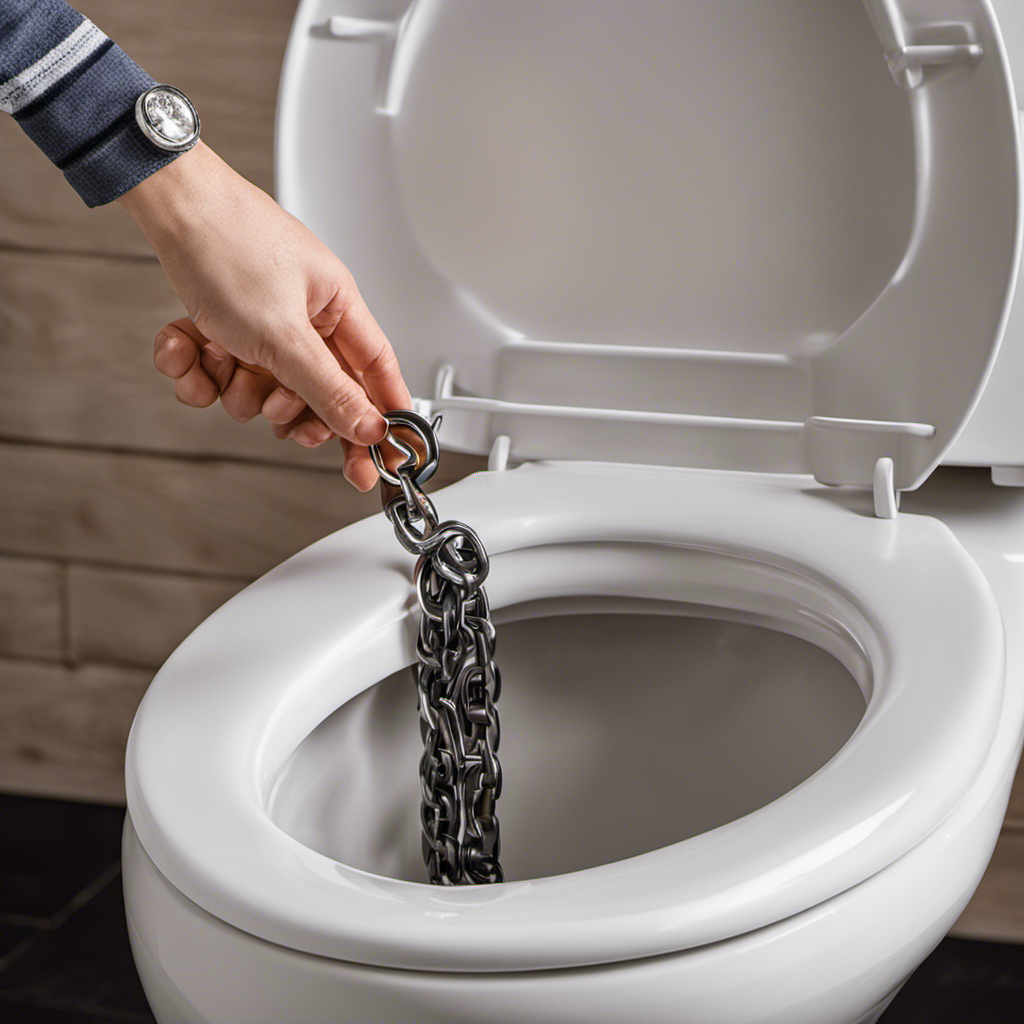
Detaching the Flapper Chain
Now, you’ll want to start by disconnecting the chain from the lever arm inside the toilet tank. This step is crucial when replacing the flapper chain or troubleshooting flapper issues. Follow these steps to detach the flapper chain with ease:
-
Locate the chain attached to the lever arm. It is usually connected by a small metal or plastic clip.
-
Carefully unhook the chain from the clip using a pair of pliers or your fingers, ensuring not to damage the chain or the clip.
-
Once detached, inspect the chain for any signs of damage or wear. If necessary, replace the chain with a new one to ensure proper functioning of the flapper.
-
If you encounter any difficulties during this process, such as a stubborn chain or a broken clip, consult a professional plumber for assistance.
Removing the Old Flapper
To begin, you’ll want to carefully disconnect the old flapper from its attachment points within the toilet tank.
Start by turning off the water supply to the toilet.
Next, flush the toilet to drain the water from the tank.
Locate the chain or strap that connects the flapper to the flush handle and disconnect it.
Now, examine the flapper’s attachment points. Depending on the type of flapper, you may need to unscrew or unclip it from the overflow tube or the mounting bracket.
Take note of how the old flapper was installed, as this will help when installing the new one.
Inspect the old flapper for any signs of damage or wear, such as cracks or deterioration. If there are any issues, it’s best to replace the flapper entirely.
Once the old flapper is disconnected, you can proceed to installing a new flapper.
Conclusion
In conclusion, removing a toilet flapper is a relatively simple task that can be easily accomplished with the right tools and steps.
By following the detailed instructions provided, you can successfully remove the old flapper and replace it with a new one, ensuring that your toilet functions properly.
While some may anticipate difficulties in shutting off the water supply or detaching the flapper chain, these potential issues can be overcome with patience and the proper techniques.
With the right approach and a little bit of plumbing know-how, you can confidently tackle this task and keep your toilet running smoothly.