So you’ve decided it’s time to bid farewell to your trusty RV toilet. Well, fear not, my fellow traveler, for I am here to guide you through the process of removing it with ease.
In this article, I will provide you with step-by-step instructions, along with the necessary tools and supplies, to ensure a smooth and hassle-free removal.
So let’s roll up our sleeves and embark on this adventure of toilet liberation together!
Key Takeaways
- Disconnect the water supply line using a wrench and catch any water spills in a bucket or plastic bag.
- Remove the screws holding the toilet in place using a screwdriver and lift the toilet off the floor carefully.
- Clean the toilet using a toilet cleaner or vinegar and baking soda mixture to remove stains.
- Store the toilet components in a dry and safe place, preferably a plastic storage container, after cleaning them with mild soapy water.

Fluidmaster Universal Install/Uninstall Toilet Repair Tool
Fluidmaster’s universal install and uninstall toilet tool makes any toilet repair job simple
As an affiliate, we earn on qualifying purchases.
As an affiliate, we earn on qualifying purchases.
Tools and Supplies Needed
To remove an RV toilet, you’ll need a few tools and supplies.
The first tool you’ll need is a wrench to disconnect the water supply line. This will allow you to shut off the water and remove the toilet without any leaks.
Additionally, you’ll need a screwdriver to remove the screws that hold the toilet in place. It’s important to have a bucket or a plastic bag on hand to catch any water that may spill out when you disconnect the toilet.
Once you have these tools ready, you can begin the process of removing the toilet. This is an essential step in toilet installation or troubleshooting, as it allows you to access the plumbing lines and fix any issues that may arise.

31705 31688 31687 31653 RV Toilet Water Valve kit- Freeze Resistance & Leakage-Resistant RV Toilet Parts for Thetford Aqua-Magic V High and Low by Vypart
【 PERFECT COMPATIBILITY】 — The 31705 RV toilet valve kit is specifically designed for Thetford Aqua – Magic…
As an affiliate, we earn on qualifying purchases.
As an affiliate, we earn on qualifying purchases.
Preparing the Area
Before starting, make sure you’ve cleared the area around the RV toilet. This is important to ensure easy access and prevent any accidents during the removal process.
Now, let’s talk about removing stubborn stains and properly disposing of old toilet parts.
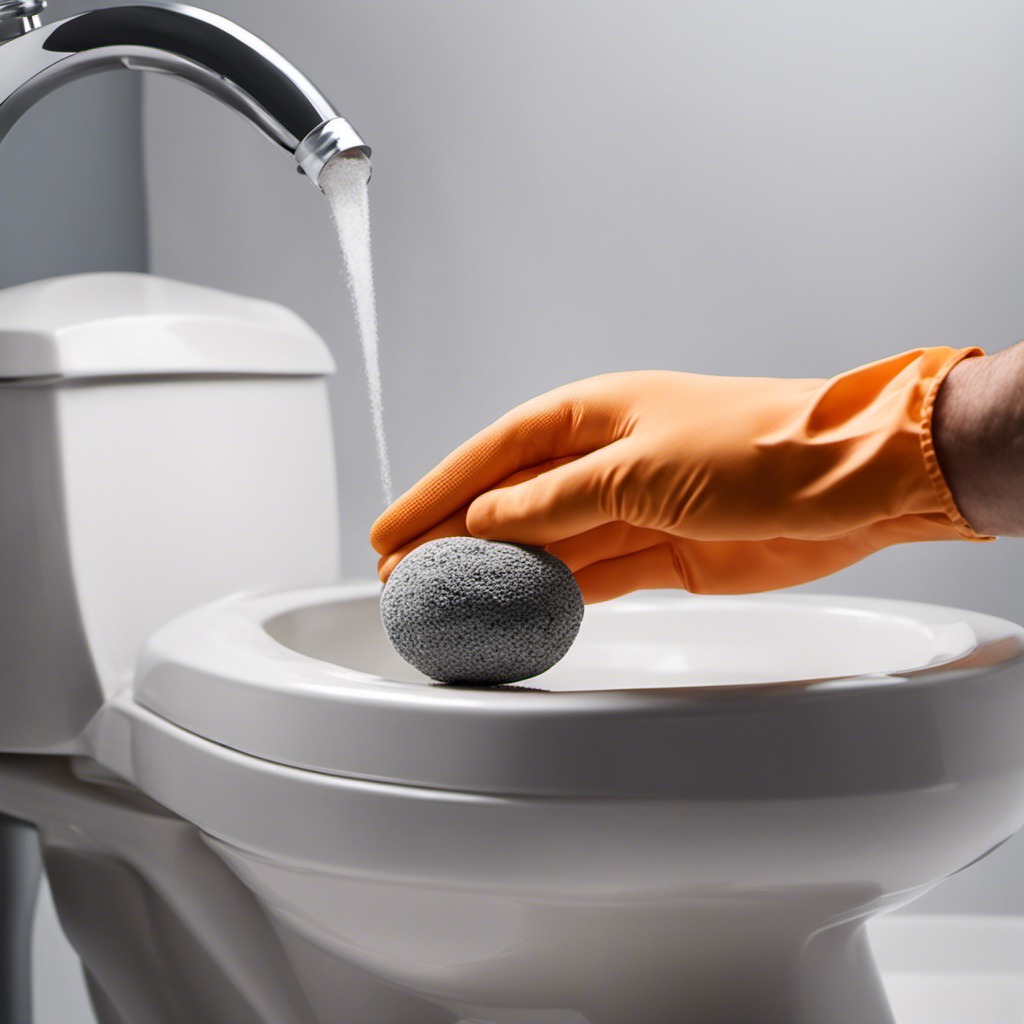
To remove stubborn stains from the RV toilet, start by wearing protective gloves and using a toilet brush or a scrub brush. Apply a toilet cleaner or a mixture of vinegar and baking soda directly onto the stained areas. Let it sit for a few minutes to loosen the stains, then scrub vigorously until the stains are gone. Rinse thoroughly with water to remove any residue.
When it comes to disposing of old toilet parts, it is crucial to follow proper waste disposal guidelines. Check with your local waste management facility for specific instructions on how to dispose of these items safely. In most cases, you will need to wrap the parts in a plastic bag and place them in the appropriate trash bin or take them to a designated disposal facility.
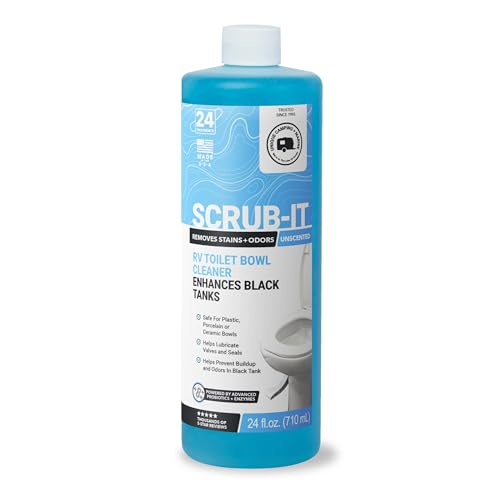
Unique Scrub-It RV Toilet Bowl Cleaner Liquid – Helps Remove Stink, Stains and Debris – Safe on All Toilet Types (24 oz)
Specifically designed for RV and boat toilets. Removes rings, stains and debris from toilet bowls. A hybrid of…
As an affiliate, we earn on qualifying purchases.
As an affiliate, we earn on qualifying purchases.
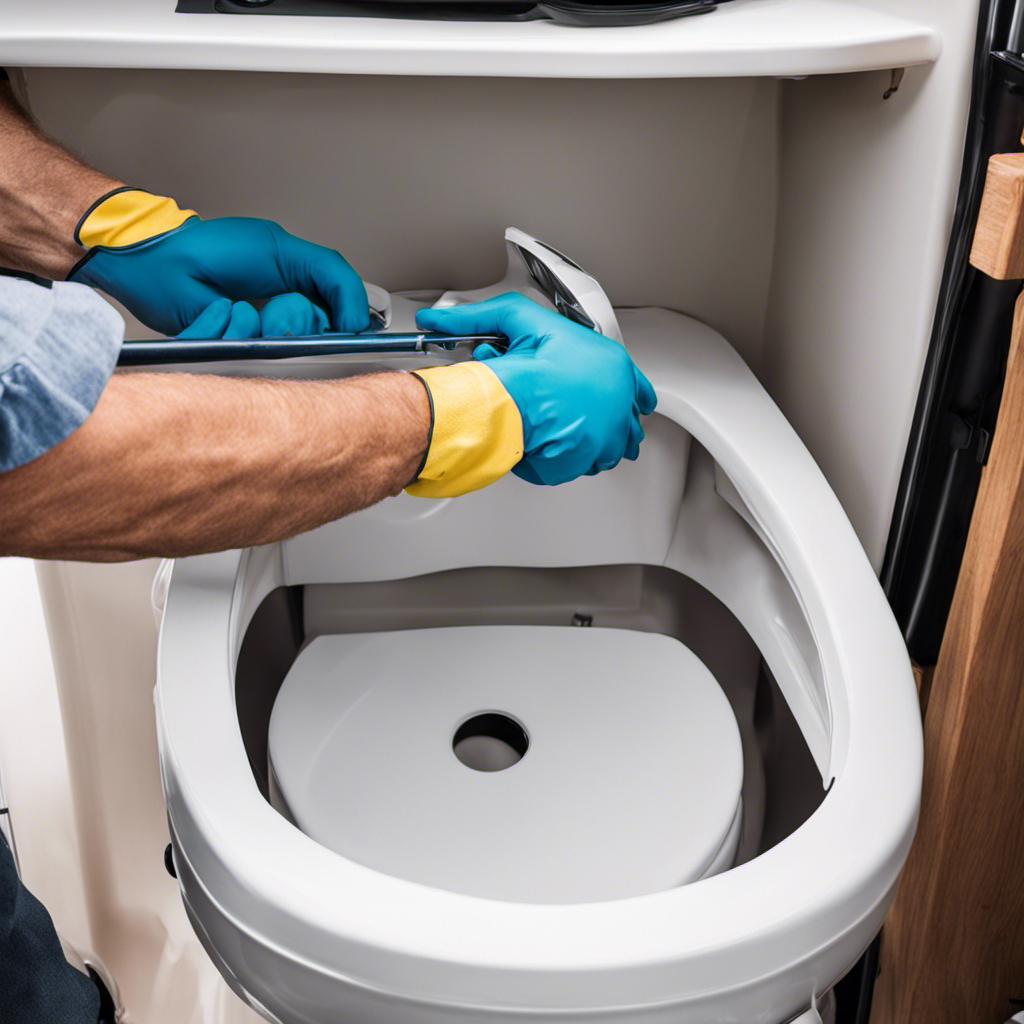
Disconnecting the Water Supply
Make sure you’ve shut off the water supply to the RV before disconnecting the water line. This step is crucial to avoid any water leakage or damage.
To begin, locate the water supply valve, usually found near the toilet or in the basement compartment. Turn it off by twisting the valve clockwise until it stops.
Once the water supply is shut off, you can proceed with disconnecting the water line. Unscrew the nut connecting the water line to the toilet using a wrench. Be prepared for some water to drain out as you disconnect the line. To prevent any mess, have a bucket or towel handy to catch the water.
With the water supply disconnected, you can now move on to draining the water tank and removing the toilet seat, as discussed in the subsequent sections.
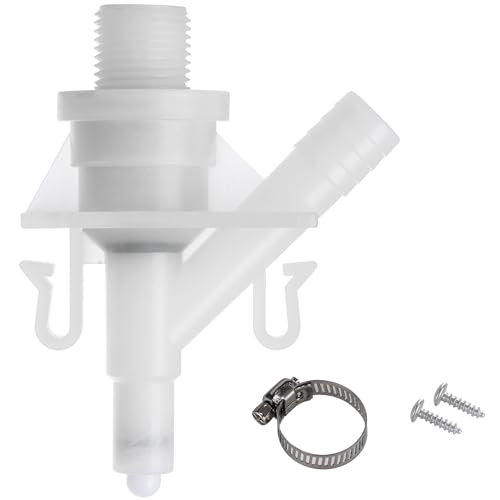
Halotronics Upgraded RV Water Valve Replacement Kit for Pedal-Flush Toilets, Compatible with Sealand Dometic 300, 301, 310, 311, 320, 321 (385311641) – Hardware Included, 2024 Model
Features | This replacement kit includes all the necessary parts to get your valve working properly. Designed with…
As an affiliate, we earn on qualifying purchases.
As an affiliate, we earn on qualifying purchases.
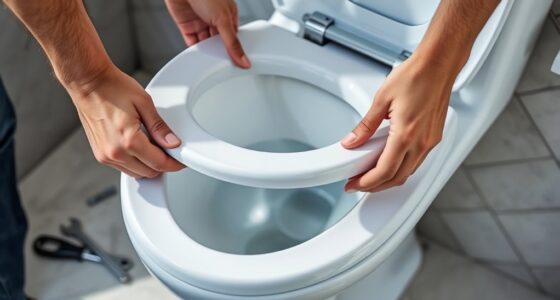
Removing the Toilet From the Floor
Once you’ve shut off the water supply and disconnected the water line, you can start removing the toilet from the floor.
To do this, you will need to loosen the bolts that hold the toilet in place. These bolts are usually located at the base of the toilet and can be removed using a wrench.
Once the bolts are loosened, carefully lift the toilet off the floor and set it aside.
Before reinstalling the toilet, it’s important to inspect the floor for any damage or leaks. If necessary, you may need to seal the floor to prevent any water damage.
Once the floor is sealed and dry, you can proceed with reinstalling the toilet by aligning it with the bolts and tightening them securely.
Cleaning and Storing the Toilet Components
After disconnecting the water line and loosening the bolts, you should clean and store the toilet components to prevent any damage or dirt buildup.
Properly cleaning and storing the toilet components is essential to maintain their functionality and prevent odor.
When cleaning, make sure to use mild soapy water and a soft cloth to avoid any scratches. Pay special attention to the areas where waste and chemicals may have accumulated.
After cleaning, dry the components thoroughly to prevent any moisture-related issues.
Once cleaned, it is important to store the components in a dry and safe place. Consider using a plastic storage container to protect them from dust and potential damage.
Additionally, storing chemicals separate from the toilet components will help prevent any leaks or spills that could lead to unpleasant odors.
Conclusion
Removing an RV toilet may seem like a mundane task, but it symbolizes the freedom and adventure that awaits.
As I carefully disconnect the water supply and remove the toilet from the floor, I am reminded of the memories made on the road.
Cleaning and storing the toilet components not only ensures its longevity but also signifies the end of one journey and the beginning of another.
With the right tools and supplies, this process becomes a simple yet significant step towards new horizons.