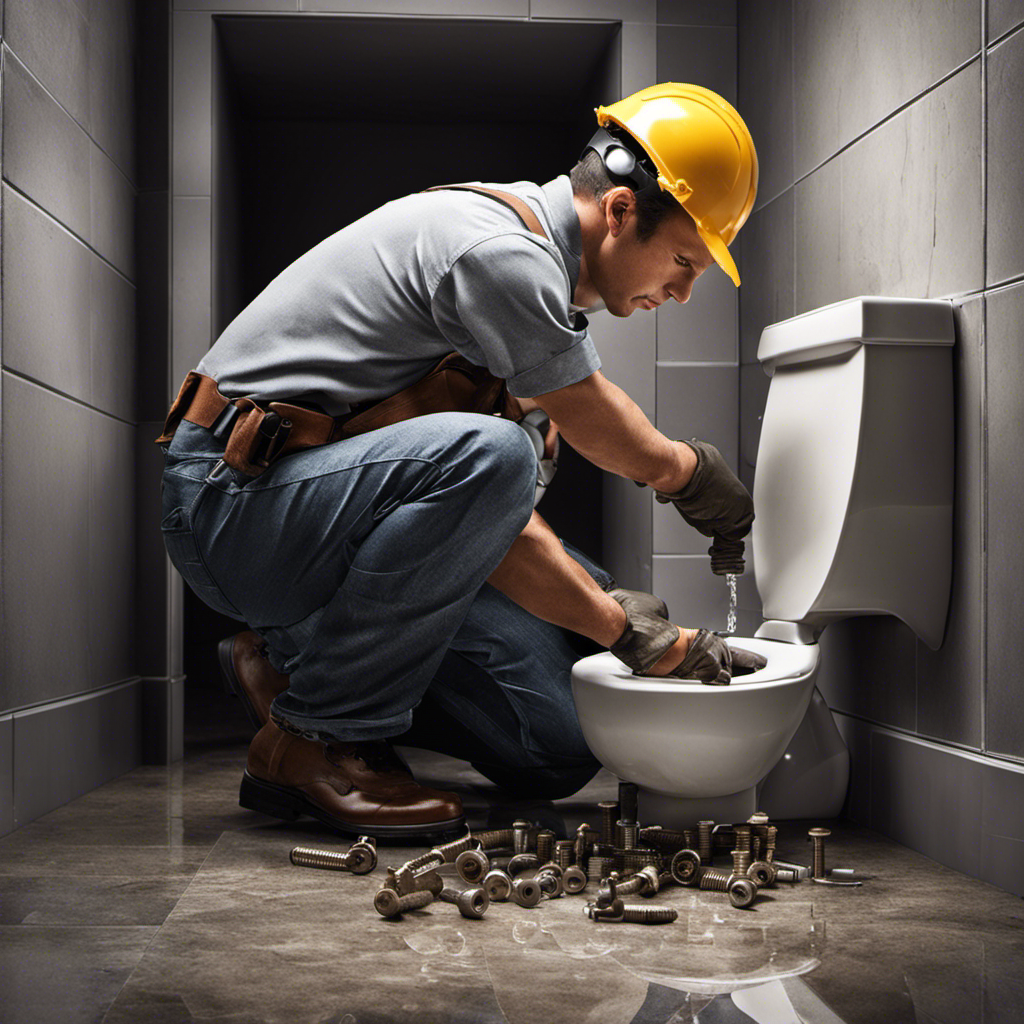

As I embark on the task of removing a toilet, I find myself faced with the challenge of dismantling a vital fixture in my home. With the right tools and techniques, however, this seemingly daunting endeavor can be accomplished with ease.
In this article, I will guide you through the step-by-step process of removing a toilet, ensuring a smooth and successful operation. From shutting off the water supply to properly disposing of the old toilet, we will explore each crucial stage in meticulous detail.
Let’s dive in and master the art of toilet removal.
Key Takeaways
- Gather all necessary tools and materials before starting.
- Shut off the water supply before starting the removal process.
- Drain the toilet bowl before disconnecting the water supply line.
- Properly dispose of the old toilet according to local regulations and guidelines.
Preparing the Tools and Materials
Before starting, make sure you have all the necessary tools and materials ready. Preparation is key when it comes to removing a toilet, and having the right tools will make the process much easier.
You will need a wrench, preferably an adjustable one, to loosen and remove the nuts that hold the toilet in place. Additionally, you will need a scraper or putty knife to remove any old caulk or wax seal.
When it comes to material selection, it is important to choose a new wax seal and bolts that are compatible with your toilet. These can usually be found at your local hardware store.
Now that you have all the tools and materials ready, it’s time to move on to shutting off the water supply.
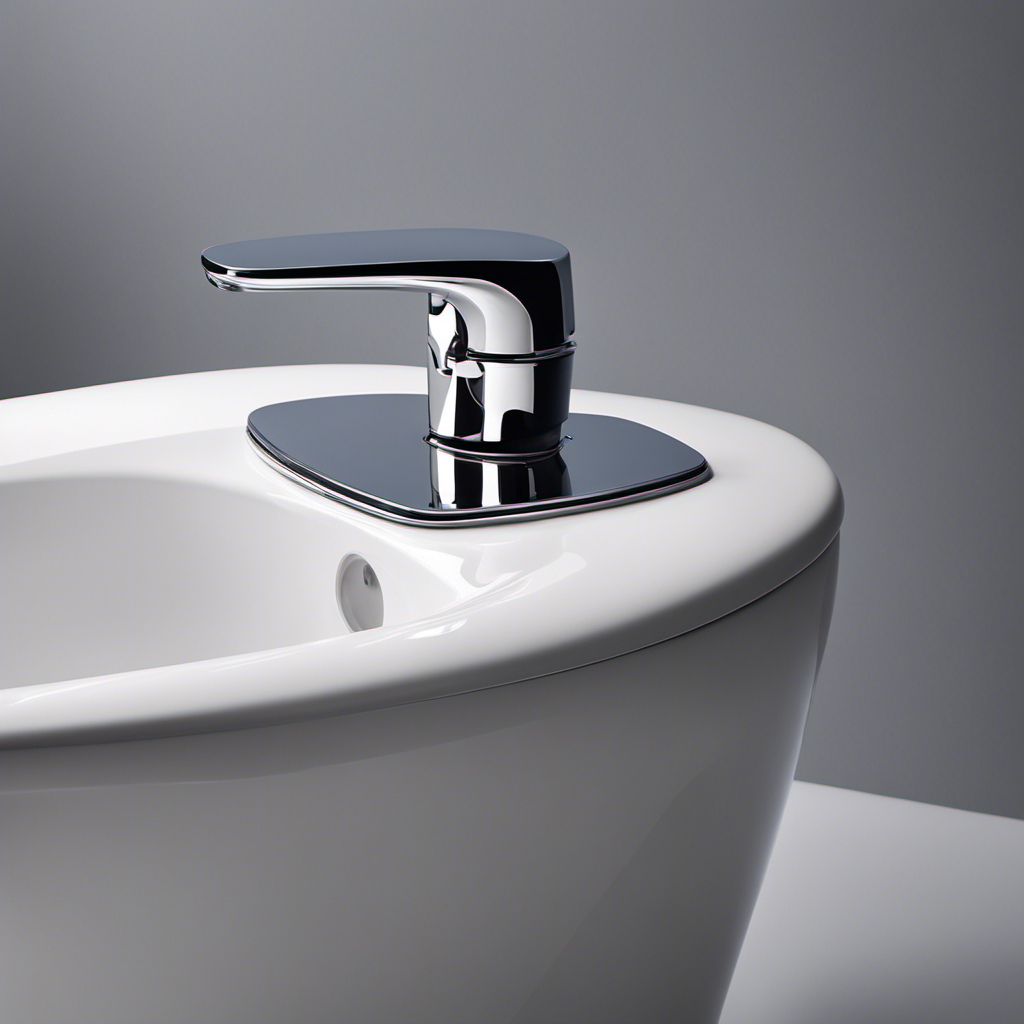
Shutting Off the Water Supply
Before removing a toilet, it’s crucial to shut off the water supply to prevent any potential water damage. To do this, I always start by turning off the water at the shut-off valve. The shut-off valve is typically located near the base of the toilet or in the basement. Finding the shut-off valve can sometimes be a bit tricky, but with a little persistence, it can be easily located to ensure a smooth and hassle-free removal process.
Turning off Water
To turn off the water before removing the toilet, you’ll need to locate the shut-off valve. This valve is typically located near the base of the toilet, either on the wall or the floor. It is important to find the shut-off valve before proceeding with any toilet removal project to prevent water damage. Once you have located the shut-off valve, simply turn it clockwise to shut off the water supply to the toilet. This will prevent any water from flowing into the toilet tank and bowl while you work. To emphasize the importance of finding the shut-off valve and preventing water damage, consider the following table:
| Finding the Shut-Off Valve | Preventing Water Damage |
|---|---|
| Locate near base of toilet | Avoid costly repairs |
| Turn clockwise to shut off | Protect flooring |
| No water flow to toilet | Prevent mold growth |
| Ensures a dry work area | Maintain property value |
Finding Shut-Off Valve
When locating the shut-off valve for the water supply, you’ll want to check near the base of the toilet. This valve is essential for shutting off the water supply properly before removing or replacing a toilet.
Here are some key tips to help you find the shut-off valve location and ensure a smooth process:
- Look for a small, round or oval-shaped valve handle near the floor, usually on the wall behind the toilet.
- Check behind the toilet tank or along the water supply line for the valve.
- Some shut-off valves may be hidden behind a panel or access door.
- If you can’t find the valve near the toilet, trace the water supply line back to where it enters your home’s plumbing system.
- Consider using a flashlight or mirror to help you locate the valve in hard-to-see areas.
Preventing Water Damage
Make sure you regularly check for any signs of water damage in your bathroom, such as wet spots on the walls or ceiling, mold growth, or a musty smell. Preventing leaks is essential to maintaining the integrity of your bathroom.
One of the most important waterproofing measures you can take is to ensure that all joints and seams in your bathroom are properly sealed. This includes sealing around the bathtub, shower, and toilet. Use a high-quality silicone sealant to seal any gaps or cracks.
Additionally, consider installing a waterproof membrane behind your bathroom tiles to provide an extra layer of protection against water damage.
Regularly inspecting and maintaining your bathroom’s waterproofing measures will help prevent costly water leaks and damage in the long run.
Draining the Toilet Bowl
Once the water has been turned off, you can start draining the toilet bowl. To ensure a clean removal and prevent any water damage, it is vital to follow the correct draining technique. Here are some key steps to successfully drain the toilet bowl:
- Place a bucket or a large container next to the toilet to collect the water.
- Locate the shut-off valve behind the toilet and turn it clockwise to shut off the water supply.
- Flush the toilet once to remove most of the water from the bowl.
- Use a plunger to force out any remaining water into the bucket.
- Wipe the inside of the bowl with a towel to remove any excess moisture.
By following these steps, you can effectively drain the toilet bowl and prepare it for removal.
Now, let’s move on to the next step: disconnecting the water supply line.
Disconnecting the Water Supply Line
To disconnect the water supply line, there are three key steps to follow.
First, shut off the water supply valve located behind the toilet by turning it clockwise until it is fully closed.
Next, use a wrench to unscrew the supply line from the bottom of the toilet tank, being careful not to damage the threads.
Finally, tape off the open end of the supply line to prevent any water from leaking out.
Shutting off Water
You’ll need to turn off the water supply before removing the toilet. This step is crucial to prevent any water damage during the process. Here are some important points to keep in mind:
-
Finding the shut off valve: Locate the shut off valve near the base of the toilet. It is usually a small, round valve with a handle or lever.
-
Shutting off the water: Turn the valve clockwise until it is fully closed. This will stop the flow of water to the toilet.
-
Flushing the toilet: Flush the toilet to remove any remaining water in the tank and bowl.
-
Removing excess water: Use a sponge or towel to soak up any remaining water in the bowl and tank.
-
Double-checking the water supply: After shutting off the valve, turn on a nearby faucet to ensure that the water supply is indeed cut off.
Unscrewing Supply Line
Before unscrewing the supply line, ensure that the water supply is fully shut off by double-checking the nearby faucet. This step is crucial to prevent any water leakage or damage during the removal process.
Now, let’s dive into the unscrewing technique. Grab a pair of adjustable pliers and place them around the hex nut, which connects the supply line to the toilet tank. Hold the pliers firmly and turn counterclockwise to loosen the nut. Once it’s loose, you can easily unscrew it by hand.
In some cases, the hex nut may be stubbornly stuck or corroded. In such situations, you can try using lubricants or applying heat to loosen it. Alternatively, there are alternative removal methods, such as using a wrench or a basin wrench, which can provide more leverage and make the unscrewing process easier.
Taping off Line
Now that the supply line is unscrewed, the next step in removing the toilet is to tape off the line. This is an important step in preparing the materials and preventing leaks during the removal process.
Here are five key points to consider when taping off the line:
- Use high-quality plumber’s tape to ensure a tight seal.
- Start by cleaning the threads on both the supply line and the valve to remove any debris or dirt.
- Wrap the tape in a clockwise direction around the threads, making sure to cover them completely.
- Apply moderate pressure while wrapping to ensure a secure and leak-proof seal.
- Finish by tearing off the tape and pressing it firmly against the threads.
Removing the Toilet Tank
To remove the toilet tank, first, you should turn off the water supply. This is a necessary step to prevent any water leakage or damage during the removal process. Once the water supply is turned off, you can start preparing the materials needed for this task.
You will need a pair of adjustable pliers, a screwdriver, and a bucket to catch any remaining water. After gathering these materials, the next step is to remove the tank lid. Carefully lift the lid and set it aside in a safe place, ensuring it doesn’t get damaged.
With the tank lid removed, you are now ready to move on to the next step of detaching the toilet bowl from the floor.
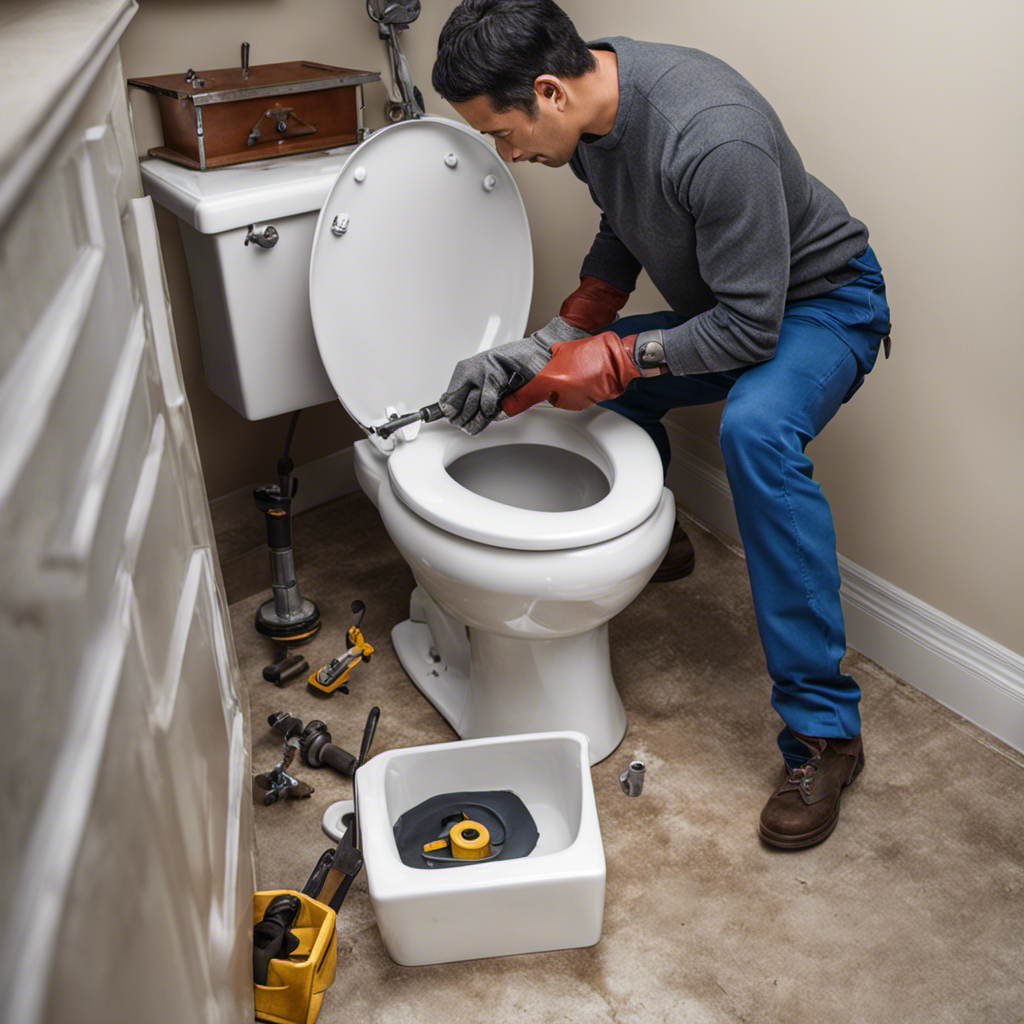
Detaching the Toilet Bowl From the Floor
Make sure you have a wrench handy to disconnect the bolts securing the toilet bowl to the floor. Detaching the toilet bowl from the floor is an important step in removing a toilet. Here are some detaching techniques and safety precautions to consider:
- Use the wrench to loosen and remove the nuts on the bolts securing the toilet bowl to the floor.
- Gently rock the toilet bowl back and forth to break the seal between the bowl and the wax ring.
- Lift the toilet bowl straight up to detach it from the floor.
Be cautious of any water that may be trapped in the bowl or the plumbing. Use gloves and eye protection to protect yourself from any potential hazards.
Following these detaching techniques and safety precautions will help you remove the toilet bowl safely and effectively.
Properly Disposing of the Old Toilet
When disposing of the old toilet, remember to check with your local waste management facility for proper guidelines and regulations. Proper disposal of toilets is important to ensure the safety of the environment and human health. There are several methods for disposing of old toilets, but it is crucial to choose the most eco-friendly alternatives. One option is to recycle the porcelain material, as it can be crushed into small pieces and used as aggregate in road construction or other applications. Another option is to donate the toilet to a salvage yard or a nonprofit organization that specializes in reusing building materials. By choosing these disposing methods, we can reduce waste and promote sustainable practices.
| Methods of Disposing Old Toilets | Benefits |
|---|---|
| Recycling porcelain material | Reduces waste and promotes sustainability |
| Donating to salvage yard | Reuses building materials and supports nonprofits |
| Disposing in a landfill | Least eco-friendly option, should be a last resort |
Frequently Asked Questions
How Long Does It Usually Take to Remove a Toilet?
Removing a toilet typically takes around 1-2 hours. It’s important to follow proper toilet removal tips and have the best tools for the job, such as a wrench and plunger.
Can I Remove a Toilet Without Shutting off the Water Supply?
Can I remove a toilet without shutting off the water supply? Well, it is not recommended. Shutting off the water supply is crucial to avoid any potential water damage and to safely remove the toilet flange. DIY toilet removal requires proper precautions.
What Should I Do if the Toilet Bowl Is Not Draining Properly?
If the toilet bowl is not draining properly, first try using a plunger to clear any clogs. If that doesn’t work, you may need to use a toilet bowl cleaner or call a professional plumber for assistance.
Is It Necessary to Remove the Toilet Tank Before Detaching the Toilet Bowl?
Yes, it is necessary to remove the toilet tank before detaching the toilet bowl. And no, you cannot remove the toilet bowl without disconnecting the water supply. Safety precautions must be followed.
What Are the Options for Disposing of an Old Toilet?
When it comes to toilet disposal methods, there are a few environmentally friendly options available. Recycling centers can accept old toilets for proper disposal, or you can contact a professional waste removal service for assistance.
Conclusion
In conclusion, removing a toilet may seem like a daunting task, but with the right tools and knowledge, it can be done efficiently. By following the steps outlined in this article, you can successfully remove a toilet and prepare for a new installation.
Did you know that approximately 27% of American households experience a toilet-related plumbing issue each year? This statistic highlights the importance of understanding how to remove a toilet as a basic plumbing skill that can save you time and money in the long run.

With an impeccable eye for detail and a passion for bathroom-related, Ava leads our editorial team gracefully and precisely.
Under her guidance, Best Modern Toilet has flourished as the go-to resource for modern bathroom enthusiasts. In her free time, you might find Ava exploring antique shops and looking for vintage bathroom fixtures to add to her collection.