Did you know that a cracked toilet tank can waste up to 200 gallons of water per day?
As a homeowner, I’ve experienced the frustration and inconvenience of a cracked toilet tank firsthand. However, with the right tools and materials, repairing it is a straightforward process.
In this article, I’ll guide you through the step-by-step process of:
- Assessing the damage
- Draining and removing the tank
- Preparing the cracked area
- Applying the necessary repairs to get your toilet back in working order.
Key Takeaways
- Assess the extent of the crack and determine if professional help is needed
- Gather necessary tools and materials such as a screwdriver, adjustable wrench, epoxy resin, sandpaper, and clean cloth
- Drain and remove the toilet tank by shutting off the water supply, flushing the toilet, and disconnecting the water supply line
- Prepare the cracked area for repair by cleaning it thoroughly, ensuring it is dry, and assessing the size and depth of the crack
Assessing the Damage
Before you can repair a cracked toilet tank, you’ll need to assess the extent of the damage. Evaluating the extent of the crack is crucial in determining whether you can fix it yourself or if you need to seek professional help.
Start by examining the crack closely. Is it a small hairline crack or a larger, more severe one? Check if the crack is leaking water or causing any structural issues.
If the crack is minor and not leaking, you may be able to repair it yourself using a toilet repair kit. However, if the crack is significant, leaking, or causing structural damage, it is best to seek professional help. They have the expertise and tools to properly assess and repair the cracked toilet tank, ensuring a long-lasting solution.
Gathering the Necessary Tools and Materials
To get started, you’ll need a few tools and materials for fixing the crack in your toilet tank. Here’s what you’ll need:
-
Tools:
-
Screwdriver: You’ll need this to remove the bolts holding the tank to the bowl.
-
Adjustable wrench: This will help you loosen and tighten the nuts and bolts.
-
Materials:
-
Epoxy resin: This will be used to seal the crack and prevent any leakage.
-
Sandpaper: You’ll need to sand down the area around the crack to create a smooth surface for the epoxy to adhere to.
-
Clean cloth: This will be used to wipe away any dust or debris before applying the epoxy.
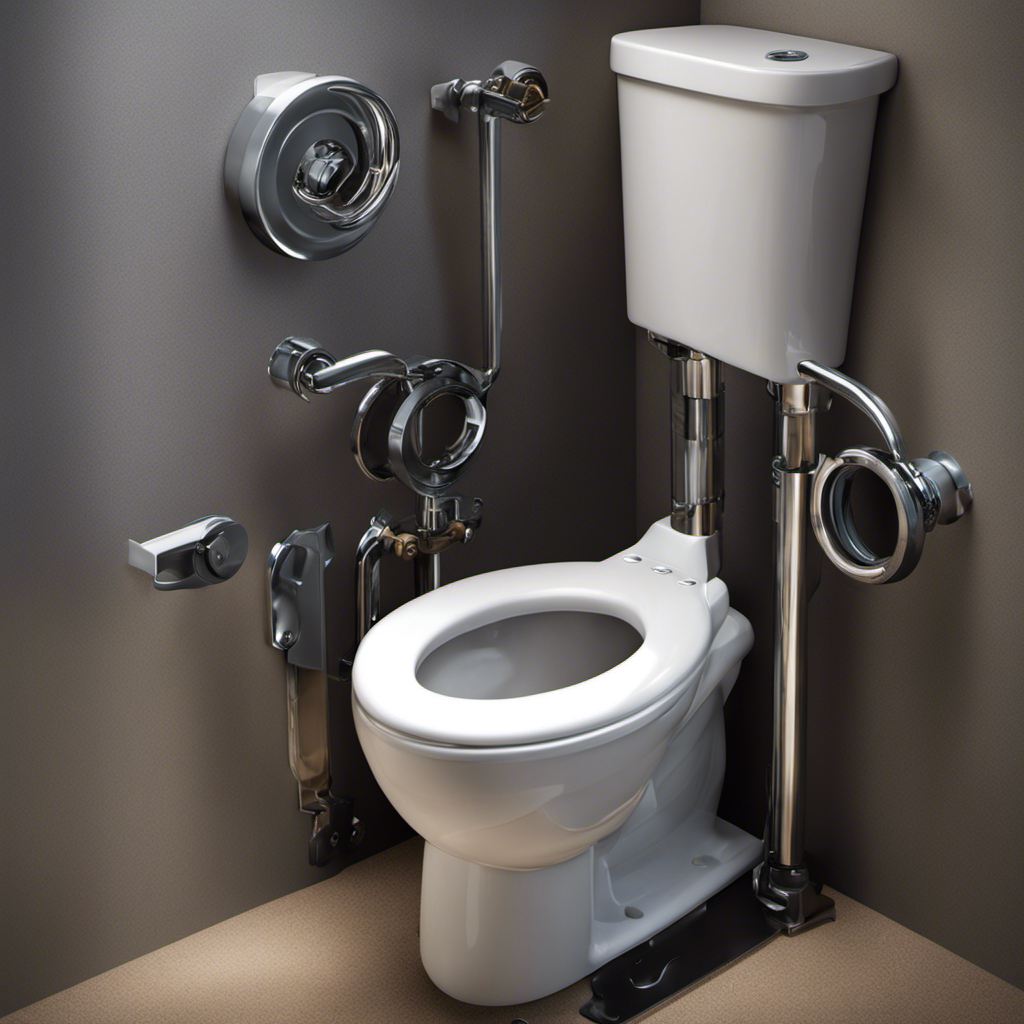
Draining and Removing the Toilet Tank
When draining and removing the tank, you’ll need to start by shutting off the water supply valve. This valve is usually located below the toilet tank on the wall or floor. Turn it clockwise until it is fully closed to stop the flow of water.
Next, flush the toilet to drain any remaining water in the tank.
To remove the tank, start by disconnecting the water supply line from the bottom of the tank. Use an adjustable wrench to loosen the nut and then remove the line.
Then, remove the tank bolts that secure the tank to the bowl. You may need to hold the tank while unscrewing the bolts from the inside of the tank.
Once the bolts are removed, carefully lift the tank off the bowl and set it aside.
With the tank removed, you can now proceed with toilet tank cleaning or toilet tank replacement as needed.
Preparing the Cracked Area for Repair
After shutting off the water supply valve, you’ll want to thoroughly clean the area around the crack using a mild detergent and a cloth. This step is crucial for ensuring a proper adhesion of the repair material.
Here are some repair techniques and troubleshooting tips to consider:
- Make sure the area is completely dry before proceeding with the repair.
- Use a hairdryer or a fan to speed up the drying process if needed.
- Inspect the crack closely to determine its size and depth.
- If the crack is small and shallow, you can use an epoxy or patching compound for the repair.
- For larger or deeper cracks, it may be necessary to replace the entire toilet tank.
Applying the Epoxy or Patching Compound
Now that the area is clean and dry, you can start applying the epoxy or patching compound. This step is crucial in repairing a cracked toilet tank. The epoxy or patching compound serves as a sealant that will prevent any leaks or further damage.
When it comes to applying the epoxy or patching compound, there are a few things to keep in mind. First, make sure to read and follow the manufacturer’s instructions carefully. This will ensure that you are using the product correctly and effectively. Secondly, use a putty knife to spread the epoxy or patching compound evenly over the cracked area. Apply a generous amount, making sure to cover the entire crack. Lastly, allow the epoxy or patching compound to dry completely before using the toilet again.
If you prefer an alternative solution, there are other options available. Some people have found success using plumbing tape or even a combination of epoxy and fiberglass cloth. However, it’s important to note that these alternative solutions may not provide the same level of durability and reliability as using epoxy or patching compound.
To help you understand the differences between the options, here is a comparison table:
| Options | Pros | Cons |
|---|---|---|
| Epoxy | Strong and durable | Requires drying time |
| Patching Compound | Easy to apply | May require multiple layers |
| Plumbing Tape | Quick and temporary | Not a long-term solution |
| Epoxy + Fiberglass | Extra reinforcement | May be more difficult to apply |
Reinforcing the Cracked Area
To reinforce the cracked area, you should consider using a combination of epoxy and fiberglass cloth. This method is effective in providing additional strength and preventing future cracks. Here are some steps to follow:
- Clean the cracked area thoroughly to remove any dirt or debris.
- Mix the epoxy according to the manufacturer’s instructions.
- Apply a layer of epoxy onto the cracked area, making sure to cover it completely.
- Place a piece of fiberglass cloth over the epoxy, pressing it down firmly.
- Apply another layer of epoxy over the fiberglass cloth, ensuring it is fully saturated.
- Allow the epoxy to dry and cure as per the instructions.
- Sand down any rough edges or excess epoxy for a smooth finish.
By reinforcing the cracked area with epoxy and fiberglass cloth, you can strengthen the toilet tank and minimize the risk of future cracks.
Now, let’s move on to the next step of reattaching and testing the toilet tank.
Reattaching and Testing the Toilet Tank
When it comes to reattaching a toilet tank, it is important to use proper reattachment techniques to ensure a secure and stable connection. This involves tightening the tank bolts evenly and using a wrench to secure them in place.
Additionally, it is crucial to test for leak-free performance by filling the tank with water and checking for any signs of leakage around the connections.
Proper Reattachment Techniques
First, make sure you have all the necessary materials for reattaching the cracked toilet tank. You will need the following:
- Adjustable wrench
- Rubber gaskets
- Toilet tank bolts
- Screwdriver
To properly reattach the cracked toilet tank, follow these steps:
-
Turn off the water supply to the toilet by shutting off the valve located behind the toilet.
-
Remove the cracked tank from the toilet bowl by unscrewing the bolts connecting them.
-
Clean the area where the tank and bowl meet to ensure a proper seal.
-
Place new rubber gaskets on the bolts and insert them into the holes on the bottom of the tank.
-
Carefully lower the tank onto the bowl, aligning the bolts with the corresponding holes.
-
Hand-tighten the nuts onto the bolts, then use an adjustable wrench to secure them further.
-
Turn on the water supply and check for any leaks.
By following these steps, you can reattach the cracked toilet tank without the need for professional repair services.
Once the tank is properly reattached, you can move on to the next section, which focuses on ensuring leak-free performance.
Ensuring Leak-Free Performance
Make sure you check for any leaks after reattaching the tank to ensure a leak-free performance. In order to prevent future cracks and maintain the integrity of your toilet tank, it is essential to use a waterproof sealant during the reattachment process. This will create a tight and secure bond between the tank and the bowl, preventing any water from seeping out. To assist you in finding the right waterproof sealant for your toilet repair, here is a helpful table:
| Brand | Type | Features | Price Range |
|---|---|---|---|
| XYZ Sealant | Silicone | Water-resistant, durable, flexible | $10-$15 |
| ABC Sealant | Epoxy | Strong adhesion, quick-drying | $8-$12 |
| DEF Sealant | Polyurethane | Excellent sealing capabilities | $12-$18 |
| GHI Sealant | Latex | Easy application, affordable | $6-$10 |
Frequently Asked Questions
Can a Cracked Toilet Tank Be Repaired Without Removing It From the Toilet Bowl?
Yes, a cracked toilet tank can be repaired without removing it from the toilet bowl. There are DIY methods available that involve using epoxy or a toilet tank repair kit to fix the crack.
How Long Does It Take for the Epoxy or Patching Compound to Dry and Cure?
The epoxy drying time and patching compound curing process can vary depending on the specific product used. It’s important to follow the manufacturer’s instructions for the best results.
Is It Possible to Use a Temporary Fix for a Cracked Toilet Tank Until a Permanent Repair Can Be Made?
Yes, it is possible to use temporary solutions or quick fixes for a cracked toilet tank until a permanent repair can be made. There are alternatives like epoxy putty or rubber patch kits that can provide a temporary seal.
What Are the Potential Risks of Using a Cracked Toilet Tank Without Repairing It?
Ignoring a cracked toilet tank can lead to potential health hazards and serious consequences. Leaking water can damage the bathroom floor, promote mold growth, and contaminate the surrounding area. Prompt repair is essential.
Can a Cracked Toilet Tank Cause Water Leakage and Damage to the Bathroom Floor?
Yes, a cracked toilet tank can cause water leakage and significant damage to the bathroom floor. It is crucial to address this issue promptly to prevent further water damage. Repair options include patching the crack or replacing the tank altogether.
Conclusion
In conclusion, repairing a cracked toilet tank requires patience, precision, and the right tools.
By assessing the damage, gathering the necessary materials, and following the steps carefully, you can restore your toilet tank to its former glory.
Remember to reinforce the cracked area for added strength and durability.
With a little effort and the right technique, you can triumph over the troublesome crack and enjoy a fully functional toilet once again.
So, stay steadfast and start the repair process to transform your toilet trouble into triumph!