Having a broken toilet flange can be a frustrating and messy problem to deal with. But fear not, because I’m here to guide you through the process of repairing it.
In this article, I’ll share with you my tried and tested method for fixing a broken toilet flange, step by step. By following these instructions, you’ll be able to tackle this task with confidence and get your toilet back up and running in no time.
So let’s dive in and get started!
Key Takeaways
- Flange damage can be caused by improper installation, age and deterioration, excessive force during repairs or cleaning, and a loose or wobbly toilet.
- To repair a broken toilet flange, you will need tools and materials such as a tape measure, flange gauge, PVC flanges, cast iron flanges, and stainless steel flanges.
- The process of repairing a broken toilet flange involves removing the old flange by loosening bolts, inspecting for cracks or damage, repairing cracks with epoxy or a specialized repair kit, and reinforcing a weak or damaged subfloor.
- Installing the new flange requires positioning it over the drain pipe, securing it to the floor with screws or bolts, connecting the toilet to the flange with a wax ring or gasket, and lowering the toilet onto the flange while aligning it with the mounting holes.

Oatey Fix-It Stainless Steel Flange Repair Ring, Adjustable Toilet Flange Repair Kit for Broken or Cracked Mounting Flanges, Secure Seal
- Repair Broken Flanges: Fixes cracked or damaged toilet flanges
- Leak-Free Seal: Ensures a tight, watertight connection
- Durable Stainless Steel: Corrosion-resistant and long-lasting
As an affiliate, we earn on qualifying purchases.
As an affiliate, we earn on qualifying purchases.
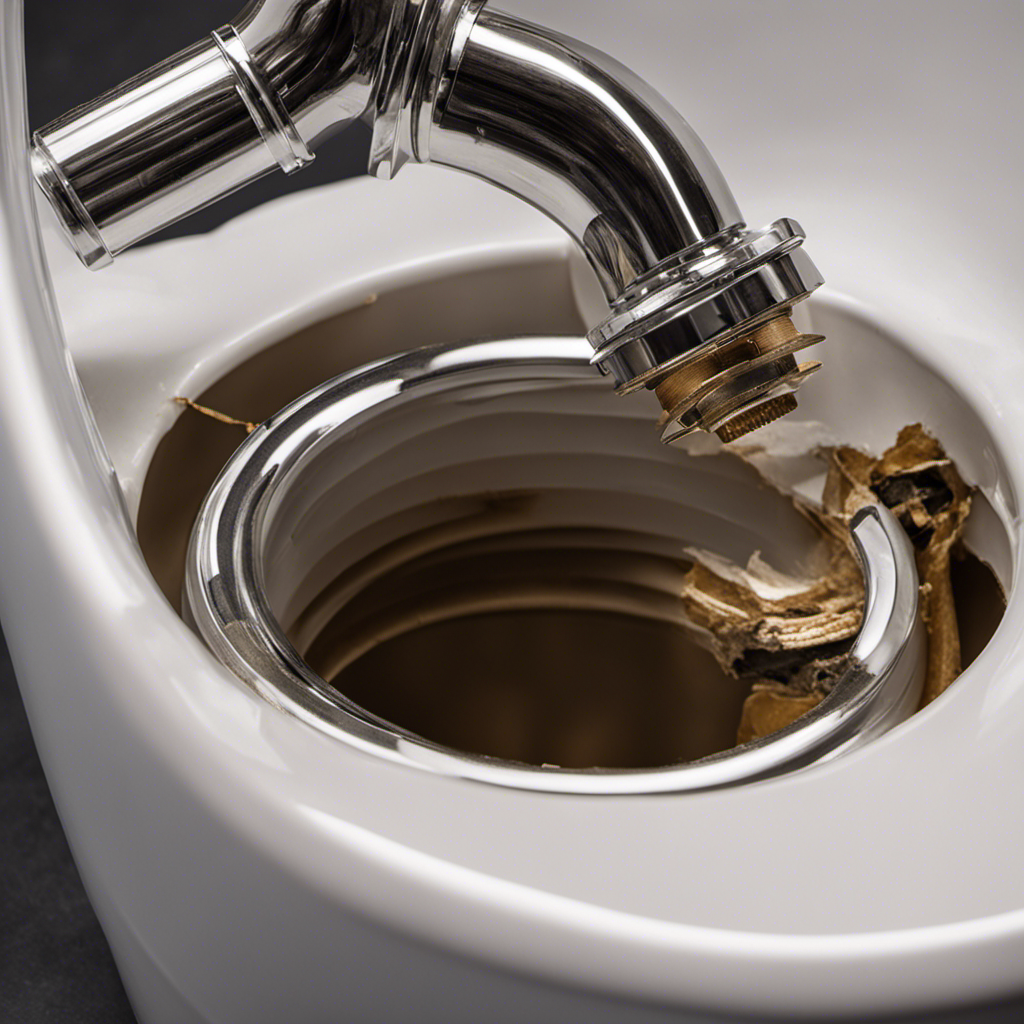
Assessing the Damage
Now, you’re going to want to take a close look at the flange to see how badly it’s damaged.
Common causes of toilet flange damage can include improper installation, age and deterioration, and excessive force applied during repairs or cleaning.
It’s important to assess the damage accurately to determine the right repair approach. Signs of a damaged toilet flange to look out for are a loose or wobbly toilet, water leakage around the base, and foul odors coming from the bathroom.
To assess the damage, start by removing the toilet and inspecting the flange for cracks, breaks, or corrosion. Pay attention to any signs of water damage or rotting on the subfloor.
Taking the time to thoroughly examine the flange will guide you in making the necessary repairs.
Gathering the Necessary Tools and Materials
First, you’ll want to make sure you have all the necessary tools and materials. Here’s what you’ll need to gather before you begin repairing a broken toilet flange:
-
Measuring flange size:
-
Tape measure: To accurately measure the diameter of the broken flange. Place the tape measure across the center of the flange and record the measurement.
-
Flange gauge: A specialized tool designed to measure the inner and outer dimensions of the flange. Use it to determine the correct size for the replacement flange.
-
Choosing the right replacement flange:
-
PVC flange: Most common type of replacement flange, suitable for most toilet installations.
-
Cast iron flange: Ideal for older homes with cast iron pipes.
-
Stainless steel flange: Durable and resistant to corrosion, perfect for high moisture environments like bathrooms.
Removing the Old Flange
To begin removing the old flange, you’ll need to loosen the bolts securing it to the floor. Start by locating these bolts; they are usually found in a circular pattern around the flange. Use a wrench to loosen them counterclockwise. Once the bolts are loose, carefully lift the toilet and set it aside. Now, you can inspect the flange for any cracks or damage. If you notice any cracks, it is important to repair them before proceeding. To repair cracks, you can use epoxy or a specialized flange repair kit. Additionally, it is crucial to reinforce the subfloor if it appears weak or damaged. This can be done by adding additional plywood or using subfloor adhesive. Reinforcing the subfloor will ensure a stable and long-lasting repair.
| Tools Needed | Materials Needed |
|---|---|
| Wrench | Epoxy |
| Plywood | Flange repair kit |
| Subfloor adhesive |
Installing the New Flange
Once the old flange has been removed and any necessary repairs have been made, it’s time to install the new flange. To ensure proper alignment and a secure fit, follow these steps:
-
Position the new flange over the drain pipe, making sure it is centered and level.
-
Use screws or bolts to secure the flange to the floor, ensuring it is firmly attached.
- Tighten the screws/bolts evenly to prevent any tilting or wobbling.
- Be careful not to overtighten, as this could cause damage to the flange or floor.
-
Connect the toilet to the flange using the appropriate wax ring or gasket.
-
Carefully lower the toilet onto the flange, ensuring it aligns with the mounting holes on the flange.
-
Secure the toilet to the flange using the provided bolts, tightening them evenly.
-
Test for leaks by flushing the toilet and checking for any water seepage around the base.
Testing and Finishing Touches
Now that you have securely attached the new flange and connected the toilet, it’s time to test for leaks and add the finishing touches. To ensure a successful repair, it’s important to troubleshoot any common issues that may arise.
Here are some precautions and safety measures you should follow during this process:
-
Troubleshooting common issues:
- Check for leaks around the flange and toilet base.
- Ensure the toilet is properly aligned and sits evenly on the flange.
- Test the flush mechanism and ensure it functions correctly.
- Verify that the water supply line is connected securely.
-
Precautions and safety measures:
- Wear protective gloves to avoid direct contact with waste materials.
- Use a flashlight to inspect hard-to-reach areas.
- Do not overtighten bolts or nuts, as it may damage the flange or toilet.
- Follow all manufacturer’s instructions and guidelines.
Conclusion
In conclusion, repairing a broken toilet flange is a manageable task that can be accomplished with the right tools and materials. By assessing the damage, gathering the necessary tools, removing the old flange, and installing the new one, you can restore your toilet to full functionality.
Don’t let a broken flange cause unnecessary stress and inconvenience. With a little effort and know-how, you can tackle this repair yourself and save money.
So why wait? Get started today and enjoy the satisfaction of a job well done!