Are you tired of the constant running water and high water bills caused by a faulty toilet fill valve? Don’t worry, we’ve got you covered!
In this article, we will guide you through the step-by-step process of repairing your toilet fill valve. You’ll learn how to assess the problem, gather the necessary tools, disassemble the fill valve, and repair or replace any faulty components.
Get ready to save money and fix your toilet like a pro!
Key Takeaways
- Turn off the water supply before assessing and repairing the toilet fill valve
- Diagnose common problems such as leaks, weak flush, or improper filling
- Disassemble the fill valve to troubleshoot and adjust the water level
- Repair or replace faulty components like the fill valve, flapper, or float assembly

Bluevua Official RO100ROPOT 4-Pack Replacement Filter Set, Pack of 1 PP Filter and 1 CTO Filter and 1 RO Filter and 1 PCF Filter
- Complete Filter Set: Includes PP, CTO, RO, and PCF filters
- Easy to Replace: No tools or water shut-off needed
- Long-Lasting Filters: Filters last up to 2 years
As an affiliate, we earn on qualifying purchases.
Assessing the Problem
First, you’ll need to turn off the water supply to the toilet before assessing the problem with the fill valve.
Troubleshooting techniques can help you identify and fix common toilet fill valve issues. Common problems may include a constantly running toilet, a weak flush, or a toilet that won’t fill up properly.
To assess the problem, start by removing the toilet tank lid and locating the fill valve. Check for any visible leaks or cracks in the valve.
Next, flush the toilet and observe the fill valve in action. Is it filling up the tank properly? Is it making any strange noises? Pay attention to any unusual behavior or signs of malfunction.
Gathering the Necessary Tools
To gather the necessary tools, you’ll need to start by turning off the water supply. This is crucial to prevent any water leakage or accidents during the repair process.
Once the water is turned off, you can focus on diagnosing and troubleshooting common toilet fill valve problems. It’s important to identify the specific issue before proceeding with any repairs.
Once you have determined the problem, you can move on to choosing the right replacement parts. This step is essential to ensure the proper functioning of the fill valve. Make sure to select parts that are compatible with your toilet model and brand.
Now that you have gathered your tools and replacement parts, you are ready to move on to the next step: disassembling the fill valve.
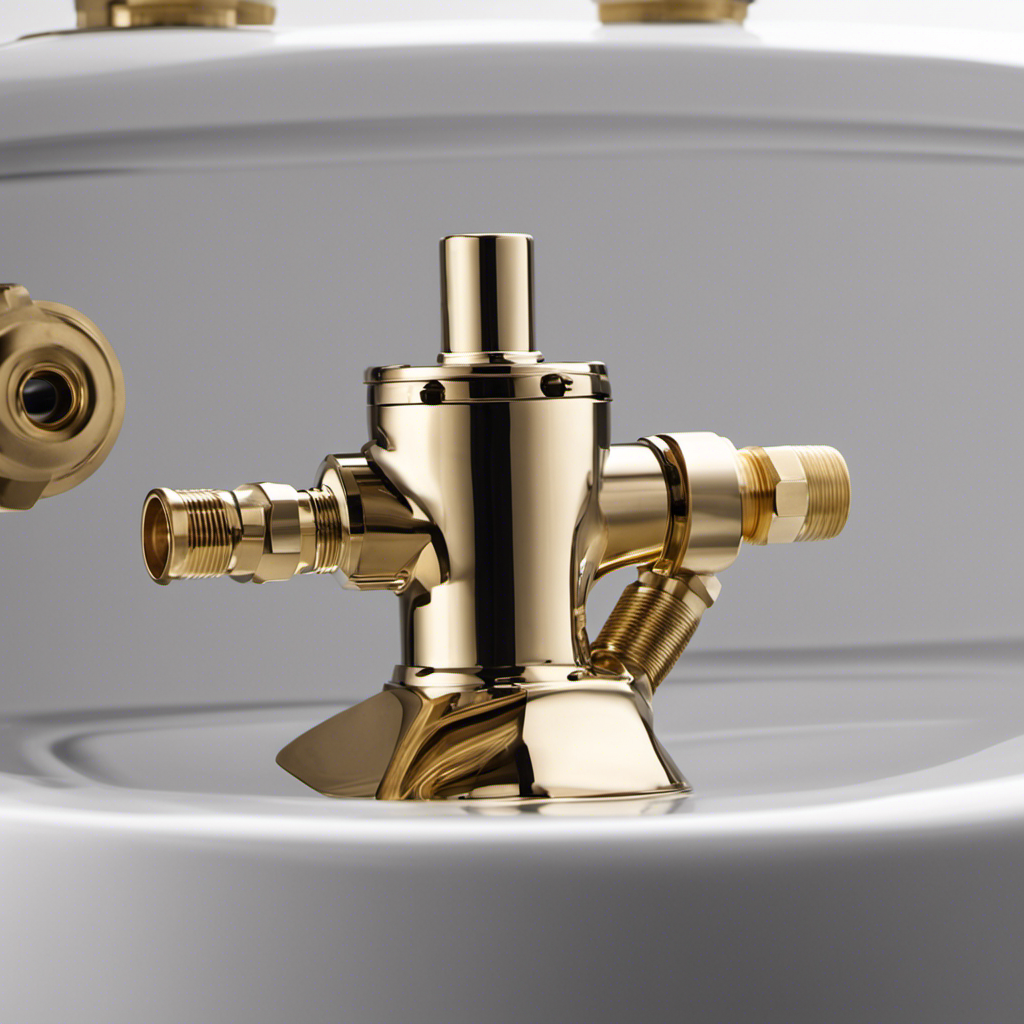
Disassembling the Fill Valve
Next, you’ll need to carefully remove the lid of the tank to access the inner components.
Troubleshooting common fill valve issues is an important step in repairing your toilet. One common issue is when the water level in the tank is too high or too low. To adjust the water level, follow these steps:
- Locate the fill valve, usually on the left side of the tank.
- Turn the adjustment screw clockwise to lower the water level or counterclockwise to raise it.
- Flush the toilet and observe the water level.
- Continue adjusting until the desired water level is reached.
- Once you’re satisfied, tighten the locknut to secure the adjustment.
By properly adjusting the water level in your toilet fill valve, you can ensure optimal performance and prevent potential issues.
Now, let’s move on to repairing or replacing faulty components.
Repairing or Replacing Faulty Components
Now, you’ll want to identify any faulty components in your toilet and determine if they need repairing or replacing. Here are three key areas to check:
-
Fill valve: This is the main component responsible for controlling the water flow into the toilet tank. If you notice leaks or water constantly running, the fill valve may need repairing.
-
Flapper: The flapper is a rubber seal that controls the release of water from the tank into the bowl. If you’re experiencing a weak flush or water continuously running into the bowl, the flapper may need replacing.
-
Float assembly: The float assembly regulates the water level in the tank. If you’re encountering inconsistent water levels or excessive water usage, you may need to adjust or replace the float assembly.
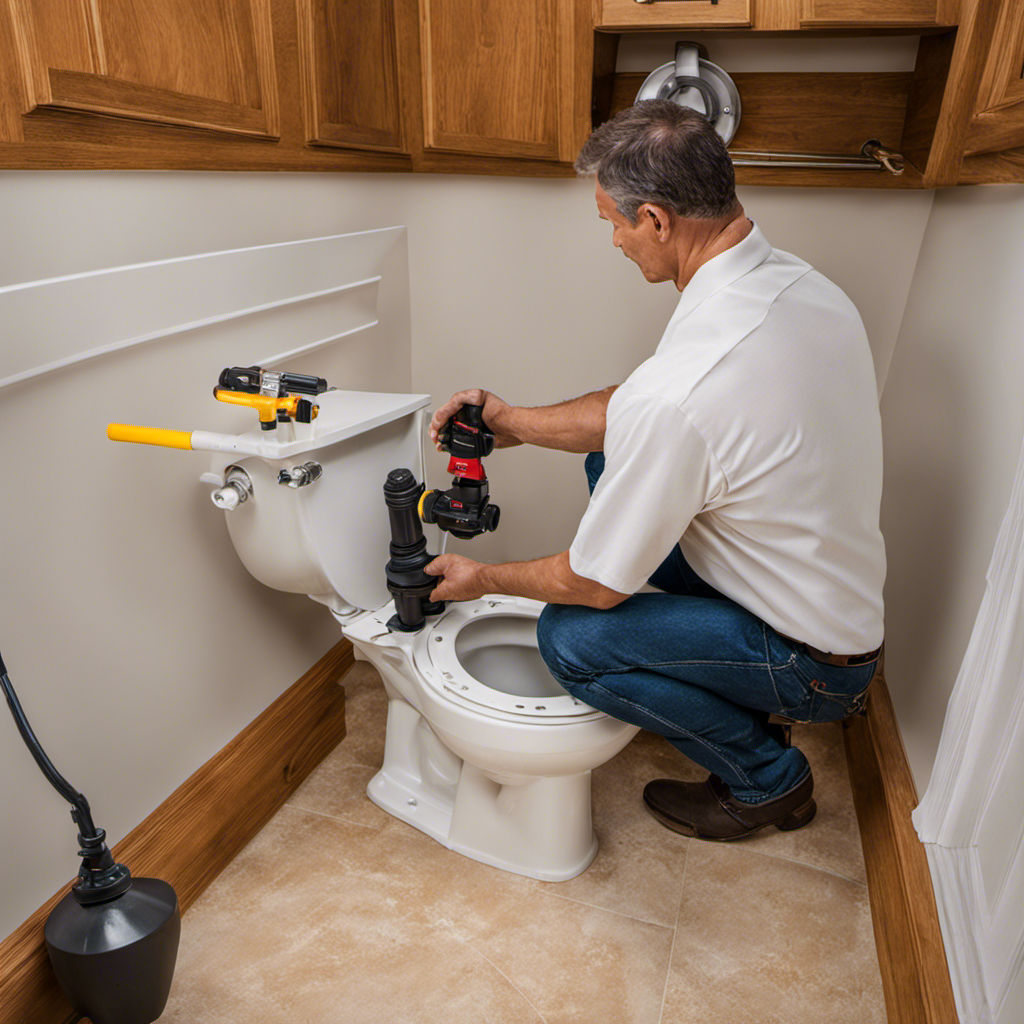
Reassembling and Testing the Fill Valve
Once you’ve finished reassembling the components, make sure to test the fill valve for any leaks or malfunctions. This step is crucial to ensure that your toilet functions properly and does not waste water. Adjusting water pressure and troubleshooting common issues are important aspects of this process.
To test the fill valve, follow these steps:
- Turn on the water supply and let the tank fill.
- Observe the water level in the tank. It should stop at around 1 inch below the overflow tube.
- If the water continues to flow into the overflow tube, the fill valve may need adjustment.
- Use a screwdriver to adjust the water level by turning the adjustment screw on the fill valve.
If you notice any leaks or malfunctions during this testing process, refer to the troubleshooting section for solutions. It’s important to address any issues promptly to prevent further damage or water wastage.
Conclusion
So there you have it, the ultimate guide on how to repair your toilet fill valve. Armed with your trusty tools and a little know-how, you can tackle this pesky problem head-on.
From assessing the issue to disassembling and repairing faulty components, you’ve got all the steps laid out for you.
And don’t forget the crucial step of reassembling and testing the fill valve to ensure it’s in tip-top shape.
So go forth, fearless DIY-er, and conquer that toilet fill valve like a pro! Happy fixing!