Replacing a toilet seal ring may seem like a daunting task, but fear not! I’m here to guide you through the process step by step. Trust me, it’s easier than you think.
With just a few tools and materials, you’ll have your toilet back in working order in no time. So let’s roll up our sleeves and get to work, because a properly sealed toilet is the key to a leak-free and odorless bathroom.
Key Takeaways
- Shut off the water supply and disconnect the water supply line before starting the replacement process.
- Remove the old toilet seal ring and clean the flange thoroughly before installing the new seal ring.
- Press down firmly on the new seal ring to create a tight seal and ensure a watertight connection.
- Check for leaks before securing the toilet base and regularly maintain the toilet to prevent future plumbing issues.

LUXE Bidet NEO 120 - Single Nozzle, Self-Cleaning, Non-Electric Bidet Attachment for Toilet Seat, Adjustable Water Pressure, Rear Wash (White)
THE ULTIMATE VALUE – With a sleek design and high-quality parts, Our Bidet Attachment will give your bathroom...
As an affiliate, we earn on qualifying purchases.
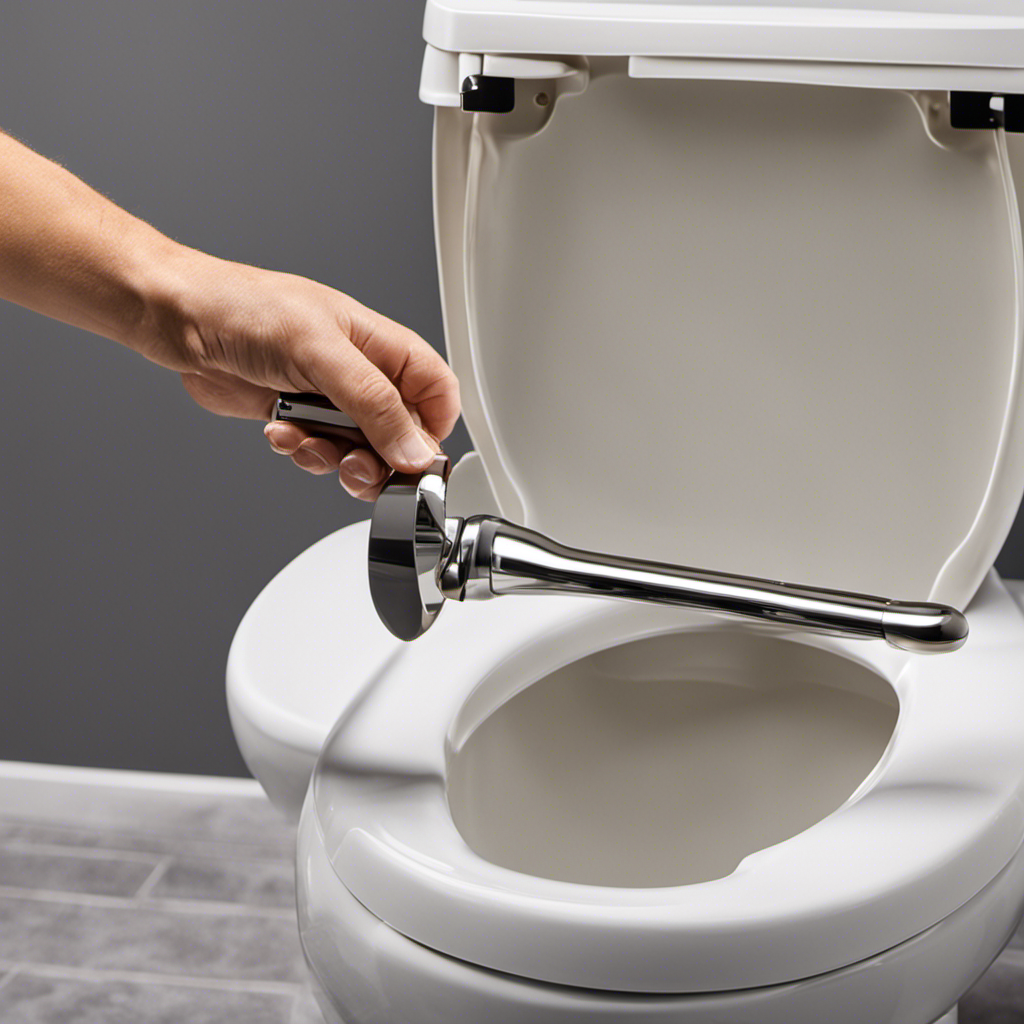
Tools and Materials Needed
You’ll need a few tools and materials to replace the toilet seal ring. Proper maintenance of your toilet is crucial for its optimal functioning, and one key aspect of this is ensuring a good seal.
To successfully replace the seal ring, gather the following items: a wrench, a putty knife, a new wax seal ring, and gloves. The wrench will be used to disconnect the water supply line and loosen the bolts securing the toilet to the floor. The putty knife is essential for removing the old seal ring and any residual wax. Lastly, the new wax seal ring will create a tight seal when installing the toilet back in place.
With these tools and materials ready, we can now move on to removing the old toilet seal ring.

Purrfectzone Bidet Sprayer for Toilet, Handheld Sprayer Kit, Cloth Diaper Sprayer Set - Easy to Install - Stainless Steel
Rack Up the Savings: Stop wasting money on toilet paper or wipes that can clog your toilet and...
As an affiliate, we earn on qualifying purchases.
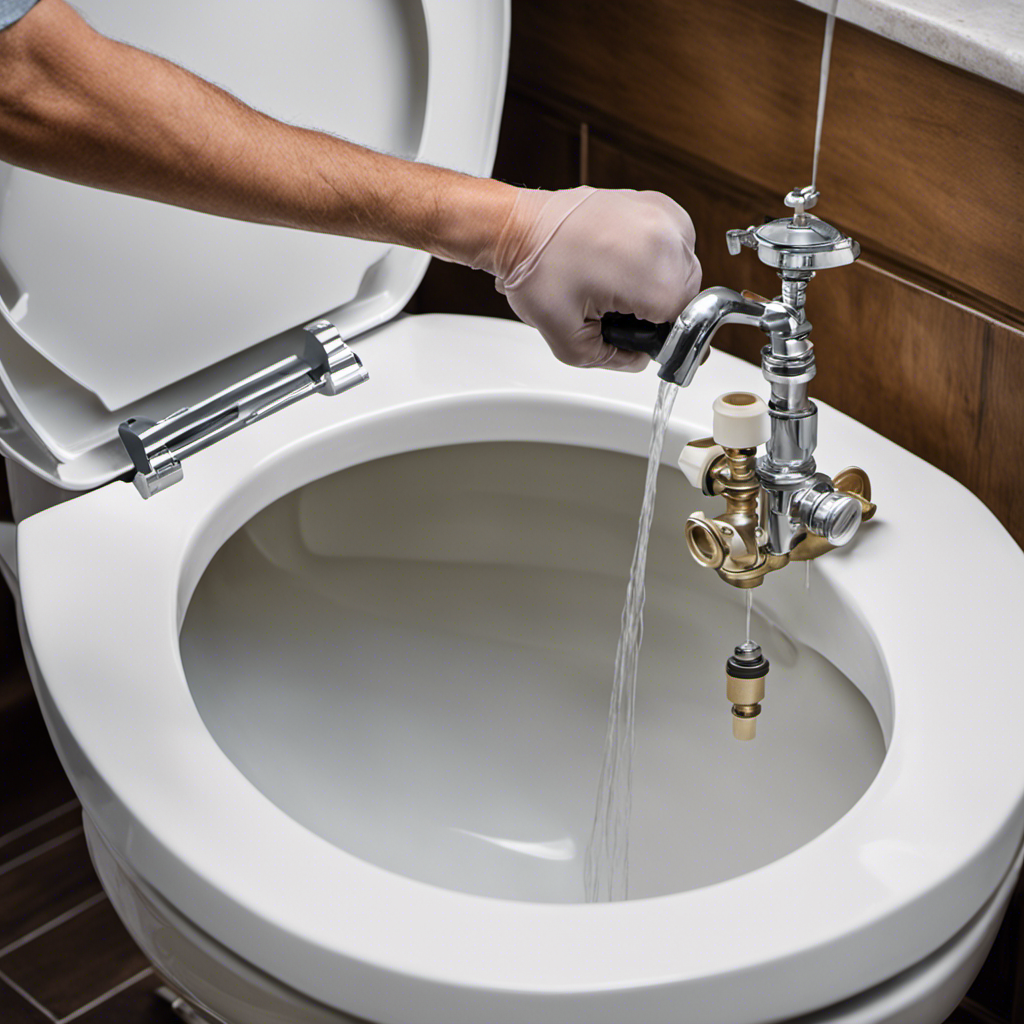
Removing the Old Toilet Seal Ring
First, make sure to shut off the water supply to the toilet before attempting to remove the old seal ring. This will prevent any water leaks and ensure a clean and safe removal process.
Here are some key steps to troubleshoot leaks and prevent future leaks while removing the old toilet seal ring:
- Use a wrench to disconnect the water supply line from the toilet tank.
- Empty the tank by flushing the toilet multiple times.
- Remove the nuts and bolts securing the toilet to the floor.
- Carefully lift and remove the toilet, exposing the old seal ring.
By following these steps, you can effectively troubleshoot any leaks and prevent future ones during the removal process.
Now, let’s move on to installing the new toilet seal ring and completing the replacement.

SAMODRA Bidet Attachment, Non-Electric Cold Water Bidet Toilet Seat Attachment with Pressure Controls, Retractable Self-Cleaning Dual Nozzles for Frontal & Rear Wash - Black
High Quality Parts: Bidet attachment is constructed with durable ABS material, portable control panel, high-pressure faucet quality valves...
As an affiliate, we earn on qualifying purchases.
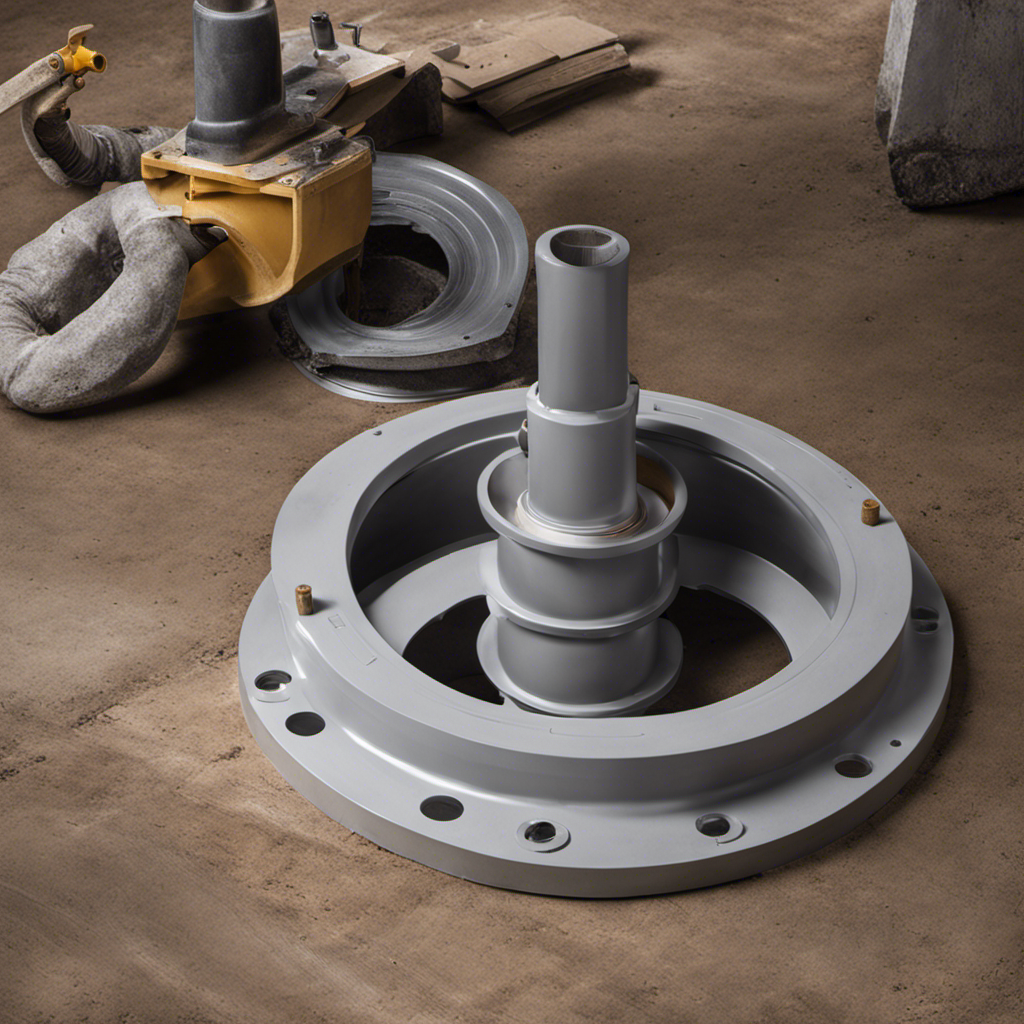
Installing the New Toilet Seal Ring
To start installing the new seal ring, carefully position it over the flange, making sure it is centered and aligned properly. Proper positioning is crucial to ensure a watertight seal.
Once the seal ring is in place, secure the toilet base firmly to the floor to prevent any movement or leaks.
Here is a step-by-step guide on how to install the new toilet seal ring:
- Remove the old seal ring and clean the flange thoroughly.
- Place the new seal ring over the flange, ensuring it is centered and aligned properly.
- Gently press down on the seal ring to create a tight seal.
- Secure the toilet base by tightening the bolts evenly on both sides.

LUXE Bidet NEO 120 - Single Nozzle, Self-Cleaning, Non-Electric Bidet Attachment for Toilet Seat, Adjustable Water Pressure, Rear Wash (Blue)
THE ULTIMATE VALUE – With a sleek design and high-quality parts, Our Bidet Attachment will give your bathroom...
As an affiliate, we earn on qualifying purchases.
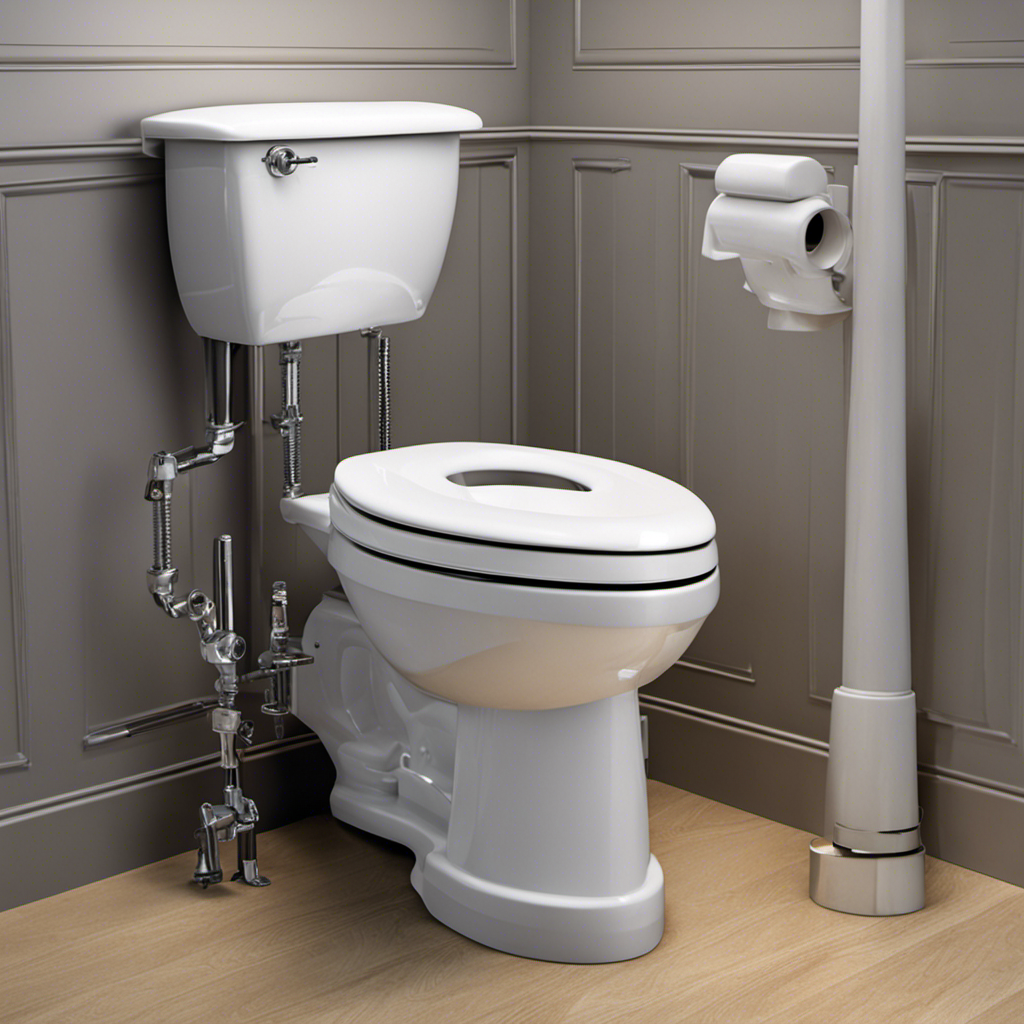
Checking for Proper Seal
Check if the seal is properly aligned with the flange before securing the toilet base to prevent any potential leaks. This step is crucial in ensuring a watertight seal and avoiding any future plumbing issues.
Regular toilet maintenance is essential to keep your bathroom functioning properly. Here are some signs that indicate a faulty toilet seal ring:
- Water leaks around the base of the toilet
- Foul odor coming from the toilet area
- Loose toilet bowl
- Discoloration or water damage on the floor near the toilet
Troubleshooting Common Issues
One common issue that homeowners may encounter is a foul odor coming from the toilet area. This unpleasant smell can often be attributed to problems with the toilet seal ring. The seal ring is a crucial component of the toilet that prevents leaks and keeps the area around the toilet clean and odor-free. However, over time, the seal ring can become worn or damaged, leading to leaks and odor issues.
To help homeowners prevent toilet seal ring leaks, here are some useful tips:
| Common Problems | Possible Causes | Prevention Tips |
|---|---|---|
| Leaking around the base of the toilet | Worn or damaged seal ring | Regularly inspect and replace the seal ring as needed |
| Foul odor coming from the toilet area | Inadequate seal between the toilet and floor | Ensure proper installation of the toilet and seal ring |
| Water pooling around the toilet base | Loose or improperly installed seal ring | Tighten or reinstall the seal ring as necessary |
Conclusion
As I tightened the last bolt, I held my breath, anticipation filling the air. The bathroom was quiet, the sound of dripping water a distant memory.
Slowly, I turned on the faucet, letting the water flow. My heart raced as I anxiously awaited the moment of truth.
Suddenly, a smile spread across my face as the toilet seal ring held strong, preventing any leaks. With a sigh of relief, I knew I had successfully replaced the seal ring, ensuring a watertight toilet for years to come.