Hey there, folks! So, you’re dealing with a pesky American Standard toilet flapper that’s causing some trouble, huh? Well, fear not, because I’ve got just the solution for you.
In this nifty little guide, I’ll walk you through the step-by-step process of replacing that flapper like a pro. With a few simple tools and some good ol’ elbow grease, you’ll have your toilet working like a charm in no time.
So let’s dive in and get this flapper situation sorted out, shall we?
Key Takeaways
- Gather the necessary tools and materials, including a replacement flapper, pliers, wrench, bucket, and sponge or rag for cleanup.
- Turn off the water supply by locating the water shut-off valve near the base of the toilet or on the wall behind it, and turning it clockwise. Flush the toilet and use a towel or sponge to soak up any remaining water.
- Remove the old flapper by turning off the water supply, flushing the toilet to drain the tank, disconnecting the flapper’s chain from the flush lever, and lifting the old flapper off the overflow tube.
- Install the new flapper by positioning it over the flush valve opening, attaching the chain to the flush lever, adjusting the chain length, testing the flush, and troubleshooting any issues.

Korky Ultra Standard 2-Inch Universal Toilet Flapper – Long Lasting Rubber – Easy to Install – Made in USA, 100BP
TOILET FLAPPER VALVE FITS MOST POPULAR 2 inch toilet brands including, but not limited to: American Standard, Kohler,…
As an affiliate, we earn on qualifying purchases.
As an affiliate, we earn on qualifying purchases.
Step 1: Gather Necessary Tools and Materials
First, you’ll need to gather the necessary tools and materials for replacing the American Standard toilet flapper.
The most important item you’ll need is a replacement flapper, which can be found at most hardware stores.
Additionally, you’ll need a pair of pliers, a wrench, a bucket, and a sponge or rag for cleanup.
Before starting the replacement process, it’s important to troubleshoot any common toilet problems you may be experiencing.
This could include issues such as a constantly running toilet, a weak flush, or a toilet that won’t flush at all.
toilet repair kit with flapper and chain
As an affiliate, we earn on qualifying purchases.
As an affiliate, we earn on qualifying purchases.
Step 2: Turn off the Water Supply
Next, make sure to shut off the water supply. This is an important step to avoid any water leakage or damage while replacing the toilet flapper. Here’s a step-by-step guide to turning off the water and shutting off the water supply:
-
Locate the water shut-off valve: It is usually located near the base of the toilet or on the wall behind it. Turn the valve clockwise to shut off the water supply.
-
Flush the toilet: This will help to drain any remaining water in the tank and bowl.
-
Check for residual water: Use a towel or sponge to soak up any remaining water in the tank and bowl.
-
Confirm the water is off: Turn on a nearby faucet to double-check that the water supply to the toilet is shut off completely.
best toilet flapper for American Standard toilets
As an affiliate, we earn on qualifying purchases.
As an affiliate, we earn on qualifying purchases.
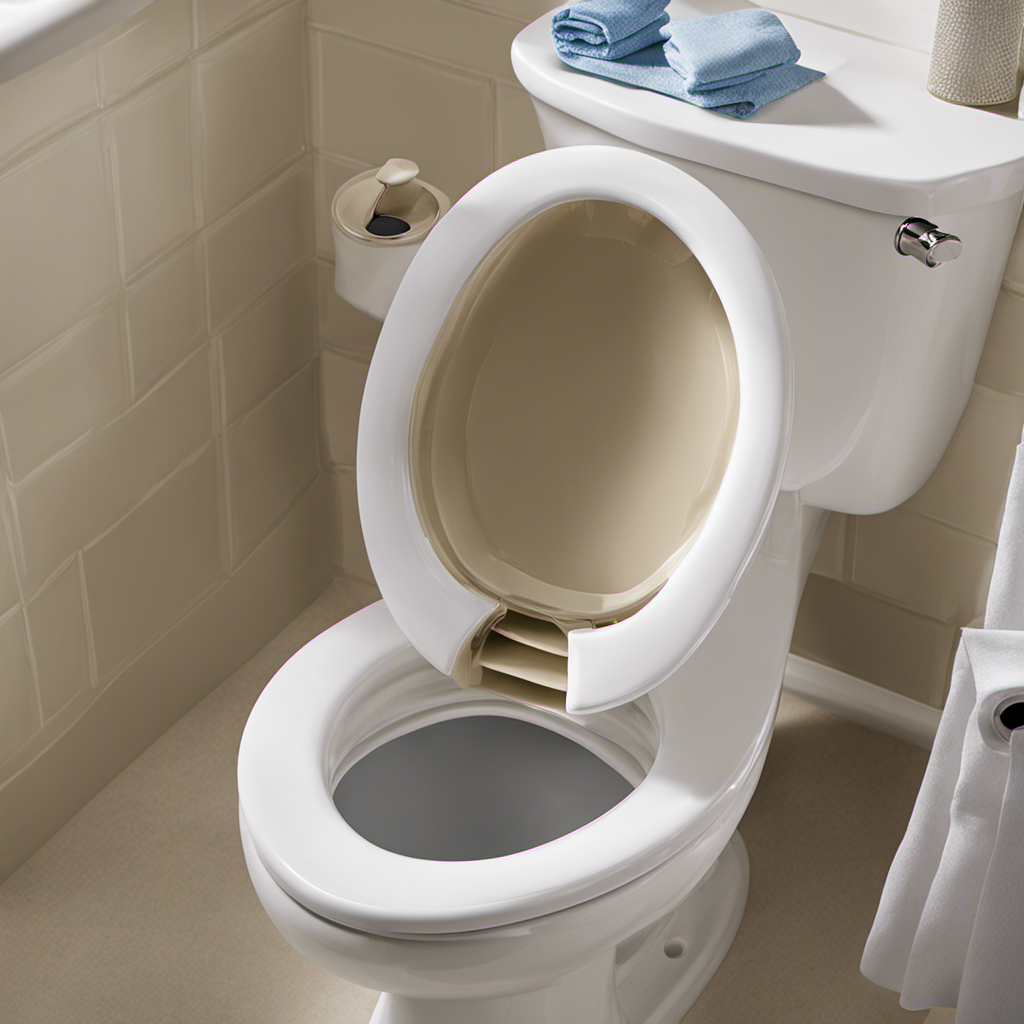
Step 3: Remove the Old Flapper
To remove the old flapper, start by turning off the water supply using the shut-off valve near the base of the toilet or on the wall behind it. It’s important to ensure the water is completely shut off to avoid any leaks or accidents during the process.
Once the water supply is turned off, flush the toilet to drain the tank.
The next step is to disconnect the flapper’s chain from the flush lever. This can be done by unhooking the chain from the lever or removing the clip that attaches it.
Gently lift the old flapper off the overflow tube and set it aside. Proper disposal of the old flapper is essential, as it may contain worn-out or damaged parts.
Common issues with flapper removal include stubborn chains or clips that may require some extra effort to detach.
With the old flapper successfully removed, it’s time to move on to step 4 and install the new flapper.

Fluidmaster Universal Install/Uninstall Toilet Repair Tool
Fluidmaster’s universal install and uninstall toilet tool makes any toilet repair job simple
As an affiliate, we earn on qualifying purchases.
As an affiliate, we earn on qualifying purchases.
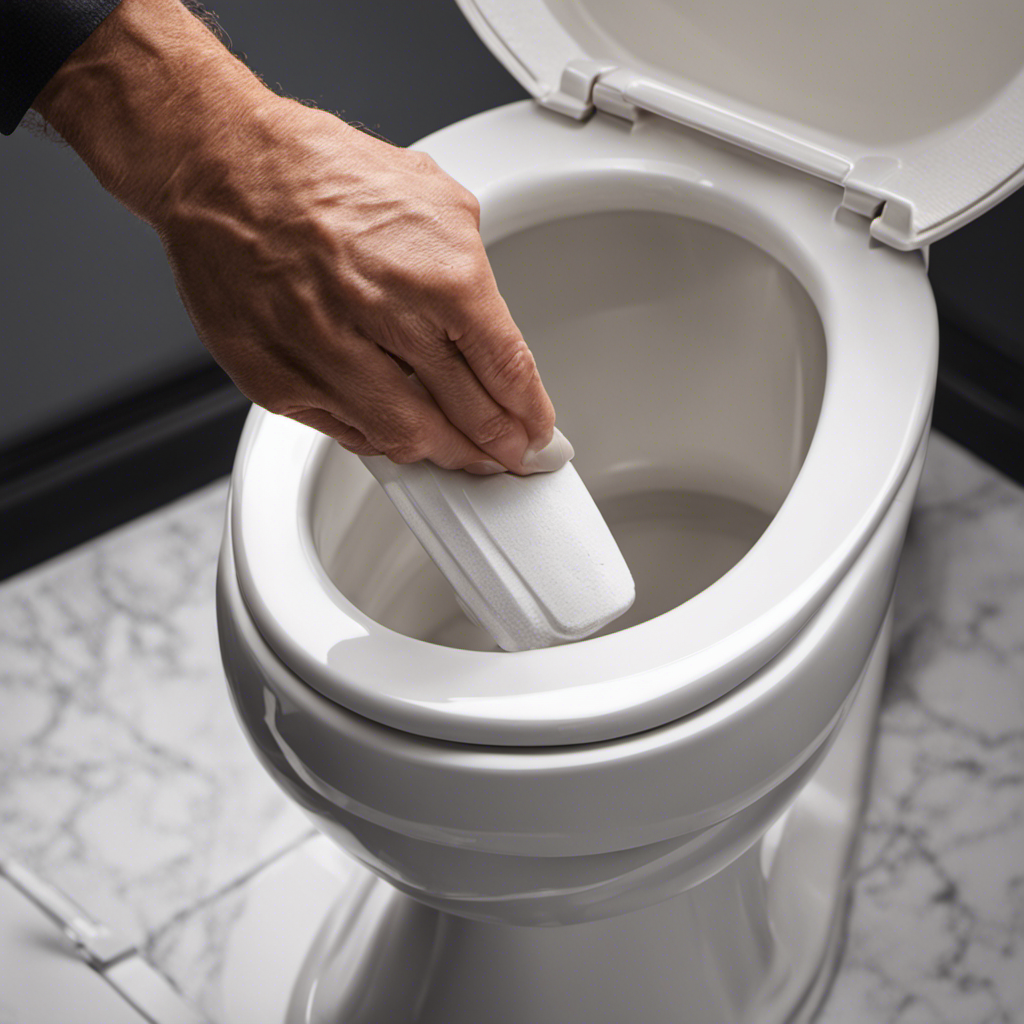
Step 4: Install the New Flapper
Once you’ve successfully removed the old flapper, it’s time to install the new one. Installing a flapper may seem daunting, but with the right steps, it can be done smoothly.
Here is a step-by-step guide to help you with the installation process:
-
Position the new flapper: Place the new flapper over the flush valve opening, ensuring a proper fit.
-
Attach the chain: Connect the chain from the flapper to the flush lever. Make sure there is enough slack for the flapper to fully close and open.
-
Adjust chain length: Test the flush by pushing the lever. If the flapper doesn’t close all the way or stays open, adjust the chain length accordingly.
-
Test and troubleshoot: Flush the toilet a few times to ensure the flapper works properly. If there are any issues, such as water leaking or the flapper not closing tightly, double-check the installation and make any necessary adjustments.
Step 5: Test and Adjust the Flapper
After installing the new flapper, you should test it by flushing the toilet a few times to ensure it closes tightly and doesn’t leak any water. This step is crucial in ensuring that your toilet functions properly and doesn’t waste water.
Common issues with toilet flappers include leaks, poor sealing, and improper fit. By testing and adjusting the flapper, you can address these issues and ensure a smooth operation. If you notice any leaks or the flapper doesn’t close tightly, you may need to adjust the chain length or replace the flapper altogether.
It’s important to choose the right flapper for your toilet, considering factors such as brand compatibility, size, and durability. Taking the time to test and adjust the flapper will save you from potential problems in the future.
Conclusion
In conclusion, replacing an American Standard toilet flapper is a simple and straightforward process. By following the five steps outlined in this article, you can easily replace your old flapper with a new one.
Remember to gather the necessary tools and materials, turn off the water supply, remove the old flapper, install the new flapper, and finally, test and adjust it.
By taking these steps, you can ensure a properly functioning toilet and avoid any potential plumbing issues.