
Replacing a cast iron toilet flange can be as challenging as trying to navigate through a maze. But fear not! I’ve got you covered.
In this step-by-step guide, I’ll walk you through the process of replacing your cast iron toilet flange with ease. From assessing the condition of the old flange to installing the new one, I’ll provide you with all the necessary information and tips to ensure a secure fit.
So, let’s dive in and get your toilet back in tip-top shape!
Key Takeaways
- Inspect the condition of the cast iron toilet flange for cracks, corrosion, or breaks
- Gather the necessary tools and materials including a replacement flange, tools like a hacksaw or reciprocating saw, a wrench or pliers, a putty knife, a wire brush, and a pipe cleaner, and a new wax ring
- Remove the old cast iron toilet flange by loosening the bolts, lifting the toilet, and inspecting the flange for damage
- Install the new cast iron toilet flange by aligning it with the drain pipe, securing it with bolts and nuts, creating a tight seal with a wax ring, and regularly inspecting it for wear or damage

SAMODRA Bidet Attachment, Non-Electric Cold Water Bidet Toilet Seat Attachment with Pressure Controls, Retractable Self-Cleaning Dual Nozzles for Frontal & Rear Wash - Black
High Quality Parts: Bidet attachment is constructed with durable ABS material, portable control panel, high-pressure faucet quality valves...
As an affiliate, we earn on qualifying purchases.
Assessing the Condition of the Cast Iron Toilet Flange
Now, you’ll want to take a close look at the condition of your cast iron toilet flange. Evaluating the extent of damage is crucial to determine the best course of action for repair.
Begin by inspecting the flange for any signs of cracks, corrosion, or breaks. Pay attention to the integrity of the bolts and their connection to the flange.
If the damage is minimal and confined to a small area, you may consider alternative repair options such as using a repair plate or epoxy. However, if the flange is severely damaged or crumbling, it is recommended to replace it entirely for a long-lasting solution.

Round Bidet Toilet Seat, Smart Heated Toilet Seat with Warm Water and Dryer, Soft Close Bidet Seat with Adjustable Temperature, Stainless Steel Nozzle
Measuring Before Ordering:Please measure and confirm clearly that [ROUND] toilet seat match your toilet or not. The distance...
As an affiliate, we earn on qualifying purchases.
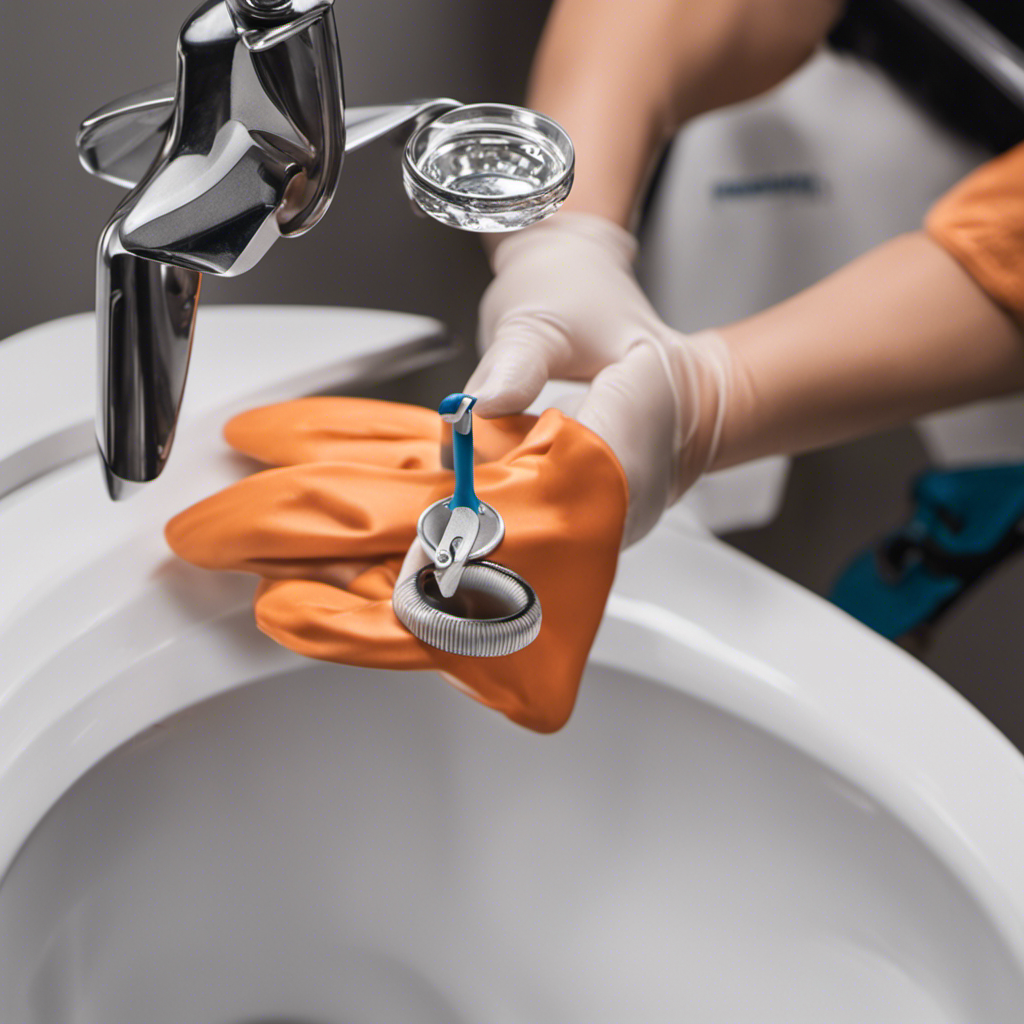
Gathering the Necessary Tools and Materials
First, you’ll need to gather all the tools and materials necessary for the job. This includes a replacement flange, a hacksaw or reciprocating saw, a wrench or pliers, a putty knife, a wire brush, a pipe cleaner, and a new wax ring.
Choosing the right replacement flange is crucial, as it should match the size and shape of the existing flange. Look for one made of durable materials such as PVC or stainless steel.
Before installing the new flange, it’s important to remove any rust from the cast iron flange. Use a wire brush to scrub away the rust, and for stubborn rust stains, you can use a mixture of vinegar and baking soda.
Once the flange is clean and dry, you can proceed with the installation process.

LUXE Bidet NEO 120 - Single Nozzle, Self-Cleaning, Non-Electric Bidet Attachment for Toilet Seat, Adjustable Water Pressure, Rear Wash (White)
THE ULTIMATE VALUE – With a sleek design and high-quality parts, Our Bidet Attachment will give your bathroom...
As an affiliate, we earn on qualifying purchases.
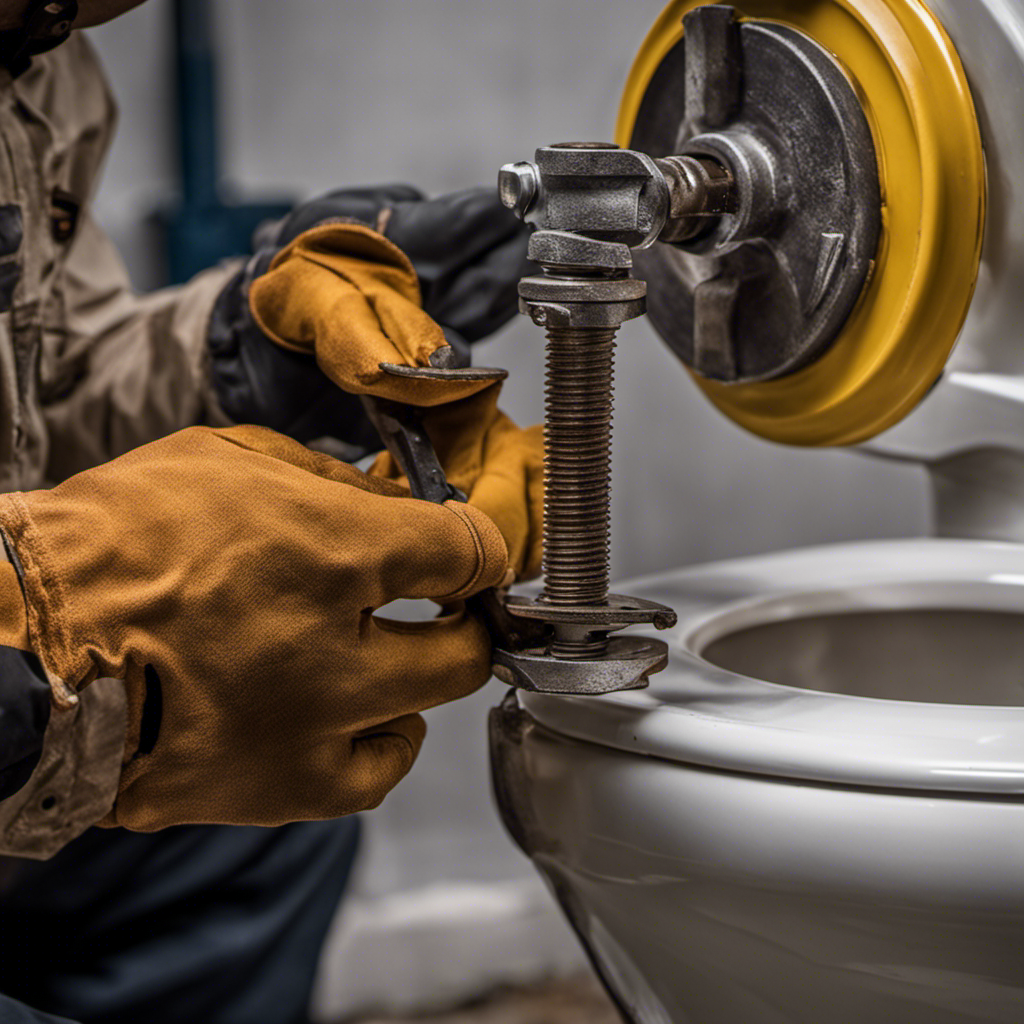
Removing the Old Cast Iron Toilet Flange
To remove the old flange, you’ll need to carefully detach it from the floor using a wrench or pliers. Here’s how to do it:
- Position yourself next to the toilet, with the appropriate tools nearby.
- Locate the bolts that secure the flange to the floor.
- Use the wrench or pliers to loosen and remove the nuts from the bolts.
Gently lift the toilet and set it aside to expose the flange.
- Inspect the flange for any cracks or signs of damage.
- If there are cracks, consider repairing them with epoxy or replacing the flange entirely.
Before installing the new flange, make sure the area around the drain pipe is clean and free from debris.
- Once the repairs or replacements are complete, seal any leaks with plumber’s putty or silicone caulk.
- Finally, reattach the toilet to the new flange and secure it with the bolts and nuts.
Following these steps will ensure a successful removal of the old cast iron toilet flange and allow you to proceed with the replacement process.

Purrfectzone Bidet Sprayer for Toilet, Handheld Sprayer Kit, Cloth Diaper Sprayer Set - Easy to Install - Stainless Steel
Rack Up the Savings: Stop wasting money on toilet paper or wipes that can clog your toilet and...
As an affiliate, we earn on qualifying purchases.
Installing the New Cast Iron Toilet Flange
To install the new flange, you’ll need to carefully align it with the drain pipe and secure it in place using the bolts and nuts. It is important to avoid some common mistakes during the installation process to ensure a proper and long-lasting fit.
Firstly, make sure the flange is positioned correctly on the drain pipe, ensuring a snug fit without any gaps.
Secondly, tighten the bolts evenly to prevent any leaks or wobbling.
Additionally, use a wax ring to create a tight seal between the flange and the toilet base. This will help prevent future damage and leaks.
Lastly, regularly inspect the flange for any signs of wear or damage and replace it if necessary.
Testing and Ensuring a Secure Fit
Once the new flange is securely in place, you’ll want to test it to ensure a secure fit. Testing the toilet flange is crucial to avoid any future issues.
Here are three important steps to follow for testing and ensuring a proper fit:
-
First, flush the toilet multiple times to check for any leaks or movement. This will help you identify if the flange is properly aligned and sealed.
-
Next, sit on the toilet and apply pressure to test its stability. Make sure there are no wobbles or shifts, as this could indicate a misalignment of the flange.
-
Finally, inspect the area around the flange for any signs of water leakage or damage. This is crucial for preventing any potential water damage to your bathroom floor.
Frequently Asked Questions
How Do I Know if My Cast Iron Toilet Flange Needs to Be Replaced?
To determine if a cast iron toilet flange needs replacement, look for signs of damage such as cracks, rust, or loose connections. These indicate a failing flange that should be replaced to avoid leaks or toilet instability.
Can I Use a Different Type of Toilet Flange Instead of a Cast Iron One?
Using a different toilet flange material is like using a different tool for the job. There are alternatives like PVC or ABS flanges, each with their pros and cons. It’s important to consider durability, compatibility, and installation requirements.
Do I Need Any Special Tools to Remove the Old Cast Iron Toilet Flange?
To remove the old cast iron toilet flange, you will need a few special tools. A reciprocating saw with a metal-cutting blade will make quick work of cutting through the flange.
Can I Install a New Cast Iron Toilet Flange Without Professional Help?
Yes, I can install a new cast iron toilet flange without professional help. With the right tools and following DIY toilet flange replacement instructions, it is a manageable task.
How Do I Test if the New Cast Iron Toilet Flange Is Securely Fitted?
To test if the new cast iron toilet flange is securely fitted, I recommend following this testing procedure: 1) Apply pressure on the flange to ensure it doesn’t move. 2) Check for any leaks or wobbling. If issues arise, troubleshoot accordingly.
Conclusion
In conclusion, replacing a cast iron toilet flange can be a challenging task, but it can be accomplished successfully with the right tools and materials. By assessing the condition of the flange and gathering the necessary tools, you can ensure a properly functioning toilet. Removing the old flange and installing the new one are crucial steps in the process. After completing these steps, it is important to test for a secure fit to ensure that the toilet is properly sealed.
For example, Jack had been struggling with a leaking toilet for months. After replacing the cast iron flange, he was relieved to find that the leak had finally stopped. His bathroom was now dry and odor-free.