I’ve got a leaky toilet tank and it’s driving me crazy! But I’m not going to let it get the best of me.
In this step-by-step guide, I’ll show you how to replace the seal in your toilet tank and put an end to those annoying drips.
With a little preparation and the right tools, you’ll have your toilet back in working order in no time.
So grab your wrench and let’s get to work!
Key Takeaways
- Gather necessary tools and materials
- Disconnect the water supply to the toilet
- Choose between rubber, wax, foam, or silicone seals
- Fill the toilet tank with water and observe for leaks

LEIVI Electric Bidet Toilet Seat with Wireless Remote and Side Panel, Multiple Spray Modes, Adjustable Heated Seat, Warm Water and Air Dryer, Auto LED Nightlight, Elongated
User-Friendly & Feature-Rich - This electronic bidet toilet seat delivers a premium bathroom experience with user-friendly design. Features...
As an affiliate, we earn on qualifying purchases.
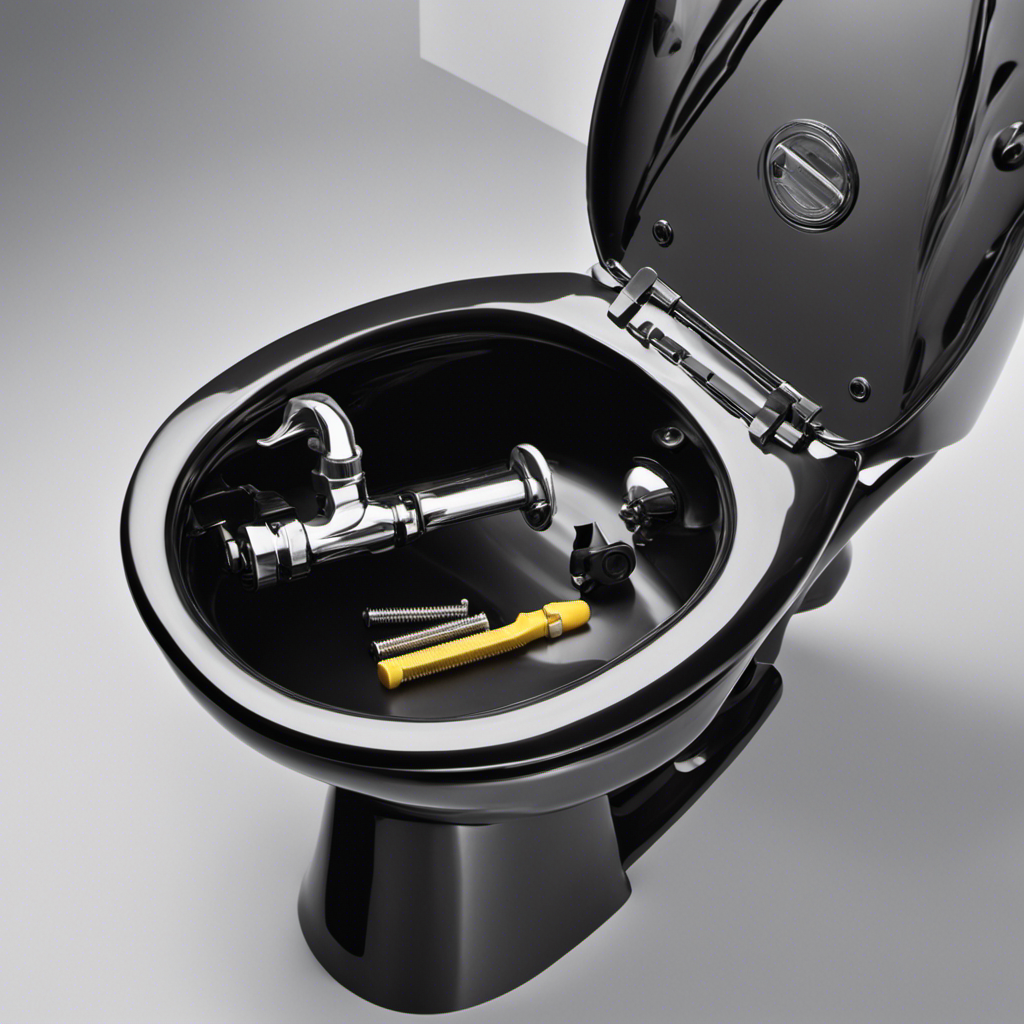
Preparation for the Seal Replacement
Before you can replace the seal in the toilet tank, you’ll need to gather all the necessary tools and materials.
To successfully complete the seal replacement, you will require a few toilet repair tools and seal replacement materials.
First, make sure you have a pair of gloves to protect your hands during the process. You will also need a wrench or pliers to loosen and remove the nuts securing the tank to the bowl. Additionally, a scraper or putty knife will be necessary to remove the old seal from the toilet tank.
As for the seal replacement materials, you will need a new wax seal or a rubber gasket, depending on the type of seal your toilet requires.
With these tools and materials in hand, you are ready to proceed with removing the old seal from the toilet tank.

Halo Sanitary Adjustable Exposed Manual toilet Flushometer 3.5 Gpf Wall Closet Flush valve for commercial bathrooms Reliable Mechanical Design,standar
COMMERCIAL FLUSH VALVE: Designed for standard commercial toilet and urinal systems, making it ideal for high-traffic restroom environments.
As an affiliate, we earn on qualifying purchases.
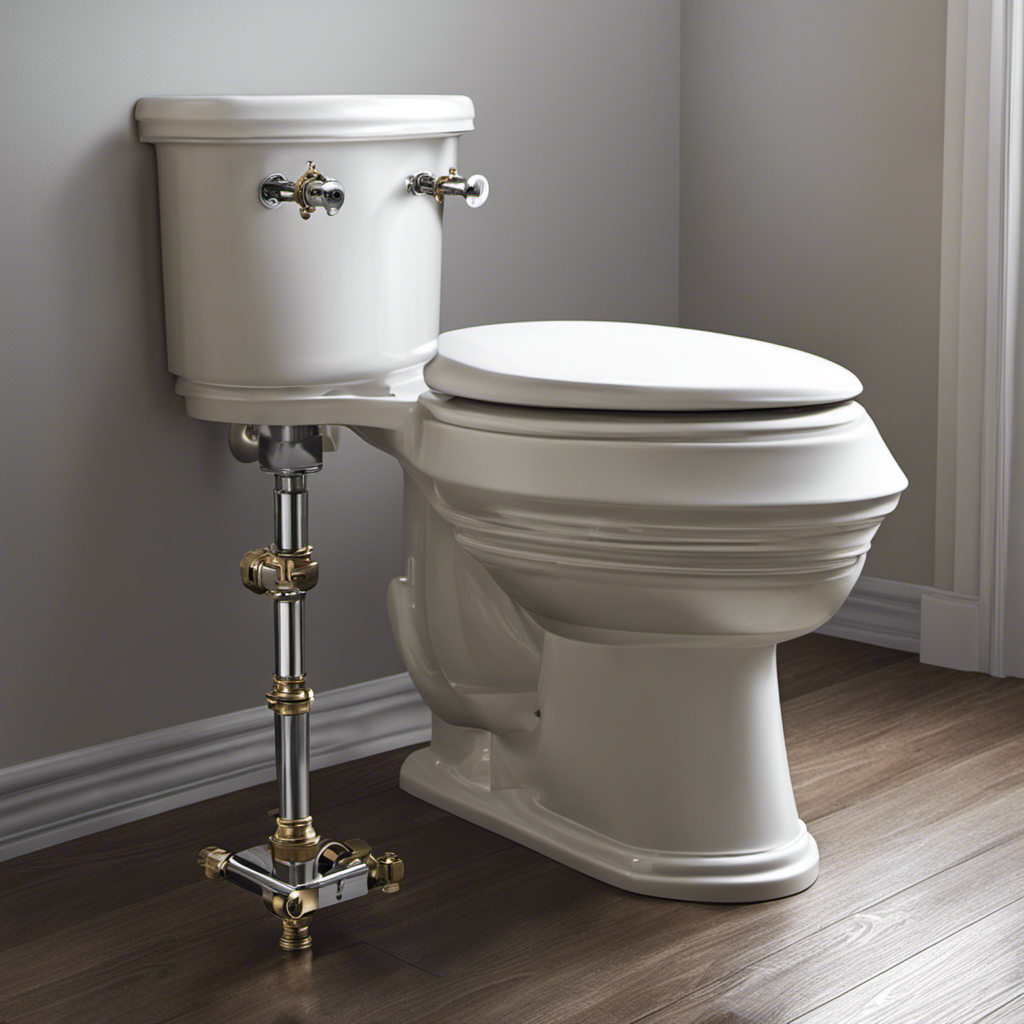
Removing the Old Seal From the Toilet Tank
First, you’ll need to disconnect the water supply to the toilet. This is an important step to avoid any water leakage during the process.
Now, let’s get started with removing the old seal from the toilet tank.
Step 1: Turn off the water supply valve located behind the toilet. This will prevent water from flowing into the tank while you work.
Step 2: Flush the toilet to empty the tank and remove any remaining water.
Step 3: Use a wrench to loosen the nuts securing the water supply line to the bottom of the tank. Once loose, remove the line completely.
Step 4: Carefully remove the bolts that attach the tank to the bowl using a wrench. Be cautious not to crack the tank or bowl.
Step 5: Lift the tank off the bowl and place it on a towel or cloth.
KERDE P30B Bidet Toilet Seat - Dual Control (Side Panel & Remote), Warm Water Wash, Heated Seat, Warm Air Dryer, LED Night Light,Existing Toilets Electric Bidet Elongated Electronic Heated Smart
𝐃𝐮𝐚𝐥 𝐂𝐨𝐧𝐭𝐫𝐨𝐥: 𝐒𝐢𝐝𝐞 𝐏𝐚𝐧𝐞𝐥 & 𝐖𝐢𝐫𝐞𝐥𝐞𝐬𝐬 𝐑𝐞𝐦𝐨𝐭𝐞:The KERDE P30B offers dual control options for ultimate convenience. Use the...
As an affiliate, we earn on qualifying purchases.
Choosing and Installing the New Seal
Now let’s pick out and install the new seal for the toilet tank. Here’s a step-by-step guide:
- Rubber seals: These are affordable and widely available, providing a good seal for most toilets.
- Wax seals: These are traditional and reliable, but can be messy to work with.
- Foam seals: These are easy to install and can provide a tight seal, but may not be as durable as rubber or wax seals.
- Silicone seals: These are long-lasting and flexible, making them a great option for uneven surfaces.
To install the new seal:
- Turn off the water supply to the toilet.
- Remove the old seal by gently prying it off with a putty knife.
- Clean the area where the seal sits to ensure a proper seal.
- Place the new seal in the proper alignment, making sure it covers the entire perimeter of the toilet flange.
- Carefully lower the toilet tank onto the seal, applying even pressure to create a watertight seal.
- Reconnect the water supply and flush the toilet to check for any leaks.

ALPHA BIDET JX2 Elongated Bidet Toilet Seat, White, Endless Warm Water, *NEW* Bowl Mist, LED Light, Quiet Operation, Wireless Remote, Stainless Steel Nozzle, Sittable Lid, 3 Year Warranty
WARM AND SOOTHING - Tankless on-demand water heating for endless warm water
As an affiliate, we earn on qualifying purchases.
Testing the Seal Replacement
Once you’ve finished installing the new seal, it’s important to test it for any potential leaks. To ensure that the seal replacement was successful, follow these steps:
-
Fill the toilet tank with water: Use the toilet’s fill valve or a bucket to fill the tank with water. Make sure the water level is at the appropriate level marked on the inside of the tank.
-
Wait and observe: Allow the tank to sit for a few minutes and carefully observe if any water starts to leak from the seal. Pay close attention to the area where the seal meets the toilet bowl.
-
Troubleshooting common issues: If you notice any leaks, there may be an issue with the seal installation. Double-check that the seal is properly aligned and tightened. If the problem persists, you may need to replace the seal again.
Proper seal maintenance is crucial for preventing future leaks. Regularly inspect the seal for any signs of wear or damage. If necessary, clean the seal gently with a non-abrasive cleaner and replace it if it appears worn or compromised. By following these steps, you can ensure a watertight seal in your toilet tank.
| Step | Description |
|---|---|
| 1 | Fill the toilet tank with water |
| 2 | Wait and observe for leaks |
| 3 | Troubleshoot common issues |
| 4 | Maintain and replace seal as needed |
Additional Tips and Troubleshooting for Seal Replacement in Toilet Tank
If you notice any leaks after testing the seal replacement, you can double-check the alignment and tightness of the seal.
Here are some additional tips and troubleshooting steps to help you fix a leaking toilet tank:
-
Inspect the seal: Ensure that the seal is properly seated and aligned with the flush valve opening. If it is misaligned, adjust it carefully.
-
Tighten the bolts: Check the bolts that secure the tank to the bowl. If they are loose, tighten them carefully with a wrench. Be careful not to overtighten and crack the porcelain.
-
Replace damaged parts: If you notice any cracks or damage to the seal or other components, replace them immediately. Damaged parts can cause leaks.
-
Use sealant: Apply a thin layer of plumber’s silicone sealant around the seal for added protection against leaks.
Frequently Asked Questions
How Long Does a Toilet Seal Typically Last Before It Needs to Be Replaced?
To extend the lifespan of a toilet seal, regular maintenance is crucial. Signs that indicate a toilet seal needs replacement include leaks, foul odors, and a loose toilet. It’s important to address these issues promptly to avoid further damage.
Can I Use Any Type of Seal for My Toilet Tank, or Are There Specific Types I Should Look For?
You should look for specific types of seals for your toilet tank. There are different toilet seal types, each with their own pros and cons. It’s important to choose the right one for your needs.
Is It Necessary to Shut off the Water Supply to the Toilet Before Replacing the Seal?
Yes, it is necessary to shut off the water supply to the toilet before replacing the seal. This ensures that no water leaks while you work. Alternative methods may exist, but they may not be as effective.
What Should I Do if the Toilet Still Leaks After Replacing the Seal?
If the toilet still leaks after replacing the seal, check for common mistakes in the installation process. Make sure the seal is positioned correctly and tightly secured. If the issue persists, consult a professional for toilet seal troubleshooting.
Can I Replace the Seal in My Toilet Tank Myself, or Should I Hire a Professional Plumber?
I can replace the seal in my toilet tank myself, but hiring a professional plumber has pros and cons. DIY toilet seal replacement tips include shutting off the water, draining the tank, and following instructions carefully.
Conclusion
In conclusion, replacing the seal in your toilet tank is a simple task that can be done by following a few easy steps.
By preparing the necessary tools and materials, removing the old seal carefully, and installing a new seal correctly, you can ensure a tight and leak-free seal.
Remember, a small leak in your toilet tank can waste up to 200 gallons of water per day, which not only increases your water bill but also harms the environment.
So, don’t delay in fixing any seal issues and start saving water today!