
Have you ever wondered what goes on inside your toilet? Well, today I’m going to take you on a journey to explore the inner workings of a toilet and teach you how to replace its guts.
It may seem like a daunting task, but fear not! With the right tools and a little know-how, you’ll be able to tackle this DIY project with confidence.
So, let’s roll up our sleeves and get ready to dive into the world of toilet repair.
Key Takeaways
- Gathering the necessary tools and supplies is crucial for replacing toilet components.
- Shutting off the water supply and draining the toilet is necessary before starting the replacement process.
- Carefully remove the old toilet components to avoid any accidental damage.
- Follow the instructions and take your time when installing the new toilet components to ensure a successful installation.
Gathering the Necessary Tools and Supplies
Now that you’ve gathered all the necessary tools and supplies, you’re ready to start replacing the guts of your toilet. Troubleshooting common toilet problems is essential before diving into the replacement process.
Identifying issues like clogged drains, leaky tanks, or weak flushes will help you determine which components need to be replaced. Understanding the different types of toilet components is crucial for a successful replacement.
The main components include the fill valve, flush valve, flapper, and the handle mechanism. The fill valve controls the water level in the tank, while the flush valve releases water into the bowl during flushing. The flapper seals the tank and allows water to flow into the bowl when flushed. Lastly, the handle mechanism controls the flushing action.
Knowing these components will guide you through the replacement process, ensuring a properly functioning toilet.
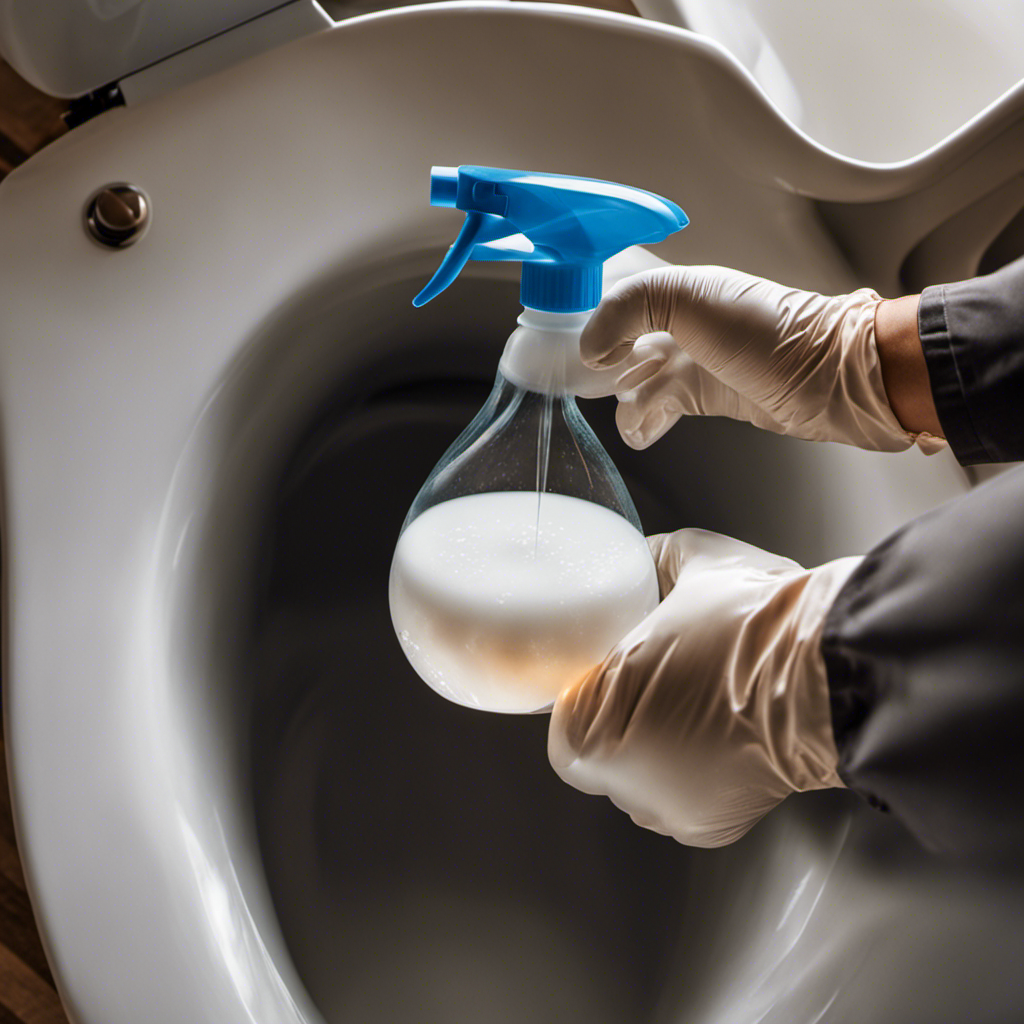
Shutting off the Water Supply and Draining the Toilet
Before you can start working on it, you’ll need to shut off the water supply and drain the toilet. Repairing leaks and fixing clogged drains are common issues that arise in toilets, and understanding how to shut off the water supply and drain the toilet is crucial in resolving these problems. Here are some steps to follow:
- Turn off the water supply valve located behind the toilet by turning it clockwise.
- Flush the toilet to drain the water from the tank and bowl.
- Use a plunger to remove any remaining water from the bowl.
- Disconnect the water supply line from the bottom of the tank using an adjustable wrench.
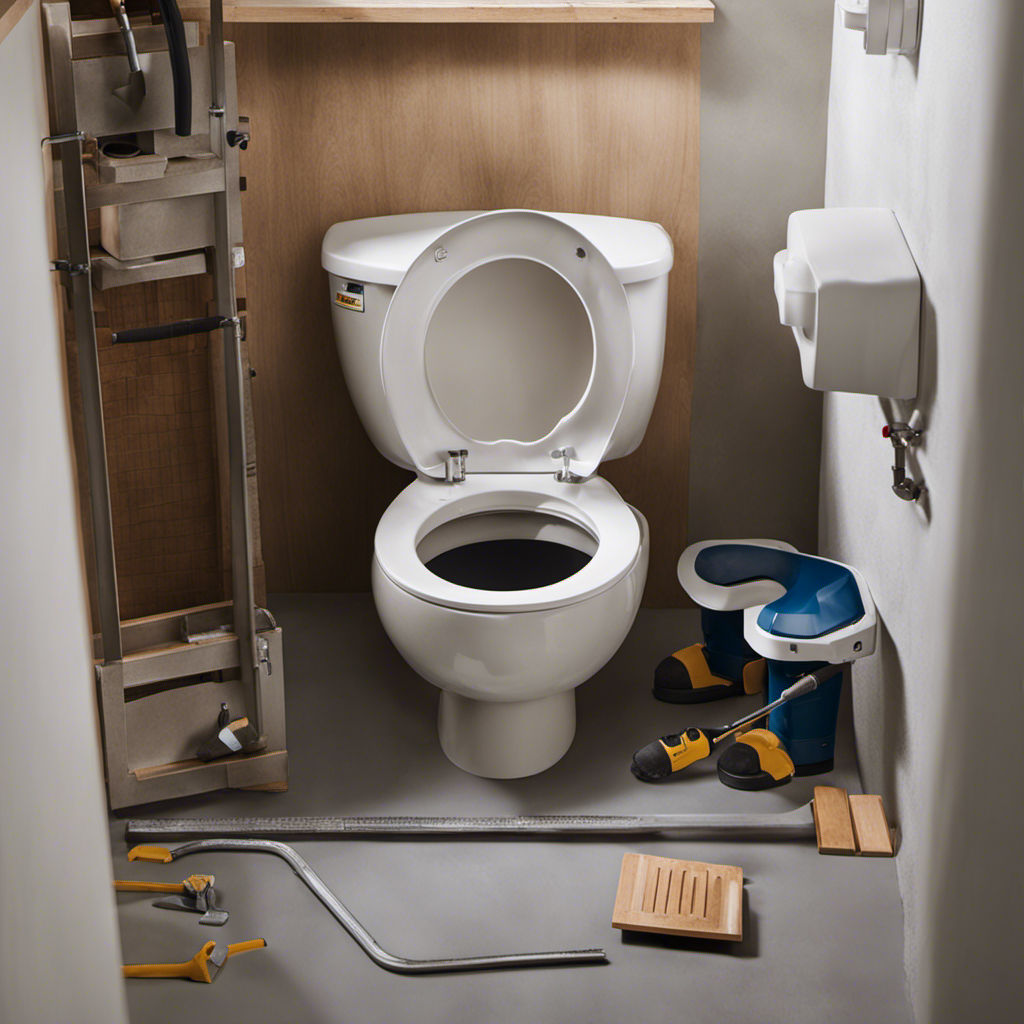
Removing the Old Toilet Components
To remove the old toilet components, you’ll need to disconnect the water supply line and unscrew the bolts securing the tank to the bowl. It’s important to properly dispose of the old components to prevent any damage to the environment.
Here are some common mistakes to avoid when removing toilet guts:
-
Rushing the process: Take your time and be patient when removing the old components to avoid any accidental damage.
-
Forgetting to turn off the water supply: Before disconnecting the water supply line, make sure to shut off the water valve to prevent any water leakage.
-
Not using the right tools: Use the appropriate tools, such as a wrench, to safely remove the bolts and disconnect the water supply line.
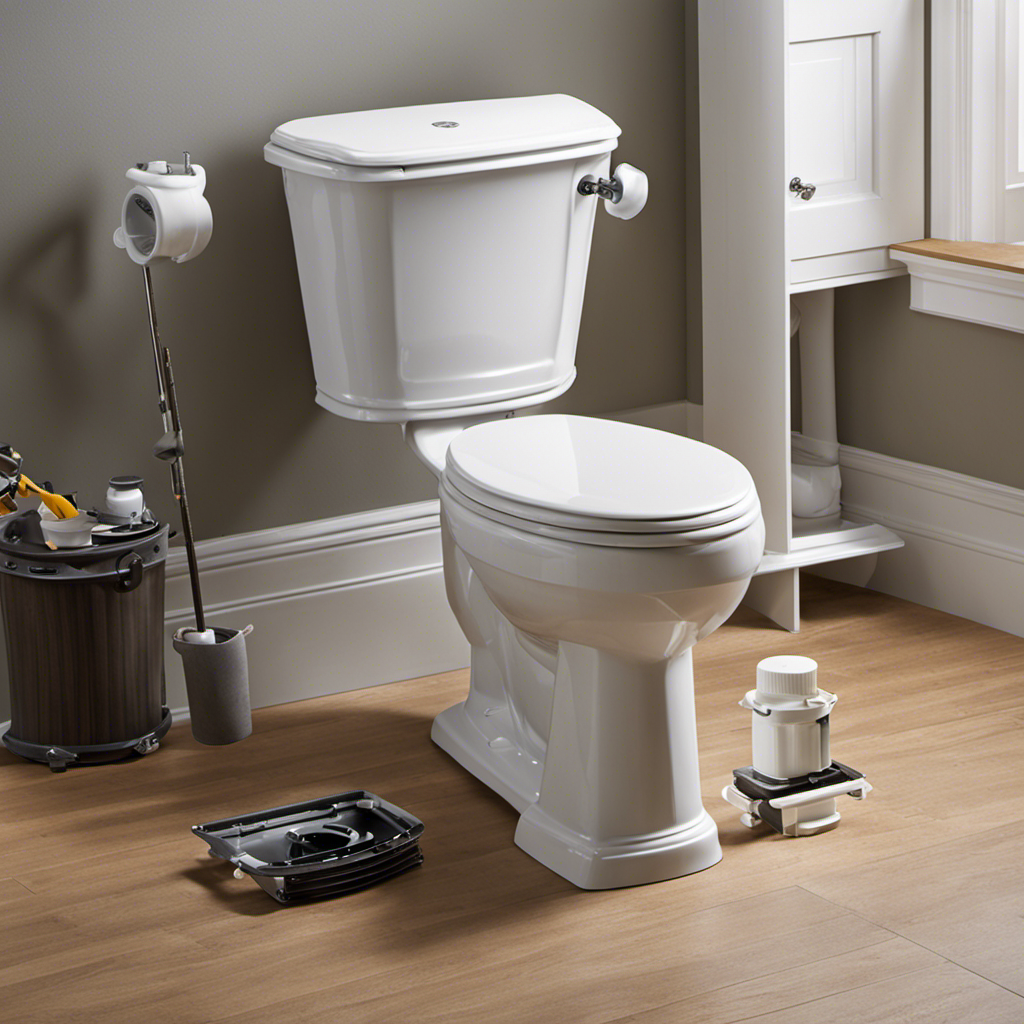
Installing the New Toilet Components
When installing the new toilet components, make sure to tightly secure the bolts and reconnect the water supply line. This is a crucial step to ensure the proper functioning of your toilet.
Here are some common mistakes that people make during toilet replacement and tips on choosing the right toilet components:
- Rushing the installation process: Take your time and follow the instructions carefully to avoid any mishaps.
- Using the wrong size bolts: Make sure to measure and choose the correct size bolts to secure the toilet to the floor.
- Not properly sealing the wax ring: A proper seal is essential to prevent leaks and odors.
- Neglecting the water supply line: Ensure that the water supply line is securely connected and not damaged.
Choosing the right toilet components involves considering factors such as size, height, flushing mechanism, and water efficiency. Researching and consulting with professionals can help you make an informed decision.
Testing and Adjusting the Toilet’s Functionality
Check if the toilet is functioning properly by flushing it and observing the water flow and drainage. Testing for leaks is crucial to ensure the new components are correctly installed. Start by inspecting the base and connections for any water seepage. A visual examination should be followed by a more thorough check using dye tablets. Drop a dye tablet into the tank and wait for a few minutes. If the water in the bowl changes color, there is a leak. To prevent water wastage, adjusting the water level is essential. Locate the fill valve and adjust the float arm or the water level adjustment screw, depending on the type of toilet. Refer to the table below for a quick summary of the steps involved in testing and adjusting the toilet’s functionality.
| Steps to Test and Adjust Toilet Functionality |
|---|
| 1. Flush the toilet to observe water flow and drainage |
| 2. Inspect the base and connections for leaks |
| 3. Perform a dye tablet test for hidden leaks |
| 4. Adjust the water level using the fill valve |
Conclusion
In conclusion, replacing the guts of a toilet may seem daunting, but it can be easily accomplished with the right tools and instructions.
By following the steps outlined in this article, you can successfully shut off the water supply, drain the toilet, remove the old components, and install the new ones.
Although it may require some effort, the end result will be a fully functioning toilet that operates smoothly and efficiently.
So don’t let any initial hesitations hold you back. Take the plunge and give your toilet the upgrade it deserves.

Mateo’s flair for writing is matched only by his keen eye for design. As an interior designer turned writer, Mateo brings a unique perspective. He blends aesthetics with functionality in every piece he pens, providing readers with beautifully crafted content that’s also supremely useful.
Mateo loves exploring the latest bathroom tech trends and is our expert on smart toilets. When he’s not writing or designing, Mateo can be found sketching ideas for his next big project at local coffee shops.