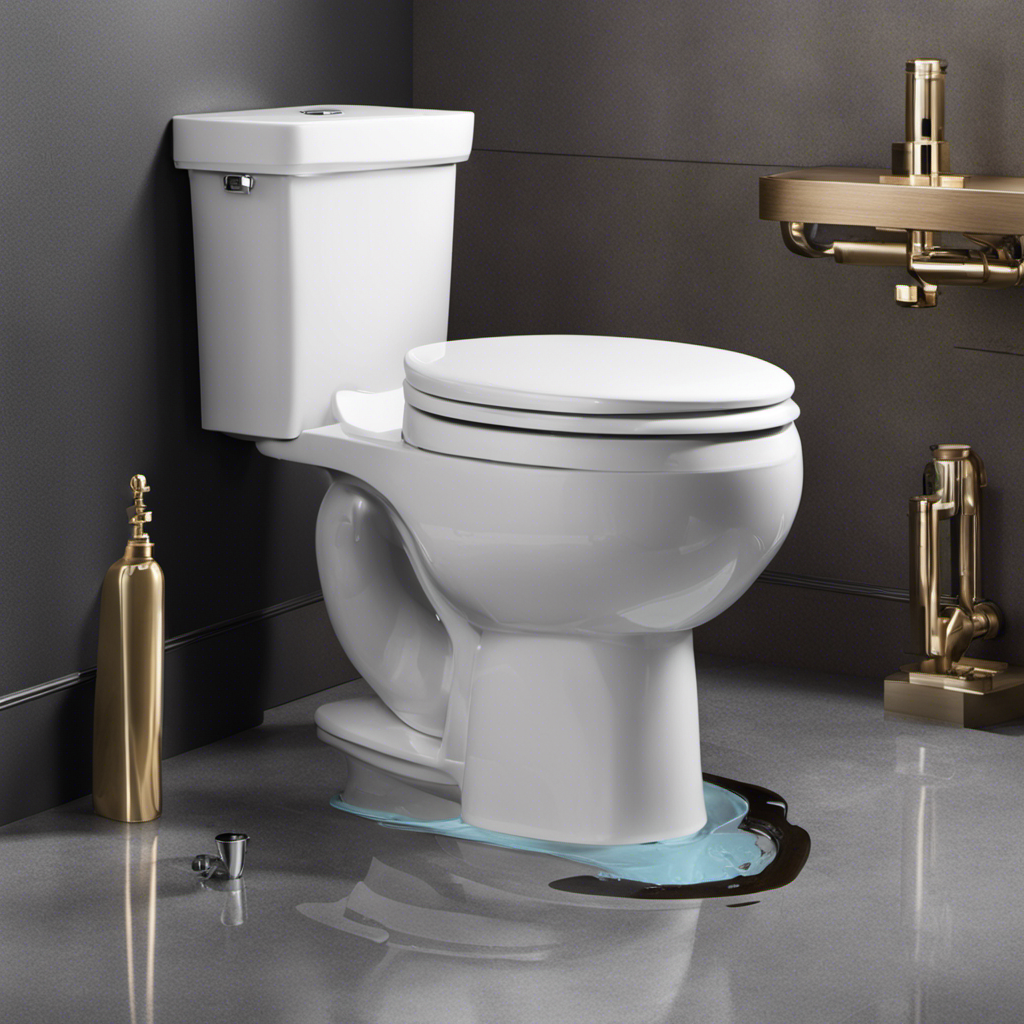
As I stepped into the bathroom, a sinking feeling washed over me. The toilet was wobbly, and I knew it needed to be reseated.
But fear not, because I’m here to guide you through the process of reseating a toilet. In this article, I will show you the steps you need to take to assess the problem, gather the necessary tools and supplies, remove the old toilet, and install a new wax ring.
Let’s get started on this essential home maintenance task!
Key Takeaways
- Checking the water level and adding food coloring can help identify leaks in the toilet.
- Troubleshooting flushing issues involves checking the water supply valve, flapper valve, flush handle, and lift chain.
- Choosing the right wax ring and ensuring a level toilet with shims are important for a proper seal and stability.
- Removing the old toilet involves shutting off the water supply, disconnecting the water line, and removing the tank and bowl.

Hibbent Extra Thick Toilet Wax Ring Replacement Kit, Universal Toilet Seal Ring with Brass Toilet Floor Bolts and Retainer Washers, PE Flange Fits 3 Inch and 4 Inch Drain Pipes
Universal Toilet Wax Ring: The Hibbent toilet flange is compatible with 3-inch and 4-inch waste lines, suitable for…
As an affiliate, we earn on qualifying purchases.
As an affiliate, we earn on qualifying purchases.
Assessing the Problem
Before you can reseat a toilet, it’s important to first assess the problem.
Identifying toilet leaks and troubleshooting flushing issues are crucial steps in this process.
To identify toilet leaks, start by checking the water level in the tank. If it is too high, it could be a sign of a leaky flapper valve or a faulty fill valve.
Another way to detect leaks is by adding food coloring to the tank water and checking for colored water in the bowl after some time.
Troubleshooting flushing issues involves checking the water supply valve to ensure it is fully open and inspecting the flapper valve for any damage or misalignment.
Additionally, checking the flush handle and lift chain for proper functioning is essential.

ZZJMCH 12 Pack White Multi Purpose Furniture Plastic Shims for Leveling Extreme Weight Capacity Wedges Easy to Snap Cut-to-fit Size Leveler for Toilet Shims, Doors, Windows, Sheds, Table
Multi Purpose Furniture Plastic Shims Adjustable size: 3.86 x 0.31 inch/ 10 x 0.8 cm, White, (12 Pcs)…
As an affiliate, we earn on qualifying purchases.
As an affiliate, we earn on qualifying purchases.
Gathering the Tools and Supplies
First, you’ll need to grab the necessary tools and supplies for the job.
Choosing the right wax ring is crucial to ensuring a proper seal between the toilet and the floor. Look for a wax ring with a flange that matches the diameter of your toilet’s waste pipe. This will prevent leaks and odors from escaping.
Additionally, leveling the toilet is of utmost importance. A level toilet ensures proper flushing and prevents rocking or instability. To level the toilet, you’ll need a level and shims. Shims are used to adjust the height of the toilet to ensure it sits evenly on the floor.
Once you have gathered all the tools and supplies, you can move on to removing the old toilet and preparing for the reseating process.

Fluidmaster Universal Install/Uninstall Toilet Repair Tool
Fluidmaster’s universal install and uninstall toilet tool makes any toilet repair job simple
As an affiliate, we earn on qualifying purchases.
As an affiliate, we earn on qualifying purchases.
Removing the Old Toilet
To remove the old toilet, you’ll need to start by shutting off the water supply and disconnecting the water line. This is an essential step in the toilet removal process.
Once the water supply is turned off, you can proceed with removing the tank and bowl. To do this, you’ll need to unscrew the bolts that hold the tank to the bowl and carefully lift off the tank.
Next, you’ll want to remove the nuts that secure the bowl to the floor. Once the nuts are removed, you can lift the bowl off the floor and dispose of the old toilet.
It’s important to follow proper disposal guidelines, such as contacting your local waste management facility or recycling center, to ensure that the old toilet is properly disposed of.

New Resources Group Toilet Leak Detection Dye Tablets (Detect Silent Leaks) Blue 20 Pack
Detect Silent Leaks in your toilet. 20 Packets (2 Blue Tablets per Packet good for 40 tests)
As an affiliate, we earn on qualifying purchases.
As an affiliate, we earn on qualifying purchases.
Preparing the Floor and Flange
Once you’ve removed the old toilet, it’s time to prepare the floor and flange for the installation of the new one. Preparing the surface is crucial to ensure a secure and leak-free toilet installation. Start by thoroughly cleaning the area around the flange to remove any debris or old wax ring residue. Next, inspect the flange for any cracks or damage. If there are any issues, it’s important to replace the flange before proceeding. To check for leaks, you can perform a simple water test. Fill a bucket with water and pour it into the toilet flange. Watch closely for any signs of water seeping out around the base of the flange. If you notice any leaks, make sure to address them before proceeding with the installation.
| Step | Description |
|---|---|
| Clean the surface | Remove debris and old wax ring residue from the area around the flange |
| Inspect the flange | Check for cracks or damage and replace if necessary |
| Check for leaks | Perform a water test to ensure there are no leaks around the flange |
Installing the New Wax Ring
Now that you’ve prepared the floor and flange, it’s time to install the new wax ring.
The wax ring is a crucial component of your toilet’s plumbing system, as it creates a watertight seal between the toilet and the floor.
To replace the wax ring, start by removing the old one and cleaning the flange thoroughly.
Next, place the new wax ring onto the flange, ensuring it is centered and properly aligned.
Gently press down on the toilet bowl to compress the wax ring and create a tight seal.
If you experience any leaks, troubleshooting may involve readjusting the wax ring or checking for any damage to the flange.
Once the wax ring is securely in place, you’re ready to move on to setting the toilet in place.
Setting the Toilet in Place
After ensuring the wax ring is securely in place, I gently lower the toilet bowl onto the flange. This step is crucial for proper installation and preventing leaks.
To ensure a level toilet, I follow these steps:
- Use a level to check the toilet bowl from side to side and front to back.
- If the toilet is not level, I adjust the leveling bolts located at the base of the toilet.
- Turn the leveling bolts clockwise to raise the side that is too low, and counterclockwise to lower the side that is too high.
Properly leveling the toilet is important for both functionality and aesthetics. A wobbly toilet can lead to leaks or even breakage.
Once the toilet is level, I can move on to securing and testing it, ensuring a properly functioning and watertight installation.
Securing and Testing the Toilet
To ensure a secure installation, you’ll want to tighten the bolts at the base of the toilet using a wrench. This step is crucial in preventing any leaks or wobbling.
Start by placing the wrench on the bolt head and turn it clockwise to tighten. Make sure not to overtighten as it can crack the toilet base.
Once the bolts are secure, it’s time to test the toilet. Begin by filling the tank with water and flushing it. Observe for any leaks around the base or from the tank.
If you notice any leaks, try tightening the bolts further or replacing the wax ring. Additionally, check the flush mechanism for proper functioning. Troubleshooting tips include adjusting the chain length, cleaning the flapper, or replacing any faulty parts.
Following this testing procedure and troubleshooting tips will ensure a properly seated and functional toilet.
Conclusion
So there you have it, a step-by-step guide on how to reseat a toilet. By following these instructions, you can easily fix any issues with your toilet and ensure it is secure and functioning properly.
I know it may seem like a daunting task, but with the right tools and a little bit of patience, you can tackle this project with ease. Don’t let the fear of a wobbly toilet stop you from enjoying a peaceful bathroom experience.
Take control of the situation and imagine the satisfaction of a perfectly stable toilet beneath you.