
Keeping your Dyson V15 Detect Total Clean Extra in top condition ensures it performs at its best for deep cleaning your home. Proper cleaning and maintenance can extend the lifespan of your vacuum and maintain its powerful suction and smart features.
Follow these practical, safe steps to clean your Dyson V15 Detect effectively, including cleaning filters, brushing out dust, and checking for blockages.
Key Takeaways
| Regular Filter Cleaning | Rinse filters every 2-3 months to maintain suction. |
| Empty Dust Bin Often | Empty after each use to prevent clogging. |
| Clean the Main Body | Use a damp cloth to wipe the exterior and attachments. |
| Check for Blockages | Inspect the wand and brush bar for obstructions. |
| Use Recommended Attachments | Utilize compatible tools for hard-to-reach areas. |

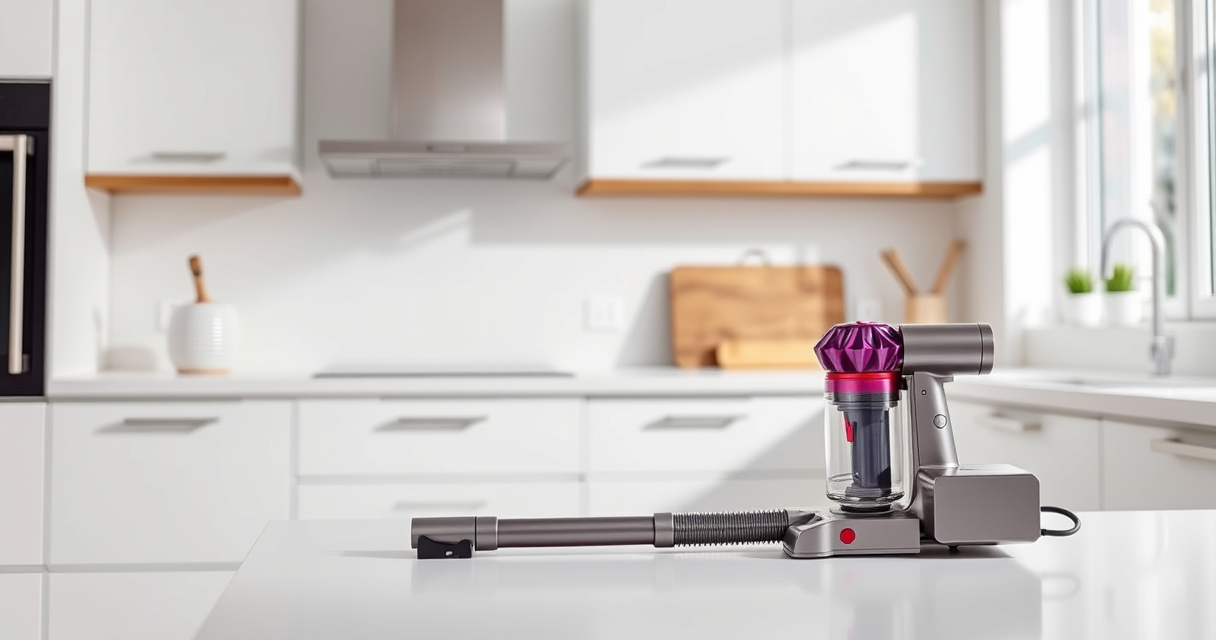
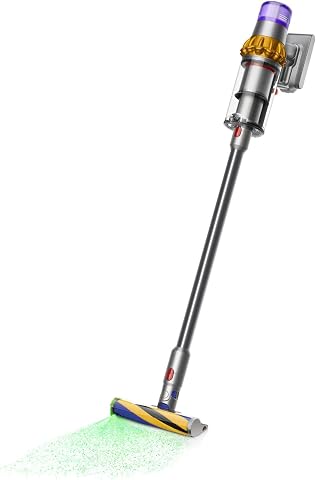
Dyson V15 Detect Total Clean Extra (Renewed Premium)
- Refurbished by Experts: Inspected, tested, and renewed
- Advanced Cleaning Technology: Reveals invisible dust
- Enhanced Power and Runtime: 100% more power, 60-minute runtime
As an affiliate, we earn on qualifying purchases.
Step 1: Power Off and Unplug
Before starting, ensure your Dyson V15 Detect is turned off and unplugged from any charging station or power source to avoid accidental activation or electrical hazards.
Step 2: Remove and Clean the Dust Bin
- Press the bin release button to detach the dust bin from the main body.
- Empty the contents into a trash bin.
- Rinse the dust bin with cold water if needed, and let it dry completely before reattaching.
Step 3: Clean the Filters
- Remove the pre-filter and main filter from the vacuum.
- Rinse each filter under cold water without soap. Do not use a washing machine or dryer.
- Allow filters to air dry completely (at least 24 hours) before reinstalling.
Step 4: Inspect and Clear Blockages
Check the wand, brush bar, and attachments for debris or obstructions. Remove any blockages carefully to ensure optimal airflow and performance.
Step 5: Clean Attachments and Exterior
- Wipe the exterior of the vacuum with a damp cloth.
- Clean attachments with a soft brush or damp cloth to remove dust and debris.
The Products in This Guide
Dyson V15 Detect Total Clean Extra
- ✔ Power Mode: Adaptive
- ✔ Dust Detection: Yes
- ✔ Run Time: 60 minutes

LANMU Crevice Tool Vacuum Attachments Compatible
- ✔ Nozzle Width: Narrow
- ✔ Flexibility: High
- ✔ Material: Plastic
Dyson V15 Detect Total Clean Extra
The Dyson V15 Detect Total Clean Extra offers powerful suction, intelligent debris detection, and a comprehensive set of features for whole-home cleaning. Regular maintenance helps sustain its performance and longevity.
Pros:
- Powerful suction and intelligent detection
- LCD screen displays real-time data
- Long 60-minute run time
- Refurbished to high standards
Cons:
- Requires regular filter cleaning
- Can be heavy for extended use
- Filters need periodic washing
Best for: Deep cleaning homes, detecting invisible dust, and maintaining peak performance
Not ideal for: Light or quick cleaning tasks, or if you prefer a lighter vacuum
Bottom line: A smart, powerful vacuum suitable for comprehensive deep cleaning.
LANMU Crevice Tool Vacuum Attachments Compatible
The LANMU Crevice Tool Vacuum Attachments are compatible with Dyson models and excel at reaching tight corners, crevices, and car interiors, making cleaning more thorough.
Pros:
- Narrow, flexible nozzle
- Easy to attach and use
- Perfect for corners and crevices
- Durable build
Cons:
- May require additional attachments for larger areas
- Not compatible with older Dyson models
Best for: Cleaning tight spots in home and car
Not ideal for: General cleaning or large surface areas
Bottom line: Ideal for detailed cleaning in tight spaces.
Frequently Asked Questions
How often should I clean the filters on my Dyson V15 Detect?
It is recommended to rinse and clean the filters every 2-3 months to maintain optimal suction and performance.
Can I wash the dust bin and filters in a dishwasher?
No, the dust bin and filters should be rinsed with cold water and air dried. Do not use a dishwasher or dryer.
What should I do if my vacuum’s LCD screen shows an error?
Refer to the user manual for specific error codes. Usually, cleaning filters, checking for blockages, or resetting the device can resolve common issues.
Is it safe to use cleaning solutions on the vacuum parts?
It is best to avoid using cleaning solutions on the vacuum body or filters. Use a damp cloth for exterior cleaning and water for rinsing filters.
Maintaining Your Dyson V15 Detect for Peak Performance
Regular cleaning and maintenance of your Dyson V15 Detect Total Clean Extra ensure it continues to deliver powerful, intelligent cleaning. Properly handling filters, dust bins, and attachments can prolong its lifespan and keep it running smoothly. Incorporate these simple steps into your routine for the best results.
Affiliate disclosure: As an Amazon Associate we earn from qualifying purchases. Prices and availability are accurate as of the time of publishing.