Are you tired of dealing with a leaking toilet? Don’t worry, I’ve got you covered.
In this article, I’ll guide you through the step-by-step process of stopping that annoying leak. From identifying the source of the problem to replacing faulty valves and sealing leaky connections, I’ll provide you with all the expert knowledge you need.
So, why put up with a leaking toilet when you can fix it yourself? Let’s get started and say goodbye to those pesky leaks for good.
Key Takeaways
- The most common causes of toilet leaks include a worn-out flapper valve, faulty fill valve, or a cracked tank or bowl.
- To shut off the water supply, locate the shut-off valve near the toilet base or on the wall and turn it clockwise. If unable to do so, turn off the main water supply to the house.
- Inspect and replace the flapper valve, which controls water flow from the tank to the bowl, after shutting off the water supply.
- Check and repair the fill valve to ensure proper water flow in the tank, adjusting the float level and cleaning sediment buildup if necessary.

WITMYA Smart Toilet with Bidet Built In, One Piece Bidet Toilet with Auto Dual Flush, Foam Shield, Modern Elongated Tankless Toilet with Foot Sensor, Heated Bidet Seat, Warm Water & Dryer,LED Display
【Efficient Flush & Energy-Saving Design】There smart toilets feature a highly efficient 1.28 GPF water-saving dual flush system with...
As an affiliate, we earn on qualifying purchases.
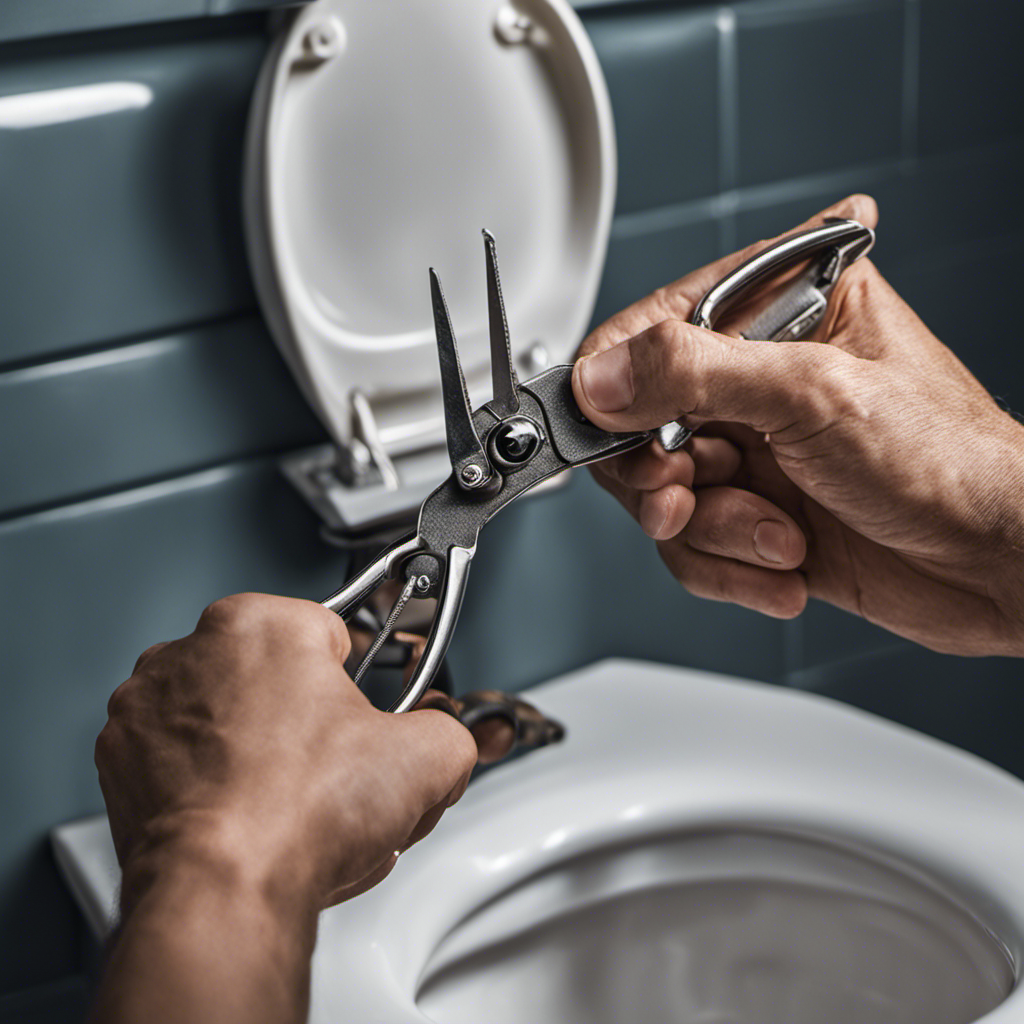
Identifying the Source of the Leak
To stop a leaking toilet, it’s important to first identify the source of the leak. Common causes of toilet leaks can include a worn-out flapper valve, a faulty fill valve, or a cracked tank or bowl.
Troubleshooting toilet leaks involves a systematic approach. First, check the flapper valve by placing a few drops of food coloring in the tank and observing if it seeps into the bowl without flushing. If so, the flapper valve may need replacement.
Next, inspect the fill valve for any signs of damage or leakage. If necessary, tighten or replace the fill valve.
Lastly, carefully inspect the tank and bowl for cracks or leaks. Once the source of the leak is identified, it’s time to move on to the next step: shutting off the water supply.

Smart Toilet with Bidet Built In, Heated Seat, Warm Water Wash & Dryer, Tankless Bidet Toilet with Foot Sensor & Night Light, Auto Open/Close Lid & Flush, Wireless Remote, 1.26GPF Water-Saving Design
🛠️ Easy Installation & Reliable Support: This smart toilet with bidet built in includes all accessories, flange kit,...
As an affiliate, we earn on qualifying purchases.
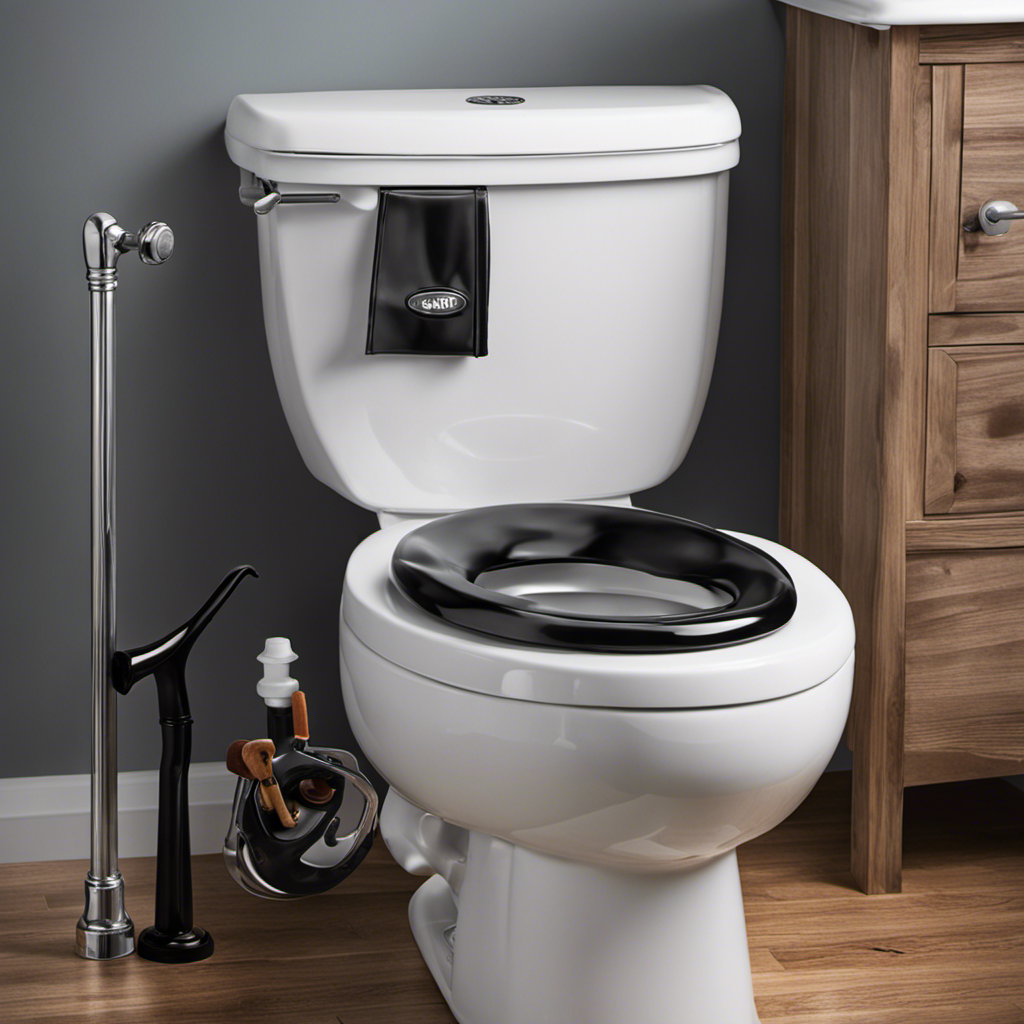
Shutting off the Water Supply
You can prevent further water flow by shutting off the water supply to the toilet. To do this, follow these steps:
- Locate the shut-off valve, which is usually located near the base of the toilet or on the wall behind it.
- Turn the valve clockwise to shut off the water supply.
Once the water supply is shut off, flush the toilet to drain any remaining water in the tank.
If you are unable to shut off the water supply using the shut-off valve, you can also turn off the main water supply to your house.
After shutting off the water supply, you can proceed to inspect and replace the flapper valve, which is often the cause of a leaking toilet.

HOROW T38 Artistic Smart Toilet, Bidet Toilet with Powerful Flush, Auto Open/Close Lid, Instant Warm Water, Elongated Heated Seat, Dryer, Night Light, Deodorization
For Low Water Pressure: Smart toilet built-in water tank and pump bring efficient and powerful flushing performance. The...
As an affiliate, we earn on qualifying purchases.
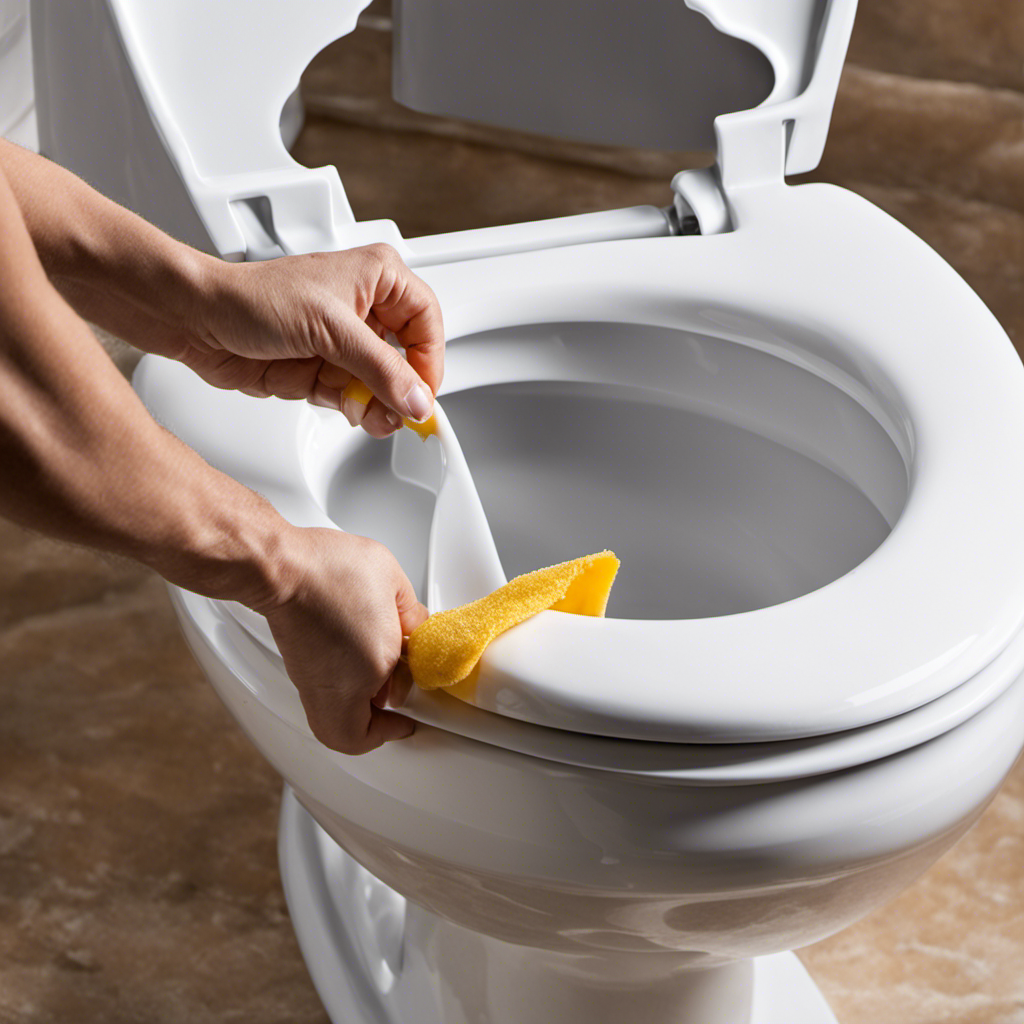
Inspecting and Replacing the Flapper Valve
Once the water supply is shut off, it’s important to inspect and replace the flapper valve as it is often the culprit of a leak. The flapper valve is a rubber or plastic component that sits at the bottom of the tank and controls the flow of water into the bowl. If it is worn or damaged, it can cause water to continuously leak from the tank into the bowl, resulting in a constantly running toilet. To inspect the flapper valve, simply lift the lid of the toilet tank and look for any signs of wear or deterioration. If necessary, replace the flapper valve by following these steps:
| Step | Instructions |
|---|---|
| 1 | Turn off the water supply to the toilet |
| 2 | Flush the toilet to drain the tank |
| 3 | Disconnect the chain link from the flush handle |
| 4 | Remove the old flapper valve |
| 5 | Install the new flapper valve |
| 6 | Reattach the chain link to the flush handle |
| 7 | Turn on the water supply and test for leaks |
Once the flapper valve has been replaced, it’s also a good idea to check and adjust the water level in the tank. This can be done by adjusting the float or water level adjustment screw, depending on the type of toilet you have. Ensuring the water level is at the correct height can prevent future leaks and help the toilet function efficiently. Now that we have inspected and replaced the flapper valve, let’s move on to checking and repairing the fill valve.

LOUPUSUO Smart Toilet with Warm Water Sprayer and Dryer, One Piece Bidet Toilet with Auto Dual Flush Foot Sensor Operation,Heated Seat Smart with Built In Fahrenheit LED Display
Powerful Flushing System: Designed with low water consumption (1.26 gallons per flush), this system ensures efficient and thorough...
As an affiliate, we earn on qualifying purchases.
Checking and Repairing the Fill Valve
Now that we’ve replaced the flapper valve, it’s important to check and repair the fill valve to ensure proper water flow in the tank. Here are the steps to follow:
-
Adjusting float level: The float is a small device that controls the water level in the tank. If the water level is too high or too low, it can cause the toilet to leak. Adjust the float by either bending the float arm or turning the adjustment screw, depending on the type of fill valve.
-
Cleaning sediment buildup: Over time, sediment and debris can accumulate in the fill valve, causing it to malfunction. To clean it, turn off the water supply, disconnect the supply line, and remove the fill valve cap. Rinse the valve with water to remove any sediment buildup.
-
Inspecting and replacing worn parts: Check the fill valve for any worn or damaged parts, such as the valve seal or diaphragm. If necessary, replace these parts to ensure proper functioning of the fill valve.
-
Testing the fill valve: Once you have adjusted the float level, cleaned any sediment buildup, and inspected and replaced worn parts, it’s important to test the fill valve to ensure it is working properly. Turn on the water supply and observe the water flow in the tank. It should stop flowing once the tank is full.
Sealing Leaky Connections and Joints
To prevent any further leaks, make sure to tighten all connections and joints in the plumbing system. This is an important step in sealing leaky connections and joints.
Common causes of leaks in these areas include loose fittings, worn out washers, or damaged pipes. When tightening connections, it is essential to use the correct tools, such as pliers or wrenches, to ensure a secure fit.
Additionally, applying plumber’s tape or pipe dope to the threads can help create a watertight seal. Another sealing technique is to use pipe joint compound, which is applied to the threads before connecting the pipes.
Frequently Asked Questions
How Do I Know if My Toilet Is Leaking?
To determine if my toilet is leaking, I look for signs like water on the floor or a constantly running tank. I then follow steps to find and fix the leak, such as checking the flapper or tightening connections.
What Are Some Common Causes of Toilet Leaks?
Toilet leaks can be a real pain. There are several common causes, like a faulty flapper, loose connections, or a worn-out seal. Learning how to prevent toilet leaks is key to keeping your bathroom dry and hassle-free.
Can I Fix a Leaking Toilet Myself or Do I Need to Hire a Professional?
I can fix a leaking toilet myself with DIY toilet repair. However, hiring a professional plumber has its pros and cons. It’s important to weigh the cost, time, and complexity of the repair before deciding.
How Much Does It Cost to Repair a Leaking Toilet?
Toilet repair cost can vary depending on factors like the extent of the leak and the type of repair needed. It’s important to consider hiring a professional for accurate diagnosis and cost estimation.
Are There Any Temporary Solutions to Stop a Toilet From Leaking Until It Can Be Repaired?
Temporary solutions or quick fixes can be used to stop a toilet from leaking until it can be repaired. These solutions may include tightening connections, using plumber’s tape, or placing a temporary sealant around the leak.
Conclusion
In conclusion, fixing a leaking toilet is a task that can be easily accomplished with a little know-how. By identifying the source of the leak, shutting off the water supply, inspecting and replacing the flapper valve, checking and repairing the fill valve, and sealing leaky connections and joints, you can put an end to that constant drip.
So don’t let that leaking toilet go unchecked any longer. Take action today and save yourself from unnecessary water waste and potential damage. Your wallet and the environment will thank you.