
When it comes to dealing with a running toilet, it can be as irritating as a dripping faucet. But fear not, because I’ve got you covered with some practical solutions.
In this article, I will guide you through the process of stopping your toilet from running after flushing. From checking and adjusting the float to repairing or replacing the fill valve, we’ll cover it all.
So, let’s dive in and put an end to that pesky toilet running!
Key Takeaways
- Check and adjust the float to ensure it is at the correct level and not worn or damaged
- Repair or replace the fill valve if there are signs of leaks, weak water flow, or constant running
- Adjust the water level by turning the adjustment screw on the fill valve to stop the toilet from running after flushing
- Identify a faulty fill valve by inspecting for leaks, debris buildup, or worn-out components
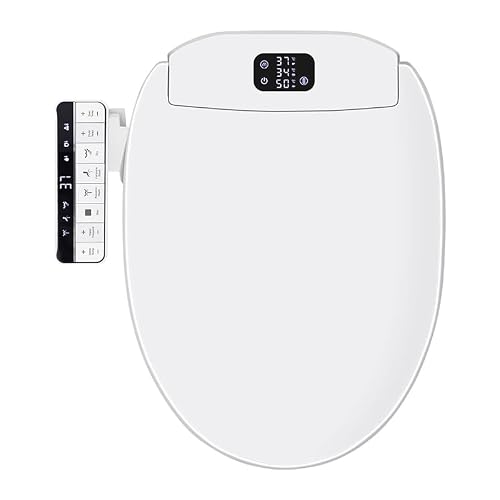
Smart Bidet Toilet Seat with Remote - Unlimited Warm Water & Warm Air Dryer, Multiple Cleaning Modes, Feminine Wash, Heated Seat, Soft Close Lid, Night Light, Easy Installation, 2 Filters Included
- Instant Warm Water: Continuous, stable warm water supply
- Wireless Remote Control: Operate functions effortlessly from a distance
- 4-Level Heated Seat: Adjustable for personalized comfort
As an affiliate, we earn on qualifying purchases.
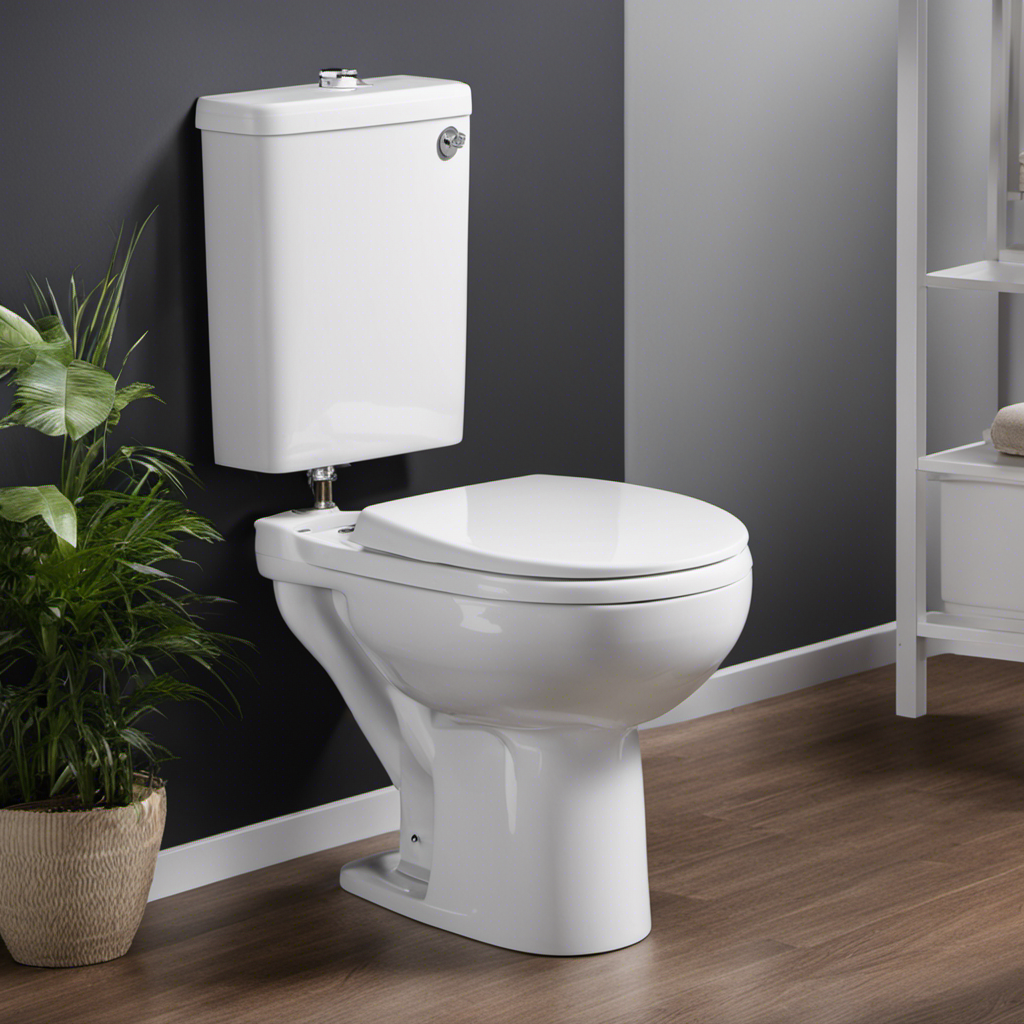
Common Causes of a Running Toilet
One common cause of a running toilet is a faulty flapper that needs to be replaced. When the flapper becomes worn out or damaged, it fails to create a proper seal, allowing water to continuously leak from the toilet tank into the bowl. This constant flow of water not only wastes water but can also lead to higher water bills.
Another possible cause of a running toilet is toilet tank leaks. These leaks can occur due to cracks in the tank or faulty seals around the fill valve and flush valve.
Additionally, water pressure issues can also contribute to a running toilet. If the water pressure is too high, it can cause the fill valve to remain open, resulting in a continuous flow of water into the tank.
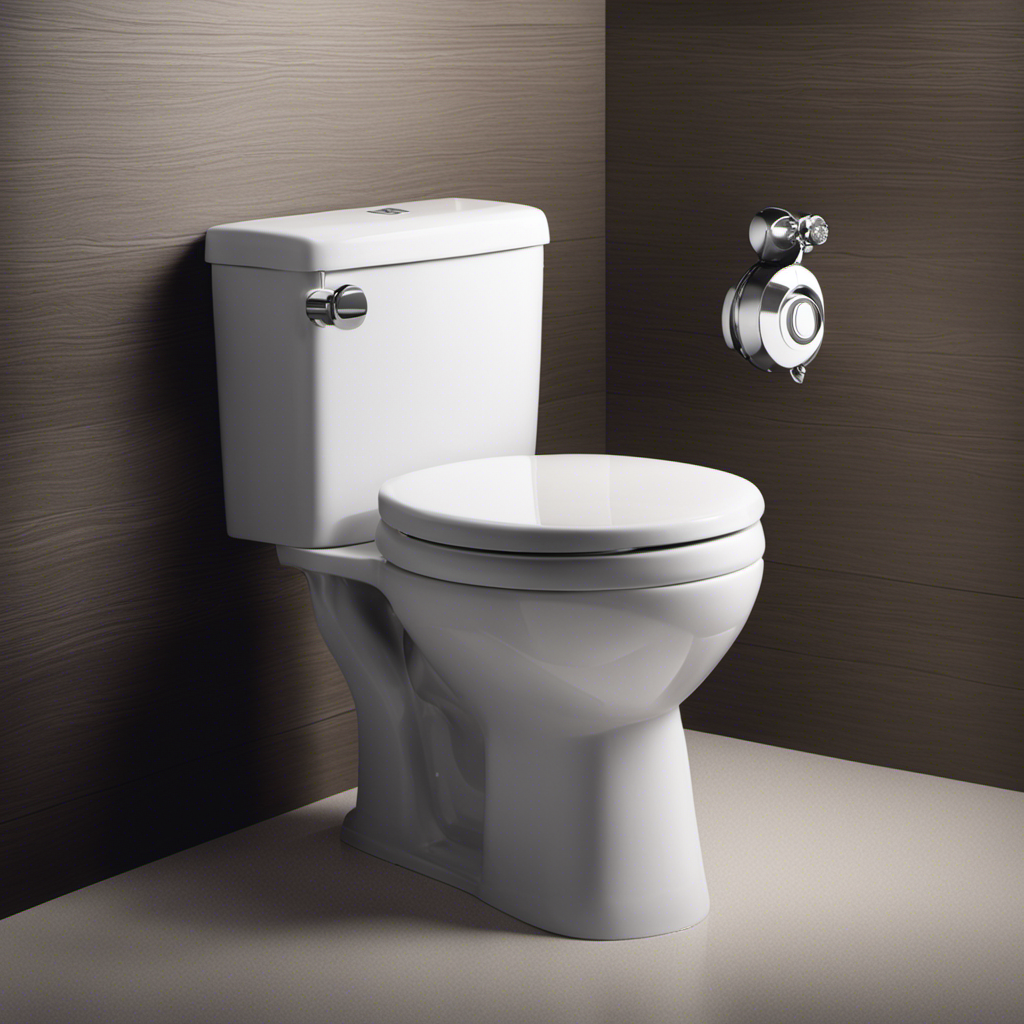
Checking and Adjusting the Float
To fix a running toilet, it’s crucial to check and adjust the float. The float is a small device that controls the water level in the toilet tank.
When the float is set too high, it can cause the toilet to constantly run, wasting water and potentially causing leaks.
To check the float, simply remove the lid of the toilet tank and locate the float, which is usually a ball or a cylinder attached to an arm.
Adjust the float by bending the arm or adjusting the screw or clip that holds it in place. Make sure the float is set at the correct level, usually indicated by a mark on the overflow tube.
If the float is damaged or worn, it may need to be replaced to fully fix the running toilet.
Repairing or Replacing the Fill Valve
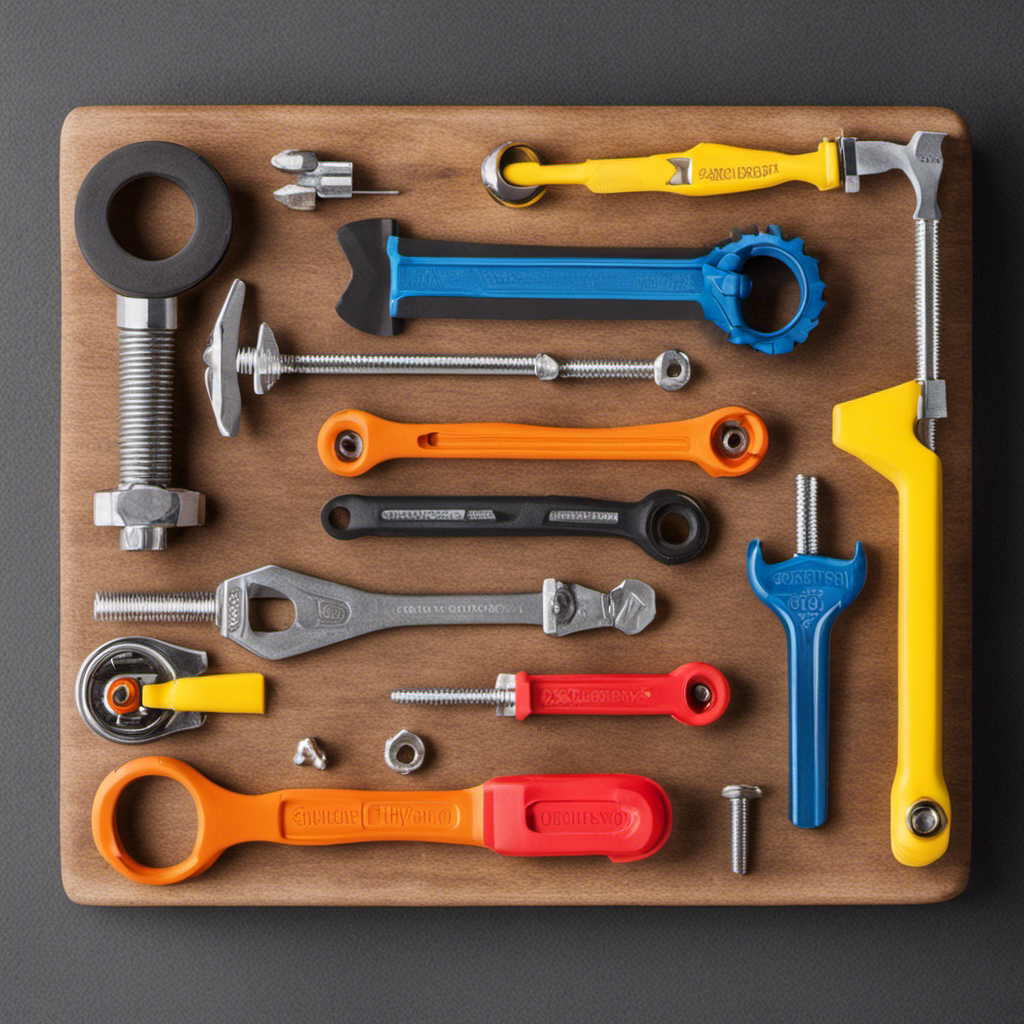
When it comes to repairing or replacing the fill valve in a toilet, there are a few key points to keep in mind.
First, adjusting the fill valve can help with issues such as inconsistent water levels or excessive noise.
To identify a faulty fill valve, it’s important to look for signs of leaks, weak water flow, or constant running.
If it’s determined that a new fill valve is needed, the installation process involves shutting off the water supply, removing the old valve, and then securely installing the new one.
Adjusting Fill Valve
Adjusting the fill valve can help prevent a toilet from running after flushing. Here are a few steps to follow for adjusting the fill valve:
- Locate the fill valve, which is usually on the left side of the toilet tank.
- Turn off the water supply to the toilet by closing the shut-off valve.
- Adjust the water level by turning the adjustment screw on top of the fill valve. Turning it clockwise will decrease the water level, while turning it counterclockwise will increase the water level.
- Flush the toilet and observe if the water stops running after the flush. If it doesn’t, continue adjusting the water level until the issue is resolved.
By adjusting the fill valve, you can ensure that the right amount of water is being released into the toilet tank after each flush, preventing it from running unnecessarily.
Now, let’s move on to identifying a faulty fill valve.
Identifying Faulty Fill Valve
By identifying a faulty fill valve, you can easily troubleshoot issues with your toilet’s water flow. A faulty fill valve can cause problems such as constant running or inconsistent water levels in the tank. To identify a faulty fill valve, you can perform a simple inspection and look for signs such as leaks, debris buildup, or worn-out components. Here is a table summarizing the common signs of a faulty fill valve:
| Signs of a Faulty Fill Valve |
|---|
| Constant running |
| Inconsistent water levels |
| Leaks or water pooling |
| Noisy operation |
| Slow filling |
| Debris or sediment in the valve |
Once you have identified a faulty fill valve, you can take the necessary steps to fix it, such as adjusting the water pressure or replacing the flush handle. These troubleshooting techniques will help ensure that your toilet’s water flow is functioning properly and prevent any further issues.
Installing New Fill Valve
To install a new fill valve, you’ll need to first turn off the water supply to your toilet. This is typically done by turning the valve located behind the toilet clockwise until it stops.
Once the water is turned off, you can proceed with replacing the old flapper. Here’s a step-by-step guide to help you install the new fill valve:
- Remove the tank lid and set it aside.
- Disconnect the water supply line from the bottom of the tank.
- Unscrew the old fill valve from the bottom of the tank.
- Install the new fill valve by screwing it into place and reattaching the water supply line.
After installing the new fill valve, it’s important to adjust the water pressure to ensure proper functioning. This can be done by turning the adjustment screw located on the top of the fill valve.
Fixing a Faulty Flapper
You can easily fix a faulty flapper by checking if it is properly seated on the flush valve. Flapper maintenance is crucial to ensure that your toilet doesn’t keep running after flushing.
To begin, turn off the water supply to the toilet and remove the tank lid. Inspect the flapper for any signs of wear or damage. If the flapper is worn out or doesn’t seal properly, it may need replacement. You can find compatible flappers at your local hardware store.
To replace the flapper, disconnect it from the flush valve and attach the new one. Make sure it is properly aligned and seated on the valve. Once the new flapper is in place, turn on the water supply and test the toilet for any leaks.
Now, let’s move on to adjusting the chain or lift wire for optimal performance.
Adjusting the Chain or Lift Wire
Once the flapper is properly seated, it’s important to adjust the chain or lift wire for optimal performance. Adjusting the chain or lift wire ensures that the flush handle activates the flapper properly and allows the right amount of water to flow into the toilet bowl.
Here are some steps to help you adjust the chain or lift wire effectively:
- Start by locating the chain or lift wire connected to the flush handle.
- Make sure there is some slack in the chain or lift wire, allowing for smooth movement.
- Adjust the length of the chain or lift wire by either tightening or loosening it.
- Test the flush handle to see if it activates the flapper smoothly and allows the water level to adjust correctly.
Clearing Blockages in the Flush Valve
Clearing blockages in the flush valve can be done by using a plunger or a drain auger.
When the flush valve is clogged, it can cause the toilet to continuously run after flushing.
To fix this issue, first, ensure that the water supply to the toilet is turned off.
Next, use a plunger to create suction and dislodge the blockage. Place the plunger over the flush valve opening and firmly push and pull to create pressure.
If the plunger doesn’t work, try using a drain auger. Insert the auger into the toilet flange and rotate the handle to break up the blockage. Be cautious not to damage the toilet flange or any other components.
Once the blockage is cleared, turn the water supply back on and test the flush to ensure it is working properly.
Remember to always use caution and follow safety guidelines when working with water pressure and plumbing systems.
Troubleshooting Persistent Running Issues
To troubleshoot persistent running issues, start by checking the float valve in the toilet tank. This valve controls the water level in the tank and can be a common cause of a running toilet. Here are some steps to help you troubleshoot the issue:
- Inspect the float valve for any signs of damage or wear.
- Ensure that the float is properly adjusted to the correct water level.
- Check the water pressure in your home. Low water pressure can cause the toilet to run continuously.
- Look for hidden leaks by adding a few drops of food coloring to the tank and waiting to see if it appears in the bowl. If it does, you may have a leaky flapper or valve.
Conclusion
In conclusion, by following these steps, you can effectively stop your toilet from running after flushing.
Identifying the common causes, such as a faulty float or flapper, is crucial in fixing the issue.
By adjusting or repairing these components, you can restore the proper functioning of your toilet.
Remember to also check the chain or lift wire and clear any blockages in the flush valve.
Troubleshooting persistent running problems may require further investigation.
So, take charge and fix that pesky running toilet once and for all!