I’ve always found immense satisfaction in tackling home improvement projects on my own. There’s something incredibly rewarding about taking control and mastering new skills.
That’s why I’m here to share a comprehensive guide on DIY toilet installation. From measuring the rough-in size to reconnecting the water supply, I’ll walk you through each step in detail.
So grab your tools and let’s dive in! By the end, you’ll feel accomplished and confident in your ability to install a toilet independently.
Key Takeaways
- Proper measurement of the old toilet unit and waste pipe is crucial to avoid installation issues.
- Gather all necessary tools and materials before starting the installation to avoid interruptions.
- Consider space limitations and obstructions when choosing the toilet size and shape.
- Ensure proper connection of the water supply and check for leaks before completing the installation.

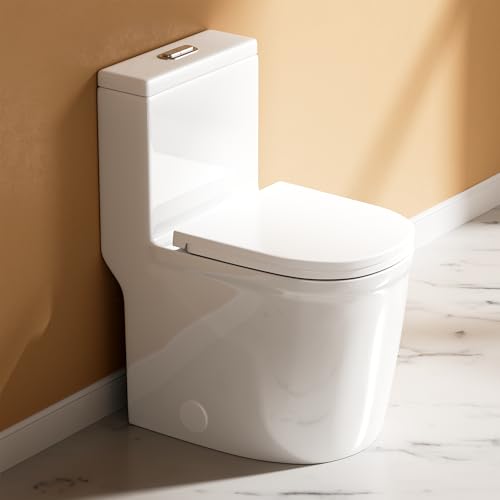
HOROW Compact Wall Hung Toilet Combo Set, Concealed In-Wall Toilet Tank Carrier System, Adjustable Wall Mounted Toilet Bowl with Soft-Close Seat, 1.1GPF/1.6 GPF Dual Flush Push Buttons Included, White
Package Included: The In-Wall Toilet Combo Set includes an HR-TG03W toilet bowl, a soft-close toilet seat, a concealed...
As an affiliate, we earn on qualifying purchases.
Understanding Rough-in Measurements
I need to measure the rough-in size of my old toilet unit to ensure the new toilet I select will fit properly. This is an important step in choosing the right toilet model and avoiding any unexpected plumbing issues during installation.
The rough-in measurement refers to the distance between the waste pipe and the wall behind the toilet. Typically, waste pipes measure around 12 inches from the wall, but they can vary between 10 and 14 inches. It is crucial to measure all the key specifications of the old toilet, including the distance from the wall and any obstructions on either side.
WinZo Compact One Piece Toilet 22.8" Depth Modern Short Design Dual Flush for Small Tiny Mini Bathroom 12" Rough-in,White (WZ5079)
♦ VERY SHORT DESIGN: Compact space saving design protrudes just 22.8 inches from the wall. Perfect for small...
As an affiliate, we earn on qualifying purchases.
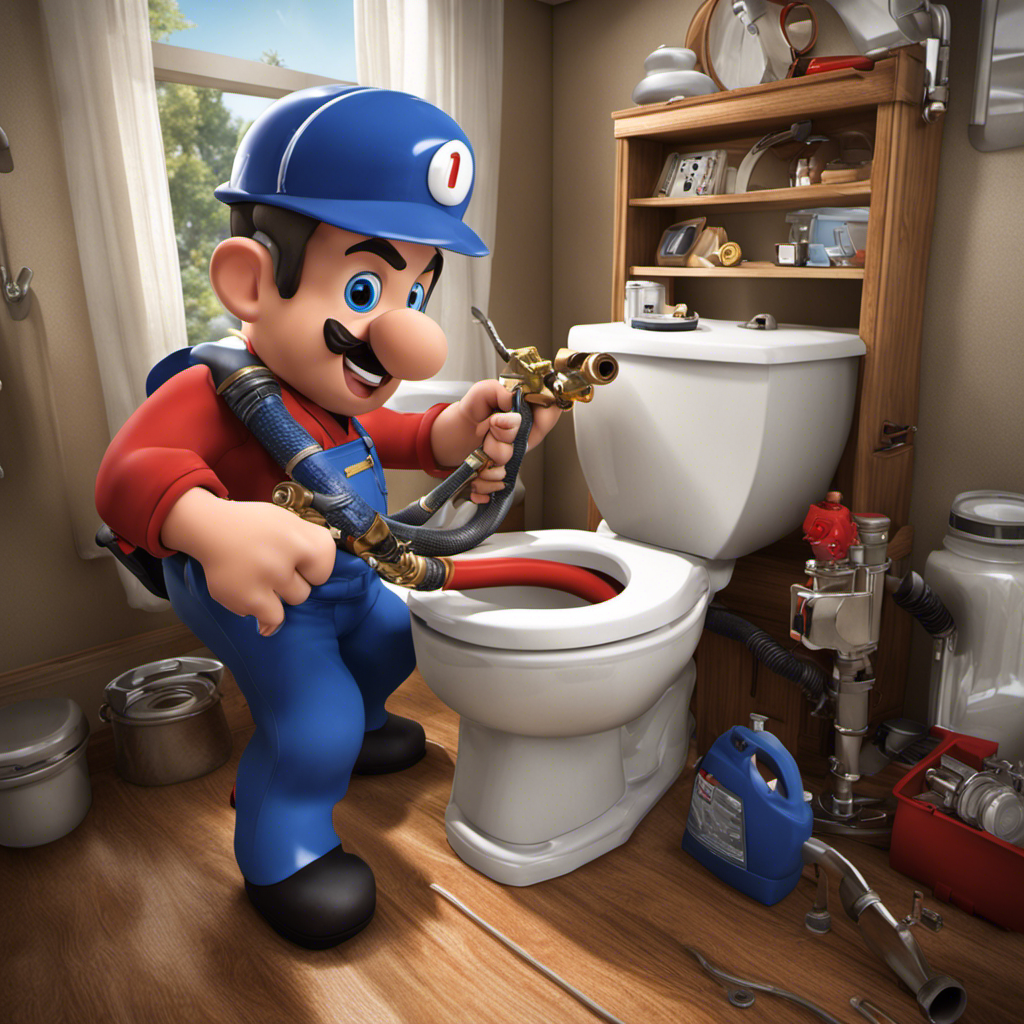
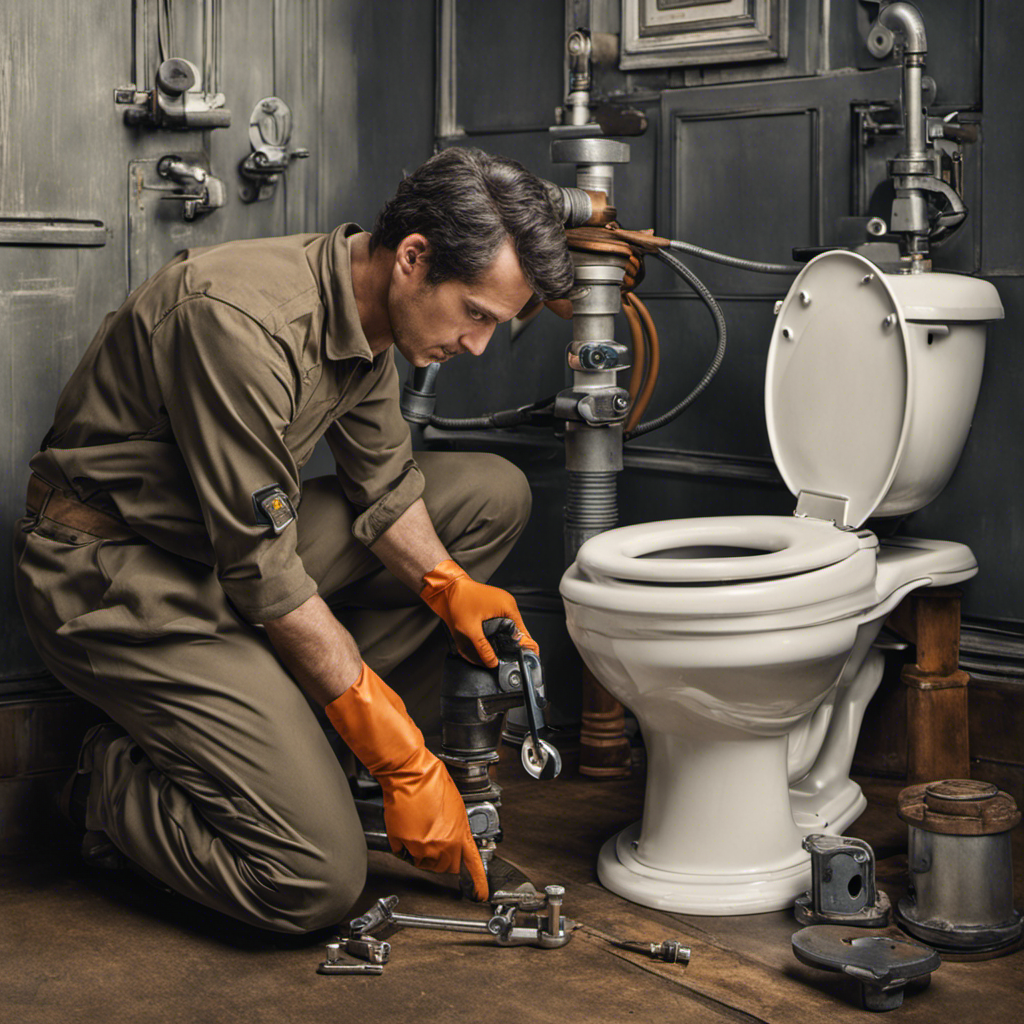
Gathering Tools and Materials
Having all the necessary tools and materials ready beforehand ensures a smooth and uninterrupted toilet installation process. To ensure a successful installation, it’s important to choose the right toilet flange and ensure a secure wax ring seal. Here are four key points to consider:
-
Choosing the right toilet flange: The toilet flange is a critical component that connects the toilet to the waste pipe. It should match the size and shape of the waste pipe to ensure a proper fit and prevent leaks.
-
Importance of a secure wax ring seal: The wax ring creates a watertight seal between the toilet flange and the toilet base. A secure seal is essential to prevent leaks and ensure proper functioning of the toilet.
-
Gather necessary tools: Before starting the installation, gather all the required tools such as pliers, screwdriver, drill, wrench, caulk gun, level, tape measure, utility knife, rags, vacuum, and hacksaw. These tools will make the installation process easier and more efficient.
-
Gather additional materials: In addition to the tools, gather materials like toilet flange, brass toilet bolts, wax ring or foam gasket, silicone caulk, plastic toilet shims, and access to water. These materials are essential for a successful toilet installation and will help in achieving a secure and leak-free connection.

Comfort & Elongated Wall Hung Toilet System, Los Flexi Wall Mounted Toilet with Adjustable Floating Toilet Bowl, Durable In-Wall Toilet Tank Carrier, Soft-Close Seat & Dual-Flush Push Plate Included
Ergonomic Design for Maximum Comfort: The wall hung toilet with tank features an elongated bowl, offering a comfortable,...
As an affiliate, we earn on qualifying purchases.
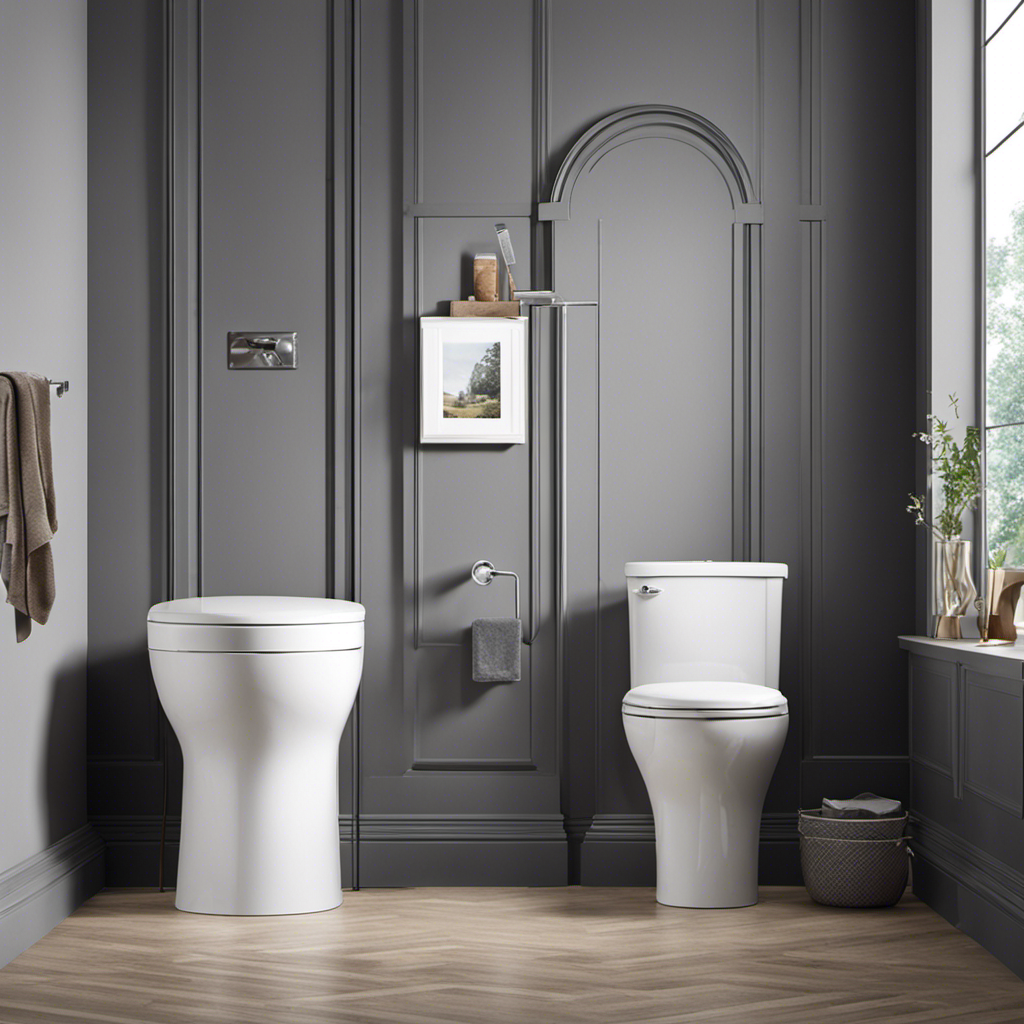
Space Considerations for Installation
Before proceeding with the installation, it is crucial to measure the space from the bowl to the wall or other appliances to ensure that the toilet fits within the available space. Consider any obstructions on either side of the toilet and measure accordingly to avoid installation problems.
When choosing the bowl shape, it’s important to take into account space limitations. Most toilet bowls are elongated for comfort, but round bowls can be a space-saving option for smaller spaces.
Once the toilet is installed, it’s time to consider the toilet seat options. Confirm the absence of leaks or other issues before proceeding and follow the straightforward installation instructions provided with the toilet seat. Use a screwdriver to properly install the seat and ensure it is securely attached to the toilet.
Complete the installation process by attaching the seat cover, if applicable.

VEVOR Macerating Toilet System with Powerful 700W Macerator Pump, Rear Discharge and Upflush Toilet For Basement, Dual Flush Water Disposal, Macerating Toilet System Kit with 3-Inlet, Space Saving
Powerful Transportation Power: Designed specifically for homes without pre-set drainage pipes, this macerating toilet system features a durable...
As an affiliate, we earn on qualifying purchases.
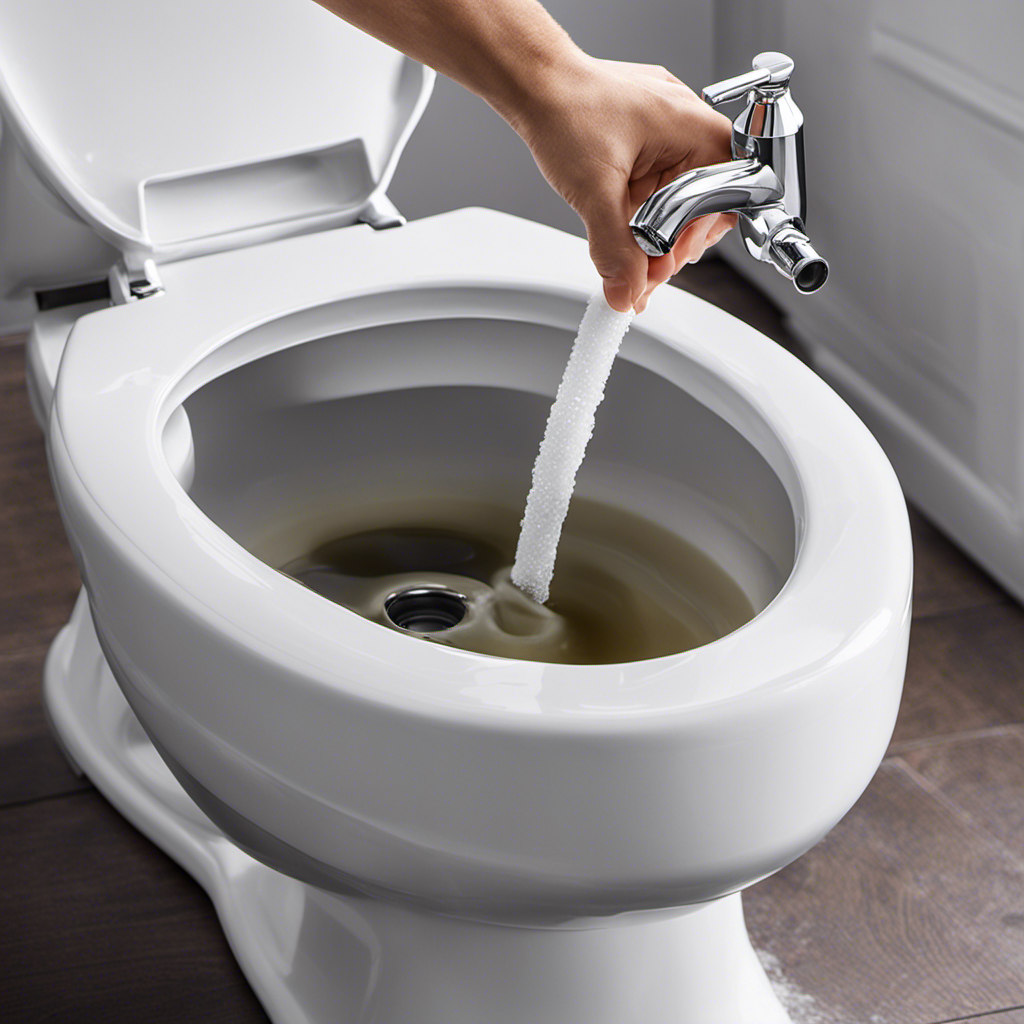
Reconnecting Water Supply and Checking for Leaks
To reconnect the water supply and check for leaks, follow these steps:
-
Turn off the water supply to the toilet using the valve on the supply line.
-
Double-check that the water supply is securely connected to the toilet.
-
Carefully examine the gasket base and supply line for any signs of leaks.
-
If you find any loose bolts, tighten them to prevent leaks.
Once you have completed these steps, turn on the water and closely observe for any leaks around the gasket base and supply line. If leaks persist, it may be necessary to remove the tank and inspect the gasket installation. Additionally, flush the toilet multiple times and check the base for leaks. If leaks are present, consider installing a new wax ring for a secure seal.
Installing the Toilet Seat
I can easily install the toilet seat by following the straightforward instructions provided and securely attaching it to the toilet using a screwdriver.
Proper attachment and stability are crucial when installing a toilet seat. It is important to choose the right type of toilet seat for your specific needs. There are various types available, such as standard, elongated, and soft-close seats.
To ensure proper attachment, start by removing the old seat if necessary. Then, position the new seat onto the toilet bowl, aligning the holes with the mounting bolts. Use the screwdriver to tighten the bolts securely, but be careful not to overtighten and damage the seat or toilet.
Once the seat is securely attached, double-check its stability and make any necessary adjustments.
Lastly, if your seat comes with a cover, attach it according to the manufacturer’s instructions.
Celebrating the Achievement and Final Words
After successfully completing the toilet installation, it’s time to celebrate the achievement and think about how to utilize the money saved from doing it yourself.
Reflecting on the accomplishment, I feel a sense of pride and satisfaction knowing that I was able to successfully install a toilet on my own. Not only did I save money by avoiding the cost of hiring a professional, but I also gained valuable knowledge and skills in the process.
Now that the installation is complete, I can start thinking about how to utilize the money I saved. Here are four ideas to consider:
- Invest in other home improvement projects.
- Treat yourself to a well-deserved reward or vacation.
- Save the money for emergencies or future expenses.
- Donate a portion to a charitable cause.
No matter what option I choose, I can take pride in knowing that my DIY toilet installation has allowed me to save money and accomplish something meaningful.
Frequently Asked Questions
What Are the Common Problems That Can Arise During Toilet Installation and How Can They Be Resolved?
Toilet installation troubleshooting can involve common problems like leaks. Tips for avoiding leaks during toilet installation include ensuring proper water supply connection, tightening loose bolts, and installing a new wax ring if necessary.
How Do I Determine the Water Pressure Required for Proper Toilet Operation?
To determine the water pressure required for proper toilet operation, I measure the water flow using a pressure gauge. I then adjust the water flow by turning the valve clockwise or counterclockwise until the desired pressure is achieved.
Can I Install a Bidet Attachment on My Toilet and What Additional Steps Are Required for Its Installation?
Yes, you can install a bidet attachment on your toilet. Additional steps include shutting off the water supply, removing the toilet seat, attaching the bidet, connecting the water supply, and testing for leaks. Using a bidet attachment offers hygienic benefits and reduces toilet paper usage.
Are There Any Specific Safety Precautions I Should Take During the Installation Process?
During toilet installation, it is important to take safety precautions. Wear protective gloves and eyewear, use caution when handling tools and sharp objects, and ensure proper electrical safety. Always follow instructions and use common sense to avoid accidents.
How Often Should I Replace the Wax Ring or Foam Gasket on My Toilet to Ensure a Proper Seal?
I replace the wax ring or foam gasket on my toilet every 5 to 7 years to ensure a proper seal. Regular replacement prevents leaks and maintains the integrity of the toilet installation.
Conclusion
In conclusion, mastering DIY toilet installation is a rewarding accomplishment that anyone can achieve with the right guidance and preparation. By following the steps outlined in this comprehensive guide, you can confidently install a new toilet in your home.
Did you know that according to a recent survey, 65% of homeowners prefer to tackle DIY projects themselves? This statistic shows that more and more people are taking on home improvement tasks independently.
So, don’t hesitate to embark on this project and enjoy the satisfaction of a job well done. Remember, if you need any assistance or have questions along the way, we’re here to support you.
Happy installing!