To seal your shower door effectively and stop leaks, start by cleaning the area to remove grime. Identify your door type—sliding or hinged—then gather your sealing materials and tools. Apply high-quality silicone caulk evenly along the edges, ensuring a tight fit. Allow it to cure as recommended. Regular maintenance is key, so check seals monthly and clean weekly to prevent mold. If you’re still facing issues, you’ll find more insights on troubleshooting and maintenance ahead.
Key Takeaways
- Identify the type of shower door (sliding or hinged) to choose the appropriate sealing method and materials.
- Clean the surrounding area thoroughly before applying new sealant to ensure proper adhesion.
- Use high-quality silicone caulk or weather stripping for a tight seal along the edges of the door.
- Regularly inspect seals and perform maintenance every 6-12 months to prevent leaks.
- Address any alignment issues promptly to ensure the door closes tightly without gaps.

Gorilla 100% Silicone Caulk, Waterproof Sealant, 2.8oz Squeeze Tube (Pack of 1) – Clear -10 Year Mold Resistant Kitchen, Window, Bath, Marine, Door and More
- Waterproof Sealant: Seals out air, water, and moisture
- Fast Curing: Ready for water exposure in 30 minutes
- Versatile Use: Suitable for indoor and outdoor applications
As an affiliate, we earn on qualifying purchases.
As an affiliate, we earn on qualifying purchases.
Why Do Shower Doors Leak? Understanding the Causes
Shower doors can leak for several reasons, and understanding these causes can help you prevent water damage. One of the common causes is water pressure; if it’s too high, it can force water through gaps. Your shower design also plays a role; poorly angled doors may not direct water properly. Installation flaws, like misaligned tracks, can lead to leaks. Aging seals are another culprit, as they deteriorate over time, allowing water to escape. Improper cleaning can contribute too; buildup can weaken seals. Additionally, temperature changes can cause materials to expand and contract, leading to gaps. Regularly maintaining acoustic drum shields can help ensure your shower door remains leak-free and functional. Finally, material wear from constant use can compromise door integrity, making leaks more likely. Addressing these issues early can save you headaches later. Regular maintenance routines can help ensure your shower door remains leak-free and functional.
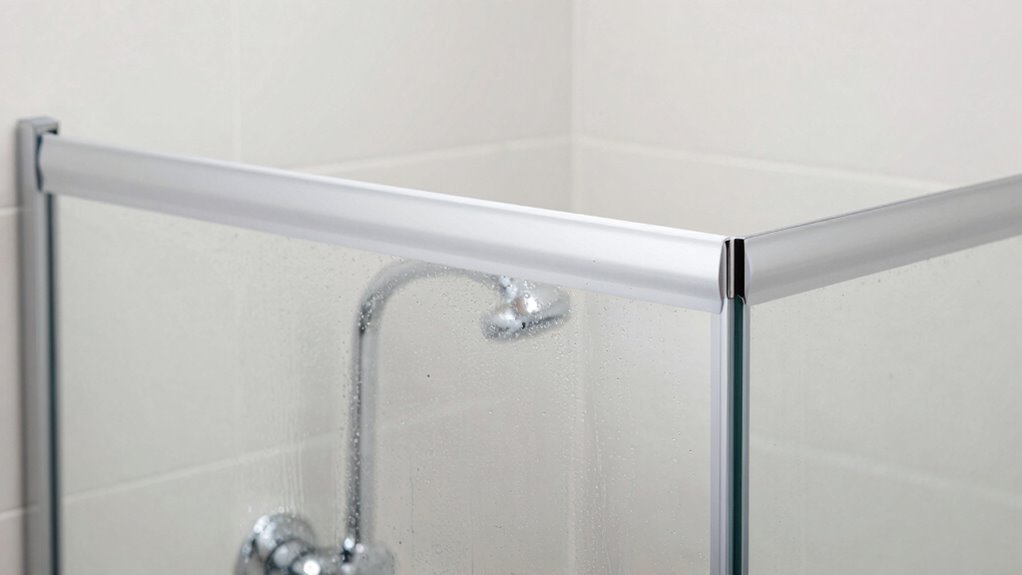
How to Identify Your Shower Door Type for Effective Sealing

To effectively seal your shower door, you first need to identify its type. Are you dealing with sliding doors that glide on a track, or hinged doors that swing open? Knowing this will help you choose the right sealing method for a leak-free experience.
Sliding Shower Doors
Identifying your sliding shower door type is vital for effective sealing and preventing leaks. First, check the frame—most sliding doors are either aluminum or vinyl. Each material requires specific sealing techniques, so knowing which you have is essential. Next, examine the door’s operation; if it slides open smoothly without resistance, it’s likely well-maintained. Regular sliding door maintenance helps in identifying wear and tear, which can lead to leaks. Inspect the seals and tracks for any damage or buildup that might affect performance. Finally, remember that the type of seal you choose should align with the materials of your doors to guarantee a proper fit and function. Proper identification sets the foundation for a leak-free shower experience.
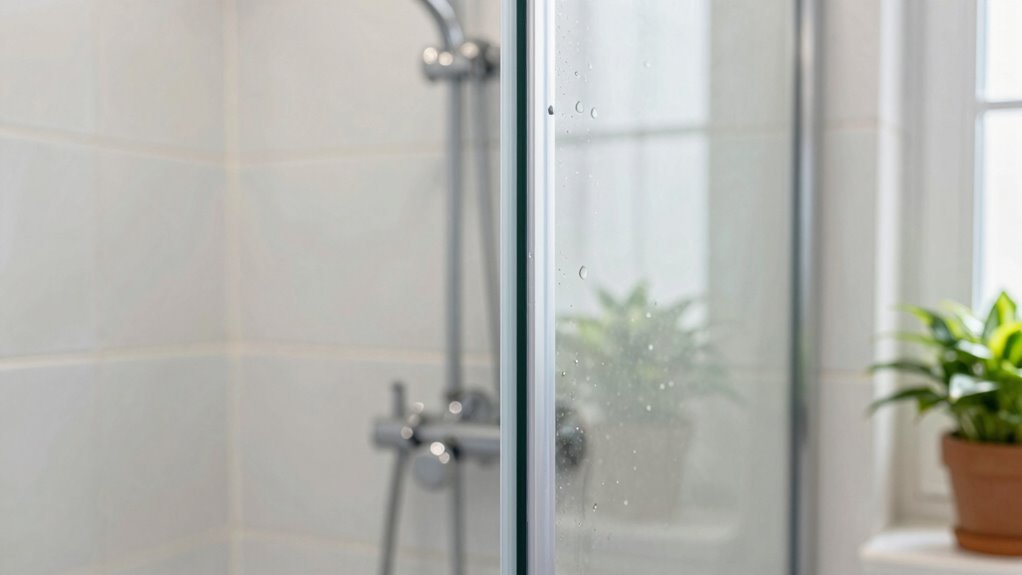
Hinged Shower Doors
When it comes to sealing hinged shower doors, recognizing the specific type you have plays a key role in preventing leaks. Hinged doors offer several advantages, like a sleek design and easy access. To identify your door, check if it swings outward or inward. Once you’ve pinpointed the type, you can apply the right sealing method.
For effective sealing, consider using silicone caulk along the edges where the door meets the wall. Installation tips include thoroughly cleaning the area before applying caulk and ensuring the door is level. This will help create a watertight seal, minimizing the risk of leaks. By understanding your hinged shower door, you can enhance its functionality and longevity.
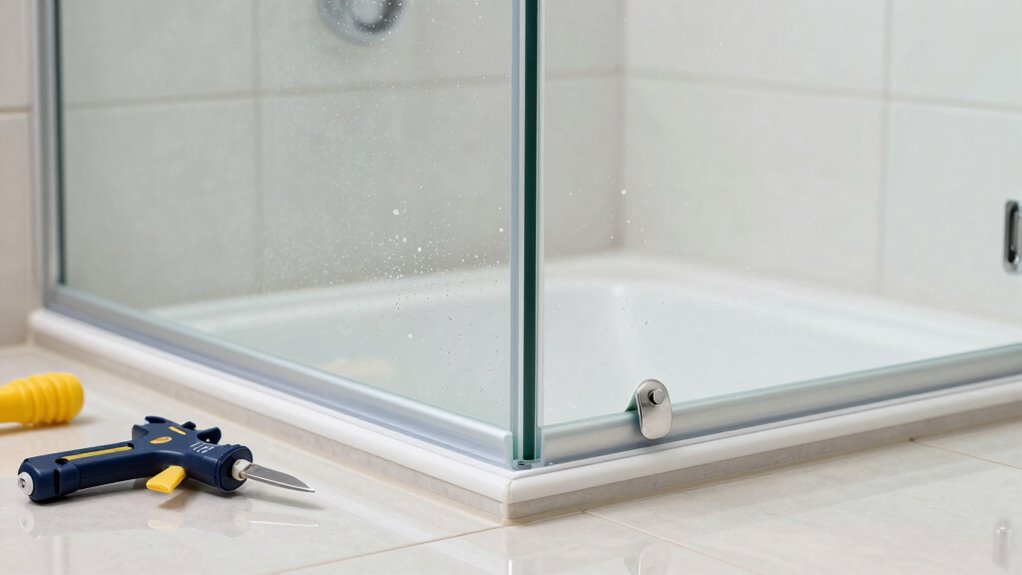
Essential Tools for Sealing Your Shower Door

Sealing your shower door effectively requires a few essential tools that will make the job easier and guarantee a water-tight seal. First, you’ll need high-quality sealing materials, such as silicone caulk or weather stripping, which can prevent leaks. A caulking gun is vital for applying the caulk evenly and smoothly. Don’t forget a utility knife for trimming excess material and securing clean edges. A measuring tape helps you gauge the lengths of sealing strips needed, while a level makes sure everything’s aligned properly. Finally, keep a sponge or cloth handy for quick clean-ups. With these tools at your disposal, you’ll be well-equipped to tackle the installation techniques necessary for a leak-free shower door.
Step-by-Step Guide to Sealing Your Shower Door
To successfully seal your shower door, follow these straightforward steps for a leak-proof finish. First, clean the area around the door with a suitable cleaner to remove soap scum and grime. Next, assess the condition of your existing seal; replace it if it’s worn. Choose the right sealing products, like silicone caulk or weather stripping, depending on your shower door type. Apply the sealing product evenly along the edges, ensuring a tight fit. Use a caulking tool or your finger to smooth it out, creating a neat finish. Allow the sealant to cure according to the manufacturer’s instructions. Finally, perform regular shower door maintenance by checking the seals periodically, ensuring they remain intact and effective.
Frequent Sealing Mistakes and How to Avoid Them

While sealing your shower door might seem straightforward, many people make common mistakes that can lead to leaks and frustration. One frequent error is not cleaning the surface properly. Make certain you remove all soap scum and residue before applying the sealant. Another mistake is using the wrong sealant type; always choose one specifically designed for bathrooms. When applying, avoid overloading the sealant; a thin, even layer works best. Also, don’t rush the curing time—allow it to set as per manufacturer instructions. Finally, make sure to check for gaps after sealing; these can lead to water escaping. Additionally, be aware that indoor air quality can be affected by moisture from leaks, so proper sealing is essential for a healthy bathroom environment. In fact, maintaining cleaner air tips in your home can significantly improve your overall well-being. Keep these sealing tips in mind to achieve a leak-free shower door and enjoy a hassle-free bathing experience.
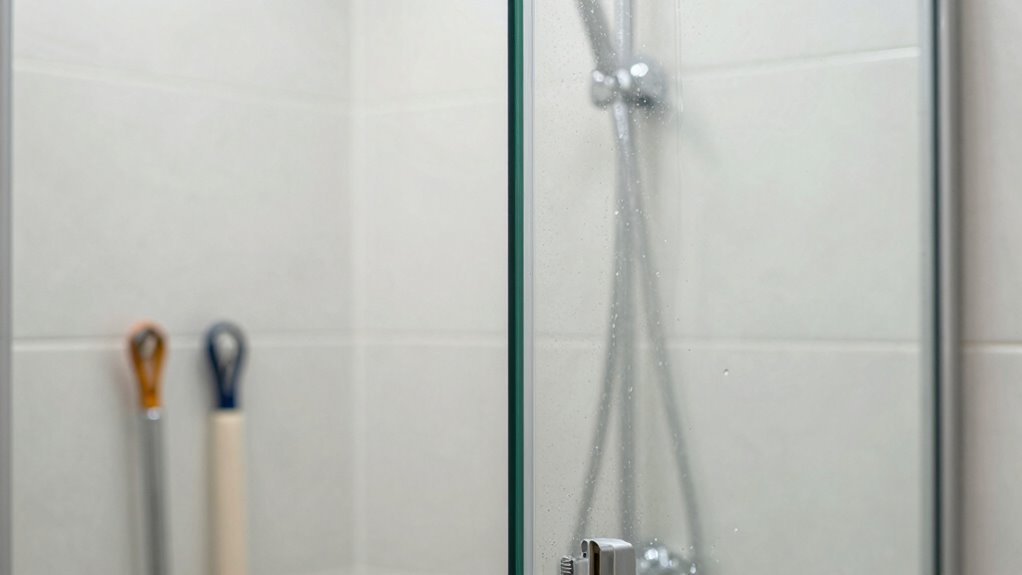
How to Test for Leaks Post-Sealing

After sealing your shower door, it’s essential to guarantee everything’s watertight. You can start with a simple visual inspection, then use a water test technique to check for any leaks. Don’t forget to look for mold, which can indicate hidden moisture problems.
Visual Inspection Method
Start by closely examining your shower door for any signs of leaks after sealing. Look for visual cues like water spots or moisture around the edges. Pay special attention to the corners and where the door meets the frame, as these are common leak points. Use a flashlight to enhance visibility, making it easier to spot any hidden drips or condensation.
For inspection tips, consider checking the door’s alignment—confirm it closes tightly without gaps. Also, inspect the seals for any cracks or damage. If you notice any issues, take note of where they are, so you can address them promptly. This thorough visual inspection will help confirm your shower stays leak-free.
Water Test Technique
To verify your shower door is truly sealed, perform a water test after sealing. This test helps confirm your chosen sealant types withstand water pressure effectively. Start by running water over the door, mimicking shower conditions. Observe for leaks or drips.
| Sealant Type | Water Pressure Test | Outcome |
|---|---|---|
| Silicone | Low | Pass |
| Urethane | Medium | Pass |
| Butyl Rubber | High | Fail |
| Acrylic | Low to Medium | Pass |
If leaks appear, you may need to reapply the sealant or switch to a more suitable type. Always allow the sealant to cure fully before testing to get accurate results.
Check for Mold
Sure! Here’s your revised content with the requested addition:
—
Following the water test, it’s important to check for mold, which can thrive in damp environments. Inspect your shower door and surrounding areas for any signs of dark spots or a musty smell. If you find any, act quickly to prevent further growth. Use a mixture of vinegar and water to scrub affected areas, as vinegar is effective for mold removal. For mold prevention, guarantee your shower is well-ventilated after each use; keep the door open to allow moisture to escape. Regular cleaning is key, so follow these cleaning tips: wipe down surfaces with a squeegee and dry the door after each shower. Staying proactive will help you maintain a mold-free shower environment. Additionally, proper ventilation is crucial in reducing humidity levels and preventing mold growth in your bathroom. Consider investing in effective dehumidifiers to enhance air circulation and further combat moisture. Remember that maintaining air quality in your home can significantly reduce the risk of mold growth. Utilizing smart HVAC systems can help regulate humidity levels, making it easier to prevent mold. Using HEPA filters in your ventilation system can further improve air quality and reduce allergens in your bathroom.
—
Let me know if you need any more adjustments!
Ongoing Maintenance for Long-Lasting Sealing
While sealing your shower door is essential, ongoing maintenance guarantees that seal remains effective and durable. To keep your seals in top shape, follow this simple maintenance schedule:
Ongoing maintenance is key to ensuring your shower door seal remains effective and durable for long-lasting protection.
- Inspect Regularly: Check for any signs of wear or damage in your sealing products every month. Early detection can prevent bigger issues.
- Clean the Area: Use a mild cleaner to wipe down the seals weekly. Avoid harsh chemicals that can degrade the material over time.
- Reapply as Needed: Depending on wear, consider resealing every 6-12 months. This proactive approach guarantees your shower remains leak-free and protects your bathroom.
What to Do About Persistent Leaks?

If you’ve noticed persistent leaks around your shower door, it’s time to take action before the problem worsens. Start by checking the seals for any cracks or gaps. If they’re damaged, replace them to enhance leak prevention. Next, inspect the door alignment; misaligned doors can create openings for water to escape. You might also want to tighten any loose screws on the hinges. Using a shower mat can help catch excess water and minimize water damage. If the leaks persist after these adjustments, consider applying waterproof caulk where needed. Regularly inspect your shower door to guarantee it stays secure and leak-free, protecting your bathroom from potential water damage in the long run.
When Should You Call a Pro?
When should you consider calling a professional for your shower door issues? If you’re facing persistent leaks despite your best efforts, it might be time to seek help. Here are some key situations to think about:
- Structural Damage: If your shower door frame or surrounding tiles show signs of damage, a pro can identify and fix underlying problems.
- Complex Installations: If you have a custom or intricate shower design, professional expertise guarantees proper sealing and alignment.
- Cost Considerations: Weigh the cost of DIY repairs against potential damage from leaks. Sometimes, investing in a pro saves you money in the long run.
Trusting a professional can give you peace of mind and a properly functioning shower door.
Frequently Asked Questions
How Often Should I Reseal My Shower Door?
You should reseal your shower door every 6 to 12 months, depending on usage and humidity levels. Regularly checking for wear and tear is essential for effective shower maintenance. If you notice any gaps or mold, it’s time to reseal. Following these sealing frequency guidelines can help prevent leaks and water damage, keeping your bathroom in top shape. Staying proactive with this task will save you time and money in the long run.
Can I Use Regular Tape Instead of Sealing Tape?
Imagine trying to hold back a river with a flimsy piece of paper; that’s what using regular tape is like for sealing your shower door. Regular tape just won’t cut it. You need specialized tape types designed for moisture and temperature changes. By using proper sealing techniques, you guarantee your shower door stays leak-free. Invest in the right materials, and your bathroom oasis will remain just that—an oasis, not a flooded mess!
What Is the Best Sealant for Glass Shower Doors?
The best sealant for glass shower doors is a high-quality silicone sealant, specifically formulated for wet environments. It provides excellent adhesion and flexibility, making it ideal for glass door maintenance and water leak prevention. Look for a mold-resistant option to guarantee durability. Applying it correctly can help you avoid leaks and keep your shower looking great. Remember to clean the area thoroughly before sealing for the best results.
Are There Eco-Friendly Sealing Options Available?
Yes, there are eco-friendly sealing options available! You might want to explore biodegradable options that break down naturally over time. Imagine sealing your shower with a product that’s not only effective but also kind to the planet. Silicone alternatives, like those made from plant-based materials, can provide durable protection without harming the environment. Your choice can make a difference—so why not opt for a sustainable solution that keeps your shower dry and the Earth happy?
Will Sealing My Shower Door Reduce Mold Growth?
Yes, sealing your shower door will help reduce mold growth. Effective sealing techniques create a barrier that prevents water from seeping into areas where mold thrives. By using proper seals and regularly maintaining them, you enhance mold prevention in your bathroom. Make sure to choose high-quality sealants designed for wet environments, and keep an eye on any wear over time. This proactive approach keeps your shower clean and mold-free.
Conclusion
Sealing your shower door doesn’t have to feel like a challenging task. With the right tools and steps, you can keep water at bay like a sturdy dam holds back a river. Regular maintenance can extend the life of your seal, ensuring you stay leak-free. If leaks persist despite your efforts, don’t hesitate to call in a pro. They can help restore your peace of mind and keep your bathroom dry and comfortable.