
Replacing a toilet fill valve is a necessary task for maintaining a properly functioning bathroom. With slow tank filling, continuous water running, and a weak flush system being common signs of a damaged fill valve, it’s important to know the steps and tools required for a successful replacement.
This article provides a detailed guide on how to replace a fill valve, from emptying the toilet tank to testing and maintaining the new valve. By following these steps, homeowners can ensure efficiency and prevent water waste.
Key Takeaways
- The tools needed for a toilet fill valve replacement include a sponge, bucket, pliers or adjustable wrench, and a new toilet fill valve.
- Signs of a damaged fill valve include a toilet tank not filling or slow to refill, water continuously running out of the toilet, and a weak flush system.
- Fill valves are essential for proper toilet functioning as they control water flow and refill the tank after each flush.
- When replacing a fill valve, it is important to choose a compatible one with the correct dimensions and regularly test, adjust, and maintain the new fill valve to ensure efficiency and avoid water waste.
Amazon Product B0GMY4B6YR
As an affiliate, we earn on qualifying purchases.
Emptying the Toilet Tank
The first step in replacing a toilet fill valve is to empty the toilet tank by closing the water supply line and flushing. This is crucial for preventing water waste and ensuring a smooth replacement process.
By closing the water supply line, the flow of water into the tank is stopped, preventing any potential leaks or spills. Flushing the toilet will remove most of the water from the tank, allowing for easier access to the fill valve.
Regular maintenance is important to ensure the efficient functioning of the toilet and to prevent any potential water waste. By regularly checking and replacing faulty fill valves, one can avoid water leaks and unnecessary water consumption.
This step of emptying the toilet tank sets the stage for a successful fill valve replacement and helps maintain the overall efficiency of the toilet system.

Brondell Bidet Toilet Seat Non-Electric Swash Ecoseat, Fits Elongated Toilets, White - Dual Nozzle System, Ambient Water Temperature - Bidet with Easy Installation
CLEAN AND REFRESHING: With Brondell’s Ecoseat 101 Bidet, you’ll experience a soothing, freshwater wash that leaves you feeling...
As an affiliate, we earn on qualifying purchases.
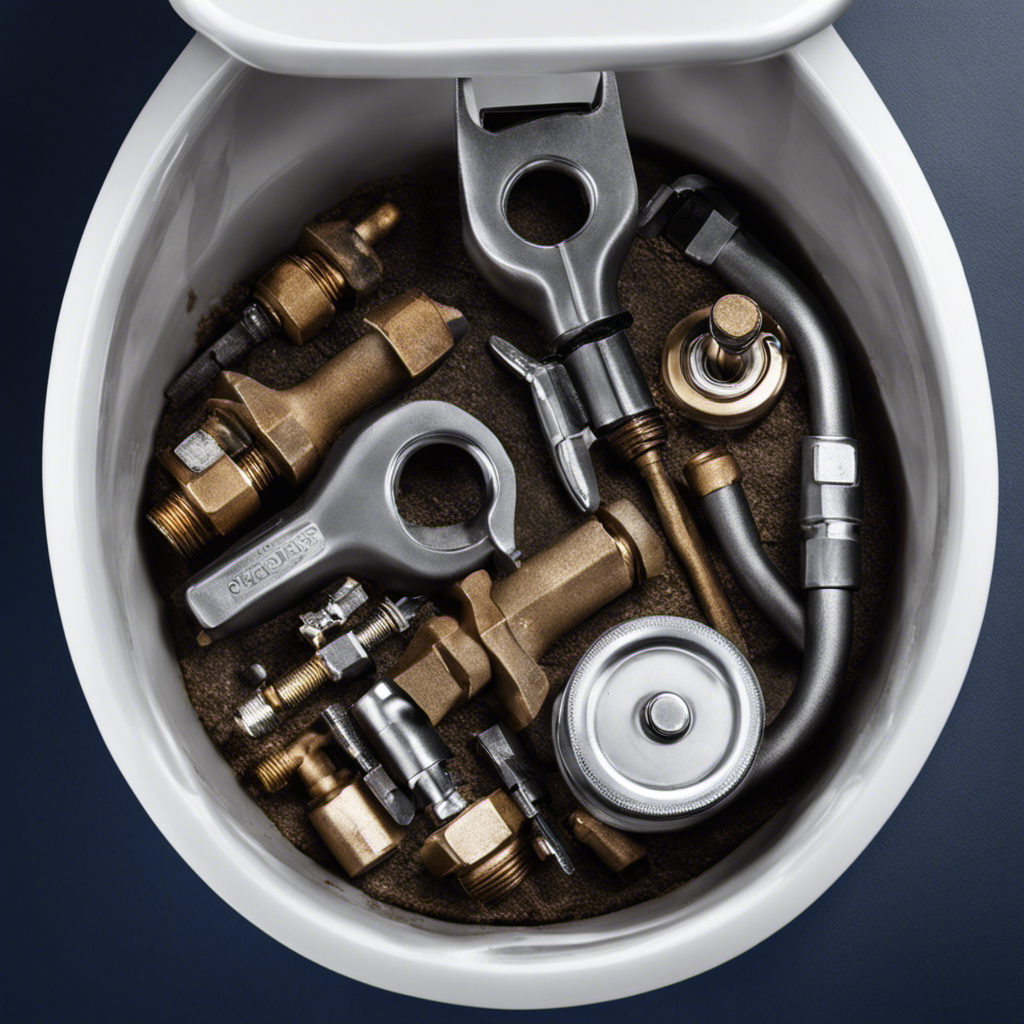
Detaching the Old Fill Valve
To detach the old fill valve, one must unscrew the lock nut and remove the refill tube.
Common issues with fill valves include toilet tank not filling or slow to refill, water continuously running out of the toilet, and a weak flush system.
Troubleshooting tips for these issues involve checking the water supply line, adjusting the fill valve height, and cleaning or replacing the fill valve if necessary.
There are different types of fill valves available, each with its own pros and cons.
The traditional ballcock fill valve is reliable but can be noisy and prone to leaks.
The newer float-cup fill valve is quieter and more efficient, but may require more frequent maintenance.
It is important to choose a fill valve that is compatible with your toilet and to regularly inspect and maintain it for optimal performance.

LUXE Bidet NEO 120 - Single Nozzle, Self-Cleaning, Non-Electric Bidet Attachment for Toilet Seat, Adjustable Water Pressure, Rear Wash (White)
THE ULTIMATE VALUE – With a sleek design and high-quality parts, Our Bidet Attachment will give your bathroom...
As an affiliate, we earn on qualifying purchases.
Installing the New Fill Valve
After emptying the toilet tank and detaching the old fill valve, one can proceed by installing the new fill valve. Here are the steps to follow:
-
Place the new fill valve on the gasket: Make sure it is positioned correctly and aligned with the overflow tube.
-
Check the height: Ensure that the height of the new fill valve is appropriate for your toilet tank. Adjust if necessary.
-
Secure the fill valve: Use a lock nut to secure the fill valve in place. Tighten it with pliers or an adjustable wrench.
Now that the new fill valve is installed, it’s important to troubleshoot common fill valve problems. Here are a few issues to watch out for:
-
Toilet tank not filling or slow to refill: Check for obstructions in the refill tube or a clogged valve.
-
Water continuously running out of the toilet: This may indicate a faulty float or a worn-out valve. Replace if necessary.
-
Weak flush system: Ensure that the fill valve is providing enough water to the tank. Adjust if needed.

BIGCOW Ultra-Slim Bidet Attachment for Toilet - Dual Nozzle (Frontal & Rear Wash) with Adjustable Cold Water Pressure and Stainless Steel Inlet - Hygienic Solution for Fresh Cleanliness, Silver 1 Pcs
【Dual Spraying Modes】- This toilet bidet offers both rear wash for thorough cleaning and a specially designed frontal...
As an affiliate, we earn on qualifying purchases.
Attaching the Refill Tube
Once the new fill valve is securely in place, the user can proceed by attaching the refill tube to complete the installation process.
The refill tube is an essential component that ensures proper water flow and prevents odors from escaping the toilet bowl.
When replacing the refill tube, it is important to check for common issues such as kinks, cracks, or clogs that may impede water flow. These issues can lead to slow or incomplete tank refilling, resulting in a weak flush system or continuous water running from the toilet.
To attach the refill tube, the user should connect one end to the fill valve nozzle and the other end to the overflow tube.
It is crucial to ensure a secure and leak-free connection to maintain optimal toilet performance.
Sealing the Fill Valve
The user can secure the fill valve by tightening the lock nut onto the gasket. This step is crucial to ensure a proper seal and prevent leaks.
To complete the process, the user should also check the valve height.
Here is a detailed guide on how to secure the lock nut and check the valve height:
-
Position the fill valve on the gasket: Place the new fill valve onto the gasket located at the bottom of the toilet tank. Make sure the valve is aligned properly.
-
Tighten the lock nut: Using pliers or an adjustable wrench, tighten the lock nut onto the fill valve. Ensure that it is snug, but be careful not to overtighten, as it can damage the valve or gasket.
-
Check the valve height: Measure the height of the fill valve to ensure it is at the appropriate level. The valve should be positioned so that the overflow tube is slightly higher than the waterline. Adjust the valve if necessary by loosening the lock nut and raising or lowering the valve as needed.
Following these steps will help secure the fill valve and ensure proper functioning of the toilet.
Opening the Water Supply Valve
After sealing the fill valve, the next step in replacing a toilet fill valve is opening the water supply valve. This step is crucial as proper water supply is essential for the functioning of the toilet.
However, there can be common issues with water supply valves that may need troubleshooting.
One common issue is a stuck or faulty water supply valve. If the valve is stuck, it may not open fully, resulting in low water flow or no water at all. To troubleshoot this, try turning the valve clockwise and counterclockwise several times to loosen it. If it is still stuck, it may need to be replaced.
Another issue is a leaking water supply valve. This can occur due to a worn-out or damaged valve. To troubleshoot this, check for any visible cracks or signs of leakage around the valve. If there are any, it is advisable to replace the valve.
Checking for Leaks
To ensure there are no leaks, the user should carefully inspect the area around the newly installed fill valve. Leaks in toilet fill valves can occur due to various reasons.
Here are some common causes and ways to fix them:
-
Loose connections: Check if the fill valve is securely attached to the toilet tank. Tighten any loose nuts or bolts using pliers or an adjustable wrench.
-
Worn-out washers or gaskets: Over time, the washers or gaskets in the fill valve can deteriorate, leading to leaks. Replace these components with new ones to ensure a proper seal.
-
Faulty float mechanism: If the float mechanism is not functioning correctly, it can cause water to continuously flow into the tank, resulting in leaks. Adjust or replace the float mechanism as needed.
When choosing a fill valve for toilet replacements, consider the pros and cons of different types. Some options include traditional ballcock valves, flapperless fill valves, and pressure-assist fill valves. Each type has its advantages and disadvantages, such as ease of installation, water efficiency, and cost. Select the one that best suits your needs and preferences.
Testing, Adjusting, and Maintaining the New Fill Valve
After replacing the fill valve in a toilet, it is important to test, adjust, and maintain the new fill valve to ensure optimal performance.
First, turn on the water supply and carefully check for any leaks around the fill valve and other connections.
Adjusting the water level in the tank is crucial to prevent overflow or inadequate flushing. Follow the manufacturer’s instructions to adjust the water level accordingly.
Next, test the flush multiple times and make necessary adjustments to the fill valve to ensure proper refilling of the tank.
Regular inspections should be conducted to identify any wear, corrosion, or leaks in the fill valve.
Cleaning the fill valve and its surrounding area is essential to remove any debris or mineral deposits that may affect its functionality.
Consider using water-saving fill valves, as they provide the added benefit of conserving water.
If unsure or faced with complex issues, it is recommended to consult a professional plumber for assistance.
Frequently Asked Questions
Can I Use Any Type of Fill Valve for My Toilet?
Yes, any type of fill valve can be used for a toilet as long as it is compatible with the specific dimensions of the toilet. Using a universal fill valve offers benefits such as ease of installation and versatility.
How Often Should I Replace My Fill Valve?
To determine how often to replace a fill valve, one should consider its lifespan and signs of malfunction. Signs of a faulty fill valve include slow tank filling, continuous water running, and a weak flush system.
Can I Reuse the Lock Nut From the Old Fill Valve?
Yes, the user can reuse the lock nut from the old fill valve. However, it is recommended to consider alternative lock nut options, such as purchasing a new one, to ensure a secure and leak-free installation.
Is It Necessary to Use WD-40 Penetrating Oil When Detaching the Old Fill Valve?
Using WD-40 penetrating oil when detaching the old fill valve is not necessary, but it can make the process easier. Alternative lubricants like silicone spray or plumber’s grease can also be used. Pros and cons depend on personal preference and ease of use.
What Should I Do if I Notice a Leak After Installing the New Fill Valve?
If a leak is noticed after installing a new fill valve, troubleshoot by checking the connections for tightness and proper alignment. Ensure all components are securely fastened and sealed. To prevent future leaks, regularly inspect and maintain the fill valve.
Conclusion
In conclusion, replacing a toilet fill valve is a crucial yet simple task that can be likened to breathing new life into your bathroom. By following the step-by-step guide and using the necessary tools, you can ensure a smooth and efficient replacement process.
Just like a skilled surgeon replacing a vital organ, you’ll empty the tank, detach the old valve, install the new one, and seal it securely. With the water supply valve open and a vigilant eye for leaks, your toilet will be reborn, ready to provide reliable flushing for years to come.
Remember to test, adjust, and maintain the new fill valve, treating it as a precious instrument that requires regular care. And if you encounter any complexities or uncertainties, don’t hesitate to call upon the expertise of a professional plumber.
Happy plumbing!