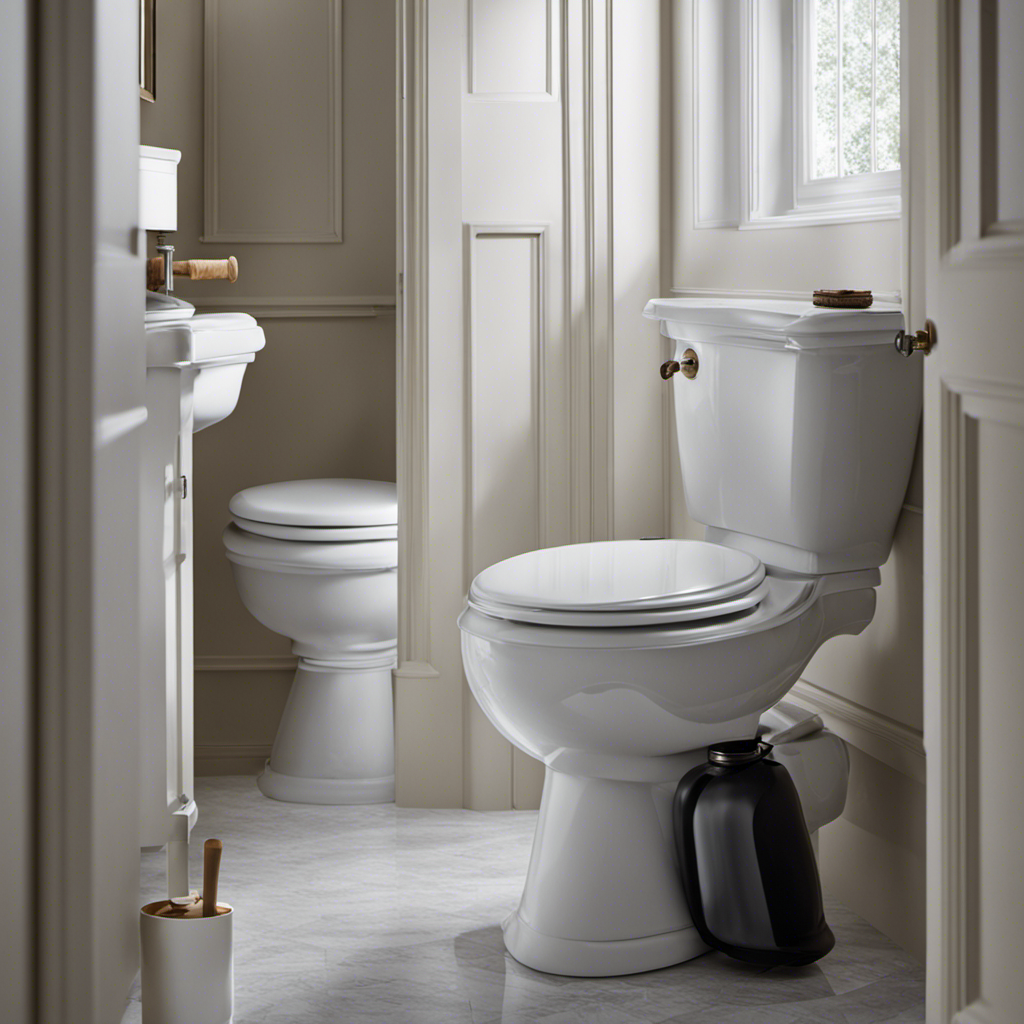
In the depths of the bathroom, a small yet persistent problem lurks: a leaking toilet. But fear not, for salvation is at hand! With these simple steps, one can banish the pesky leak and restore peace to the porcelain throne.
By inspecting and identifying the source of the leak, turning off the water supply, and replacing any worn-out hardware, a secure and leak-free toilet can be achieved.
So don’t let the drip-drip-drip drive you mad, take action and fix it fast!
Key Takeaways
- Causes of a toilet leaking from tank bolts include cracked, misaligned, or damaged fasteners, over-tightened bolts, corrosion of metal washers, and wear and tear of washers and nuts.
- To find the leak source, check if bolts are loose, look for corrosion on bolts, washers, and nuts, inspect for puddles of water near the bottom of the toilet, and examine the space between the bowl and tank.
- To turn off the water and empty the toilet tank, locate the water supply valve, loosen the nut on the valve with an adjustable wrench, turn the valve clockwise to shut off the water supply, flush the toilet, and remove any remaining water from inside the tank.
- To remove the toilet bolts and the tank, use a wrench to remove the nuts connecting the tank to the bowl, use pliers and tap with force if necessary, apply CLR to rusted fasteners if needed, carefully lift and remove the tank, and ensure it is securely removed for further repairs.
Causes of a Toilet Leaking From Tank Bolts
The most common causes of a toilet leaking from tank bolts include cracked, misaligned, or damaged fasteners, over-tightened bolts, and corrosion of metal washers. These issues can lead to water seeping out from the tank and causing puddles on the floor.
To prevent future leaks, it is important to avoid over-tightening the bolts during installation and regularly inspect the condition of the fasteners.
Common mistakes when fixing toilet leaks include not properly tightening the bolts, using the wrong size washers or nuts, and neglecting to check for corrosion. It is crucial to thoroughly inspect the bolts, washers, and nuts for any signs of wear and tear or corrosion, and replace them if necessary.
Inspection to Find the Leak Source
Inspect for loose bolts, corrosion, and puddles of water to determine the source of the leak. Here are some common signs of toilet leaks to help with detection:
-
Loose bolts: Check if the bolts connecting the tank to the bowl are loose. If they’re loose, this could be the cause of the leak.
-
Corrosion: Look for any signs of corrosion on the bolts, washers, and nuts. Corrosion can weaken the fasteners and lead to leaks.
-
Puddles of water: Inspect the area near the bottom of the toilet for any puddles of water. If you find water pooling around the base, it could indicate a leak.
Steps to Turn Off the Water and Empty the Toilet Tank
Using an adjustable wrench, one can locate the water supply valve near the back wall of the toilet. To turn off the water and empty the toilet tank, start by loosening the nut on the valve using the wrench. Turn the valve clockwise to shut off the water supply completely.
Next, flush the toilet to empty the water from the bowl and remove any remaining water from inside the tank.
To remove the old toilet bolts and the tank, use a wrench to remove the nuts connecting the tank to the bowl. If the nuts are tight or corroded, use pliers and tap with force to loosen them. Once the tank is removed, set aside the old fasteners and consider removing the bowl gasket if necessary.
To prevent future leaks, make sure to install new bolts and gasket correctly and double-check the installation of all bolts, nuts, and washers on the tank.
Removal of Toilet Bolts and the Tank
After loosening the nuts connecting the tank to the bowl, one can carefully lift and remove the tank. Proper lifting techniques are crucial to prevent any damage or injury. Here are three steps to ensure a safe and successful removal:
-
Lift with the legs: Bend at the knees and keep the back straight while lifting the tank. This technique reduces strain on the back muscles and prevents potential injuries.
-
Use a partner: If the tank is heavy or difficult to maneuver, it’s advisable to have someone assist you in lifting and removing it. This ensures better control and minimizes the risk of dropping or damaging the tank.
-
Secure the tank: Once the tank is lifted, place it on a stable and flat surface, such as the toilet lid. Make sure it is securely positioned to avoid any accidents or further damage.
Replacement of Fasteners and Bowl Gasket
When replacing fasteners and the bowl gasket, it is important to carefully follow the instructions provided with the new hardware or tank kit. Proper tightening techniques ensure a secure and leak-free connection between the tank and bowl.
Regular maintenance is key to preventing future leaks. Start by setting aside the old fasteners to avoid mixing them up. Consider removing the bowl gasket if necessary. Refer to the instructions provided with the new hardware or tank kit for guidance on the installation process.
Place the new bolts in position and install the gasket if required. Double-check the installation of all bolts, nuts, and washers on the tank to ensure a tight fit.
Proper Installation of New Hardware and Tank
The plumber carefully installs the new hardware and tank, following the instructions provided for proper installation.
Common mistakes during toilet installation:
- Failing to properly tighten bolts: This can cause leaks and instability.
- Over-tightening bolts: This can crack the toilet bowl or damage the gasket.
- Incorrectly positioning the wax ring: This can lead to leaks and unpleasant odors.
Tips for preventing future toilet leaks:
- Use a torque wrench to tighten bolts to the manufacturer’s specifications.
- Replace the wax ring when installing a new toilet or if there are signs of damage.
- Regularly inspect the toilet for cracks, leaks, or loose bolts, and address any issues promptly.
Testing and Checking for Leaks After Repairs
Once the repairs are completed, the homeowner can test and check for any remaining leaks in the toilet. This can be done through pressure testing and using dye to identify leaks.
Pressure testing involves pressurizing the toilet tank and checking for any drops in pressure, which could indicate a leak. The homeowner can use a pressure testing kit or simply fill the tank with water and observe if the water level drops over time.
Additionally, dye can be added to the tank water to easily identify any leaks. By adding dye, such as food coloring, to the tank water, any leaks will be visible as the colored water seeps into the bowl or onto the floor.
The homeowner can then pinpoint the exact source of the leak and take appropriate measures to fix it.
Frequently Asked Questions
How Long Does It Typically Take to Fix a Toilet Leak Caused by Tank Bolts?
Toilet leak repair time can vary depending on the severity of the issue and the person’s experience. Common DIY mistakes include not properly tightening bolts or not identifying all potential leak areas, which can prolong the repair process.
Can I Use Any Type of Wrench to Loosen the Nut on the Water Supply Valve?
Different types of wrenches are available for plumbing tasks. It is important to use the correct wrench for loosening the nut on the water supply valve to avoid damaging the valve or causing leaks.
Are There Any Specific Safety Precautions I Should Take When Removing the Toilet Tank?
When removing a toilet tank, it is important to take safety precautions. Use the proper tools, such as a wrench or pliers, to loosen the water supply valve nut. Ensure the tank is securely removed for further repairs.
What Should I Do if the New Hardware or Tank Kit I Purchased Does Not Come With Instructions?
If the new hardware or tank kit does not come with instructions, there are alternative solutions. One option is to search for online tutorials or videos that provide step-by-step guidance on installation and assembly.
Is It Necessary to Hire a Professional Plumber to Fix a Toilet Leak Caused by Tank Bolts, or Can It Be Done as a DIY Project?
Fixing a toilet leak caused by tank bolts can be done as a DIY project. However, hiring a professional plumber may be necessary for complex issues. DIY pros: cost savings. Cons: lack of expertise.
Conclusion
In conclusion, if you have a toilet leak, it is important to investigate the source of the problem and take immediate action to fix it. By inspecting the tank bolts, washers, and nuts, you can identify the cause of the leak and address it accordingly.
Turning off the water supply and emptying the tank is the first step in the repair process. Removing and replacing the fasteners and bowl gasket is necessary to ensure a secure and leak-free toilet.
By following these simple steps, you can fix your toilet leak and prevent further damage.


