
FAQ - Advanced Bathroom Queries
Push Button Flush Valve Replacement

All of us have felt the annoyance of a malfunctioning flush valve. However, don’t worry, as changing it out is simpler than it appears.
In this guide, we’ll walk you through the step-by-step process of replacing your push button flush valve. With just a few simple tools and some know-how, you’ll have your toilet flushing smoothly again in no time.
So let’s roll up our sleeves and get to work on mastering the art of push button flush valve replacement.
Key Takeaways
- Proper tools and preparation are necessary for push button flush valve replacement.
- Removing the toilet tank lid should be done carefully to prevent damage.
- Disconnecting the water supply line requires shutting off the water and properly disconnecting the nut.
- Installing the new flush valve and reconnecting the water supply line should be done with attention to alignment, secure connections, and checking for leaks.
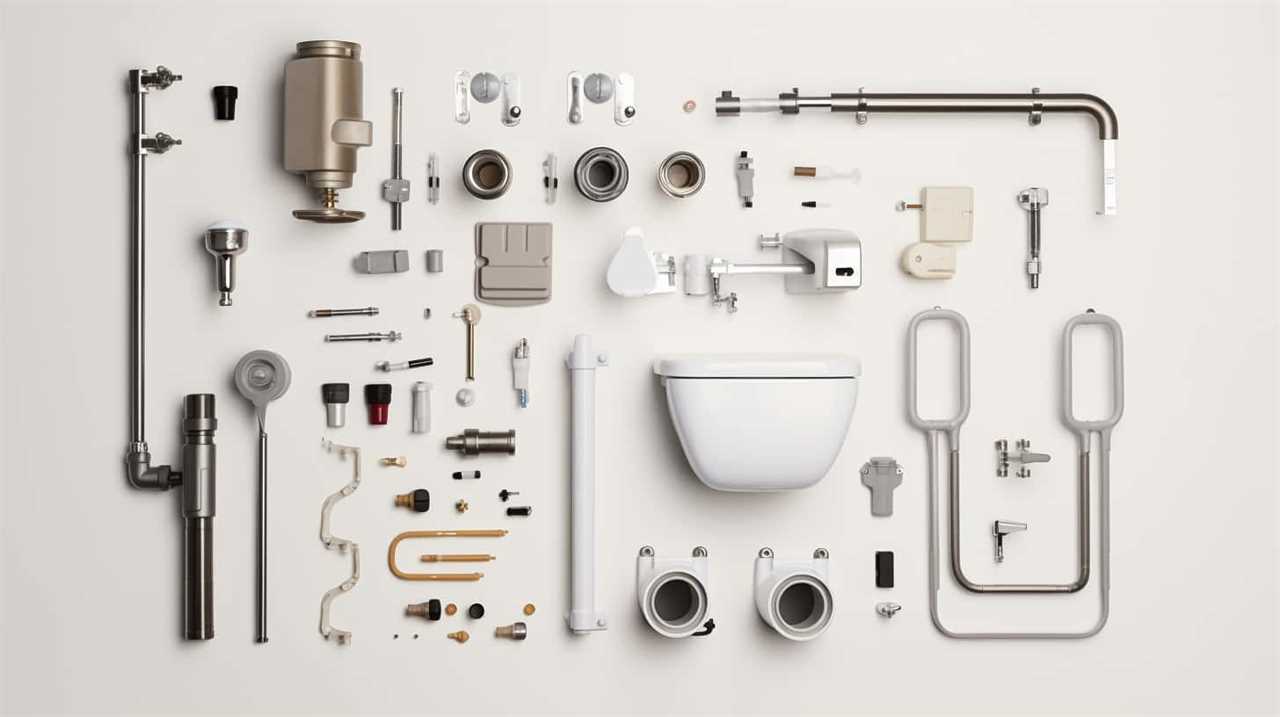
Tools You Will Need
First, we’ll need a few tools to complete the push button flush valve replacement. When it comes to alternative flush valve options, it’s important to have the right tools for the job.

One option is a flush valve removal tool, which helps to loosen and remove the old flush valve. Another tool that may come in handy is a pair of adjustable pliers, which can be used to grip and twist stubborn parts. Additionally, a wrench or socket set may be required to loosen and tighten any nuts or bolts.

Before beginning the replacement process, it’s crucial to properly clean the area around the flush valve. This ensures a secure and leak-free installation. Using a mild detergent and a soft cloth, gently clean away any dirt or debris.
Following these steps and using the proper tools will help to ensure a successful push button flush valve replacement.
Step 1: Shut off the Water Supply
To begin the push button flush valve replacement, we need to first shut off the water supply using a shut-off valve. Proper water shut off is essential for a successful replacement and to ensure the safety of the plumbing system.
Here are three important reasons why proper water shut off and water supply maintenance are crucial:
- Prevent water damage: Shutting off the water supply prevents any accidental leaks or bursts during the replacement process, saving you from costly water damage repairs.
- Protect plumbing fixtures: By shutting off the water supply, you avoid any potential damage to the flush valve or other plumbing fixtures, ensuring their longevity and optimal performance.
- Ensure personal safety: Cutting off the water supply eliminates the risk of accidental exposure to pressurized water, reducing the chances of injury during the replacement.
Step 2: Remove the Toilet Tank Lid
Now let’s remove the toilet tank lid. To begin, locate the lid on the top of the toilet tank. Carefully lift the lid straight up, taking care not to drop or damage it. Place the lid in a safe and stable location nearby, ensuring it won’t get knocked over or damaged while you work on the flush valve replacement.
Removing the toilet tank lid allows for easy access to the inner mechanisms of the flush valve. Before proceeding, it’s important to note that proper lid placement is essential to prevent accidents or damage. When placing the lid down, ensure it’s aligned properly and securely on the tank to avoid any potential hazards.
Furthermore, while the lid is off, take the opportunity to clean it using appropriate lid cleaning techniques. This will help maintain the overall cleanliness and hygiene of your toilet. Use a mild detergent or a mixture of water and vinegar to clean the lid thoroughly, paying attention to any stains or buildup. Once clean, dry the lid completely before reattaching it to the tank.
Step 3: Disconnect the Water Supply Line
To begin, we need to disconnect the water supply line. This step is crucial to ensure a proper disconnection process and avoid water damage. Follow these steps to safely disconnect the water supply line:
- Locate the shut-off valve: Find the shut-off valve near the base of the toilet and turn it clockwise to shut off the water supply. This will prevent any water from flowing when you disconnect the supply line.
- Disconnect the supply line: Use an adjustable wrench to loosen and disconnect the nut connecting the supply line to the bottom of the toilet tank. Be careful not to overtighten or damage the nut.
- Drain any remaining water: With a bucket or towel handy, hold the disconnected supply line over the bucket or place a towel under it to catch any water that may still be in the line.
Step 4: Remove the Old Flush Valve
Now let’s move on to Step 4, where we’ll discuss the points of alternative flush valve options and the proper technique for removing the old flush valve.
When it comes to selecting a new flush valve, there are a variety of options available that can suit different needs and preferences.
Additionally, it’s important to remove the old flush valve correctly to avoid any damage to the toilet or surrounding components.
Alternative Flush Valve Options
We will now proceed to removing the old flush valve, considering alternative options for a replacement.
When it comes to choosing the right flush valve material, there are several options available, each with their own pros and cons. Here’s a breakdown of the different flush valve options:
- Plastic: Plastic flush valves are lightweight and affordable, making them a popular choice. However, they may not be as durable as other materials and can be prone to cracking or leaking over time.
- Brass: Brass flush valves are known for their durability and resistance to corrosion. They provide a reliable and long-lasting option, but they can be more expensive compared to plastic.
- Stainless steel: Stainless steel flush valves offer similar benefits as brass, with excellent durability and corrosion resistance. They’re also more hygienic and easier to clean. However, they can be costly.
Considering these alternative flush valve materials, it’s important to weigh the pros and cons to choose the best option for your specific needs.
Proper Removal Technique
After carefully considering the alternative flush valve options, our next step is to proceed with the proper removal technique for the old flush valve. This step is crucial to ensure a successful replacement process. Many people make common mistakes during this stage, which can lead to complications and further damage. To avoid such issues, it is essential to follow the proper removal technique outlined below:

- Turn off the water supply: Locate the shut-off valve behind the toilet and turn it clockwise to stop the water flow.
- Empty the tank: Flush the toilet and hold down the handle to drain all the water from the tank.
- Disconnect the supply line: Unscrew the nut connecting the supply line to the bottom of the flush valve.
| Step | Procedure |
|---|---|
| 4 | Remove the tank lid |
| 5 | Unscrew the bolts securing the tank to the bowl |
| 6 | Lift the tank off the bowl |
Step 5: Clean the Area Around the Flush Valve Opening
Now we need to focus on cleaning the area around the flush valve opening.
Proper cleaning techniques are essential to ensure the smooth operation of the new flush valve.
It’s important to be thorough in this step, as any residue or debris left behind can lead to future problems with the flush mechanism.
Proper Cleaning Techniques
To ensure a thorough cleaning, it’s important to carefully clean the area around the flush valve opening using a soft cloth and mild cleaning solution. This step is crucial for proper maintenance of your push button flush valve. Neglecting to clean this area can lead to common issues such as buildup of mineral deposits, mold, and unpleasant odors. By following these proper cleaning techniques, you can avoid these problems and maintain optimal performance of your flush valve.
Here are three important reasons why you should clean the area around the flush valve opening:
- Prevents blockages: Regular cleaning prevents the accumulation of debris and sediment that can potentially block the flush valve, causing flushing issues.
- Improves hygiene: Cleaning this area removes bacteria and germs that can thrive in moist environments, ensuring a clean and hygienic toilet.
- Extends lifespan: Regular maintenance and cleaning help to prevent corrosion and damage to the flush valve, extending its lifespan and saving you money in the long run.
Importance of Thoroughness
To maintain optimal performance of our push button flush valve, it’s crucial that we clean the area around the flush valve opening thoroughly. This step is essential for preventing any debris or buildup from interfering with the valve’s functionality and water conservation.
By removing any dirt, sediment, or mineral deposits, we can ensure that the flush valve operates smoothly and efficiently. A clean flush valve also helps to prevent leaks and prolong the lifespan of the valve.
To clean the area around the flush valve opening, use a mild detergent or cleaner and a soft brush or cloth. Gently scrub the area, making sure to remove any residue. Once the area is clean, rinse it thoroughly with water.
By following these maintenance tips and cleaning the flush valve opening thoroughly, we can maintain the performance of our push button flush valve and promote water conservation.
Now, let’s move on to the next step – installing the new flush valve.
Step 6: Install the New Flush Valve
We will begin by carefully positioning the new flush valve into place. This is a critical step in the installing process, and it requires precision to ensure proper functioning of the flush valve.
Here are some troubleshooting tips to consider during the installation:
- Make sure the valve is aligned correctly with the flush pipe. Misalignment can cause leaks and inefficiency in flushing.
- Check that the valve is securely fastened. Loose connections can lead to water leakage.
- Test the flush valve by pushing the button to verify smooth operation. If it feels stiff or doesn’t fully seal, adjustments may be needed.
- Inspect the rubber gasket for any signs of damage or wear. Replace it if necessary to maintain a watertight seal.
Step 7: Reconnect the Water Supply Line
How do we securely reconnect the water supply line in Step 7 of replacing the push button flush valve? Proper installation of the water supply line is crucial for maintaining its functionality and preventing any future issues. To begin, ensure that the water supply valve is turned off completely.
Then, take the flexible supply line and connect it to the threaded connection on the bottom of the new flush valve. Tighten it securely using an adjustable wrench or pliers. It’s essential to check for any leaks after the connection is made. If there are any leaks, tighten the connection further or consider using plumber’s tape to create a better seal.
By following these steps, you can ensure the proper installation and maintenance of the water supply line.
Now that the water supply line is securely reconnected, we can move on to Step 8: turning on the water supply.

Step 8: Turn on the Water Supply
Now that the water supply line is reconnected, it’s time to turn on the water supply and ensure everything is functioning properly.
Two important points to consider during this step are water pressure adjustment and leak detection methods. Adjusting the water pressure ensures optimal performance of the flush valve, while leak detection methods help identify any potential issues that may arise.
Water Pressure Adjustment
To begin adjusting the water pressure during the push button flush valve replacement, turn on the water supply. Once the water supply is on, follow these steps to control the water pressure:
- Check for any leaks or drips: Inspect the pipes and connections for any signs of leakage or dripping. Tighten any loose connections or replace damaged parts to ensure a steady water flow.
- Adjust the pressure regulator: Locate the pressure regulator valve, usually found near the main water supply line. Use a screwdriver to turn the adjustment screw clockwise to increase pressure or counterclockwise to decrease pressure.
- Test the pressure: Turn on the water and observe the flow. If the pressure is still too high or low, make further adjustments until it reaches the desired level.
Leak Detection Methods
We turn on the water supply to begin detecting leaks during the push button flush valve replacement process.
After installing the new flush valve, it’s crucial to check for any leaks to ensure the proper functioning of the toilet.
There are several leak detection techniques that can be employed.
One method is to visually inspect the area around the flush valve for any signs of water leakage. Look for dampness, water stains, or puddles on the floor.
Another technique is to listen for any unusual sounds, such as hissing or dripping, which may indicate a faulty flush valve.
Additionally, you can use a dye test by adding a few drops of food coloring into the toilet tank and observing if the colored water seeps into the bowl without flushing.
These leak detection methods will help identify any issues with the flush valve and allow for prompt repairs.
Step 9: Test the Flush Valve for Leaks
Let’s test the flush valve for leaks. This step is crucial to ensure that the replacement has been successful and that the flush valve is functioning properly. Here are some important points to consider:
- Leak prevention techniques: It’s essential to check for any signs of leaks after replacing the flush valve. This includes inspecting the connections, ensuring they’re tight and secure, and checking for any water seeping through.
- Troubleshooting common flush valve issues: Testing the flush valve for leaks allows you to identify and address any common issues that may arise. This includes problems such as water leakage, weak flush, or incomplete flushing. By testing for leaks, you can troubleshoot these problems and take appropriate measures to resolve them.
- Peace of mind: Testing the flush valve for leaks provides peace of mind, knowing that the replacement has been successful and that you have taken the necessary steps to ensure its proper functioning. It gives you confidence in the reliability and efficiency of your toilet’s flush mechanism.
Step 10: Adjust the Water Level
Now let’s move on to Step 10: Adjust the Water Level.
This step is crucial for ensuring optimal performance of your flush valve.
By adjusting the water level, you can control the flush volume and achieve the proper water height in your toilet tank.
This adjustment is necessary to ensure efficient flushing and prevent any overflow or inadequate flushing.
Optimal Water Level
To achieve the optimal water level, we need to make adjustments using a double preposition.

Start by removing the toilet tank lid and locating the float. The float controls the water level and should be adjusted to ensure proper water usage and implement water conservation techniques.
Here’s how to do it:
- Identify the water level mark on the inside of the tank.
- Turn the adjustment screw on the float clockwise to decrease the water level or counterclockwise to increase it.
- Test the flush by pushing the flush button and observing the water level during and after the flush.
Adjusting Flush Volume
To continue adjusting the flush volume, we can further optimize water usage by fine-tuning the water level.
The water level in the toilet tank determines the amount of water that gets flushed with each use. Adjusting the water level can help troubleshoot common issues such as incomplete flushes or excessive water usage.
To adjust the water level, locate the water level adjustment screw or float adjustment mechanism on the fill valve. Turn the adjustment screw clockwise to lower the water level or counterclockwise to raise it.
Make small adjustments and test the flush volume after each adjustment until the desired flush volume is achieved.
This flush volume adjustment will help ensure efficient water usage and resolve any flushing problems.
Proper Water Height
To adjust the water level, we’ll locate the water level adjustment screw or float adjustment mechanism on the fill valve. This step is crucial in ensuring proper water height for effective flushing.
Here are some key points to consider:
- Proper Water Pressure: Adjusting the water level ensures that the pressure is adequate for a powerful flush. Too low of a water level can result in weak flushing, while too high can cause overflowing or excessive water usage.
- Preventing Common Flush Valve Problems: Maintaining the correct water level helps prevent common issues such as incomplete flushing, clogging, and continuous running water. Adjusting the water height ensures optimal performance and prolongs the life of your flush valve.
- Savings and Efficiency: By setting the water level correctly, you can optimize water usage, save on utility bills, and contribute to water conservation efforts.
Step 11: Replace the Toilet Tank Lid
We can now proceed to replacing the toilet tank lid in step 11 by carefully lifting it and aligning it with the tank.
The toilet tank lid plays a crucial role in maintaining the functionality of the toilet as it helps to keep the water in the tank clean and prevents any unwanted debris from entering.
If you have been troubleshooting flush valve issues, it’s important to replace the toilet tank lid to ensure the proper functioning of the toilet.

To replace the lid, gently lift it up and place it back on top of the tank, making sure it’s properly aligned. Be cautious not to drop or damage the lid during this process.
Once the lid is securely in place, you can proceed to test the flush valve and check for any further issues.
Step 12: Dispose of the Old Flush Valve
After replacing the toilet tank lid, the next step in the flush valve replacement process is disposing of the old flush valve. Proper disposal methods are crucial to minimize the environmental impact. Here are three important points to consider:
- Recycling: Check if your local recycling center accepts old flush valves. Recycling helps reduce waste and conserves resources.
- Hazardous Waste Facilities: If recycling isn’t an option, dispose of the old flush valve at a hazardous waste facility. These facilities handle potentially harmful materials in an environmentally safe manner.
- Manufacturer Take-Back Programs: Some manufacturers have programs that allow you to return old flush valves for proper disposal. This ensures that the valves are handled responsibly.
By following these disposal methods, we can contribute to a cleaner environment and minimize the impact on our surroundings.
Now, let’s move on to the next step and enjoy our new flush valve!
Step 13: Enjoy Your New Flush Valve!
Once the old flush valve has been disposed of properly, let’s now move on to enjoying our new flush valve. To ensure that your new flush valve operates efficiently and remains leak-free, regular flush valve maintenance is essential. By troubleshooting flush valve leaks and addressing any issues promptly, you can extend the lifespan of your flush valve and prevent costly repairs.
To make flush valve maintenance easier, here is a simple table outlining common issues and their possible solutions:
| Problem | Possible Solution |
|---|---|
| Constant leaking | Check the flapper for damage and replace if necessary. Adjust the tank water level to the manufacturer’s recommended level. |
| Weak flush | Clean the flush valve and remove any blockages. Adjust the flapper chain for proper tension. |
| Partial flush | Adjust the float level to increase the amount of water released during each flush. Check for any blockages in the toilet bowl or trapway. |
Frequently Asked Questions
How Long Does It Typically Take to Replace a Push Button Flush Valve?
On average, it takes around 30 minutes to replace a push button flush valve. Some common challenges during replacement include corroded parts and difficulty accessing the valve.

Can I Replace the Flush Valve Without Shutting off the Water Supply?
No, it is not possible to replace the flush valve without shutting off the water supply. This is necessary to prevent water flow and ensure a safe and effective replacement process.
What Type of Flush Valve Should I Purchase as a Replacement?
When considering flush valve compatibility, it’s important to choose a replacement that matches the existing system. Upgrading flush valve technology can offer benefits like improved water efficiency and easier maintenance.
Are There Any Special Cleaning Products I Should Use When Cleaning the Area Around the Flush Valve Opening?
When it comes to maintaining the cleanliness of the flush valve opening, it is important to use appropriate cleaning products. Following best practices will ensure the longevity and efficiency of the flush valve system.
Is It Necessary to Adjust the Water Level After Installing a New Flush Valve?
Adjusting the water level after installing a new flush valve is crucial. It ensures proper flushing and prevents water waste. We recommend checking the water level and making necessary adjustments to maintain optimal performance.
Conclusion
After following these simple steps, you can easily replace your push button flush valve and enjoy a more efficient toilet system.
While some may argue that this process requires technical knowledge, it’s actually quite straightforward and can be accomplished by anyone with basic DIY skills.
By taking the time to replace your flush valve, you can save money on water bills and contribute to a more sustainable environment.
So don’t hesitate, give your toilet a new lease on life today!

With an impeccable eye for detail and a passion for bathroom-related, Ava leads our editorial team gracefully and precisely.
Under her guidance, Best Modern Toilet has flourished as the go-to resource for modern bathroom enthusiasts. In her free time, you might find Ava exploring antique shops and looking for vintage bathroom fixtures to add to her collection.

Yes, you can unleash the power of a force flush on your toilet! Have you ever thought about it before? We’re here to let you know that it is possible!
In this article, we will delve into the mechanics of a toilet flush and explain when a force flush is necessary.
We’ll also provide you with a step-by-step guide and tips for a successful force flush.
So, buckle up and get ready to master the art of force flushing your toilet!
Key Takeaways
- The flush lever lifts the flapper, allowing water to rush into the bowl.
- Troubleshooting weak flushes, inconsistent water levels, or clogs involves checking the water supply, flush valve, and tank components.
- If conventional methods fail to unclog a toilet, calling a professional plumber may be necessary.
- Tools and equipment for force flushing a toilet include a plunger, high-pressure water source, rubber gloves, towels, and a bucket or pail.
Understanding the Mechanics of a Toilet Flush
To understand the mechanics of a toilet flush, we’ll delve into the workings of its water flow and pressure.
The toilet flush mechanism is a complex system that relies on the proper functioning of several components. When the flush lever is pressed, it lifts the flapper, allowing water from the tank to rush into the bowl. This creates a strong force that pushes waste down the drain.
However, if you’re experiencing issues with your toilet flush, troubleshooting the problem can be a bit challenging. Common issues include weak flushes, inconsistent water levels, or clogs.
It’s important to check the water supply, the flush valve, and the tank components for any signs of damage or malfunction. By understanding the inner workings of the toilet flush mechanism, you can effectively troubleshoot and fix any issues that arise.
Identifying When a Force Flush Is Necessary
When identifying the instances in which a force flush is necessary, we must consider the factors that may contribute to a weak or ineffective flush. Signs of a clogged toilet include water that rises to the rim or drains slowly, gurgling sounds, or a foul odor. If these signs persist despite attempts to unclog the toilet using a plunger or other methods, it may be time to call a professional plumber.
A professional plumber has the expertise and tools to effectively diagnose and resolve complex clogs that can’t be cleared through conventional means. Knowing when to call a professional plumber can prevent further damage to your plumbing system and ensure a proper force flush is performed if necessary.
With an understanding of when a force flush is needed, let’s now explore the tools and equipment required for this process.
Tools and Equipment for Force Flushing a Toilet
We will need specific tools and equipment to successfully force flush a toilet. Here are the essential items you’ll need:
- Plunger: A plunger is a basic tool used to create pressure and force water through the drain. Choose a plunger with a flange or extension at the bottom for better seal and suction.
- High-pressure water source: To generate a forceful flush, you’ll need a high-pressure water source. This can be a handheld bidet sprayer, a pressure washer, or even a garden hose with a nozzle attachment.
- Rubber gloves: Protect your hands from any potential mess or bacteria by wearing rubber gloves. This will also provide a better grip on the plunger.
- Towels: Keep towels handy to clean up any spills or splashes that may occur during the force flushing process.
- Bucket or pail: Have a bucket or pail nearby to collect any excess water that may overflow during the force flushing.
Step-by-Step Guide to Force Flushing a Toilet
To successfully force flush a toilet, we will need to follow a step-by-step guide. Below is a table that outlines the process, along with some alternative methods for unclogging toilets.
| Step | Action |
|---|---|
| 1 | Put on protective gloves and eyewear. |
| 2 | Check for common toilet problems like a clogged trap or blocked vent pipe. |
| 3 | If the toilet is not clogged, try a plunger to force water down the drain. |
| 4 | If the plunger doesn’t work, try using a toilet auger to remove the blockage. |
| 5 | If all else fails, use a force flush by pouring a bucket of water into the toilet bowl. |
By following these steps, you can effectively force flush a toilet and resolve common toilet problems. In the next section, we will discuss some tips and precautions for a successful force flush.
Now, let’s move on to the tips and precautions for a successful force flush.
Tips and Precautions for a Successful Force Flush
Now, let’s explore some essential tips and precautions to ensure a successful force flush of the toilet.
Here are some tips to prevent clogs and troubleshoot common issues:
- Use a plunger: A plunger is an effective tool for force flushing a toilet. Ensure a tight seal around the drain and use vigorous up-and-down motions to create suction and dislodge any blockage.
- Apply lubricant: If the plunger doesn’t work, try applying a small amount of lubricant, such as dish soap or petroleum jelly, around the rim of the plunger. This can improve suction and increase the chances of a successful force flush.
- Avoid excessive force: While force flushing is necessary in some cases, it’s important to avoid using excessive force as it can damage the toilet or pipes. Apply firm pressure, but be cautious.
- Check the water level: Before attempting a force flush, ensure that the water level in the toilet bowl isn’t too high. If it is, remove some water using a bucket or cup to prevent overflow.
- Call a professional: If force flushing doesn’t resolve the issue or if you encounter any other problems, it’s best to call a professional plumber. They have the expertise to handle complex toilet issues.
Frequently Asked Questions
How Long Does It Typically Take to Force Flush a Toilet?
Typically, it takes a few minutes to force flush a toilet. Common mistakes when trying to force flush include using excessive force, not checking the water level, or ignoring clogs. To troubleshoot a toilet that won’t force flush, check the water level, inspect for clogs, and ensure the flapper is functioning properly.
Can Force Flushing a Toilet Cause Any Damage to the Plumbing System?
Force flushing a toilet without proper knowledge or tools can potentially cause significant damage to the plumbing system. To prevent this, it’s crucial to understand the risks involved and take necessary precautions to ensure the integrity of the plumbing is maintained.
Is It Possible to Force Flush a Toilet Without Using Any Tools or Equipment?
Yes, you can force flush a toilet without using any tools or equipment. Some natural methods for unclogging toilets include using hot water, vinegar and baking soda, or a plunger. These DIY solutions can help resolve toilet flushing issues.
What Are Some Common Signs That Indicate a Force Flush Might Be Necessary?
Common signs that indicate a force flush might be necessary include water backing up, slow draining, and repeated clogs. To prevent clogs and avoid force flushing, proper maintenance and avoiding flushing non-flushable items are essential.
Are There Any Alternative Methods to Force Flushing a Toilet if the Recommended Tools Are Not Available?
Yes, there are alternative methods to force flush a toilet if the recommended tools are not available. DIY techniques such as pouring hot water or using a plunger can help resolve the issue.
Conclusion
In conclusion, understanding the mechanics of a toilet flush is essential for identifying when a force flush is necessary. By following a step-by-step guide and using the right tools and equipment, you can successfully force flush a toilet.
Remember to exercise caution and follow the tips provided for a smooth and efficient flush. With these techniques, you’ll be able to unclog even the most stubborn toilets with the force of a thousand storms!

With an impeccable eye for detail and a passion for bathroom-related, Ava leads our editorial team gracefully and precisely.
Under her guidance, Best Modern Toilet has flourished as the go-to resource for modern bathroom enthusiasts. In her free time, you might find Ava exploring antique shops and looking for vintage bathroom fixtures to add to her collection.

Curious as to why toilet paper cannot be flushed in Greece? Allow us to provide some insight.
The plumbing infrastructure in Greece, although modern, is not designed to handle the disposal of toilet paper. Flushing it can lead to clogs and damage to the sewage system.
But don’t worry, we’ve got you covered. In this article, we’ll explore the reasons behind this practice, its environmental impact, and the alternatives commonly used in Greece.
Get ready to dive into the fascinating world of Greek toilet paper etiquette!
Key Takeaways
- Modern plumbing infrastructure in Greece is not designed to handle the disposal of toilet paper.
- Flushing toilet paper can lead to clogs and damage to the sewage system.
- Greece relies heavily on septic tanks, which have limited capacity to handle non-biodegradable materials like toilet paper.
- Aging infrastructure, limited capacity, and lack of maintenance contribute to the challenges in maintaining sewage systems in Greece.
Plumbing Infrastructure in Greece
Why is the plumbing infrastructure in Greece unable to handle flushing toilet paper?
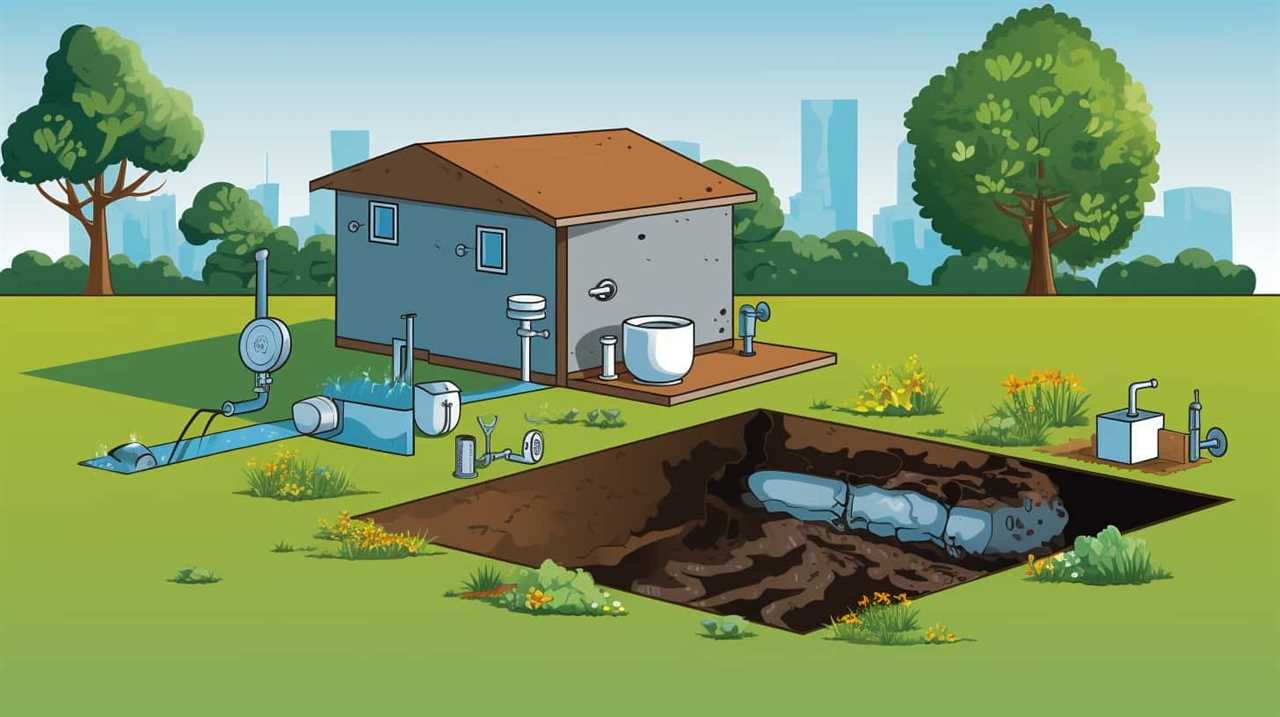
Well, it all comes down to septic tank limitations and plumbing regulations.
Greece has a unique sewage system design that relies heavily on septic tanks. These tanks are designed to handle organic waste, such as human waste and toilet paper. However, they’ve limited capacity and aren’t equipped to handle large amounts of non-biodegradable materials like toilet paper.
To prevent clogging and potential damage to the system, it’s necessary to dispose of toilet paper in a separate bin provided in most restrooms. This may seem inconvenient, especially for those accustomed to simply flushing it down the toilet. However, it’s a necessary precaution to ensure the proper functioning of Greece’s plumbing infrastructure and sewage system design.
Now, let’s delve into the specifics of this unique sewage system design in Greece.
Sewage System Design in Greece
To understand the sewage system design in Greece and its limitations on flushing toilet paper, let’s delve into the unique infrastructure that relies on septic tanks and their capacity to handle non-biodegradable materials.
In Greece, municipal waste management is a significant challenge, and this extends to the sewage systems. Here are some key factors that contribute to the challenges in maintaining sewage systems in Greece:
- Aging infrastructure: Many sewage systems in Greece were built decades ago and haven’t been adequately updated or expanded to keep up with the growing population and increased waste production.
- Limited capacity: The septic tanks used in Greece have limited capacity to handle non-biodegradable materials like toilet paper, leading to frequent blockages and malfunctions.
- Lack of proper maintenance: Due to budget constraints and other priorities, the maintenance of sewage systems is often neglected, exacerbating the problems.
Understanding these challenges is crucial in comprehending the environmental impact of flushing toilet paper in Greece and finding sustainable solutions.
Environmental Impact of Flushing Toilet Paper
As we delve into the environmental impact of flushing toilet paper in Greece, it’s important to consider the consequences of disposing non-biodegradable materials into the aging sewage systems. The improper disposal of toilet paper can have detrimental effects on the environment. Flushing toilet paper contributes to paper waste management issues, as it adds to the volume of waste that needs to be treated and processed. This can put a strain on the already burdened sewage systems in Greece.
Additionally, excessive water usage from flushing toilet paper can conflict with water conservation measures that are in place to address water scarcity issues in the country. Therefore, it’s crucial to explore alternative methods of disposing of toilet paper to mitigate these environmental concerns.
Now, let’s transition into discussing the common alternatives to flushing toilet paper in Greece.
Common Alternatives to Flushing Toilet Paper in Greece
Now that we’ve explored the environmental impact of flushing toilet paper in Greece, let’s delve into the common alternatives we can use to avoid flushing it.
In Greece, bidet usage is a popular alternative to flushing toilet paper. Bidets are bathroom fixtures that spray water to clean oneself after using the toilet. They’re effective in removing waste without the need for toilet paper.
Another alternative is the use of composting toilets. These toilets are designed to convert human waste into compost that can be safely used as fertilizer. They use natural processes to break down waste, eliminating the need for flushing or traditional sewage systems.
Both bidet usage and composting toilets offer sustainable and hygienic alternatives to flushing toilet paper in Greece.
Cultural Norms and Etiquette Around Toilet Paper in Greece
In Greece, our cultural norms and etiquette dictate proper disposal methods for toilet paper. Unlike in many other countries, it isn’t common practice to flush toilet paper down the toilet. Instead, we’ve specific customs for disposing of it. This may seem strange to outsiders, but there are historical reasons behind this tradition.
One of the main reasons for not flushing toilet paper in Greece is the age and condition of our plumbing systems. Many older buildings and houses have outdated pipes that aren’t designed to handle the flushing of toilet paper. Flushing it can lead to blockages and costly repairs.
Another reason is the concern for environmental impact. By not flushing toilet paper, we reduce the amount of waste that goes into the sewage system. This helps to protect our natural resources and minimize pollution.
Conclusion
In conclusion, when it comes to flushing toilet paper in Greece, it’s important to be mindful of the plumbing infrastructure and environmental impact. While it may not be the norm to flush toilet paper in Greece, there are alternative options available.
Understanding the cultural norms and etiquette around toilet paper can help us navigate this aspect of daily life in Greece with ease and respect. So, let’s embrace the unique customs and practices that make Greece truly special.
With an impeccable eye for detail and a passion for bathroom-related, Ava leads our editorial team gracefully and precisely.
Under her guidance, Best Modern Toilet has flourished as the go-to resource for modern bathroom enthusiasts. In her free time, you might find Ava exploring antique shops and looking for vintage bathroom fixtures to add to her collection.

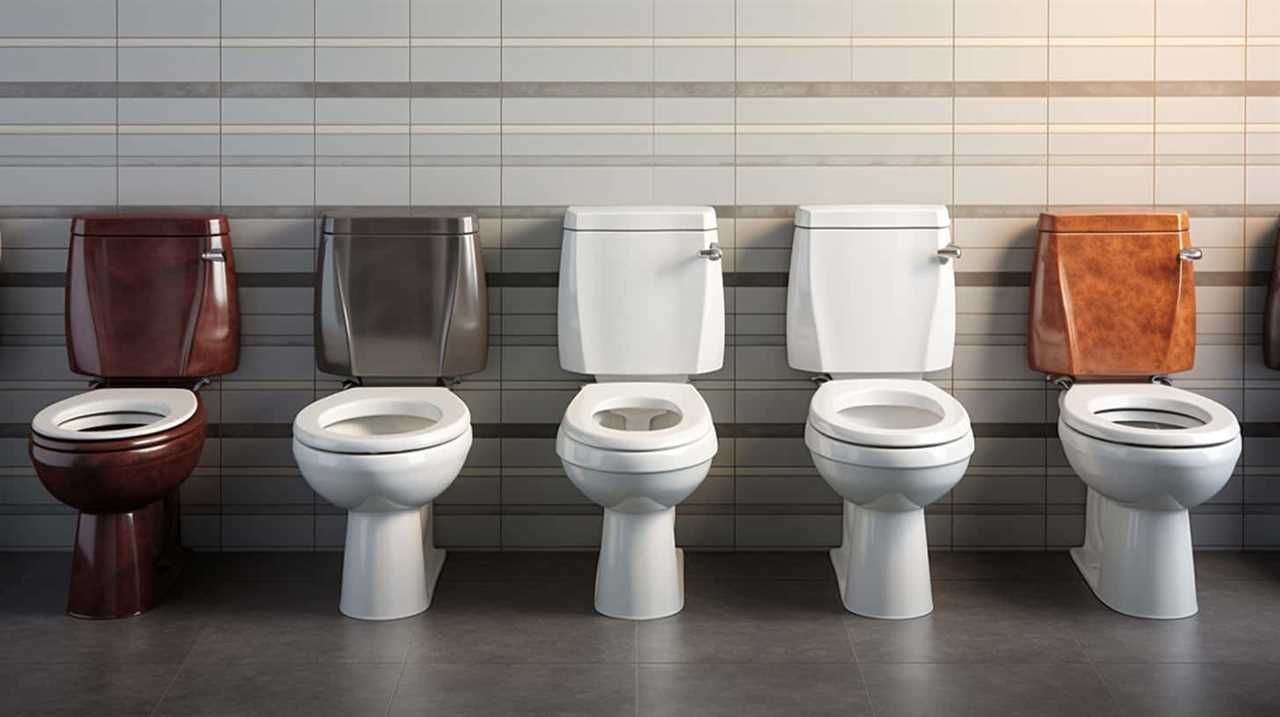
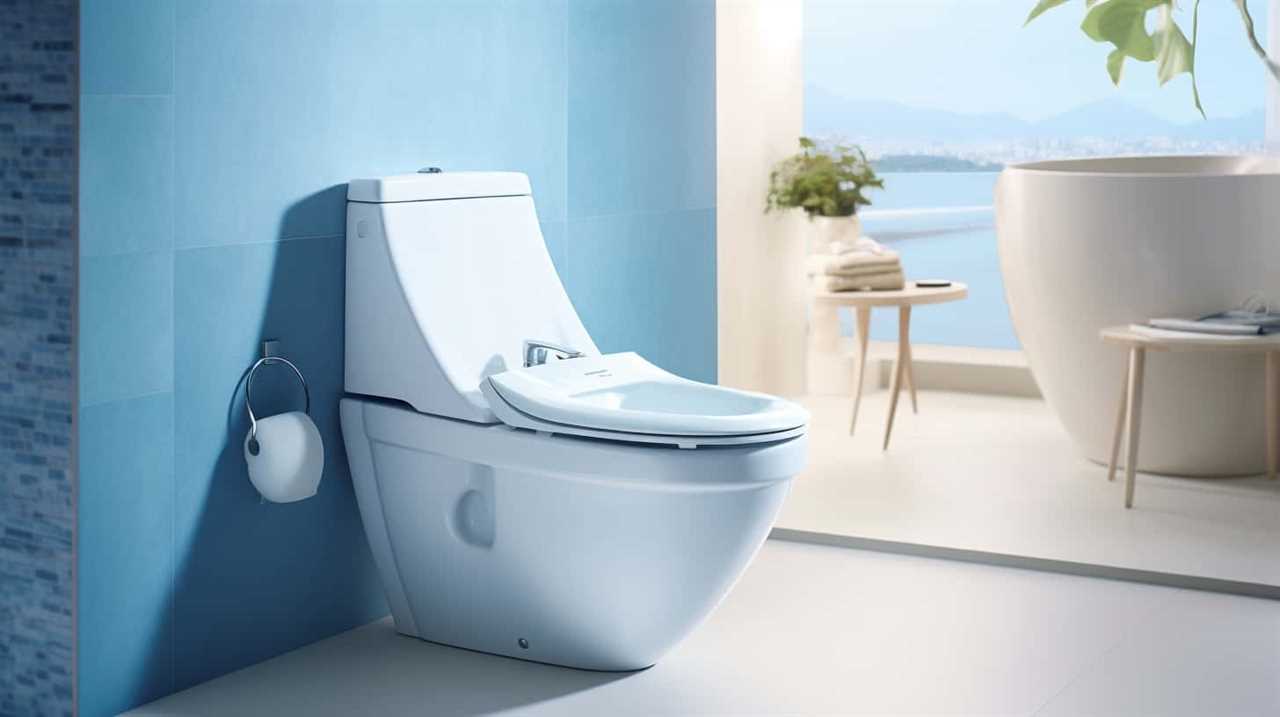
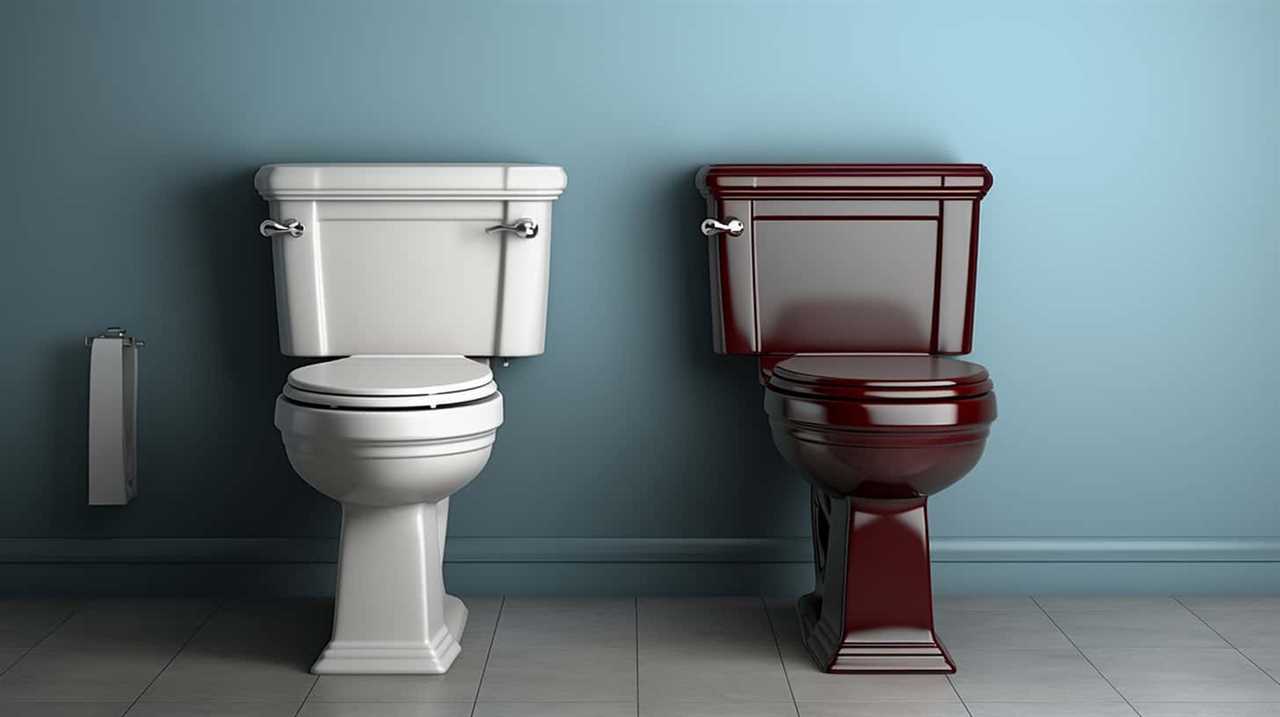
Comparison of water usage: Top flush toilet versus traditional gravity flush toilet
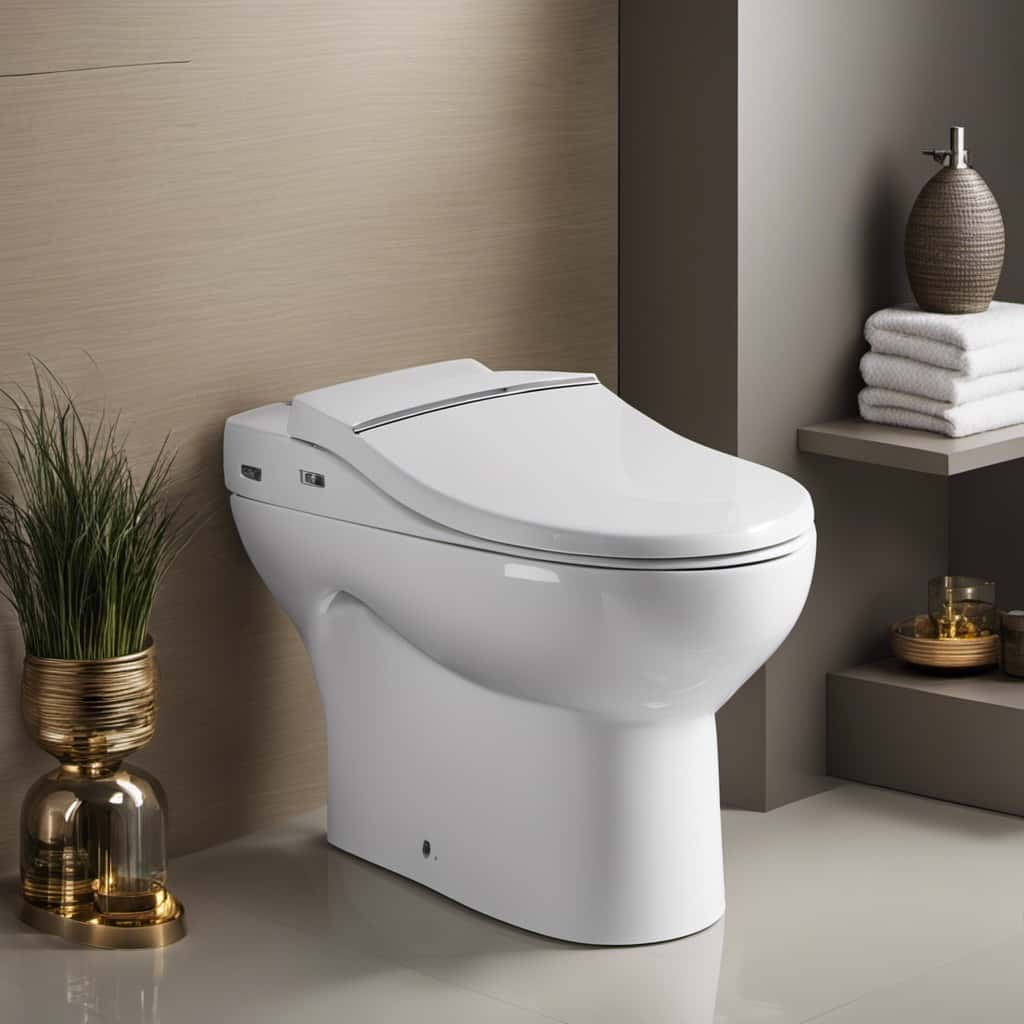
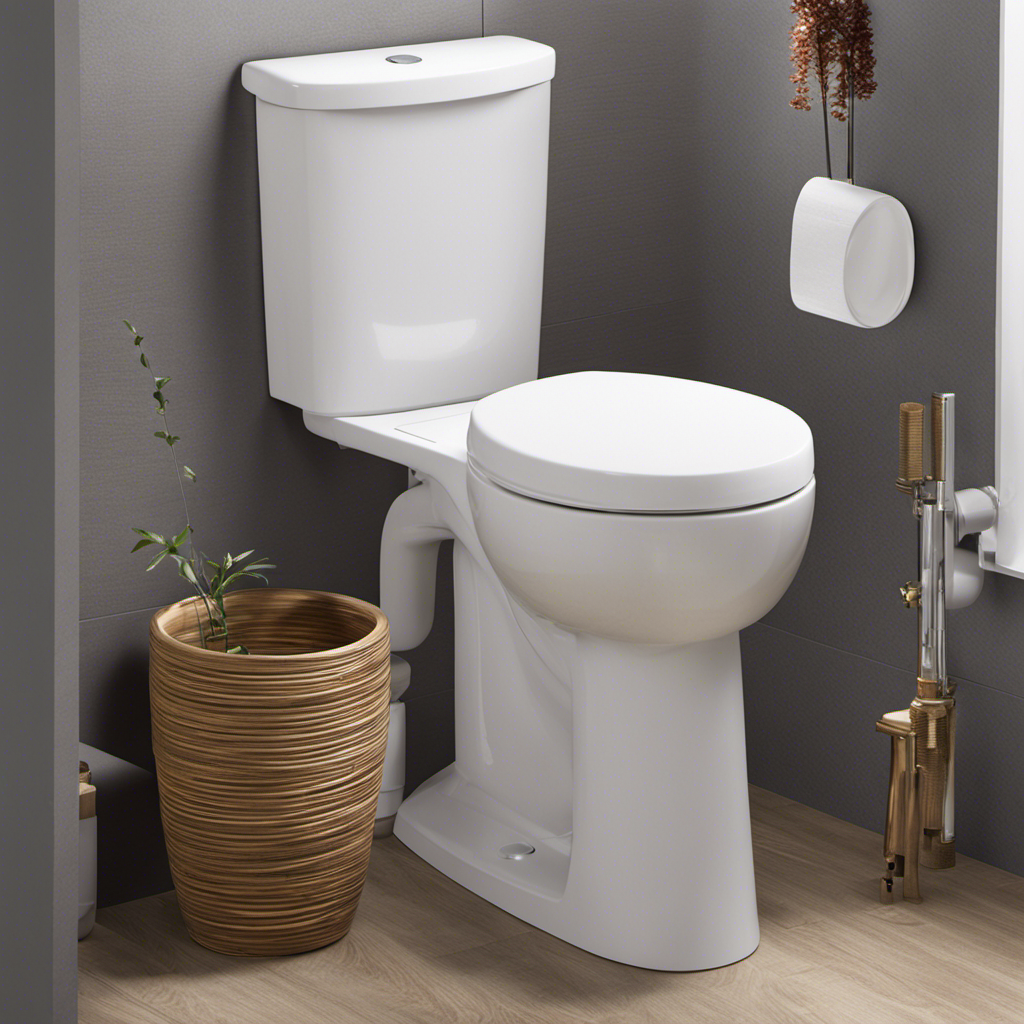
Are you tired of dealing with outdated, inefficient toilets? Look no further than the top flush toilet.
With its innovative design and powerful flushing system, this modern fixture offers a more efficient and hygienic bathroom experience.
In this article, we will explore the benefits of a top flush toilet, discuss important features to consider when choosing one, and provide tips for maintenance and installation.
Let’s dive in and discover the world of top flush toilets together.
Key Takeaways
- Top flush toilets offer efficient water usage, resulting in significant water savings over time.
- They are reliable and durable, with a long lifespan, making them a cost-effective choice in the long run.
- Maintenance and repair are easy, with readily available parts. However, they may require more frequent cleaning due to their design.
- When choosing a top flush toilet, consider features such as water-saving technology, noise reduction features, and a chrome finish with an ergonomic handle and efficient flushing mechanism.
Benefits of a Top Flush Toilet
We love the benefits of a top flush toilet.
Top flush toilets, also known as gravity flush toilets, have several advantages over other types of toilets. One of the main advantages is their efficiency in water usage. These toilets typically use less water per flush compared to older models, resulting in significant water savings over time.
Another advantage is their reliability and durability. Top flush toilets are known for their sturdy construction and long lifespan, making them a cost-effective choice in the long run.
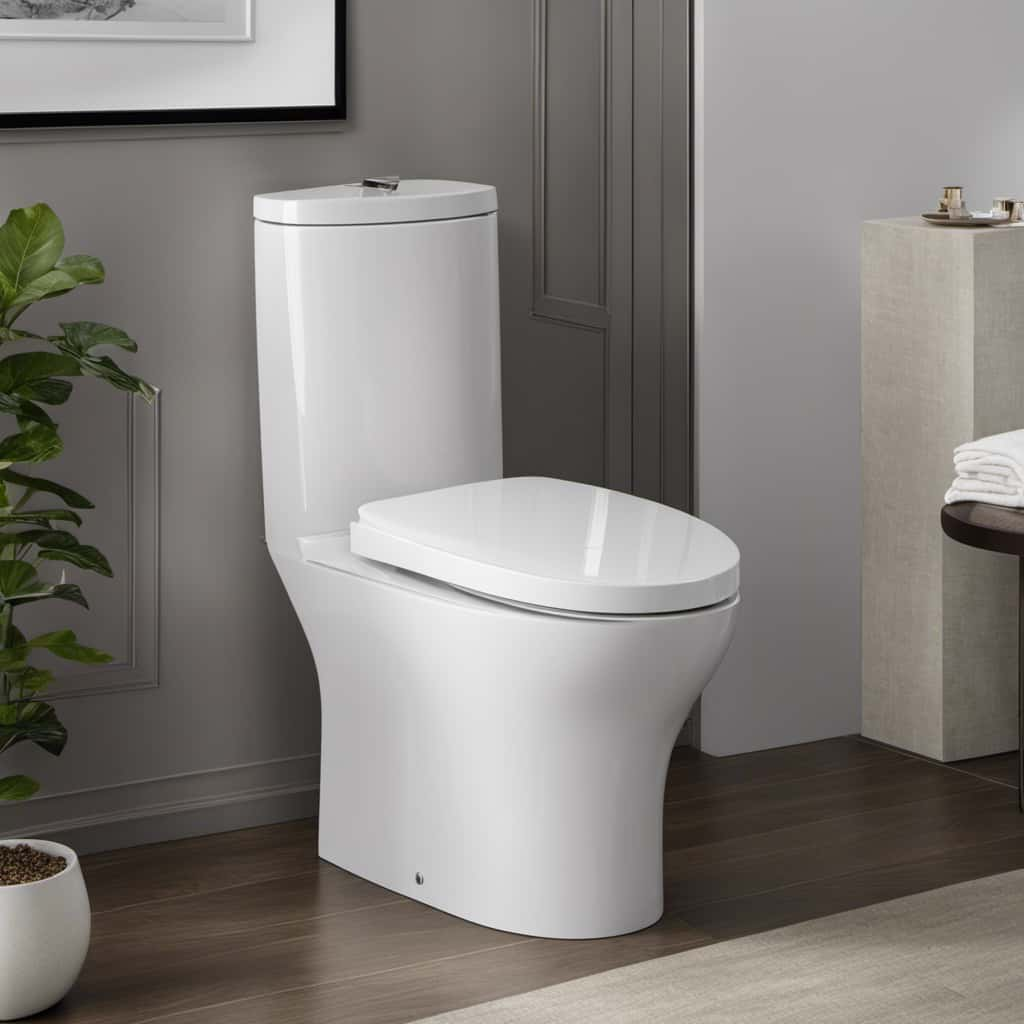
Additionally, these toilets are relatively easy to maintain and repair, with readily available parts. However, one disadvantage of top flush toilets is that they may sometimes require more frequent cleaning due to their design.
Features to Consider When Choosing a Top Flush Toilet
When choosing a top flush toilet, it’s important to consider the key features that will best suit your needs and preferences.
Two important features to consider are water saving technology and noise reduction features.
Water saving technology is designed to minimize water consumption by using less water per flush. This not only helps to conserve water, but also reduces your water bill. Look for toilets that are labeled as water-efficient or have a low water consumption rating.
Noise reduction features are also important, especially if you value a quiet bathroom experience. Look for toilets that have noise reduction technology, such as insulated tanks or soft-closing lids, to minimize noise during flushing.
How to Maintain and Clean Your Top Flush Toilet
To keep our top flush toilet clean and in proper working condition, regular maintenance is essential. Here are some effective cleaning techniques and common toilet maintenance issues to keep in mind:
- Use a toilet brush and cleaning solution to scrub the bowl thoroughly.
- Regularly clean the toilet tank to remove any build-up or sediment.
- Check the flapper valve for any signs of wear or damage and replace if necessary.
- Ensure that the water level in the tank is at the appropriate height.
- Clean the outside of the toilet, including the handle and seat, regularly to prevent the buildup of bacteria.
By following these maintenance practices, you can ensure that your top flush toilet remains clean and functional.
Now, let’s move on to the next section where we’ll discuss installation tips for a top flush toilet.
Installation Tips for a Top Flush Toilet
For optimal installation of a top flush toilet, it’s important to carefully position and secure the toilet onto the floor. Start by ensuring that the flange is properly aligned with the waste pipe and securely fastened. Use a wax ring to create a watertight seal between the toilet and the flange.
When placing the toilet onto the wax ring, make sure it sits evenly and firmly on the floor. Use the provided bolts to secure the toilet to the flange, being careful not to overtighten. Once the toilet is installed, test for any leaks by flushing and checking for water around the base. If you encounter any issues, such as a weak flush or water leakage, refer to the troubleshooting guide provided by the manufacturer.
To ensure a successful installation, avoid common mistakes such as using the wrong size wax ring or overtightening the bolts, which can crack the toilet. Properly aligning the flange and securely fastening the toilet are crucial for a leak-free and stable installation.
Now that we’ve covered the installation process, let’s move on to discussing top flush toilet brands to consider for your home.

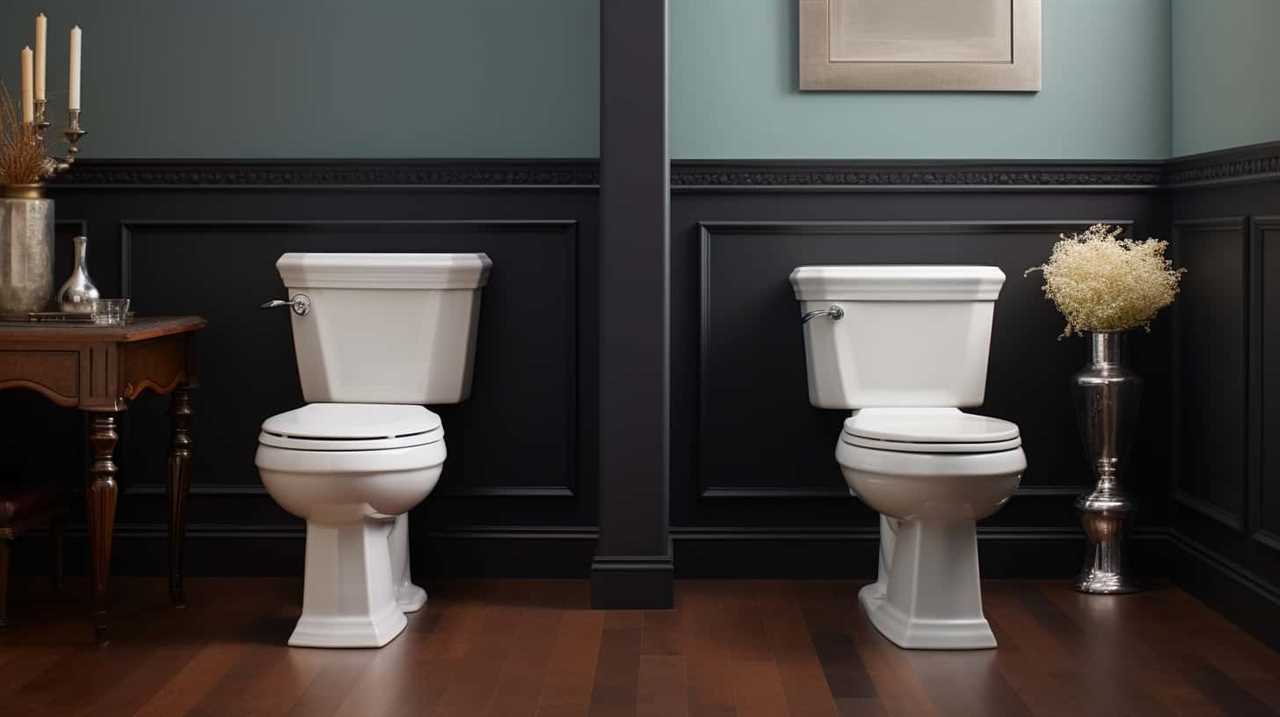
Top Flush Toilet Brands to Consider for Your Home
Now let’s explore some top flush toilet brands that you should consider for your home. When it comes to top flush toilet design, these brands have proven to be reliable and efficient. Here are five options to consider for your bathroom renovation:
- TOTO: Known for their innovative designs and water-saving features, TOTO offers a wide range of top flush toilets that combine style and performance.
- Kohler: With a reputation for quality and durability, Kohler toilets are designed to provide a powerful flush while minimizing water consumption.
- American Standard: This brand offers a variety of top flush toilets that are both efficient and affordable, making them a popular choice among homeowners.
- Gerber: Gerber toilets are known for their exceptional flushing power and reliable performance, making them a great option for those seeking a high-performing toilet.
- Mansfield: Mansfield toilets are known for their sleek design and powerful flush, making them a top choice for homeowners looking for both style and performance.
When comparing the cost of these top flush toilets, it’s important to consider factors such as water efficiency, durability, and overall quality.
Frequently Asked Questions
How Does a Top Flush Toilet Compare to a Standard Gravity-Flush Toilet in Terms of Water Efficiency?
In terms of water efficiency, we compared the top flush toilet to a standard gravity-flush toilet. Our findings indicate that the top flush toilet is more environmentally friendly due to its lower water consumption.
Can a Top Flush Toilet Be Easily Converted to a Dual-Flush System?
Converting a top flush toilet to a dual-flush system is a straightforward process. The benefits of dual flush include water conservation and cost savings. It allows users to choose between a partial flush for liquid waste and a full flush for solid waste.
Are Top Flush Toilets More Expensive to Purchase and Install Compared to Other Types of Toilets?
Top flush toilets may have higher purchase and installation costs compared to other types. Factors such as brand, material, and additional features can influence the price. It’s important to consider your budget and specific needs when choosing a toilet.
What Are the Common Issues or Problems That Can Occur With a Top Flush Toilet, and How Can They Be Resolved?
Common issues with top flush toilets can include clogging, leaking, and weak flushes. To fix them, check for blockages, replace faulty parts, or adjust the water level. Regular maintenance and careful use can prevent these problems.
Are There Any Specific Building Code Requirements or Regulations That Need to Be Followed When Installing a Top Flush Toilet?
When installing a top flush toilet, it is important to follow building code requirements and installation regulations. These ensure safety, proper functioning, and adherence to industry standards.
Conclusion
In conclusion, a top flush toilet offers numerous benefits, such as efficient water usage and a sleek design.
When choosing a top flush toilet, consider features like dual flushing options and easy-to-clean surfaces.
Maintenance and cleaning are crucial to ensure optimal performance and hygiene.
Proper installation is key for a seamless experience.
Explore top flush toilet brands that prioritize quality and durability.

Discover the perfect top flush toilet for your home and elevate your bathroom experience to new heights.
With an impeccable eye for detail and a passion for bathroom-related, Ava leads our editorial team gracefully and precisely.
Under her guidance, Best Modern Toilet has flourished as the go-to resource for modern bathroom enthusiasts. In her free time, you might find Ava exploring antique shops and looking for vintage bathroom fixtures to add to her collection.


When Bath After Giving Birth

Why Is My Toilet Constantly Filling up

Can You Force Flush a Toilet

Why Can’t You Flush Toilet Roll in Greece

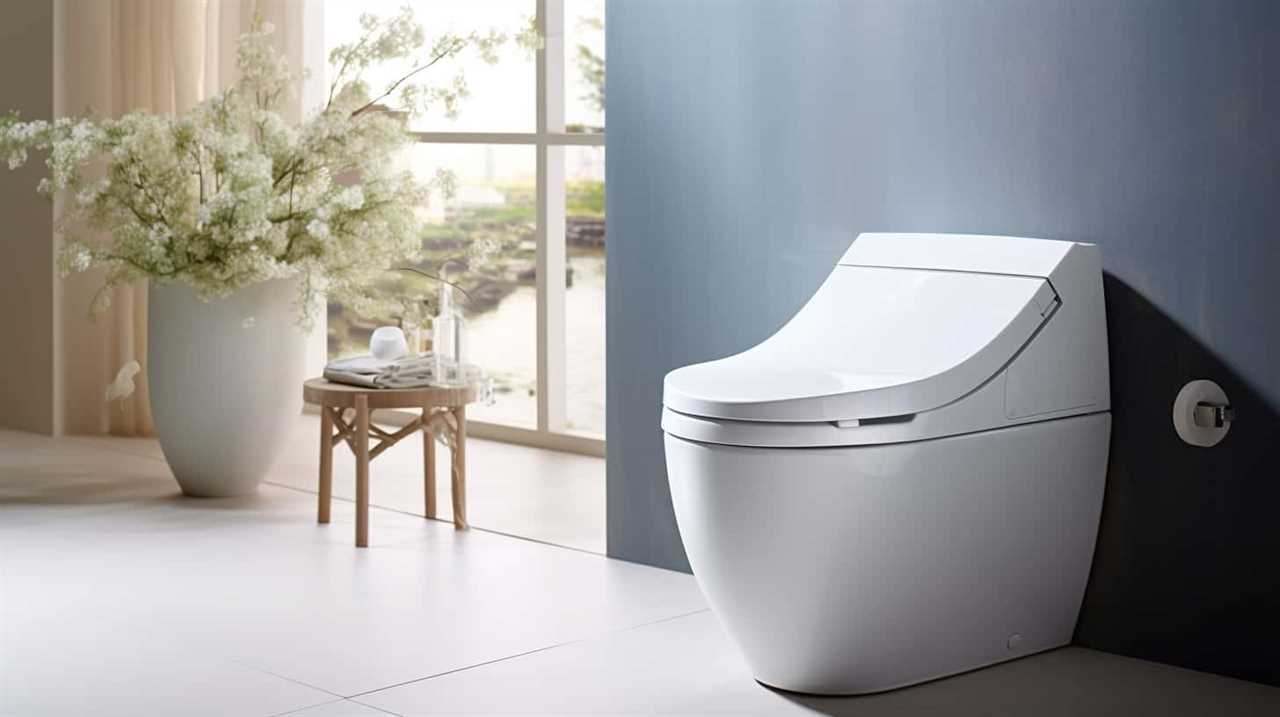
Kohler Innate Smart Toilet Review [2024]

Which Countries Use Bidets the Most
Kohler Innate Smart Toilet Review [2024]

Kohler NUMI 2.0 Smart Toilet Review [2024]

Are Bleach Tablets Bad for Your Toilet

Push Button Flush Valve Replacement

-
 FAQ - Advanced Bathroom Queries3 months ago
What Happens if You Sit on the Toilet Too Long
-
 FAQ - Advanced Bathroom Queries3 months ago
Why Is My Toilet so Loud When Refilling
-
 Guides3 months ago
Troubleshooting Dropping Water Level in Toilet Bowl: Causes and Solutions
-

 Toilet Brands3 months ago
Countries Where You Can’t Flush Toilet Paper
-
 Guides3 months ago
Choosing the Right Toilet Flange: A Comprehensive Guide
-
 Guides3 months ago
Toilet Water Supply Line Sizes: Finding the Right Fit
-
 FAQ - Advanced Bathroom Queries3 months ago
What Happens When You Put Baking Soda in Your Toilet
-
 Guides3 months ago
How to Remove Crystallized Urine From Toilet Bowl