Can we simply replace a toilet flush button? Absolutely!
In this article, we will guide you through the process of replacing a toilet flush button.
We’ll provide you with a step-by-step guide, list the necessary tools, and offer troubleshooting tips.
By the end, you’ll have all the knowledge you need to confidently tackle this task and ensure your toilet is functioning flawlessly.

So, let’s get started on mastering the art of replacing a toilet flush button!
Key Takeaways
- Upgrading to a modern toilet flush button offers improved water efficiency and dual-flush options.
- Replacing a worn-out button can improve the overall appearance of the toilet and prevent common issues such as leaks and improper functioning.
- The tools needed for replacing a toilet flush button include a screwdriver, adjustable wrench, pliers, and a new flush button kit.
- To successfully replace a toilet flush button, it is important to turn off the water supply, carefully remove the old button, clean the area, install the new button properly, and test the flush after turning the water supply back on.

WOFASHPURET Dual Flush Toilet Tank Button – Toilet Tank Button Replacement Water Tank Accessories Dual Flush Toilet Button Toilet Replacement Button Dual Flush Toilet Kit Handle Rectangle ABS
Toilet Press Button: The toilet push tank adopts chrome plating ABS material, which has high brightness and smooth…
As an affiliate, we earn on qualifying purchases.
As an affiliate, we earn on qualifying purchases.
Reasons to Replace a Toilet Flush Button
There are several reasons why we should replace a toilet flush button.
Upgrading to a modern toilet flush button offers numerous benefits. Firstly, modern buttons are designed with improved water efficiency, allowing for a more eco-friendly and cost-effective experience. Additionally, these buttons often come with dual-flush options, offering different water volumes for liquid and solid waste, further reducing water wastage. Another benefit of upgrading is enhanced durability and longevity, ensuring that the button will last for a longer period of time.
However, it’s important to be cautious and avoid common mistakes when replacing a toilet flush button. Some common errors include not properly aligning the button with the flushing mechanism, resulting in improper functioning. It’s also crucial to ensure that the button is securely attached to prevent any leaks.


1.89in/48mm Toilet Tank Button Thread Diameter Toilet Push Button,Adjustable Dual Push Flushing Button Replacement Compatible with Glacier Bay Aquasource TOTO, American Standard,Geberit
High Quality:The 48mm/1.89in toilet button spring is made of high quality 304 stainless steel wire, multi-layer plating process,…
As an affiliate, we earn on qualifying purchases.
As an affiliate, we earn on qualifying purchases.
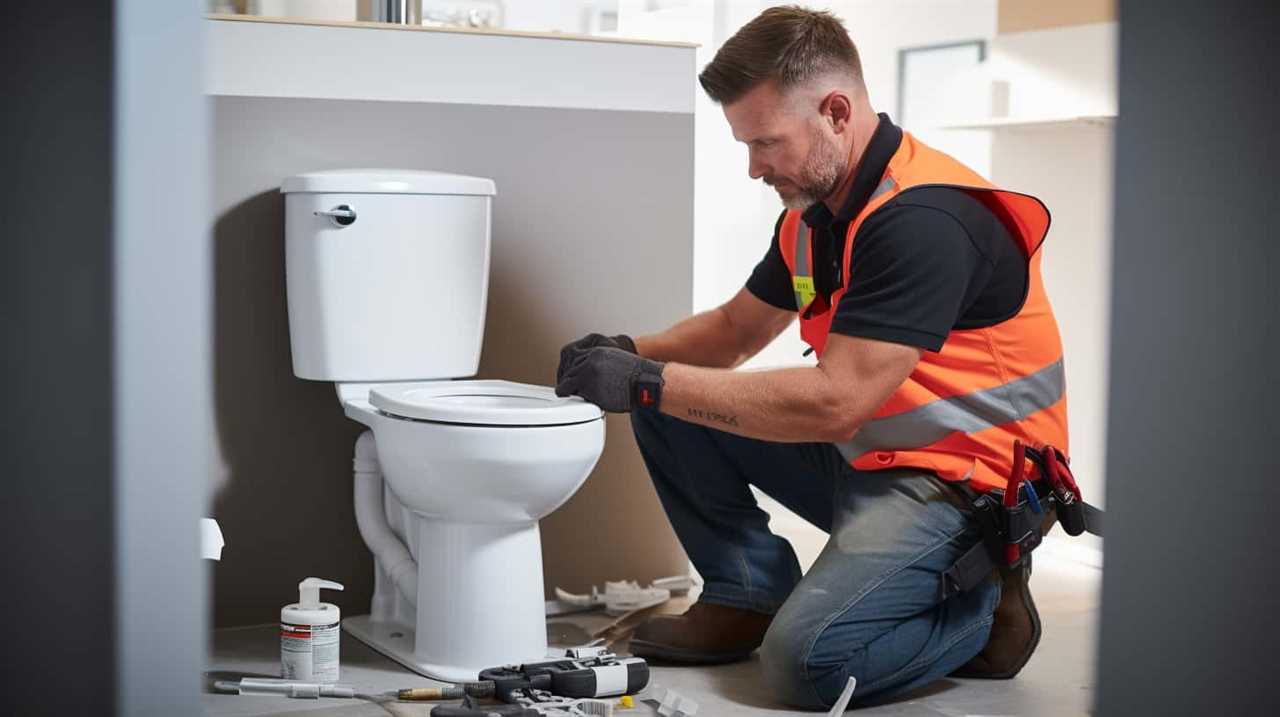
Tools Needed for Replacing a Toilet Flush Button
To replace a toilet flush button, we’ll need a few essential tools. The tools required for this task are a screwdriver, adjustable wrench, pliers, and a new flush button kit. These tools are necessary to ensure a smooth and successful replacement process.
When it comes to common toilet flush button problems, they can range from a loose or broken button to a malfunctioning flush mechanism. By having the right tools on hand, you can easily address these issues and replace the flush button with ease.
Now that we’ve identified the tools required for the job, let’s move on to the next section where we’ll provide a step-by-step guide to replace a toilet flush button.

Quacc 38 mm Thread Diameter Toilet Tank Button Replacement Dual Round Head Flush Push Button for Bathroom Toilet Water Tank Repair
Our toilet flush buttons are easy to install, can replace the broken or old toilet flush button, saving…
As an affiliate, we earn on qualifying purchases.
As an affiliate, we earn on qualifying purchases.
Step-by-Step Guide to Replace a Toilet Flush Button
To begin replacing a toilet flush button, we’ll first need to gather the necessary tools and materials. Here is a step-by-step guide to help you through the process:
- Turn off the water supply: Locate the shut-off valve behind the toilet and turn it clockwise to stop the water flow.
- Remove the tank lid: Lift the lid off the toilet tank and set it aside in a safe place.
- Disconnect the old flush button: Depending on the type of flush button you have, you may need to unscrew or unclip it from the inside of the tank.
- Choose the right replacement: Consider the design, size, and compatibility of the new flush button. Look for one that matches your toilet model and has good reviews.
- Install the new flush button: Follow the manufacturer’s instructions to attach the new button securely to the inside of the tank.
- Turn the water supply back on: Open the shut-off valve to restore the water flow.
By following these steps, you can replace your toilet flush button successfully and avoid common mistakes.
Now, let’s move on to some tips for a successful toilet flush button replacement.

48mm/1.89in Toilet Push Button,Toilet Tank Button Dual Push Flushing Button,Adjustable Toilet Water Tank Button for Glacier Bay Aquasource TOTO,for American Standard,for Kohler,for Twfords,for Geberit
Wide compatibility – Fits most dual flush valves and 48mm dual flush toilets with tank lids,toilet tank button…
As an affiliate, we earn on qualifying purchases.
As an affiliate, we earn on qualifying purchases.
Tips for a Successful Toilet Flush Button Replacement
Now let’s delve into some tips that can help us successfully replace a toilet flush button. When it comes to toilet flush button maintenance, it’s important to address common toilet flush button problems promptly. Here are some tips to ensure a successful replacement:
- Begin by turning off the water supply to the toilet to avoid any potential leaks during the replacement process.
- Carefully remove the old flush button by unscrewing it from the toilet tank. Be cautious not to damage any surrounding components.
- Before installing the new flush button, clean the area around the opening to ensure a secure fit.
- Attach the new flush button by screwing it tightly into place, making sure it’s aligned properly.
- Once the new button is securely attached, turn the water supply back on and test the flush to confirm its functionality.
Additional Troubleshooting for Toilet Flush Button Issues
If you encounter any further issues with your toilet flush button, we can troubleshoot them to find a solution. Troubleshooting common toilet problems can help you identify alternative solutions to a faulty toilet flush button. Here is a table that provides a quick overview of common issues and possible solutions:
| Problem | Possible Solution |
|---|---|
| Flush button stuck | Check for debris or mineral buildup around the button. Clean or replace if necessary. |
| Weak flush | Ensure the water level in the tank is adequate. Adjust the float valve if needed. |
| Inconsistent flushing | Inspect the chain connecting the flush button to the flapper. Adjust or replace if it’s too loose or too tight. |
Frequently Asked Questions
How Long Does It Typically Take to Replace a Toilet Flush Button?
Typically, replacing a toilet flush button takes about 30 minutes. A faulty flush button can affect water usage by causing constant running water. It is important to address this issue promptly to avoid wasting water.
Can I Replace the Toilet Flush Button Myself, or Should I Hire a Professional?
Installing a bidet attachment can be done by oneself, but seeking professional help ensures proper installation and avoids potential issues. Common toilet flush button problems include sticking or not flushing, which can be fixed by cleaning or replacing the button mechanism.
Are There Any Specific Brands or Models of Toilet Flush Buttons That Are Recommended for Replacement?
When it comes to toilet flush button installation, there are a few brands and models that are commonly recommended. It’s important to consider the specific design and compatibility with your toilet. Some common problems with toilet flush buttons include sticking or not properly activating the flush mechanism.
Is It Necessary to Turn off the Water Supply Before Replacing a Toilet Flush Button?
Replacing a toilet flush button without turning off the water supply is not recommended. It’s important to prioritize safety and prevent potential water damage. A basic understanding of plumbing is helpful for this task.
Can a Faulty Toilet Flush Button Cause Other Issues With the Toilet’s Functionality?
A faulty toilet flush button can potentially cause other issues with the toilet’s functionality. Common causes include wear and tear, debris buildup, or loose connections. It is important to address these issues to avoid further complications.
Conclusion
In conclusion, replacing a toilet flush button is a simple task that can be done with a few basic tools and a step-by-step guide. By following the outlined instructions and tips, you can successfully replace the button and ensure proper functioning of your toilet.
Remember, even though this may seem like a small task, it can make a big difference in the overall performance of your toilet. So don’t hesitate to give your toilet a much-needed upgrade.