Did you know that a staggering 85% of toilet installation problems stem from faulty plumbing?
As a licensed plumber with years of experience, I understand the importance of proper toilet plumbing.
In this article, I will guide you through the step-by-step process of installing plumbing for a toilet, ensuring meticulous workmanship and adherence to building codes and safety standards.
Get ready to learn the industry-specific terminology, master complex concepts, and achieve a leak-free, perfectly functioning toilet.
Let’s dive in!
Key Takeaways
- Shutting off the water supply is crucial before starting any plumbing work.
- Attention to detail and adherence to building codes and safety standards are important to prevent water damage.
- Proper installation of the toilet flange and secure attachment to the floor are essential for a watertight connection.
- Choosing the correct pipe size, material, and making proper connections are important when connecting the water supply line.

One N Done Toilet Flange Repair Kit – Toilet Kit For Low or Broken Toilet Flange. Toilet Wax Ring Replacement Kit W/Toilet Flange Extender Kit. No Wax Ring For Toilet Bowl Or Toilet Seal Required (1)
No Guess / Mess | Eliminate leaky wax toilet ring seal with the One n Done toilet seal…
As an affiliate, we earn on qualifying purchases.
As an affiliate, we earn on qualifying purchases.
Necessary Tools and Materials
To install plumbing for a toilet, you’ll need a few necessary tools and materials. As a plumbing contractor, I understand the importance of having the right equipment to ensure a successful installation.
The necessary tools for this project include a pipe cutter, wrenches, pliers, and a tape measure. Additionally, you’ll need materials such as pipes, fittings, connectors, and sealing tape to create a watertight system. It’s crucial to choose high-quality materials to ensure durability and prevent any leaks or malfunctions in the future.
Adhering to building codes and safety standards is paramount, so make sure to check local regulations and guidelines before starting the installation.
Now that we have all the necessary tools and materials, let’s move on to the next step: shutting off the water supply.

Eastman 12 Inch Flexible Toilet Connector, 7/8 Inch Ballcock x 3/8 Inch Compression, Stainless Steel Braided Hose, 48088
UNIVERSAL FLEXIBLE TOILET CONNECTOR: The Eastman Braided Toilet Connector is the standard in bathroom supply lines. This 12…
As an affiliate, we earn on qualifying purchases.
As an affiliate, we earn on qualifying purchases.
Shutting off the Water Supply
When it comes to turning off the water valve and preventing water damage, it is crucial to approach the task with technical expertise and meticulous attention to detail. As a licensed plumber, I prioritize the correct installation of every connection, joint, and component to ensure there are no leaks or other issues.
Additionally, I always adhere to building codes, regulations, and safety standards to guarantee that the plumbing installation meets all legal and safety criteria.
Turning off Water Valve
Make sure you’ve located the water valve before starting the plumbing installation for the toilet. The water valve is an essential component that controls the flow of water into your toilet.
Proper maintenance of the water valve is crucial to ensure its smooth operation and prevent any leaks or malfunctions. As a licensed plumber, I always recommend checking the water valve for any signs of damage or wear before beginning the installation process.
Troubleshooting the water valve involves inspecting the handle, stem, and packing nut for any issues. If you notice any leaks or difficulty in turning off the water supply, it may be necessary to replace the valve.
Remember to follow the specific guidelines and requirements outlined by building codes and regulations to ensure a safe and compliant plumbing installation.
Preventing Water Damage
Ensure you regularly inspect the water valve for any signs of damage or wear to prevent potential water damage in your home. As a plumbing contractor, I understand the importance of implementing waterproofing techniques and moisture barrier installation during the plumbing installation process.
These measures are crucial in safeguarding your home against water leaks and potential damage. When installing plumbing for a toilet, attention to detail is paramount. Every connection, joint, and component must be correctly installed to ensure a watertight seal.
Compliance with regulations is also a top priority, as adherence to building codes and safety standards is essential. By following industry-specific guidelines and requirements, you can be confident that your plumbing installation meets all legal and safety criteria.
Now, let’s transition into the next section about removing the old toilet.

Ridgid – CC247 RIDGID 40617 Model 101 Close Quarters Tubing Cutter, 1/4-inch to 1-1/8-inch Tube Cutter Silver
CLOSE QUARTERS TUBING CUTTER: Specially designed for use in tight spaces and on small diameter metal surfaces, a…
As an affiliate, we earn on qualifying purchases.
As an affiliate, we earn on qualifying purchases.
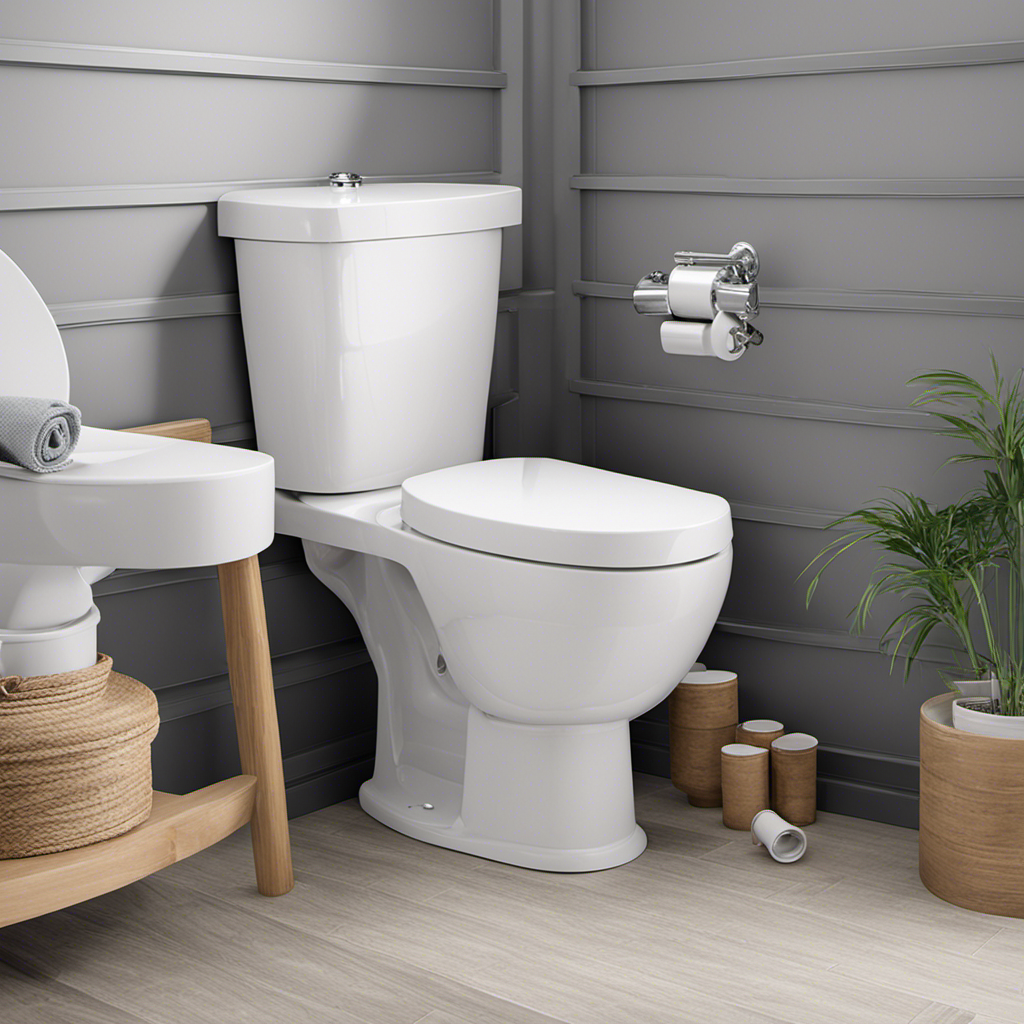
Removing the Old Toilet
First, you’ll need to disconnect the water supply to the old toilet. This is an important step in the toilet replacement process as it ensures that you can safely remove the old toilet without any water leakage.
Here are three toilet installation tips to help you with the process:
-
Locate the shut-off valve: The shut-off valve is typically located behind the toilet on the wall. It controls the water flow to the toilet. Turn it clockwise to shut off the water supply.
-
Drain the tank and bowl: Flush the toilet to remove as much water as possible from the tank and bowl. Use a sponge or towel to soak up any remaining water.
-
Disconnect the water supply line: Use an adjustable wrench to loosen and disconnect the water supply line from the bottom of the tank. Be prepared for a small amount of water to spill out when disconnecting the line.
Remember to follow all local building codes and safety standards when installing plumbing for a toilet. Taking these precautions will help ensure a successful and leak-free toilet installation.

linbenanono 14-in-1 Multi-Functional Plumbing Wrench – Non-Slip Comfort Grip, Universal Tool for Toilet/Sink/Faucet Installation & Repair, Bathroom & Kitchen Essential
14-in-1 Versatile Design – Combines 14 practical functions in one compact wrench, eliminating the need for multiple separate…
As an affiliate, we earn on qualifying purchases.
As an affiliate, we earn on qualifying purchases.
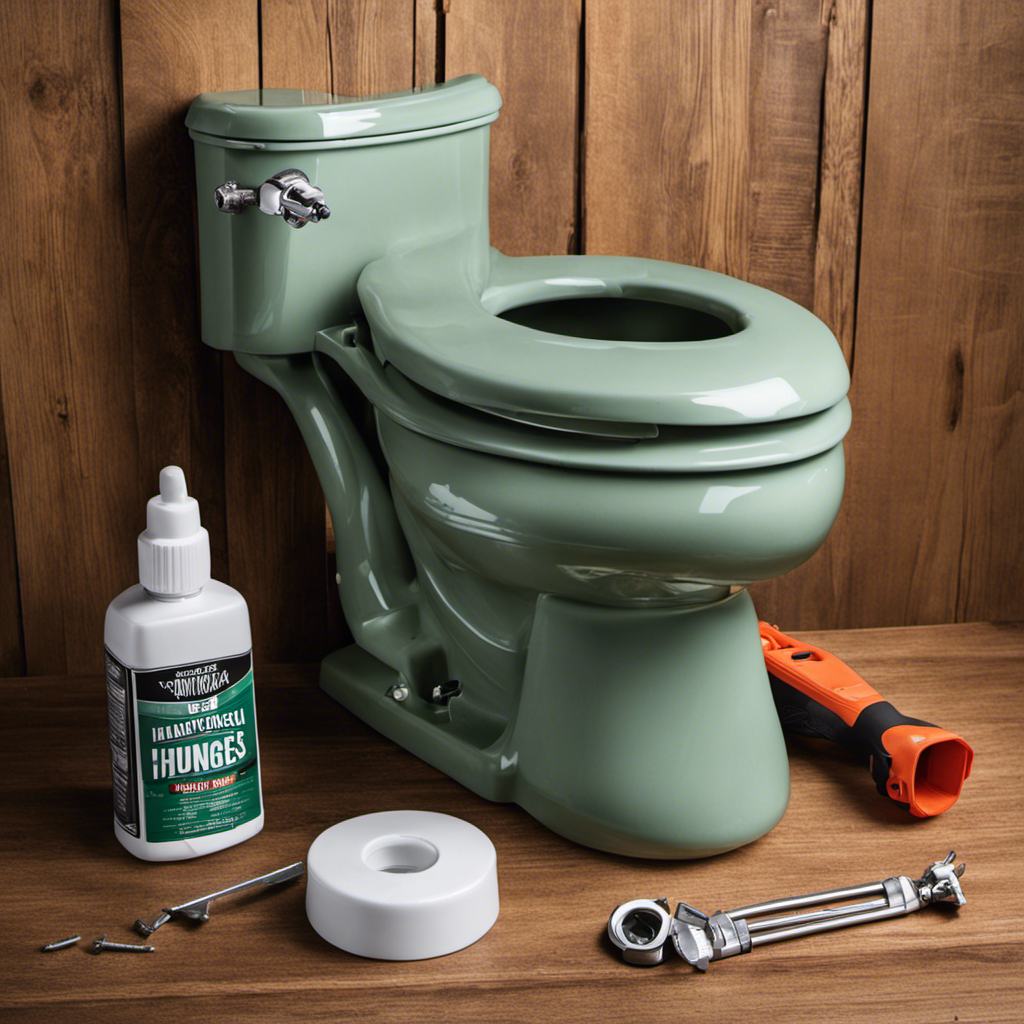
Installing the Toilet Flange
Next, you’ll want to check that the toilet flange is securely attached to the floor before proceeding with the rest of the installation process.
The toilet flange is an essential component that connects the toilet to the waste pipe. It provides a secure and watertight seal to prevent leaks and ensure proper waste disposal.
To install the flange, first, position it over the waste pipe and align the bolt holes with the corresponding holes on the flange. Then, secure the flange to the floor using screws or bolts, ensuring it is tightly fastened.
Once the flange is securely attached, it’s time to apply flange sealant. This sealant acts as an additional barrier against leaks and helps to create a watertight connection between the flange and the toilet base. Apply the sealant around the outer edge of the flange, ensuring complete coverage.
This meticulous attention to detail during the toilet flange installation and flange sealant application is crucial to prevent any future plumbing issues and ensure compliance with regulations and safety standards.
Connecting the Water Supply Line
When connecting the water supply line for a toilet, it’s crucial to consider proper pipe size, shut-off valve placement, and leak prevention methods.
Choosing the correct pipe size ensures adequate water flow and pressure to the toilet, preventing issues such as clogging or reduced flushing efficiency.
Placing the shut-off valve in an easily accessible location allows for quick and convenient maintenance or repairs.
Additionally, implementing leak prevention methods, such as using high-quality seals and properly tightening connections, ensures a watertight installation, minimizing the risk of costly water damage.
Proper Pipe Size
To ensure proper water flow, it’s important to use the correct pipe size when installing plumbing for a toilet. The pipe diameter plays a crucial role in maintaining water pressure and preventing potential issues.
Here are three key considerations for proper pipe installation:
-
Sizing: When determining the pipe size, factors such as the distance from the water supply and the flow rate must be taken into account. Following plumbing codes and regulations, I carefully calculate the required pipe diameter to ensure optimal water flow.
-
Material: Choosing the right pipe material is equally important. Common options include PVC, copper, and PEX. Each material has its advantages and compatibility requirements, which I consider to ensure a proper installation.
-
Connections: Properly connecting the pipes using appropriate fittings and techniques is essential. I pay meticulous attention to detail, ensuring every joint is secure and leak-free to maintain the integrity of the plumbing system.
By following these guidelines, I ensure that the pipe size is correct, and the installation is done to the highest standards. This attention to detail in pipe sizing and installation is crucial for a reliable and efficient toilet plumbing system.
Transitioning into the subsequent section about shut-off valve placement, it’s important to consider the positioning of the shut-off valve in relation to the toilet’s plumbing.
Shut-Off Valve Placement
The proper placement of the shut-off valve is crucial for easy access and maintenance of the toilet’s water supply. As a licensed plumber, I understand the importance of precision when it comes to installing plumbing for a toilet. When positioning the shut-off valve, it should be located close to the toilet, typically within 6 inches. This ensures convenient access for valve maintenance and quick shut-off in case of emergencies. Additionally, it’s essential to follow building codes and regulations when installing the shut-off valve to ensure compliance and safety. Here is a table summarizing the key guidelines for shut-off valve placement:
| Guidelines for Shut-Off Valve Placement |
|---|
| Valve should be within 6 inches of the toilet |
| Ensure easy access for maintenance |
| Follow building codes and regulations |
| Position valve correctly for quick shut-off |
| Consider emergency shut-off requirements |
Leak Prevention Methods
One way to prevent leaks is by regularly maintaining the shut-off valve. Here are three leak prevention methods to ensure a reliable and efficient plumbing installation for your toilet:
-
Proper sealant application: Apply a high-quality sealant around the base of the toilet to create a watertight seal. This will prevent any water from leaking onto the floor.
-
Leak detection devices: Install leak detection devices, such as water alarms or leak sensors, near the toilet. These devices will alert you immediately if there is a leak, allowing you to take prompt action and prevent any water damage.
-
Water conservation measures: Incorporate water-saving features, such as dual-flush toilets or low-flow flush valves, to reduce water consumption and minimize the risk of leaks.
By following these leak prevention methods, you can ensure a reliable and water-efficient toilet installation.
Now, let’s move on to securing the toilet to the floor.
Securing the Toilet to the Floor
Make sure you firmly attach the toilet to the floor using the recommended bolts and washers. This step is crucial to ensure the stability and proper functioning of the toilet.
Start by positioning the toilet flange over the waste pipe and securing it with screws or bolts. The flange should sit flush with the floor surface.
Next, place a wax ring onto the flange, making sure it is centered properly. The wax ring acts as a seal to prevent any leaks.
Lower the toilet bowl onto the flange, aligning the bolt holes on the base of the toilet with the flange bolts. Gently press down to compress the wax ring and create a tight seal.
Secure the toilet to the floor by tightening the nuts onto the flange bolts. Be careful not to overtighten as this could cause damage.
Testing for Leaks and Ensuring Proper Functioning
Now that the toilet is securely fastened to the floor, it’s time to move on to testing for leaks and ensuring proper functioning. This step is crucial to ensure that the plumbing installation meets all legal and safety criteria.
As a licensed plumber, I prioritize attention to detail and compliance with regulations. Here are the three essential tasks to complete during this stage:
-
Checking for Water Pressure: I will inspect the water supply lines and valves to ensure adequate water pressure. This is essential for proper flushing and refilling of the toilet tank.
-
Troubleshooting Common Toilet Issues: I will meticulously examine the toilet’s components, such as the flapper valve, fill valve, and flush handle, to identify and resolve any common issues like leaks, running water, or weak flushes.
-
Testing for Leaks: To prevent water damage and wasted resources, I will carefully inspect all connections, joints, and seals for any signs of leaks. This includes checking the wax seal between the toilet and the flange, as well as the connections between the water supply lines and the tank.
Conclusion
In conclusion, the installation of plumbing for a toilet requires meticulous workmanship and precision. Every connection, joint, and component must be correctly installed to prevent leaks or other issues.
It is essential to adhere to building codes, regulations, and safety standards to ensure the plumbing installation meets all legal and safety criteria.
Just as a skilled surgeon carefully performs a delicate operation, a licensed plumber ensures that the plumbing system functions flawlessly, like a well-oiled machine.
By following these guidelines, you can successfully install plumbing for a toilet that will provide efficient and reliable service for years to come.