As a DIY enthusiast, I’ve encountered my fair share of home maintenance projects. And let me tell you, few things are more frustrating than a leaky bathtub faucet. But fear not! In this step-by-step guide, I’ll show you how to fix that pesky leak and regain control of your bathroom oasis.
From identifying the cause to gathering the necessary tools, shutting off the water supply, and inspecting the valve seat, we’ll tackle each step with precision.
So grab your wrench and let’s get started!
Key Takeaways
- Identifying the cause of the leak is crucial before proceeding with the repair.
- Gathering the necessary tools and materials is essential for a successful repair.
- Shutting off the water supply prevents accidents or further leaks during the repair.
- Inspecting and replacing the O-ring can help fix a leaky bathtub faucet.
Top picks for "leaky bathtub faucet"
Open Amazon search results for this keyword.
As an affiliate, we earn on qualifying purchases.
Identifying the Cause of the Leak
First, you’ll need to determine what is causing the leak in your bathtub faucet. There are several common causes for a leaky faucet, and troubleshooting steps can help identify the specific issue.
The first step is to check if the leaking is occurring when the faucet is turned on or off. If the leak happens when the faucet is on, it could be due to a worn-out O-ring or a damaged valve seat. On the other hand, if the leak occurs when the faucet is turned off, it may be caused by a faulty cartridge or a worn-out washer.
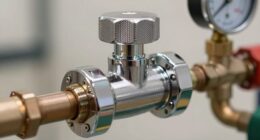
Gathering the Necessary Tools and Materials
When it comes to fixing a leaky bathtub faucet, having the right tools is essential.
There are a few key tools that you will need in order to successfully repair the leak. These tools include an adjustable wrench, a screwdriver, and a pipe wrench.
Additionally, you will also need some required materials for the repair, such as plumber’s tape, replacement parts for the faucet, and a cloth for cleaning up any spills or messes.
Essential Tools for Fixing
To fix a leaky bathtub faucet, you’ll need a few essential tools. Here are the tools you will need:
- Adjustable wrench: This tool will help you loosen and tighten the faucet components.
- Screwdriver: You’ll need a screwdriver to remove screws and access the inner parts of the faucet.
- Plumber’s tape: This tape is essential for creating a watertight seal when reassembling the faucet.
Choosing the right replacement parts is crucial for a successful repair. Make sure to identify the specific model and brand of your faucet to ensure compatibility. Additionally, proper maintenance is essential to prevent future leaks. Regularly cleaning the faucet, checking for any loose or worn parts, and addressing any issues promptly can help prolong the lifespan of your faucet and prevent leaks.
Now that you know the essential tools and the importance of proper maintenance, let’s move on to the required materials for the repair.
Required Materials for Repair
Now that you have the essential tools, let’s discuss the materials you’ll need for the repair. When it comes to fixing a leaky bathtub faucet, having the right materials is crucial. Here are the things you’ll need:
-
Replacement parts: Depending on the type of faucet, you may need a new cartridge, O-rings, or washers. Identify the specific parts required for your faucet model.
-
Plumbers tape: This thin, white tape is used to create a watertight seal. Wrap it around the threads of any connections to prevent leaks.
-
Lubricant: A silicone-based lubricant can help with the smooth operation of moving parts in the faucet assembly.
-
Cleaning supplies: Before starting the repair, clean the faucet and its components to remove any debris or mineral buildup.
Shutting Off the Water Supply
First, you’ll need to locate the main water shut-off valve in your home. This valve is typically located near the water meter or where the main water line enters your house.
To turn off the water, follow these steps:
- Locate the shut-off valve: Check the basement, crawlspace, or utility room for a round or lever-style valve.
- Turn off the valve: If it’s a round valve, turn it clockwise until it stops. If it’s a lever-style valve, flip it to the off position.
- Test the water supply: To ensure the water is completely shut off, turn on a faucet in your home. If no water comes out, you’ve successfully turned off the water supply.
Now that the water is off, you can move on to the next step of disassembling the faucet handle.
Disassembling the Faucet Handle
Once you’ve successfully shut off the water supply, you can begin disassembling the faucet handle. This step is crucial for fixing a leaky bathtub faucet. Follow these disassembling techniques and troubleshooting tips to ensure a successful repair:
-
Gather the necessary tools: adjustable wrench, screwdriver, and pliers.
-
Remove the decorative cap on the faucet handle by prying it off with a flathead screwdriver.
-
Use an adjustable wrench to loosen the handle screw and remove it.
-
Carefully pull the handle off the stem of the faucet.
-
Take note of the order and position of each component as you disassemble them.
-
Use pliers to remove the retaining nut that holds the cartridge in place.
-
Once the retaining nut is removed, pull out the cartridge.
-
Inspect the cartridge for any signs of damage or wear.
-
If necessary, replace the cartridge with a new one.
-
Reassemble the faucet handle in the reverse order, ensuring each component is properly aligned and tightened.
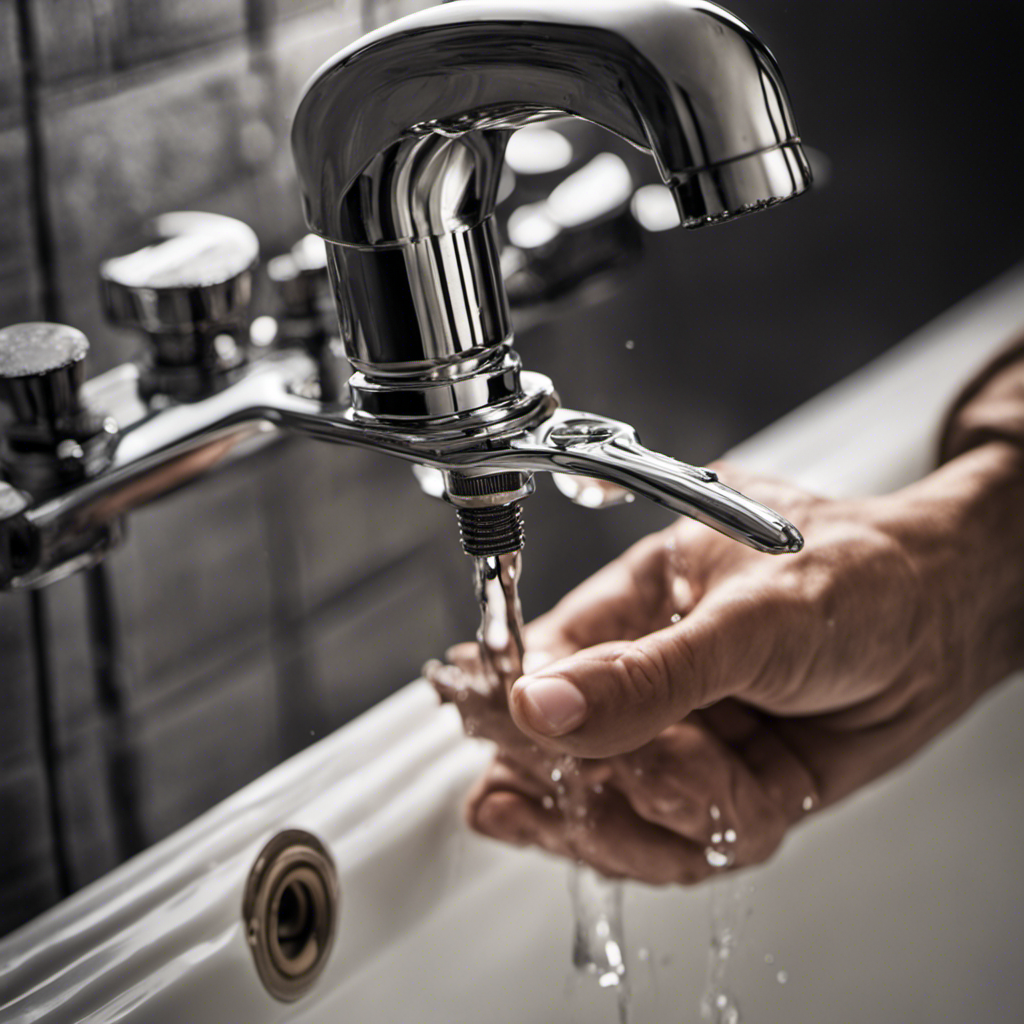
Inspecting and Replacing the O-Ring
To inspect and replace the o-ring, carefully remove the cartridge from the faucet handle. Here are the steps to follow:
- Turn off the water supply to the faucet by closing the shut-off valves under the sink.
- Use a screwdriver to unscrew the retaining nut that holds the cartridge in place.
- Gently pull the cartridge out of the faucet handle, taking care not to damage any surrounding parts.
Once you have the cartridge in your hand, you can now inspect and replace the o-ring. Look for any signs of wear or damage on the o-ring. If it appears worn out or cracked, it needs to be replaced. To do this, simply remove the old o-ring and replace it with a new one that matches the size and shape.
Remember to check the water pressure before reassembling the faucet handle. This will ensure that the o-ring replacement has resolved the leak and that the water flows smoothly without any issues.
Checking and Repairing the Valve Seat
After inspecting and replacing the o-ring, it’s important to check and repair the valve seat if necessary. The valve seat is the part inside the faucet body that controls the flow of water. Over time, it can become worn or corroded, causing leaks.
Here is a step-by-step guide on how to check and repair the valve seat:
- Turn off the water supply to the faucet.
- Remove the handle and escutcheon plate to access the valve seat.
- Use a flashlight to inspect the valve seat for any signs of damage or wear.
- If the valve seat is damaged, use a valve seat wrench to remove it.
- Replace the old valve seat with a new one of the same size and shape.
- Use a wrench to tighten the new valve seat securely.
- Reassemble the faucet and turn on the water supply to check for any leaks.
Reassembling the Faucet Handle
To reassemble the faucet handle, you’ll need to align the screw holes on the handle with the screw holes on the escutcheon plate. This step is crucial for proper functioning of the faucet and preventing any leaks.
Here’s a step-by-step guide to help you with the reassembling technique:
- Start by placing the handle over the stem and aligning the screw holes.
- Once aligned, insert the screws into the holes and tighten them using a screwdriver.
- Ensure that the handle is securely attached to the escutcheon plate by giving it a gentle tug.
Troubleshooting tips:
- If the handle feels loose after reassembly, try tightening the screws a bit more.
- If you encounter any difficulties aligning the screw holes, double-check if the handle and plate are the correct match.
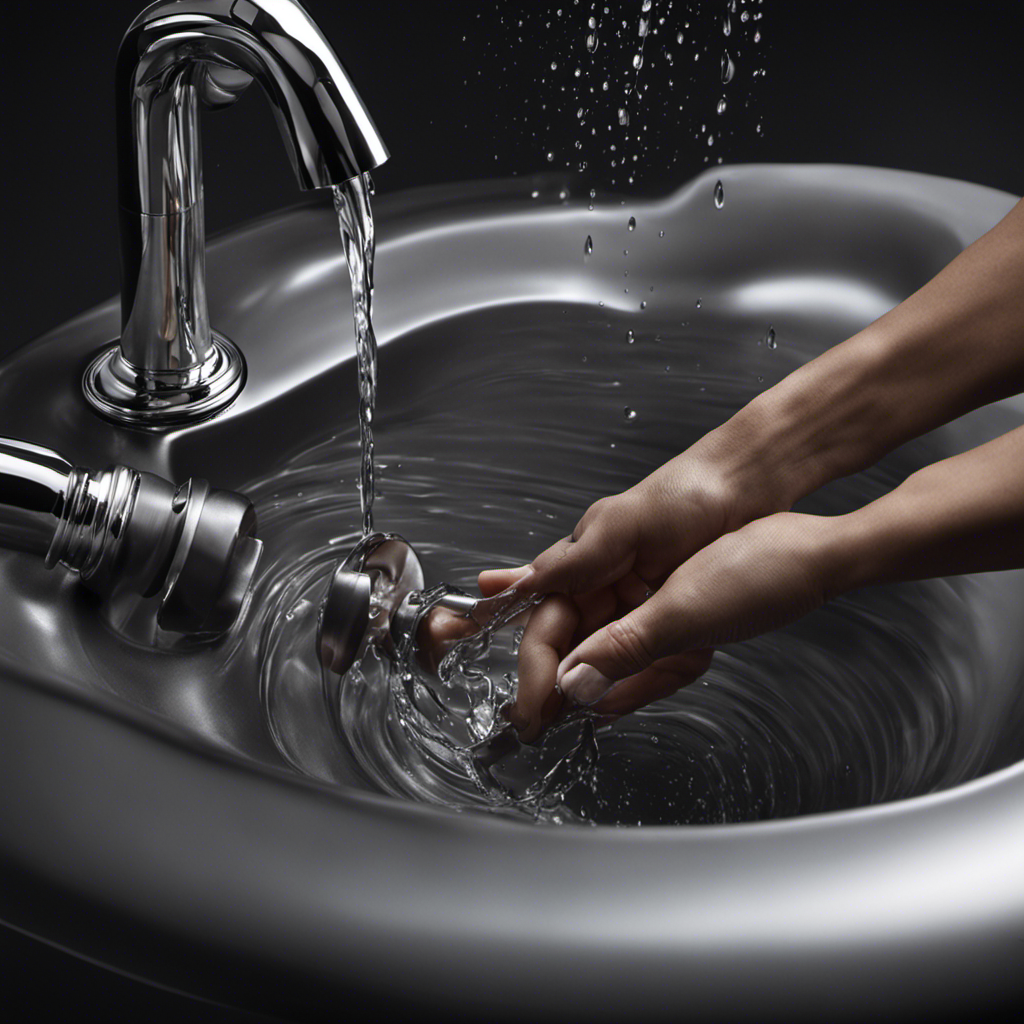
Testing for Leaks and Ensuring Proper Functionality
Ensure that the handle is securely attached to the escutcheon plate by gently tugging on it and checking for any signs of leaks or improper functionality. Once the handle is secure, it’s time to test for leaks and ensure proper functionality of the bathtub faucet.
Here are some testing methods and troubleshooting techniques to help you with this step.
-
Turn on the water supply and let it flow through the faucet.
-
Observe the faucet closely for any signs of leaks. Look for drips or water pooling around the base of the handle or the spout.
-
Check the water flow. It should be steady and consistent without any sputtering or irregularity.
-
Test the hot and cold water separately to ensure that both sides are working properly.
-
Operate the handle in different positions to confirm that it moves smoothly without any resistance or sticking.
-
If you notice any leaks or issues, double-check the installation of the handle and make necessary adjustments.
Frequently Asked Questions
Can I Use Any Type of O-Ring for Replacing the Old One in My Bathtub Faucet?
Yes, you can use different types of O-rings to replace the old one in your bathtub faucet. Consider the compatibility of the O ring with the faucet material and the appropriate size options.
How Do I Know if the Valve Seat Needs to Be Replaced or Just Cleaned?
To determine if the valve seat needs replacing or just cleaning, first, shut off the water supply. Remove the faucet handle and inspect the valve seat for any visible damage or buildup. If it looks worn or corroded, replace it; if not, clean it thoroughly.
Is It Necessary to Turn off the Water Supply to Fix a Leaky Bathtub Faucet?
Yes, it is necessary to turn off the water supply when fixing a leaky bathtub faucet. Attempting to fix it without shutting off the water can result in a messy and potentially damaging situation.
Can I Use Regular Household Tools to Disassemble and Reassemble the Faucet Handle?
Yes, you can use regular household tools to disassemble and reassemble the faucet handle. However, be cautious of common mistakes such as using the wrong size screwdriver or overtightening the screws, which can lead to further damage.
How Long Should I Wait After Fixing the Faucet Before Testing for Leaks and Ensuring Proper Functionality?
After fixing the faucet, it is recommended to wait at least 24 hours before testing for leaks and ensuring proper functionality. This timeframe allows the seals and connections to settle and prevents common faucet problems.
Conclusion
In conclusion, fixing a leaky bathtub faucet is a simple and straightforward process that anyone can tackle. By following the step-by-step instructions outlined in this article, you can successfully identify the cause of the leak, gather the necessary tools, and repair the faucet with ease.
Remember to shut off the water supply, inspect and replace the O-ring, and check and repair the valve seat. Once everything is reassembled, test for leaks and enjoy a perfectly functioning bathtub faucet.
It’s like waving a magic wand and banishing those pesky leaks for good!