So you’re ready to tackle the exciting project of installing a bathtub shower combo? Well, look no further!
In this step-by-step guide, I’ll walk you through the process of transforming your bathroom into a functional oasis.
From gathering the necessary tools and materials to connecting the shower fixtures, we’ll leave no stone unturned.
Get your gloves on and let’s get started on this exhilarating journey to upgrade your bathroom!
Key Takeaways
- Choose the right bathtub shower combo based on dimensions, style, and material
- Prepare necessary tools, materials, and safety equipment
- Measure dimensions accurately and clear out the installation area
- Follow manufacturer’s instructions for installation, maintenance, and cleaning

Pyhomestrim Clawfoot Tub Shower Kit, Add On Shower Units With Bathcock Diverter Faucet and 48" X 27“ Rectangular Claw foot Tub Shower Curtain Rod Kit,Claw foot Tub Shower Faucet Set,Chrome Plated
- All-in-One Clawfoot Tub Shower Kit: Includes faucet, shower rod, riser, and accessories
- Enhanced Durability and Sturdiness: Upgraded to 1-inch shower rod and 5/8-inch brackets
- Premium Rainfall Shower Head: 6-inch high-performance shower head for a luxurious shower
As an affiliate, we earn on qualifying purchases.
As an affiliate, we earn on qualifying purchases.
Required Tools and Materials
You’ll need a few tools and materials to install a bathtub shower combo. Choosing the right bathtub shower combo is crucial to ensure a successful installation. Make sure to consider the dimensions, style, and material of the combo.
The installation process involves several steps, so understanding it is essential. Start by removing the old bathtub and shower fixtures. Next, inspect the plumbing and make any necessary repairs or updates.
Then, prepare the floor and walls for the installation by removing any debris and ensuring they are level and dry. Finally, install the bathtub shower combo according to the manufacturer’s instructions, making sure to securely attach the pipes and fixtures.
With the right tools and materials, along with a clear understanding of the installation process, you’ll be able to install your bathtub shower combo efficiently and effectively.
Preparing the Bathroom Space
Before starting, make sure to clear out any furniture or objects that might be in the way of the bathtub shower combo installation. This step is crucial to ensure a smooth installation process.
Once the area is clear, the next step is to measure the dimensions of the bathroom space. Accurate measurements are essential to ensure that the bathtub shower combo fits snugly and functions properly. Take into consideration the width, length, and height of the area to determine the appropriate size of the unit.
After measuring, it is time to remove any existing fixtures that may obstruct the installation process. This includes removing old tiles, showerheads, faucets, and any other components that are in the way.
With the area cleared and the necessary measurements taken, we are now ready to move on to the next step: installing the bathtub.
Installing the Bathtub
Once the area is clear and measurements have been taken, it’s time to start fitting the tub into place. Before beginning the installation process, it’s crucial to ensure that the bathtub dimensions match the available space in the bathroom. Here is a table showcasing the standard dimensions for common bathtub sizes:
| Bathtub Size | Length (inches) | Width (inches) |
|---|---|---|
| Small | 60 | 30 |
| Standard | 60 | 32 |
| Large | 72 | 36 |
To install the bathtub, start by placing it in the designated area, ensuring that it is level and aligned with the drain and water supply lines. Secure the tub in place using screws or brackets, following the manufacturer’s instructions. Next, connect the drain and water supply lines, making sure to tighten all connections securely. Finally, seal the edges of the tub with caulk to prevent any water leakage. With the bathtub securely installed, you can now move on to the next steps in creating your perfect bathtub shower combo.
Connecting the Shower Fixtures
After securing the bathtub in place, it’s time to connect the shower fixtures.
First, let’s talk about showerhead options. There are various types to choose from, including fixed showerheads, handheld showerheads, and rain showerheads. Each has its own unique features and benefits.
Next, it’s important to consider shower fixture maintenance. Regular cleaning is essential to prevent buildup of soap scum and mineral deposits. Use a mild detergent or vinegar solution to clean the showerhead and fixtures, and avoid using harsh chemicals that can damage the finish.
Additionally, check for any leaks or drips and address them promptly to avoid water waste and potential damage.
Remember to follow the manufacturer’s instructions for installation and maintenance to ensure proper functioning and longevity of your shower fixtures.
Finishing Touches and Final Steps
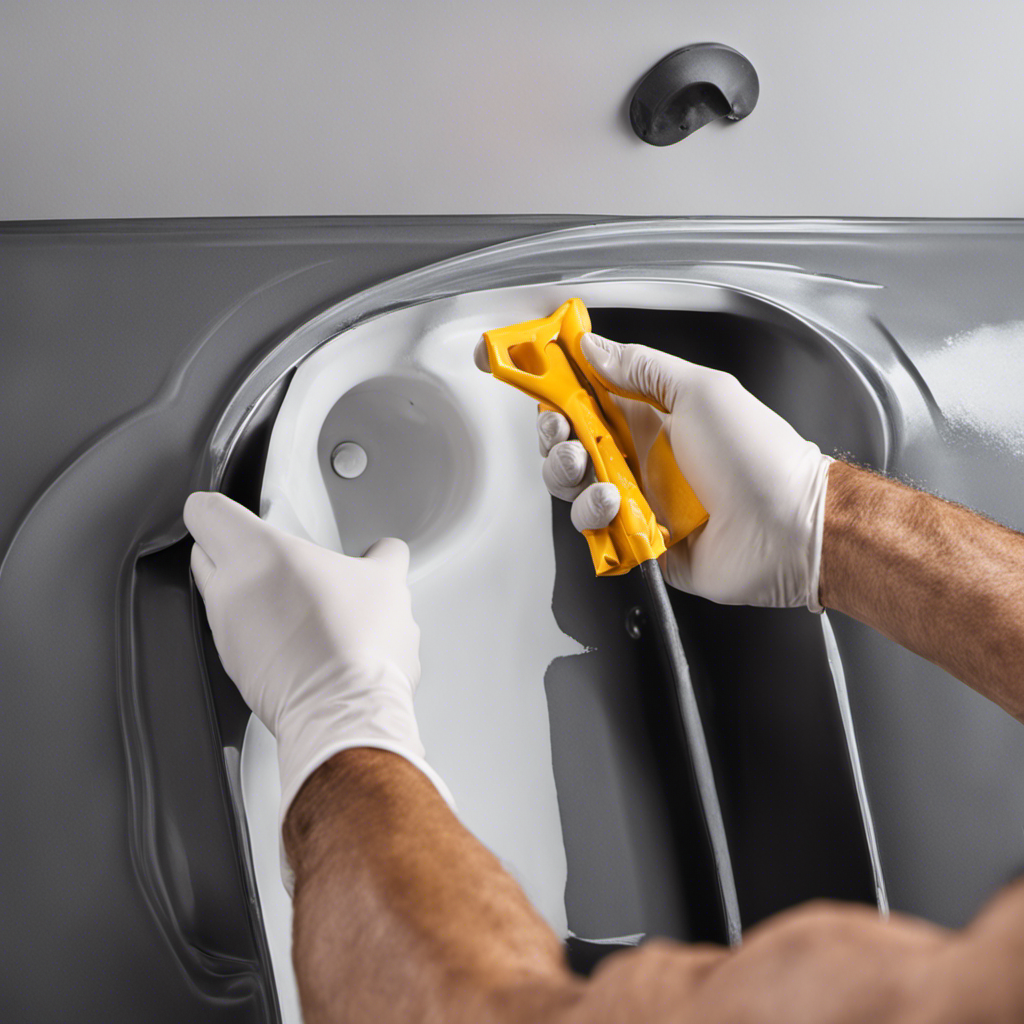
To complete the installation, don’t forget to caulk around the edges of the bathtub and shower fixtures. This step is crucial for creating a watertight seal and preventing any potential leaks.
Before applying the caulk, make sure the surfaces are clean and free from any dirt, grime, or residue. Use a mild cleaner and a scrub brush to thoroughly clean the areas that will be caulked. Once cleaned, allow the surfaces to dry completely before proceeding.
When choosing a shower curtain, consider factors such as material, design, and size. Opt for a curtain that is made of a durable and waterproof material, such as vinyl or polyester. Additionally, choose a design that complements your bathroom decor and a size that fits your bathtub shower combo properly.
Regular cleaning and maintenance of the shower curtain will help prevent mold and mildew buildup and prolong its lifespan.
Conclusion
After successfully installing a bathtub shower combo, you can finally relax and enjoy the convenience and functionality it provides.
With the right tools and materials, proper preparation, and careful installation, you’ve transformed your bathroom into a stylish and efficient space.
So, why wait any longer to experience the comfort of a bathtub shower combo? Take a soothing soak or enjoy a refreshing shower whenever you please.
Isn’t it time to indulge in the ultimate bathing experience?