I’ve always believed that a little leak can turn into a big problem if left unaddressed. That’s why I’m here to share with you some practical steps on how to stop a bathtub faucet from leaking.
In this article, I’ll guide you through:
- Diagnosing the cause of the leak
- Gathering the necessary tools and materials
- Shutting off the water supply
- Repairing or replacing the faulty parts
So, let’s dive in and fix that pesky leak once and for all.
Key Takeaways
- Steady drip from the faucet indicates a worn-out washer.
- Constant leak may be caused by a faulty valve seat.
- Water dripping from the spout when faucet is turned off may be due to a worn-out O-ring.
- Leaking faucet could be caused by a loose or damaged handle.
Diagnosing the Cause of the Leak
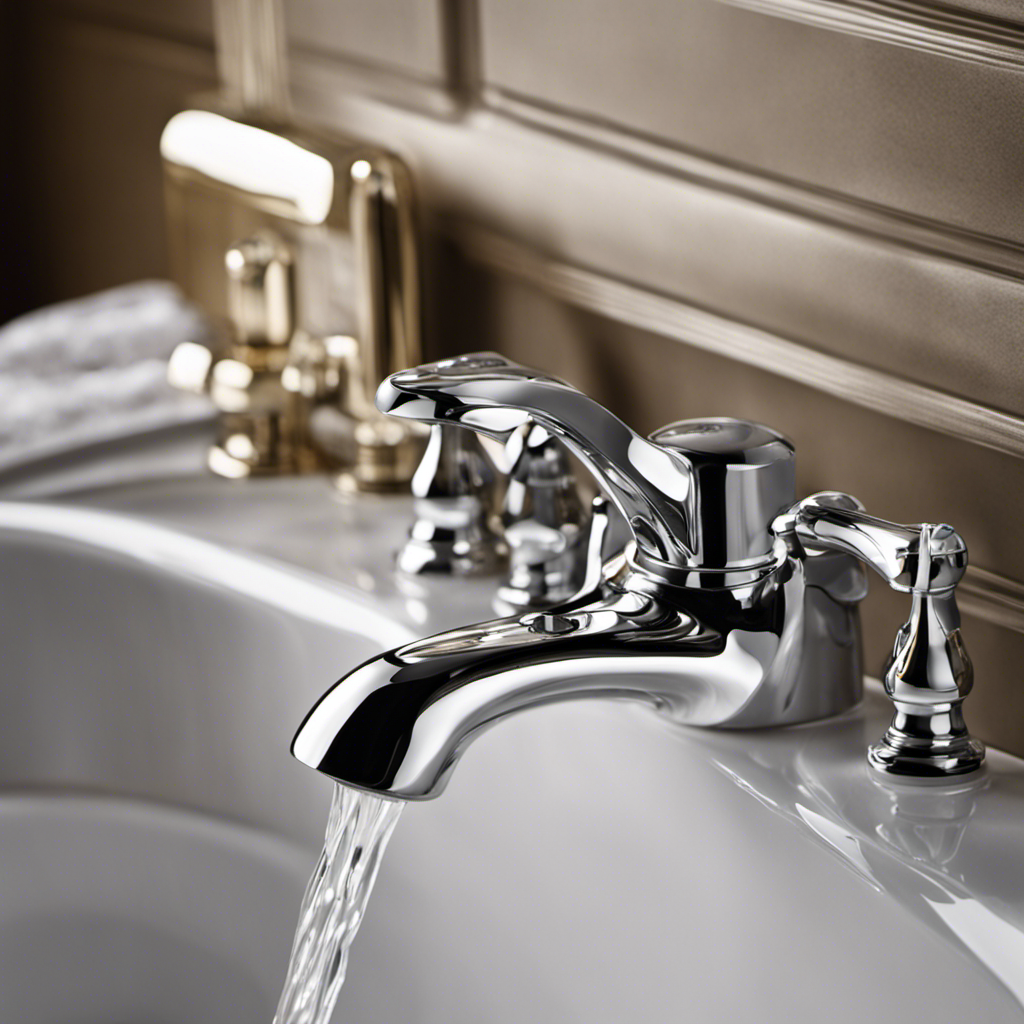
To figure out why the bathtub faucet is leaking, you’ll need to do some troubleshooting. There are several common causes for a leaking bathtub faucet, and recognizing the signs can help you pinpoint the issue.
One possible cause is a worn-out washer, which is indicated by a steady drip from the faucet.
Another cause could be a faulty valve seat, which often leads to a constant leak. If you notice water dripping from the spout even when the faucet is turned off, it may be due to a worn-out O-ring.
Additionally, a loose or damaged handle can also result in a leaking faucet.
Gathering the Necessary Tools and Materials
You’ll need a few tools and materials to fix that annoying drip in your tub. First, gather a pair of pliers, an adjustable wrench, a screwdriver, and a replacement cartridge or washer. These items will help you effectively address the leak and prevent future ones.
Before beginning any repairs, it’s important to turn off the water supply to your bathtub. This can usually be done by turning the shut-off valves located under the sink or behind the bathtub.
Once the water is off, you can start disassembling the faucet by removing the handle and the cartridge or washer. Clean any accumulated debris and replace any worn-out parts.
Regularly maintaining the bathtub faucet by cleaning and lubricating it will help prolong its lifespan and prevent future leaks.
Shutting Off the Water Supply to the Faucet
Once the water’s off, start disassembling the faucet by removing the handle and the cartridge or washer. Shutting off the water supply to the faucet is an essential step in fixing a leaking bathtub faucet. Here are three alternative methods for shutting off the water supply:
-
Shut off the water at the main valve: Locate the main water valve in your home and turn it off to cut off the water supply to the entire house. This method is useful if you can’t find a dedicated shut-off valve for the bathtub faucet.
-
Use the shut-off valves: Look for shut-off valves under the sink or behind the bathtub wall. Turn these valves clockwise to shut off the water supply specifically to the faucet.
-
Turn off the water meter: If you can’t find any shut-off valves, you can turn off the water supply at the water meter. Use a wrench to turn the valve clockwise until it stops.
Common mistakes to avoid when shutting off the water supply to the faucet include not fully closing the valves, turning the wrong valves, and not using the correct tools to shut off the water.
Now that the water supply is shut off, it’s time to move on to disassembling and inspecting the faucet components.
Disassembling and Inspecting the Faucet Components
Now that the water supply is shut off, it’s time to start taking apart and examining the different components of the faucet. This step is crucial in identifying the cause of the leak and determining whether you can repair or replace the faulty parts. To help you understand the various components, here’s a helpful table:
| Component | Description | Possible Issues |
|---|---|---|
| Handle | Controls the flow and temperature of water | Loose, broken, or worn out |
| Cartridge/Valve | Regulates water flow | Leaking, clogged, or damaged |
| O-rings | Seals the connections between parts | Worn out or cracked |
| Spout | Directs water into the bathtub | Loose or corroded |
Examining each component will give you a better understanding of the problem at hand. However, if you’re unsure or uncomfortable with disassembling the faucet, it’s best to seek professional help for faucet repairs. Once you have inspected the components, you can move on to the next step of repairing or replacing the faulty parts.
Repairing or Replacing the Faulty Parts
If the components are worn out or damaged, it’s necessary to repair or replace them. Here are some common mistakes to avoid and repairing techniques to help you fix your bathtub faucet:
-
Determine the faulty part: Start by identifying which component is causing the leak. It could be the valve stem, O-rings, or washers.
-
Repairing techniques: Depending on the issue, you may need to tighten loose connections, clean out debris, or replace worn-out parts. Use a wrench to tighten any loose nuts or bolts and use a screwdriver to remove and replace damaged washers or O-rings.
-
Common mistakes to avoid: One mistake to avoid is overtightening the connections, as this can cause further damage. Additionally, not properly cleaning out debris can lead to recurring leaks. Take your time and follow the instructions carefully to ensure a successful repair.
Conclusion
Well, there you have it folks! With just a few simple steps, you can put an end to that pesky bathtub faucet leak once and for all.
No more wasting water or dealing with annoying drips.
By diagnosing the cause, gathering the necessary tools, shutting off the water supply, and repairing or replacing the faulty parts, you’ll have your faucet working like new in no time.
Say goodbye to leaky faucets and hello to a peaceful, dry bathroom.
It’s time to take control and conquer that leak!


