
Are you tired of dealing with leaks and water damage in your bathroom? Well, look no further! In this step-by-step guide, we’ll show you exactly how to caulk a bathtub like a pro.
With just a few tools and some high-quality caulk, you’ll be able to create a watertight seal that will protect your bathtub and keep it looking fresh for years to come.
So, grab your caulking gun and let’s get started on this easy and essential DIY project!
Key Takeaways
- Proper caulking prevents water damage and maintains bathtub integrity.
- Silicone caulk is highly resistant to water and moisture.
- Common caulking mistakes to avoid include improper cleaning, using expired or low-quality caulk, and insufficient curing time.
- Regular maintenance prevents water damage and extends the life of the caulk.

GE Advanced Silicone Caulk for Kitchen & Bathroom, White, 2.8 fl oz Tube, 1 Pack – 100% Waterproof Silicone Sealant, 5X Stronger Adhesion, Shrink & Crack Proof
100% Silicone Caulk Protection: This silicone caulk white provides ultimate waterproof protection, ensuring a reliable seal against water…
As an affiliate, we earn on qualifying purchases.
As an affiliate, we earn on qualifying purchases.
The Importance of Proper Caulking
Proper caulking is crucial for preventing water damage and maintaining the integrity of your bathtub.
When it comes to bathtub caulking, using silicone caulk offers several benefits. Silicone caulk is highly resistant to water and moisture, making it the ideal choice for sealing the joints and edges of your bathtub. It forms a durable and flexible seal that can withstand the constant exposure to water and cleaning agents. Silicone caulk also has excellent adhesive properties, ensuring a long-lasting bond between the bathtub and the surrounding tiles or wall.
However, there are common caulking mistakes to avoid for a long-lasting seal. These include not properly cleaning the surface before applying the caulk, using expired or low-quality caulk, and not allowing enough time for the caulk to fully cure.
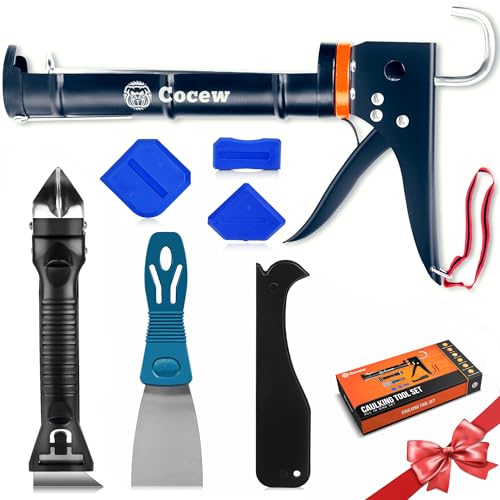
Caulk Gun Kit, Smooth Silicone Caulking Gun and Caulk Remover Tool, Sealant Finishing Tool Grout Scraper for Kitchen Bathroom Window Sink Joint, All in One with Gift Box
【Easy to operate】Cocew Caulking Gun is lightweight, the Smooth Pressure Rod is available with a high thrust ratio….
As an affiliate, we earn on qualifying purchases.
As an affiliate, we earn on qualifying purchases.
Gathering the Necessary Tools and Materials
First, make sure you have all the necessary tools and materials ready before starting the project.
Selecting the right caulk is essential for a successful bathtub caulking job. Look for a caulk that is specifically designed for use in bathrooms and is waterproof. This will ensure that it can withstand the moisture and humidity present in the bathroom environment. Additionally, consider the color of the caulk to match the bathtub and surrounding tiles.
Safety precautions are also important when working with caulk. Wear protective gloves and safety glasses to protect your skin and eyes from any potential irritation or chemicals. It’s also a good idea to work in a well-ventilated area to avoid inhaling any fumes.
Once you have gathered all the necessary tools and materials, you can move on to preparing the bathtub surface for caulking.

Saker Silicone Caulking Tools-3 in 1 Sealant Finishing Tool Grout Remove Scraper (Stainless Steelhead),Caulk Remover Glass Glue Angle Scraper for Bathroom,Kitchen,Floor,Window,Sink Joint,Frames Seal
【Tips】Here's a quick tip for achieving that smooth, one-handed gliding sensation with your grout tool: consider loosening the…
As an affiliate, we earn on qualifying purchases.
As an affiliate, we earn on qualifying purchases.
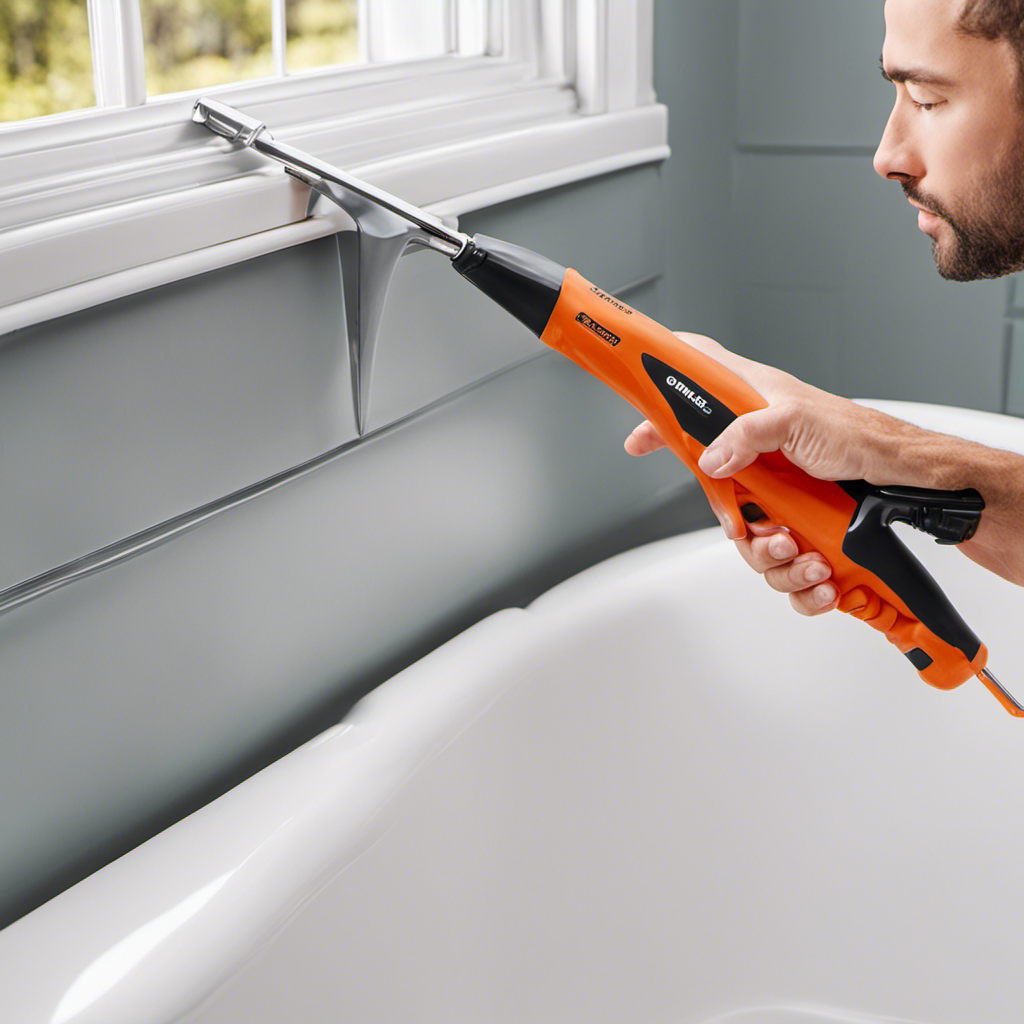
Preparing the Bathtub Surface for Caulking
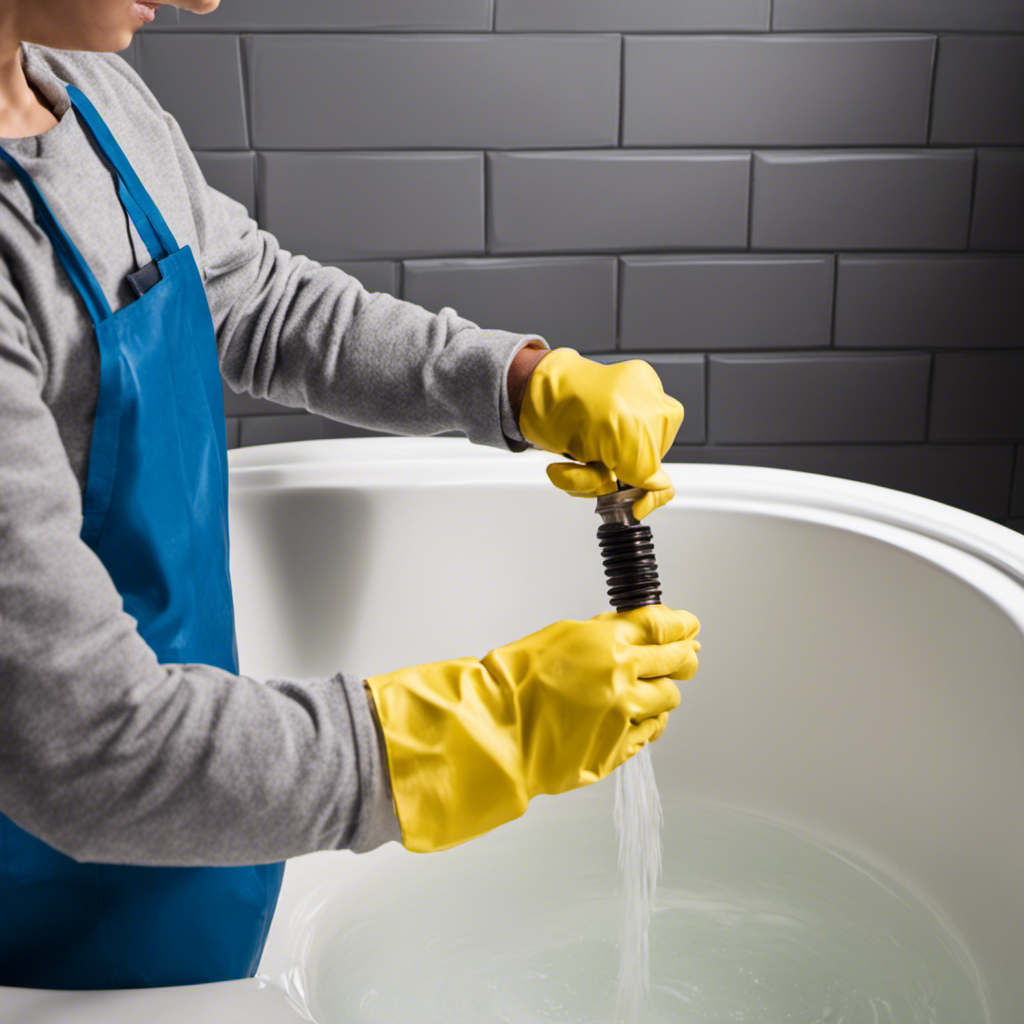
Make sure to thoroughly clean the surface of the bathtub before applying the caulk to ensure proper adhesion. Cleaning the bathtub surface is a crucial step in preparing it for caulking.
Here are some important tips to follow:
- Start by removing any existing caulk using caulk removal techniques such as a caulk remover tool or a utility knife.
- Once the old caulk is removed, clean the surface with a bathtub cleaner or a mixture of vinegar and water. This will help remove any soap scum, dirt, or grime that may be present.
- After cleaning, rinse the surface thoroughly with water and allow it to dry completely before applying the new caulk.
Properly preparing the bathtub surface will ensure that the caulk adheres well and provides a watertight seal.
GE Advanced Silicone Caulk for Kitchen & Bathroom, White, 2.8 fl oz Tube, 1 Pack – 100% Waterproof Silicone Sealant, 5X Stronger Adhesion, Shrink & Crack Proof
100% Silicone Caulk Protection: This silicone caulk white provides ultimate waterproof protection, ensuring a reliable seal against water…
As an affiliate, we earn on qualifying purchases.
As an affiliate, we earn on qualifying purchases.
Applying the Caulk to the Bathtub
Before applying the caulk, it’s important to ensure that the bathtub surface is completely dry. This is crucial because any moisture on the surface can prevent the caulk from adhering properly.
To apply the caulk, start by cutting the nozzle of the caulk tube at a 45-degree angle. This will allow for a smooth and controlled flow of caulk. Hold the caulk gun at a 45-degree angle to the joint and apply an even bead of caulk, moving steadily along the joint.
Use a caulk smoothing tool or your finger to smooth out the caulk, ensuring a neat and even finish. One common mistake to avoid is applying too much caulk, as this can lead to messy results. Another mistake is not smoothing out the caulk properly, which can leave an uneven appearance.
Remember, practice makes perfect, so don’t worry if you don’t get it right the first time. With time and experience, you’ll master the applying techniques.
Now that you’ve applied the caulk, let’s move on to the finishing touches and maintenance tips.
Finishing Touches and Maintenance Tips
To ensure a long-lasting finish, regularly inspect the caulk for any signs of wear or damage. This will help you catch any issues early on and prevent water damage to your bathtub and surrounding areas.
Here are some maintenance techniques to keep your caulk in top shape:
- Clean the caulk regularly with mild soap and water to remove any dirt or grime that could degrade its quality.
- Avoid using abrasive cleaners or scrub brushes that can damage the caulk.
- If you notice any cracks or gaps in the caulk, reapply a fresh layer to seal them and prevent water from seeping in.
Frequently Asked Questions
How Long Does Caulk Typically Last on a Bathtub Before It Needs to Be Replaced?
Typically, caulk on a bathtub lasts around 5-10 years before it needs replacement. To extend its lifespan, ensure proper ventilation, keep the area clean and dry, and choose a high-quality caulk suitable for bathtubs.
Can I Use Any Type of Caulk for Caulking a Bathtub, or Are There Specific Types That Are Recommended?
You should use specific types of caulk that are recommended for caulking a bathtub. There are different types of caulk that are designed for different applications, so make sure to choose the right one for your bathtub.
Is It Necessary to Remove the Old Caulk Before Applying a New Layer?
Yes, it’s better to remove old caulk before applying a new layer. By removing it, you ensure a clean surface for the new caulk to adhere to. Avoid caulking over existing caulk as it may not bond properly.
What Should I Do if I Accidentally Apply Too Much Caulk and It Starts to Overflow?
If you accidentally apply too much caulk and it starts to overflow, don’t panic. Grab a wet sponge and quickly wipe away the excess caulk before it dries. Prevention is key, so next time, use a caulk gun for more control.
Can I Use Caulk to Fix Cracks or Chips in the Bathtub Surface?
To repair cracks or chips in your bathtub surface, you can use caulk. It’s a simple and effective solution. First, clean the area thoroughly, then apply the caulk evenly, smoothing it out. Let it dry completely before using the bathtub.
Conclusion
In conclusion, caulk is an essential part of maintaining a bathtub and preventing leaks and water damage. By following the steps outlined in this article, you can confidently tackle the task of caulking your bathtub.
Remember to gather all the necessary tools and materials, properly prepare the surface, and apply the caulk with precision. Don’t forget the finishing touches and follow our maintenance tips to keep your bathtub looking and functioning like new.
With these simple yet important steps, you’ll have a perfectly sealed bathtub that will withstand the test of time. Happy caulking!